Appearance: 3rd Brake Light LED
 01-17-2010, 10:30 PM
#1
Member
Thread Starter

Join Date: 04-13-09
Location: Western NY
Posts: 240
Likes: 0
Received 0 Likes
on
0 Posts
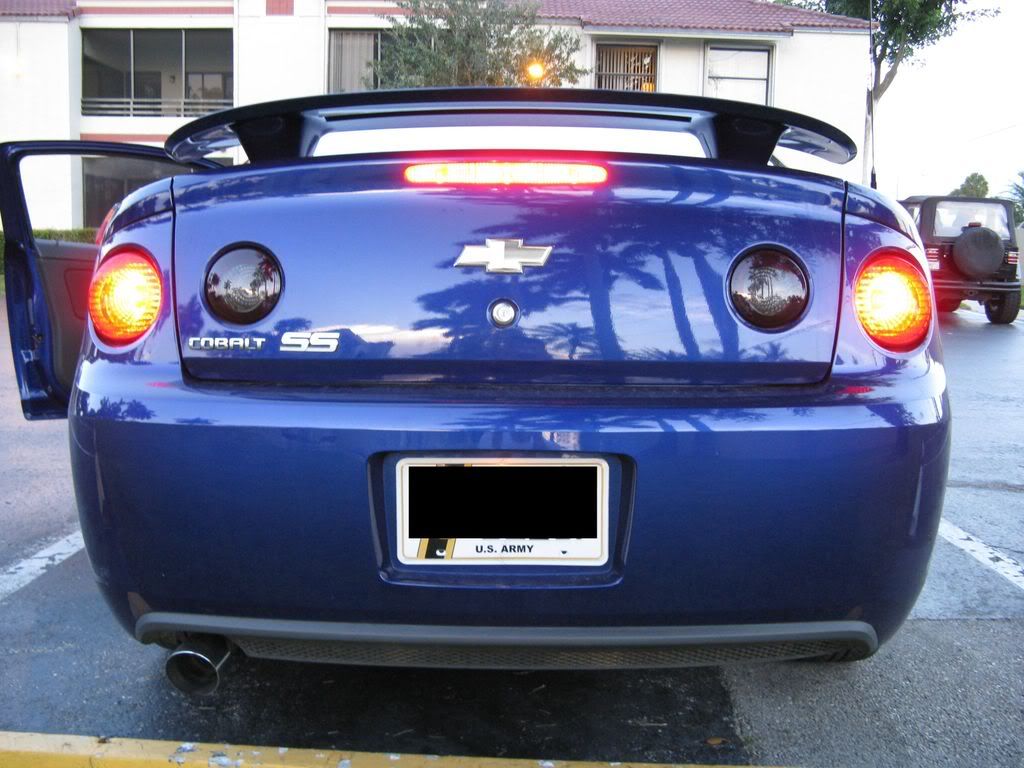
3rd Brake Light LED
I know there's already a thread on how to do this. I followed it as well, but for some damn reason 8 couldn't get it to stay properly with the 3M tape so i decided to take a different approach and take some pictures.
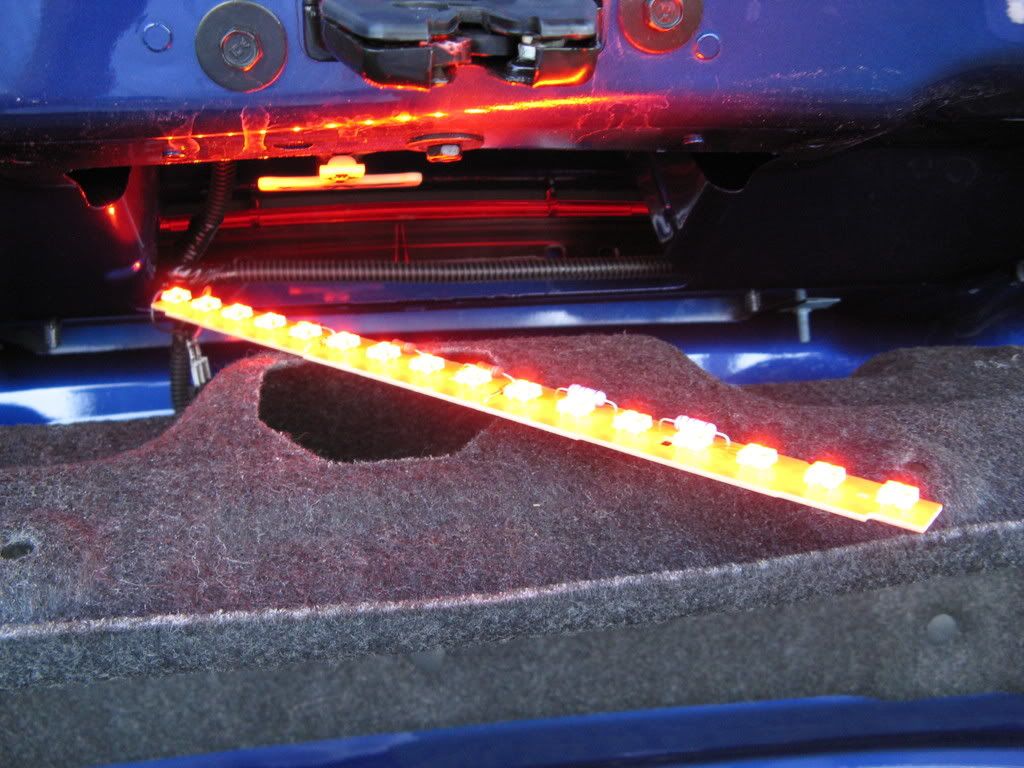
Easy part was taking the carpet down. I removed I think like 5 of them since it was dark out and about 36 degrees. I just held it down with my elbow while i removed the trunk light. I guess you could remove them all, but i didn't have an extra 32 seconds to spare. I'm too impatient. Unplug the connection, loosen the two 10mm nuts, pop the inner tabs right next to the bolts inwards and voila! It pops right out.
Next, pulling apart the simple assembly is more words than difficultly so I'm just going to skip over that. I used the tail light from an 01 Impala which I got off of ebay for $14. All you need is the circuit board and the rest you can throw out. Make sure you keep the pins from the + and - negative wires attached or else it can/will be a pain to connect to the factory harness.
Off of your cobalt's brake light, the black connecting piece with your 3 lamps you no longer need as well.
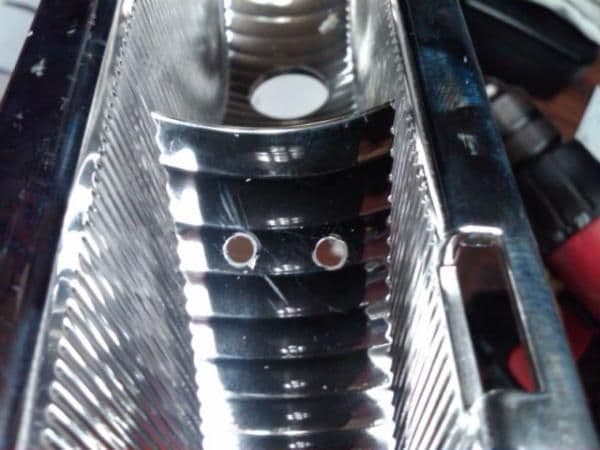
I took the reflector housing and drilled 5 holes. Ignore the duct tape on it. I used it for marking purposes since it was at night. One for the wires + and - out the side like so:
And then 4 more along the inside of the curves. 2 on each side:
Then I used 2 ty wraps to secure the circuit board in place. I pushed it all the way down to the bottom of the reflector housing to ensure that its straight/level:

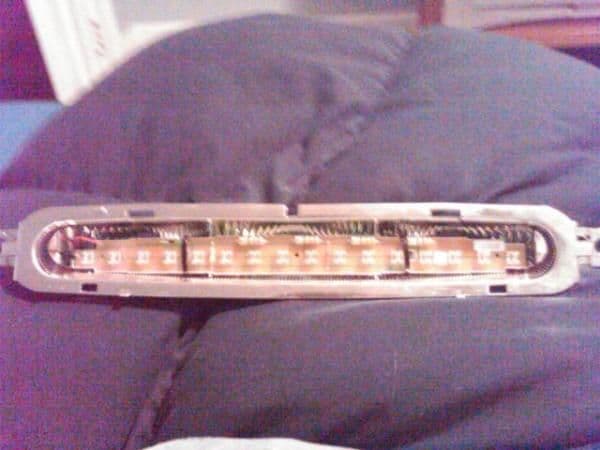
After that I GENTLY tightened the ty wraps while I made sure the circuit board stayed in one place. I cut off the excess after it was next to impossible to move and put the red housing back on and headed outside to my car.
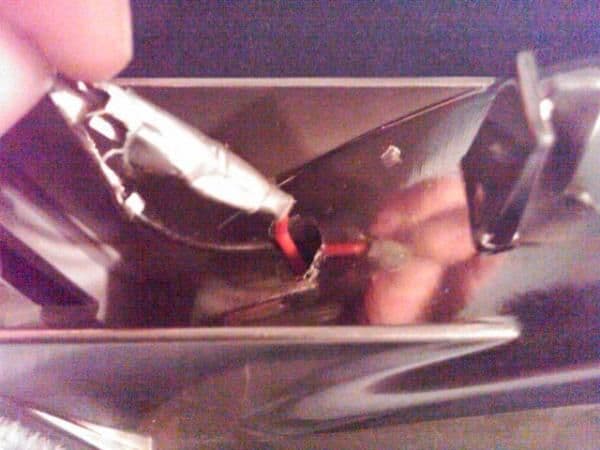
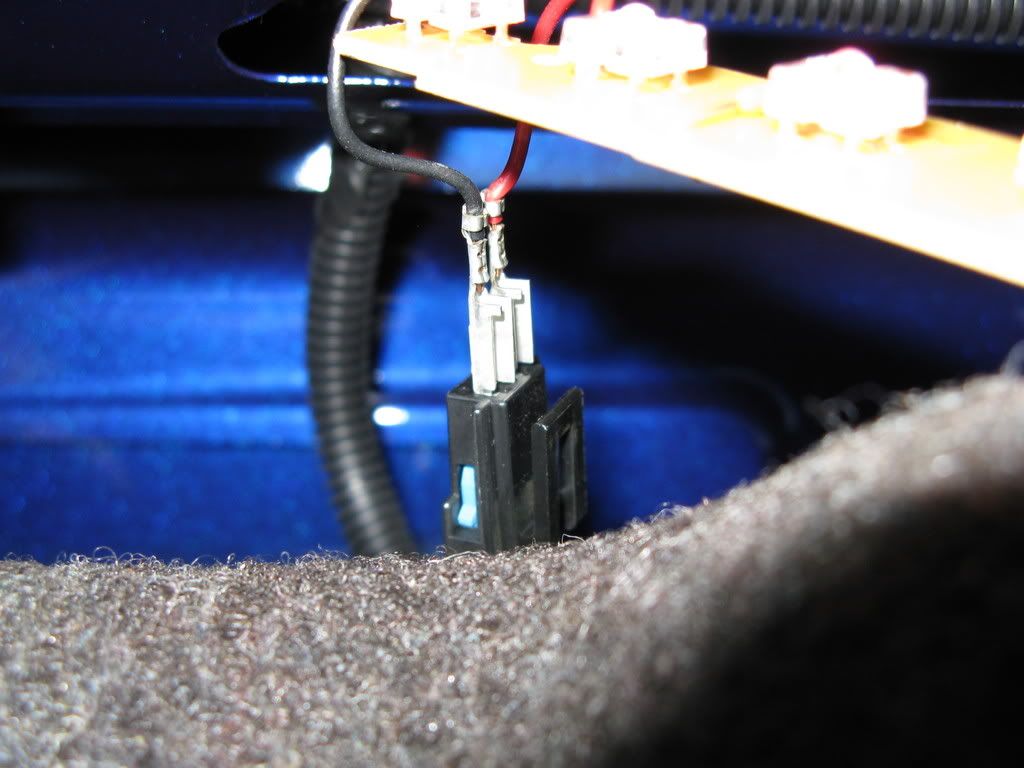
With those 2 pins that i stuck thru the side, i pushed them into the correct side. - was black obviously and the + was green for me. Just as a safety precaution i used some electrical tape to hold them in place in the connector.
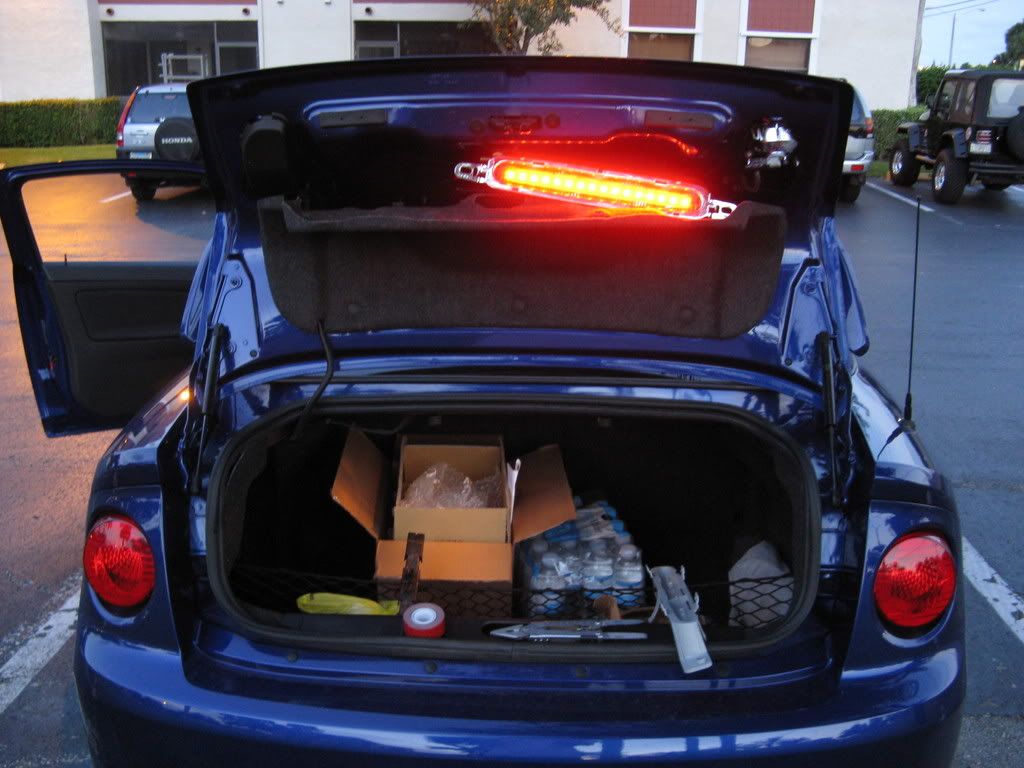
Then you can put everything back together. Clips, nuts, and the tabs. One thing i noticed while putting it back together, make sure you look at it from the outside before you start tightening the nuts. The foam part was sticking out for me and I shifted it a bit to move it back into place. Just the little things I guess. All done. Easy right?
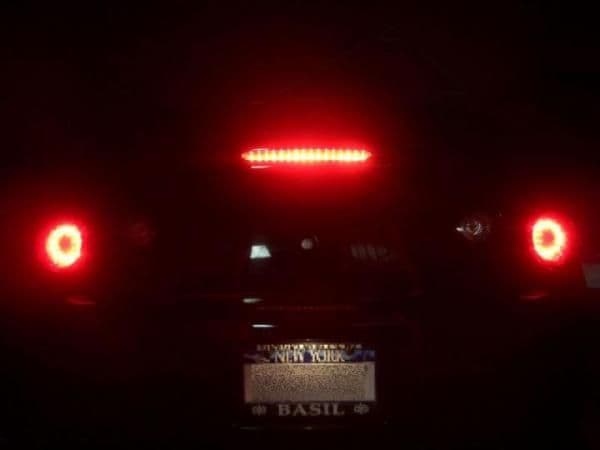
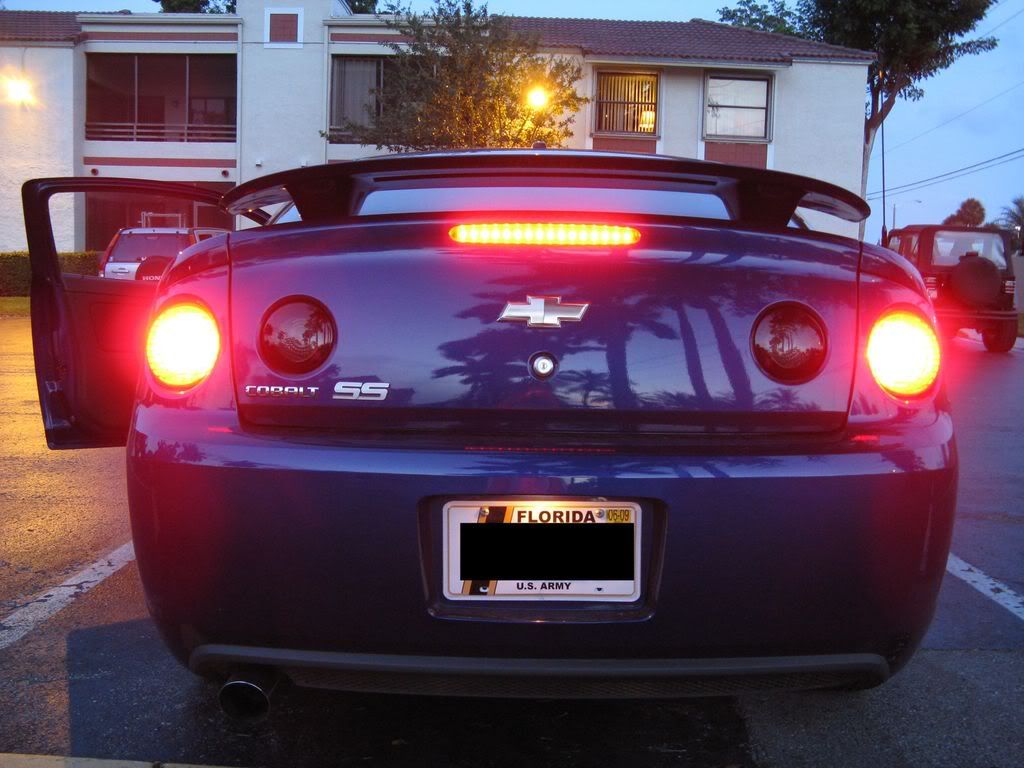
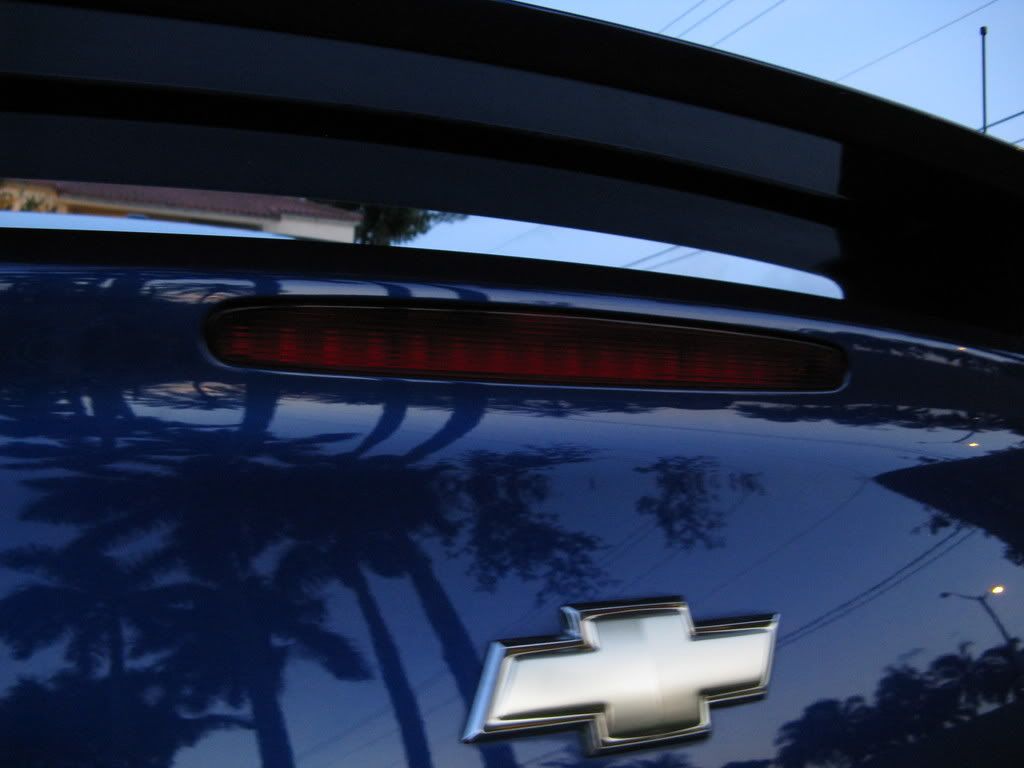
I think my trunk was open a little bit when I took the pictures but here it is all done:

Thanks goes out to CTCOBALTSSS for his How To which i followed first.
Easy part was taking the carpet down. I removed I think like 5 of them since it was dark out and about 36 degrees. I just held it down with my elbow while i removed the trunk light. I guess you could remove them all, but i didn't have an extra 32 seconds to spare. I'm too impatient. Unplug the connection, loosen the two 10mm nuts, pop the inner tabs right next to the bolts inwards and voila! It pops right out.
Next, pulling apart the simple assembly is more words than difficultly so I'm just going to skip over that. I used the tail light from an 01 Impala which I got off of ebay for $14. All you need is the circuit board and the rest you can throw out. Make sure you keep the pins from the + and - negative wires attached or else it can/will be a pain to connect to the factory harness.
Off of your cobalt's brake light, the black connecting piece with your 3 lamps you no longer need as well.
I took the reflector housing and drilled 5 holes. Ignore the duct tape on it. I used it for marking purposes since it was at night. One for the wires + and - out the side like so:
And then 4 more along the inside of the curves. 2 on each side:
Then I used 2 ty wraps to secure the circuit board in place. I pushed it all the way down to the bottom of the reflector housing to ensure that its straight/level:
After that I GENTLY tightened the ty wraps while I made sure the circuit board stayed in one place. I cut off the excess after it was next to impossible to move and put the red housing back on and headed outside to my car.
With those 2 pins that i stuck thru the side, i pushed them into the correct side. - was black obviously and the + was green for me. Just as a safety precaution i used some electrical tape to hold them in place in the connector.
Then you can put everything back together. Clips, nuts, and the tabs. One thing i noticed while putting it back together, make sure you look at it from the outside before you start tightening the nuts. The foam part was sticking out for me and I shifted it a bit to move it back into place. Just the little things I guess. All done. Easy right?
I think my trunk was open a little bit when I took the pictures but here it is all done:
Thanks goes out to CTCOBALTSSS for his How To which i followed first.
Last edited by TommyP; 10-03-2012 at 12:33 PM.
 02-01-2010, 12:35 PM
#4
Member
Thread Starter
Join Date: 04-13-09
Location: Western NY
Posts: 240
Likes: 0
Received 0 Likes
on
0 Posts
Yeah i used the double sided tape first but it wouldn't stay. i did it about twice then i gave up and tried thinking of other ways to make it stay.
Yeah i used the double sided tape first but it wouldn't stay. i did it about twice then i gave up and tried thinking of other ways to make it stay. i also kinda made this how to just to add more pictures since the other one didnt have many pictures of the entire process. i know its kinda self explanatory but i just wanted to show another variation.
Yeah i used the double sided tape first but it wouldn't stay. i did it about twice then i gave up and tried thinking of other ways to make it stay. i also kinda made this how to just to add more pictures since the other one didnt have many pictures of the entire process. i know its kinda self explanatory but i just wanted to show another variation.
Last edited by 09CobaltLT; 02-01-2010 at 12:35 PM. Reason: Automerged Doublepost
02-01-2010, 12:47 PM
#5
Senior Member

Join Date: 07-12-08
Location: Burbank, CA
Posts: 989
Likes: 0
Received 0 Likes
on
0 Posts
i did about teh same thing. i used toupee tape (very sticky) and it still would drop a little after hitting bumps. had some 16 gauge wire laying around, so i basically did the same... just twisted the wire around board and threaded it through the random holes. worked good
but zip ties FTW, thanks O/p
but zip ties FTW, thanks O/p
02-01-2010, 07:07 PM
#6
Member

Join Date: 05-22-08
Location: Vancouver
Posts: 211
Likes: 0
Received 0 Likes
on
0 Posts
i did about teh same thing. i used toupee tape (very sticky) and it still would drop a little after hitting bumps. had some 16 gauge wire laying around, so i basically did the same... just twisted the wire around board and threaded it through the random holes. worked good
but zip ties FTW, thanks O/p
but zip ties FTW, thanks O/p
02-08-2010, 11:13 AM
#7

there was already an how to but it was done with double side tape and it was what i used and still sticking lol over a year by now 
https://www.cobaltss.net/forums/show...t=27113&page=4
https://www.cobaltss.net/forums/show...t=27113&page=4
I have installed my led todays (impala's LED) here are some pic and there is a video include if you want to see it lol
before
during
as you can see i didnt took all the liner because i didnt need to. I even use it as a table lol

even off you can see the leds
And yeah i know it looks ugly but im waiting my resistor to put my led taillights lol
<object width="425" height="350"> <param name="movie" value="http://www.youtube.com/v/ciX4uN43tZE"> </param> <embed src="http://www.youtube.com/v/ciX4uN43tZE" type="application/x-shockwave-flash" width="425" height="350"> </embed> </object>
http://www.youtube.com/watch?v=ciX4uN43tZE
before
during
as you can see i didnt took all the liner because i didnt need to. I even use it as a table lol
even off you can see the leds
And yeah i know it looks ugly but im waiting my resistor to put my led taillights lol
<object width="425" height="350"> <param name="movie" value="http://www.youtube.com/v/ciX4uN43tZE"> </param> <embed src="http://www.youtube.com/v/ciX4uN43tZE" type="application/x-shockwave-flash" width="425" height="350"> </embed> </object>
http://www.youtube.com/watch?v=ciX4uN43tZE

Thread
Thread Starter
Forum
Replies
Last Post

