My Modded Lnf Intake Manifold
 08-02-2015, 12:46 AM
#1
Senior Member

Thread Starter

My Modded Lnf Intake Manifold
First a shout out to Jonathan (SoundJunky) for lending me this intake manifold so I can do this work to it!
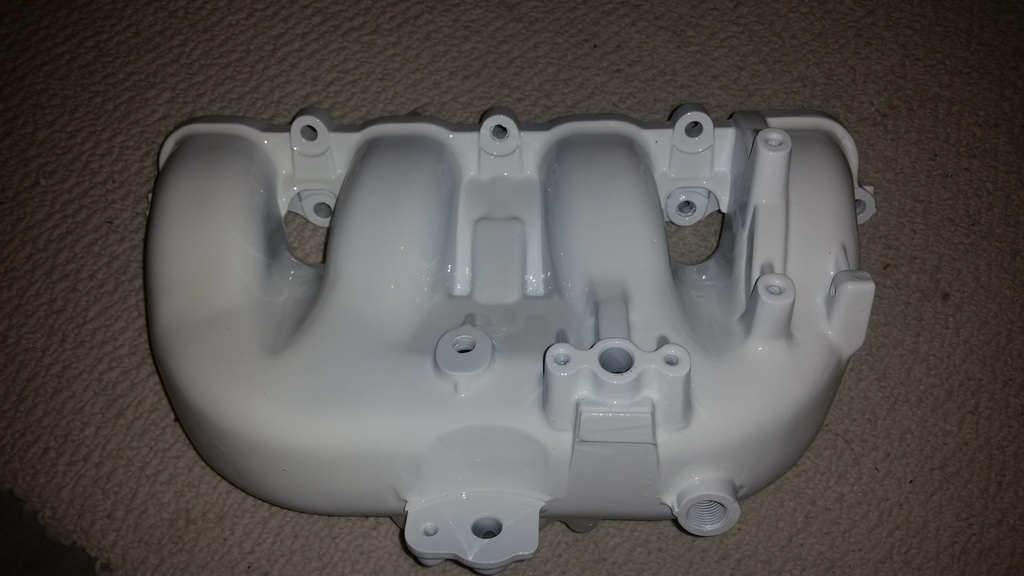
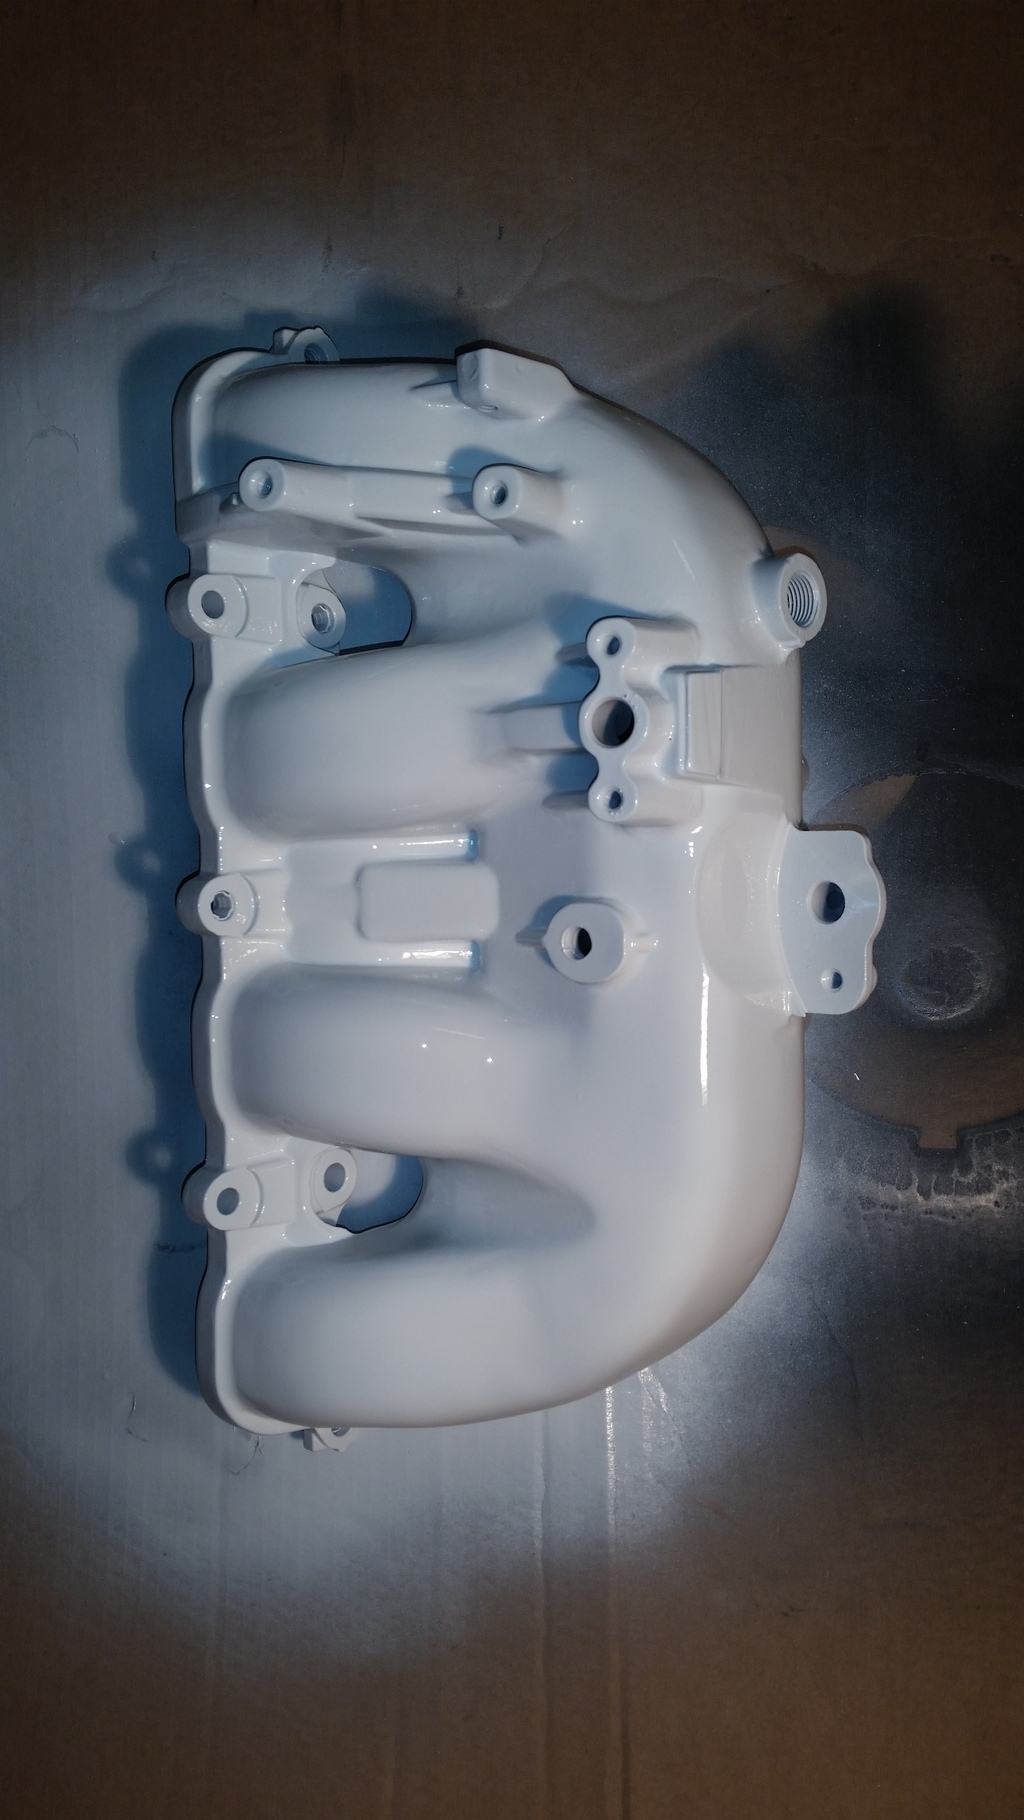
Well tonight I finished my intake manifold I have tons of pics but none of my friends could guess what I did to it so as soon as somebody guesses I'll post the progression!
Well here you go what do you guys think??
Well tonight I finished my intake manifold I have tons of pics but none of my friends could guess what I did to it so as soon as somebody guesses I'll post the progression!
Well here you go what do you guys think??


 08-02-2015, 04:41 AM
#3
Senior Member
Thread Starter


 08-02-2015, 11:42 AM
#9
 08-02-2015, 03:26 PM
#12
Senior Member
Thread Starter
Yup I cut and shaved all the tabs that aren't used off I'll post the pics soon
 08-02-2015, 04:08 PM
#15
Senior Member
Thread Starter
I'm gonna look into getting rid of it completely or throw it underneath the manifold I'm deleting my vacuum canister when I throw my ported head on I have it bypassed right now
08-02-2015, 04:21 PM
#16
Senior Member

 08-02-2015, 11:19 PM
#20
Senior Member
Thread Starter
 08-02-2015, 11:41 PM
#22
Senior Member
Thread Starter
I used a die grinder but if I had a cutting disc for my angle grinder it wouldn't take much time at all. But I sanded the whole thing because I wanted a smooth look sandblasting painting and it's ported. I've probably got over 10 hours easy into it
08-03-2015, 10:04 AM
#24
-Delete the vacuum canister and remove it.
-Remove the vacuum barb from the lower charge pipe. (stock pipe needs a silcone cap glued onto it. Aftermarket pipes need a 1/8 NPT plug).
-Remove the solenoid and the tubing.
-Run the BPV or BOV directly to the vacuum port on the IM.
-Tuck the electrical connector under the rad support
The following users liked this post:
KMO43 (08-03-2015)