Appearance: How to make bumper plugs. 56k=bad
 04-21-2006, 02:09 PM
#1
Senior Member
Thread Starter
Join Date: 07-17-05
Location: Western Massachusetts
Posts: 2,375
Likes: 0
Received 0 Likes
on
0 Posts
How to make bumper plugs. 56k=bad
yes all of your rebles out their who took their front plates off can envy me now. 
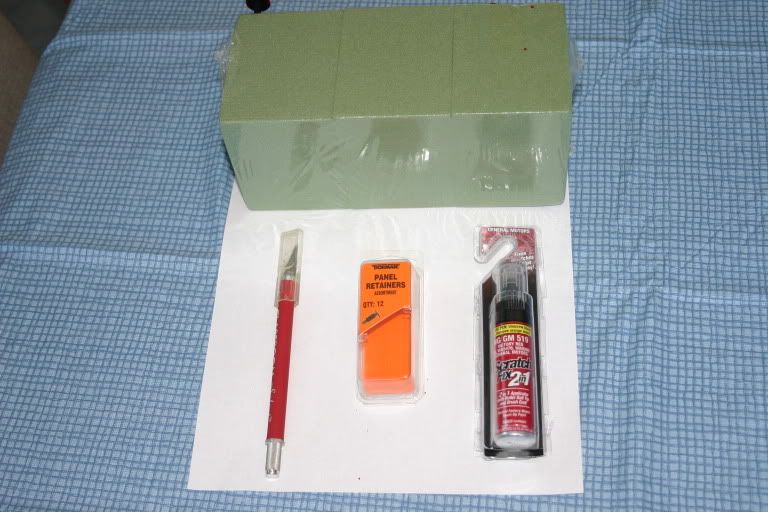
Supplies:
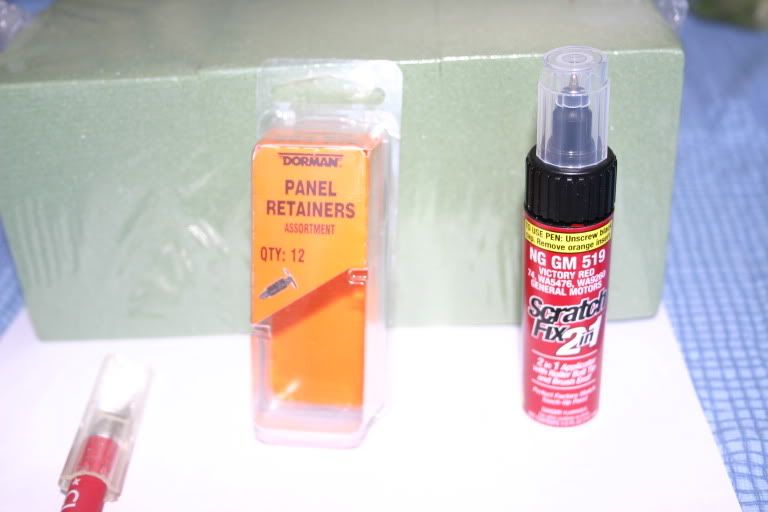
*Dupli-color touch up paint to your cars color. You can pick this up at autozone or wallmart for the price of $5.99 at most.
*Exacto knive
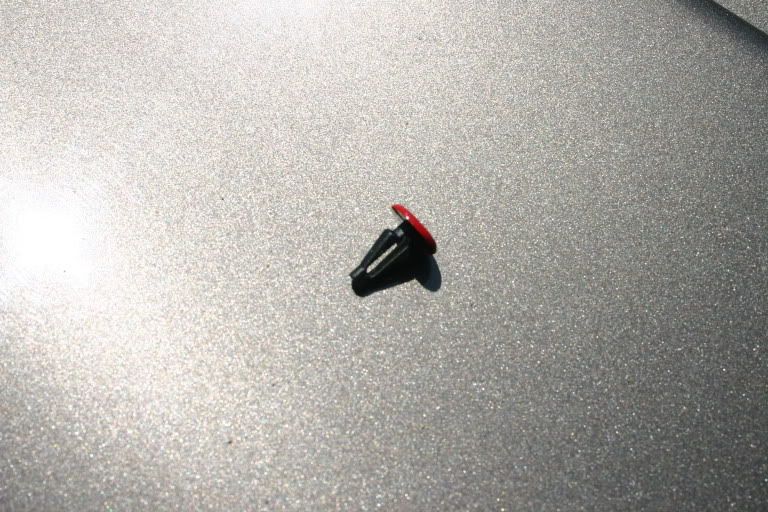
*Dorman Panel Retainer assortment clips ( 963-075) . about 3 bucks i think.
*Styrofoam block. not necessary but makes it easier. I just happend to have one laying around. 1 dollar if your going to pick one up.
Steps.
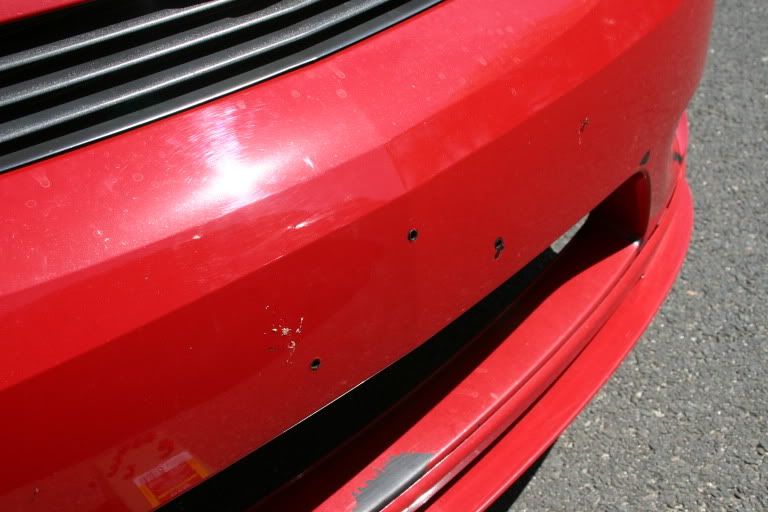
1. AFter your front plate is off you will notice that the holes the dealer drilled will have a little lip on them. Take your exacto kinve and trim that down a little bit so that it is all flush without and edges or lips sticking out from your holes. ( dont worry because your trimming will not be noticalbe).
2. Use the touch up paint brush and apply a first coat. This will look like crap so dont worry about it. I applied about 4-5 coats on each "bumper plug". Wait about 30mins to an hour between coats so that its completly dry.
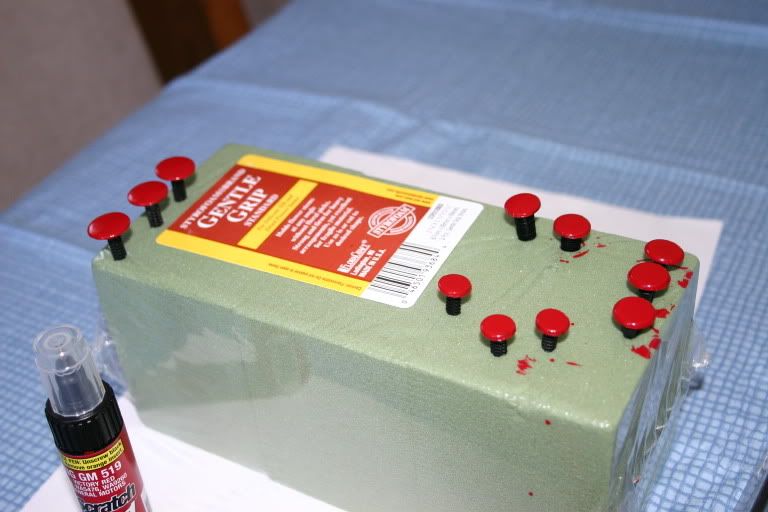
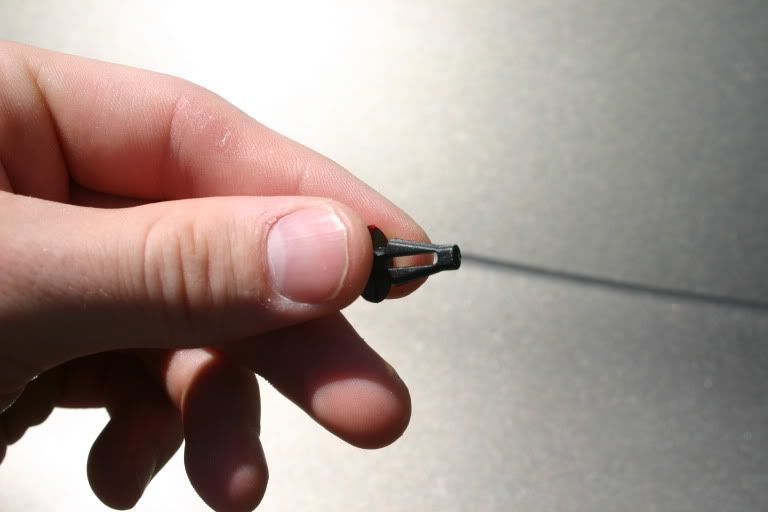
3. I perfer using the clip i have pictures hear. I first painted 3 clips but they were to small. The one w/ me holding it works the best and sits flush against your front bumper.
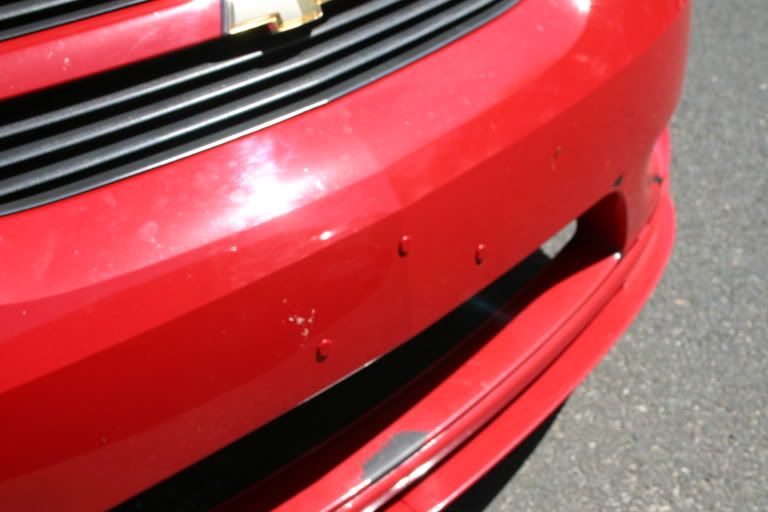
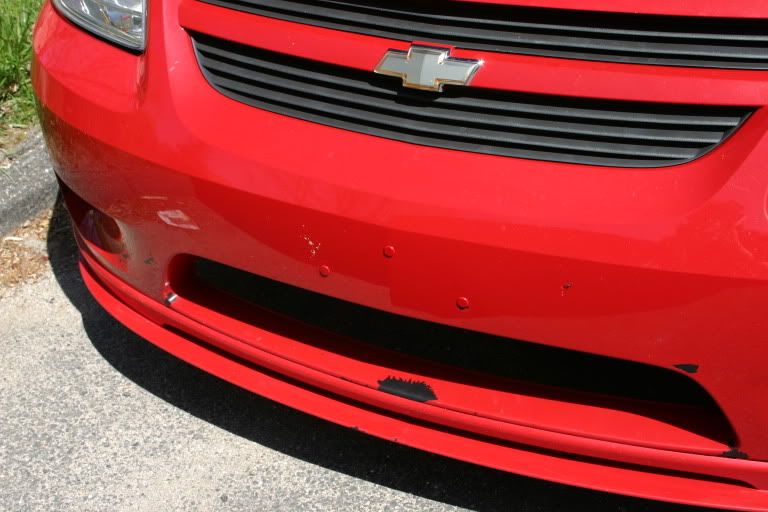
4. after having them dry. Just push them in your 3 holes in the front. I have before and after pictures .
5. Enjoy the new look for it looks great .
Supplies:
*Dupli-color touch up paint to your cars color. You can pick this up at autozone or wallmart for the price of $5.99 at most.
*Exacto knive
*Dorman Panel Retainer assortment clips ( 963-075) . about 3 bucks i think.
*Styrofoam block. not necessary but makes it easier. I just happend to have one laying around. 1 dollar if your going to pick one up.
Steps.
1. AFter your front plate is off you will notice that the holes the dealer drilled will have a little lip on them. Take your exacto kinve and trim that down a little bit so that it is all flush without and edges or lips sticking out from your holes. ( dont worry because your trimming will not be noticalbe).
2. Use the touch up paint brush and apply a first coat. This will look like crap so dont worry about it. I applied about 4-5 coats on each "bumper plug". Wait about 30mins to an hour between coats so that its completly dry.
3. I perfer using the clip i have pictures hear. I first painted 3 clips but they were to small. The one w/ me holding it works the best and sits flush against your front bumper.
4. after having them dry. Just push them in your 3 holes in the front. I have before and after pictures .
5. Enjoy the new look for it looks great .

 04-21-2006, 02:19 PM
#4
Senior Member
Thread Starter
Join Date: 07-17-05
Location: Western Massachusetts
Posts: 2,375
Likes: 0
Received 0 Likes
on
0 Posts
the body shop i brought it to when i got my new front bumper sucks at paiting apparently. Then not to mention in the winter the only time i work is when im plowing and i have to drive 21 miles through the snow. And usually I have to plow through snow banks so i dont get stuck in the middle of the street. 
Edit: but my friend is painint it for free this summer. I just need to supply the paint . so im not too concerned. on that note does anybody know where I could get like a pint of it at?
Edit: but my friend is painint it for free this summer. I just need to supply the paint . so im not too concerned. on that note does anybody know where I could get like a pint of it at?
 04-21-2006, 02:44 PM
#7
Senior Member
Thread Starter
Join Date: 07-17-05
Location: Western Massachusetts
Posts: 2,375
Likes: 0
Received 0 Likes
on
0 Posts
nice write up man, what store did you get the plugs at??
If you have to paint the bumper, just fill the holes in. Urethane is really easy to fill.
04-21-2006, 02:54 PM
#8
Senior Member
Join Date: 08-16-05
Location: NJ
Posts: 1,170
Likes: 0
Received 0 Likes
on
0 Posts
Originally Posted by Cobalt30
Edit: but my friend is painint it for free this summer. I just need to supply the paint . so im not too concerned. on that note does anybody know where I could get like a pint of it at?

 03-30-2007, 01:20 AM
#16
Senior Member
Join Date: 01-23-06
Location: Grant Park, Illinois
Posts: 1,216
Likes: 0
Received 0 Likes
on
0 Posts
Just did this today. makes the car like 10x better! I used a styrofoam cup to shove the clips in. put 2 coats on and shoved em in the holes when they dried.
04-03-2007, 11:26 AM
#19
Senior Member
Thread Starter
Join Date: 07-17-05
Location: Western Massachusetts
Posts: 2,375
Likes: 0
Received 0 Likes
on
0 Posts
thanks for the compliments.
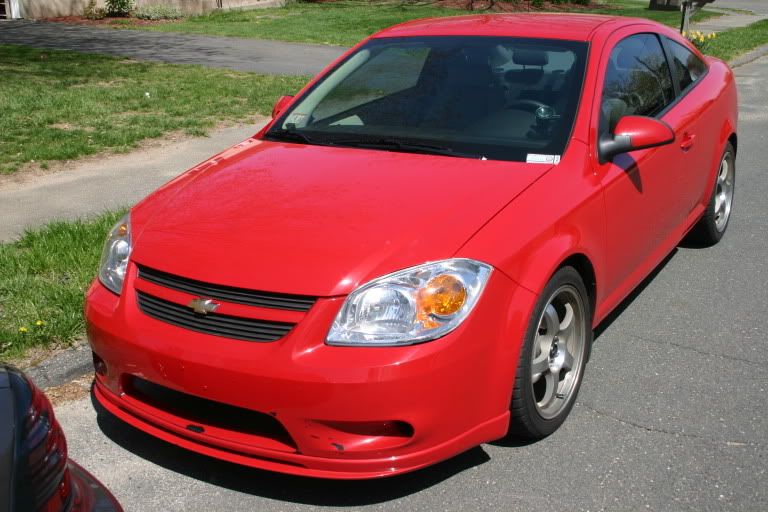
also for those people out there who are more concerned w/ the bumper then the wholes i got that fixed last summer .
.
also for those people out there who are more concerned w/ the bumper then the wholes i got that fixed last summer
.
 04-06-2007, 07:07 AM
#21
Senior Member
Join Date: 11-14-05
Location: www.mp5t.com
Posts: 4,425
Likes: 0
Received 0 Likes
on
0 Posts

.jpg)
 06-25-2010, 10:28 PM
#25
Senior Member
iTrader: (4)
Join Date: 05-19-09
Location: Severn, Maryland
Posts: 4,010
Likes: 0
Received 0 Likes
on
0 Posts
$60 free shippinghttp://www.swiftmotorsports.com/prod...c33d42a843469e