When you click on links to various merchants on this site and make a purchase, this can result in this site earning a commission. Affiliate programs and affiliations include, but are not limited to, the eBay Partner Network.
I got a lot done after work in 4 hours considering I had to run out and get 3 longer alternator bracket bolts. My question is, before putting on the intake, is this gasket correct?
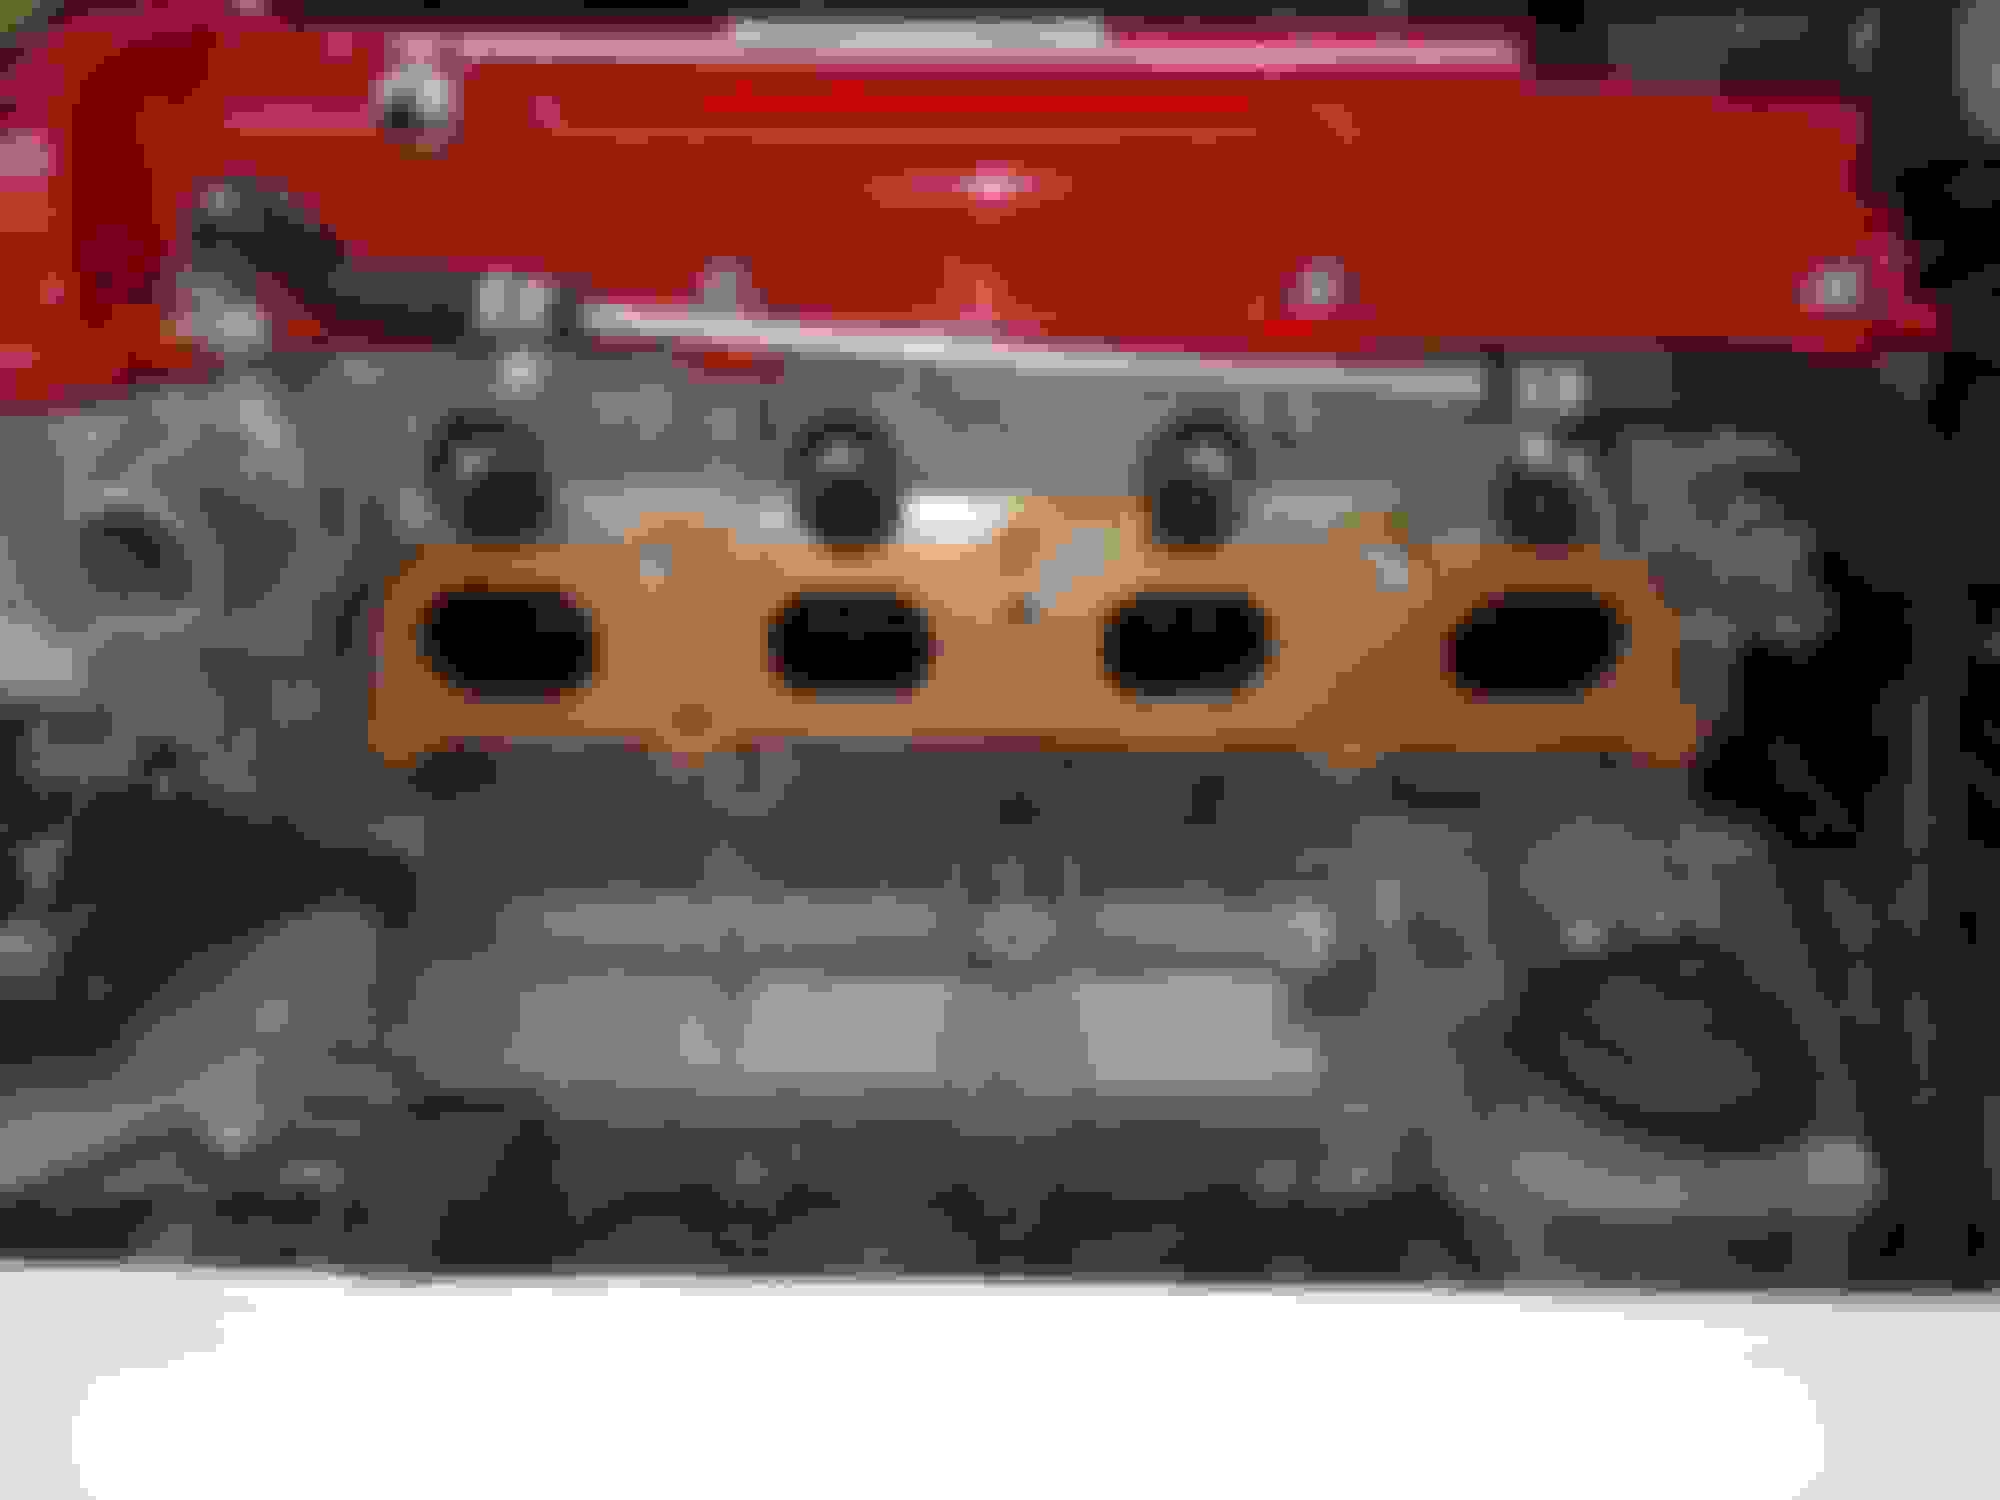
I guess I should mention this is my 2.4 that's getting supercharged.
The pcv orifice is in a different location on the 2.4. I use the zzp paper intake gasket and cut a channel in the gasket for the pcv gasses to pass through. Additionally, i cut a channel into the flange of the manifold to allow the gasses to flow through more easily.
i cut a channel into the flange of the manifold to allow the gasses to flow through more easily.
That sounds like a must...
Damn....this will set me back a couple days. Where was that in Beck's build? I was trying to knock this out in 5-6 hours.
EDIT: I ordered some FelPro gasket material from a local store and with my gasket hole punches I will make my own custom gasket and if I am really ambitious, put the intake in my mill to make a channel.... thanks Slowbalt.
Considering 9/10 ths of everyone that initially said they were going to do this in Beck's thread gave up and sold their parts or never bought them, I wonder how many others never ported for the pcv.
Most people just block it off and dont care but on my car, after running for a few minutes it would begin to misfire. Im assuming because the pressure was building in the crankcase.
No doubt... I was a Chevrolet / Cadillac Tech my first 9 years out of college and remember a Buick that had the old rope seal rear main and it had a (no crap) steady stream oil leak. The PCV hose was soft and had sucked close. Replaced the hose and not a drop leaked.
With this going from NA to boosted I don't want an engine that doesn't have any leaks now starting to hemorrhage oil.
I've done both the channel and just blocked it off and didn't notice a significant difference. Pressure will only build in the crank case if you have the nipple blocked off on the camshaft cover. If you do that combined with a blocked off PCV port on the head you will pop your dipstick every time.
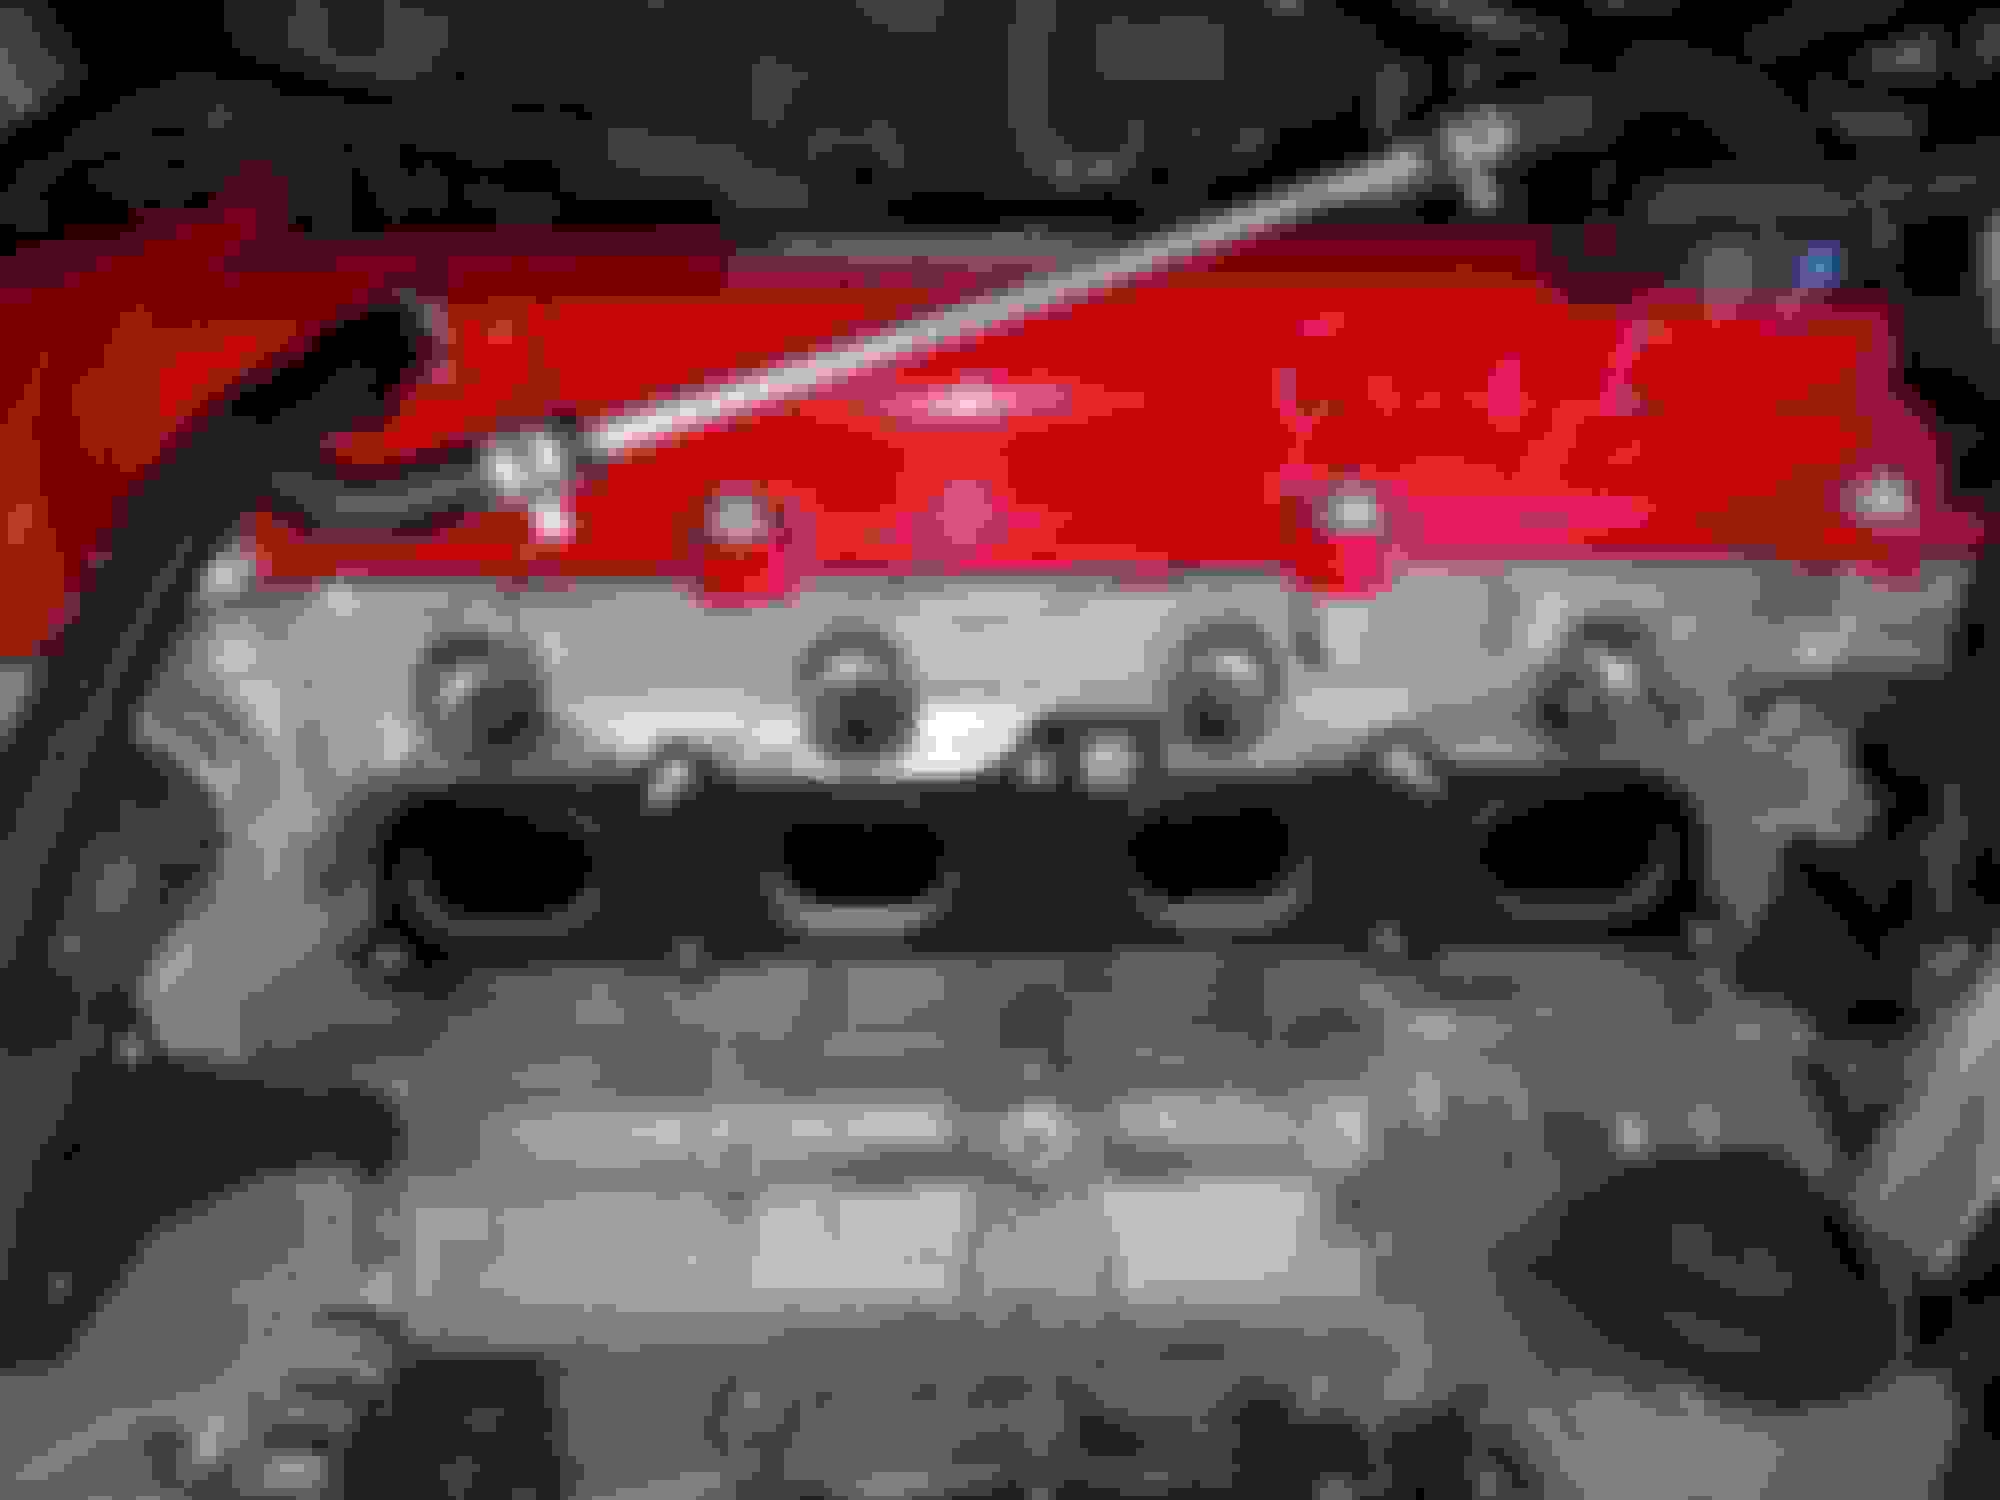
I'm planning on making a new gasket but I think if I cut the steel gasket like this and channel the manifold to match with a little RTV sealer around it, would be much quicker and probably just as good. Had I known all these other little snafu's I would have had them ready before starting.
I'm planning on making a new gasket but I think if I cut the steel gasket like this and channel the manifold to match with a little RTV sealer around it, would be much quicker and probably just as good. Had I known all these other little snafu's I would have had them ready before starting.
That's the way it seems to go. Have you ever considered a phenolic spacer? They make it easy to make a channel.
Yes... contacted Tim at ZZP first thing this am for gaskets as they are out of the spacer and still no word. I am already pushing the SC into the front support. I figured that would make it even worse. The 1/16" gasket material will be better than the steel shim gasket but not anything like the phenolic spacer.
I hear you and are you actually hitting the front support yet or just close? I also have a SC to IM spacer I was considering using and was worried about possibly getting into that support. What would you do if you were hitting? Would you just bash it in a little or actually cut and weld in a pocket?
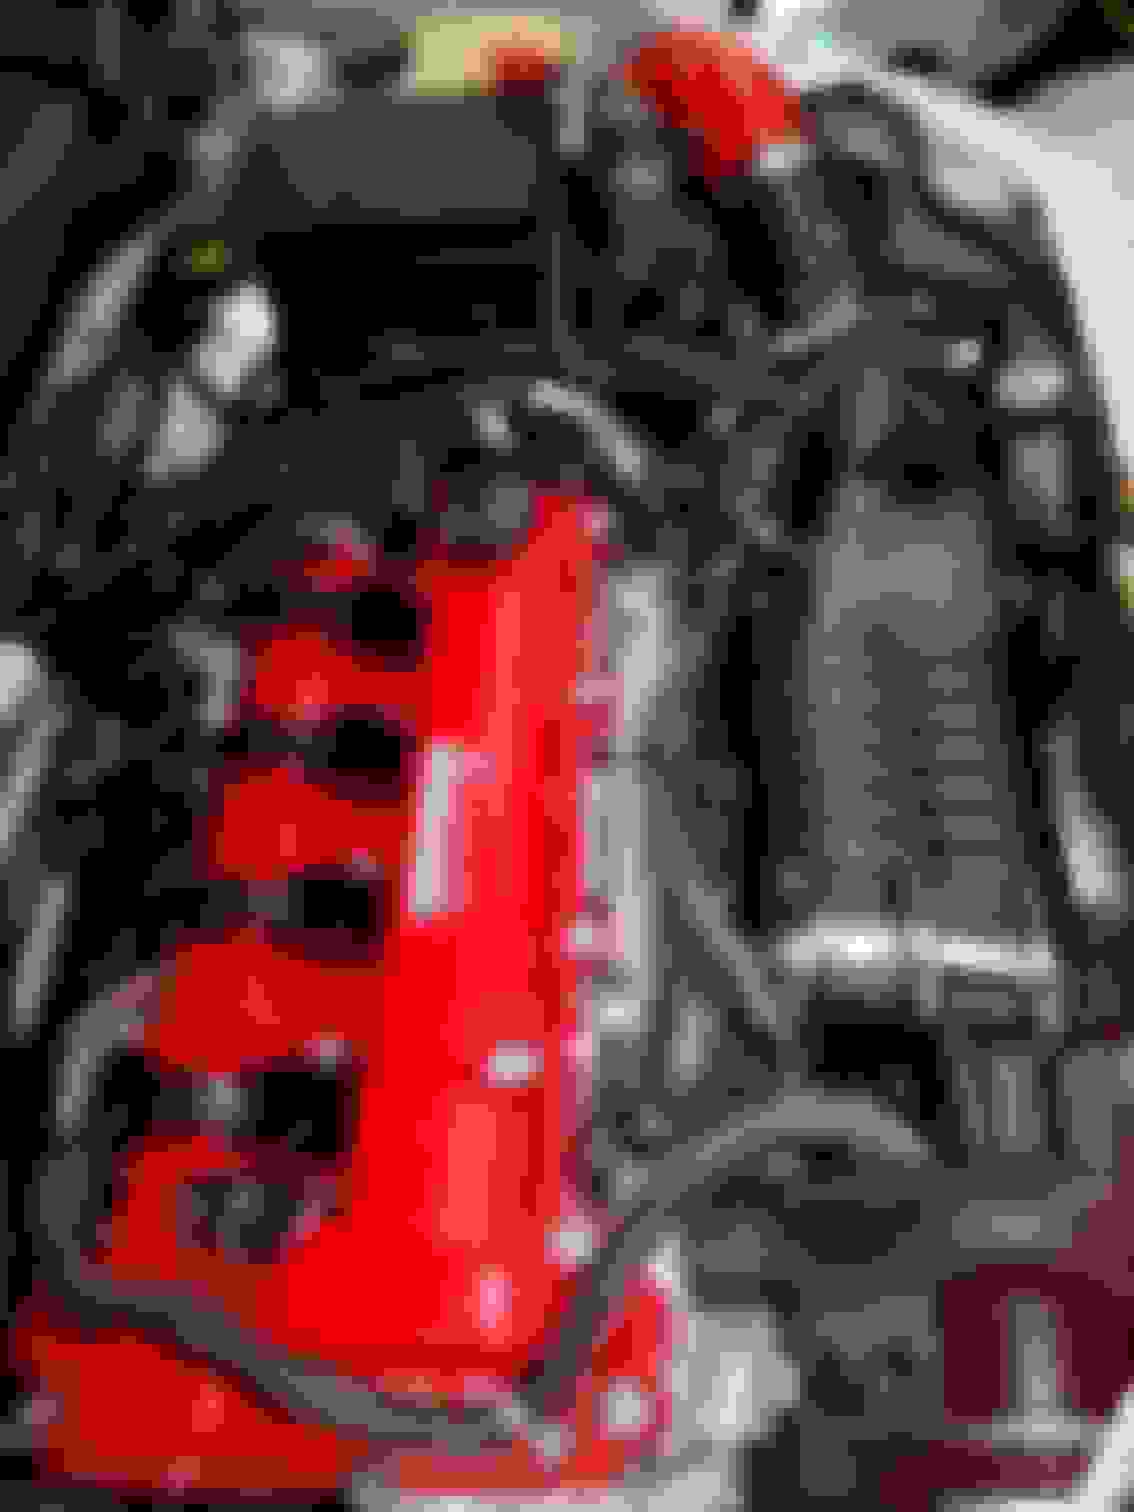
Made a custom 1/8" gasket today after work from Mr. Gasket material. My gasket punches worked very well. Copper coated both sides before installing the intake. I gave up on getting the factory heat exchanger to fit the single fan Sport. The 2 tubes are meant to come up side of the dual fans. One runs right into the fan shroud and the other into the lower sensor.
Getting the belt on was a PITA. Stage 2 belts are almost too short for the 3.1 pulley. Need to wire the MAF and TMAP tomorrow sometime then I might hack off the Heat Exchanger pipes just so I can drive it Monday untill the ZZP Heat exchanger shows up.
Flash pics suck so I'll have something nicer to show Sunday.
 06-16-2017, 12:25 AM


 Moderator