When you click on links to various merchants on this site and make a purchase, this can result in this site earning a commission. Affiliate programs and affiliations include, but are not limited to, the eBay Partner Network.
the ambient air sensor doesnt plug in anywhere. it looks fine how it is. Yes the trans has two plugs, one tells what gear youre in and the other is for the reverse light
Gotcha, so the ambient can just hang there, secured by a harness clip of some sort, cool.
So I think I got the reverse light one, it's on the driver side of the trans, mounted just forward of the drive axle on that side. Is the gear one near the shifter that my shift cables are attached to?
theyre both sort of on top of the trans. I dont remember exactly but i think youre correct. One is near the drivers side, accesible through the wheel well, the other one is harder to reach and closer to the shifter.
theyre both sort of on top of the trans. I dont remember exactly but i think youre correct. One is near the drivers side, accesible through the wheel well, the other one is harder to reach and closer to the shifter.
Roger, I'll take a better look in the morning with actual light and see if I can find it. Thanks Slowbalt!
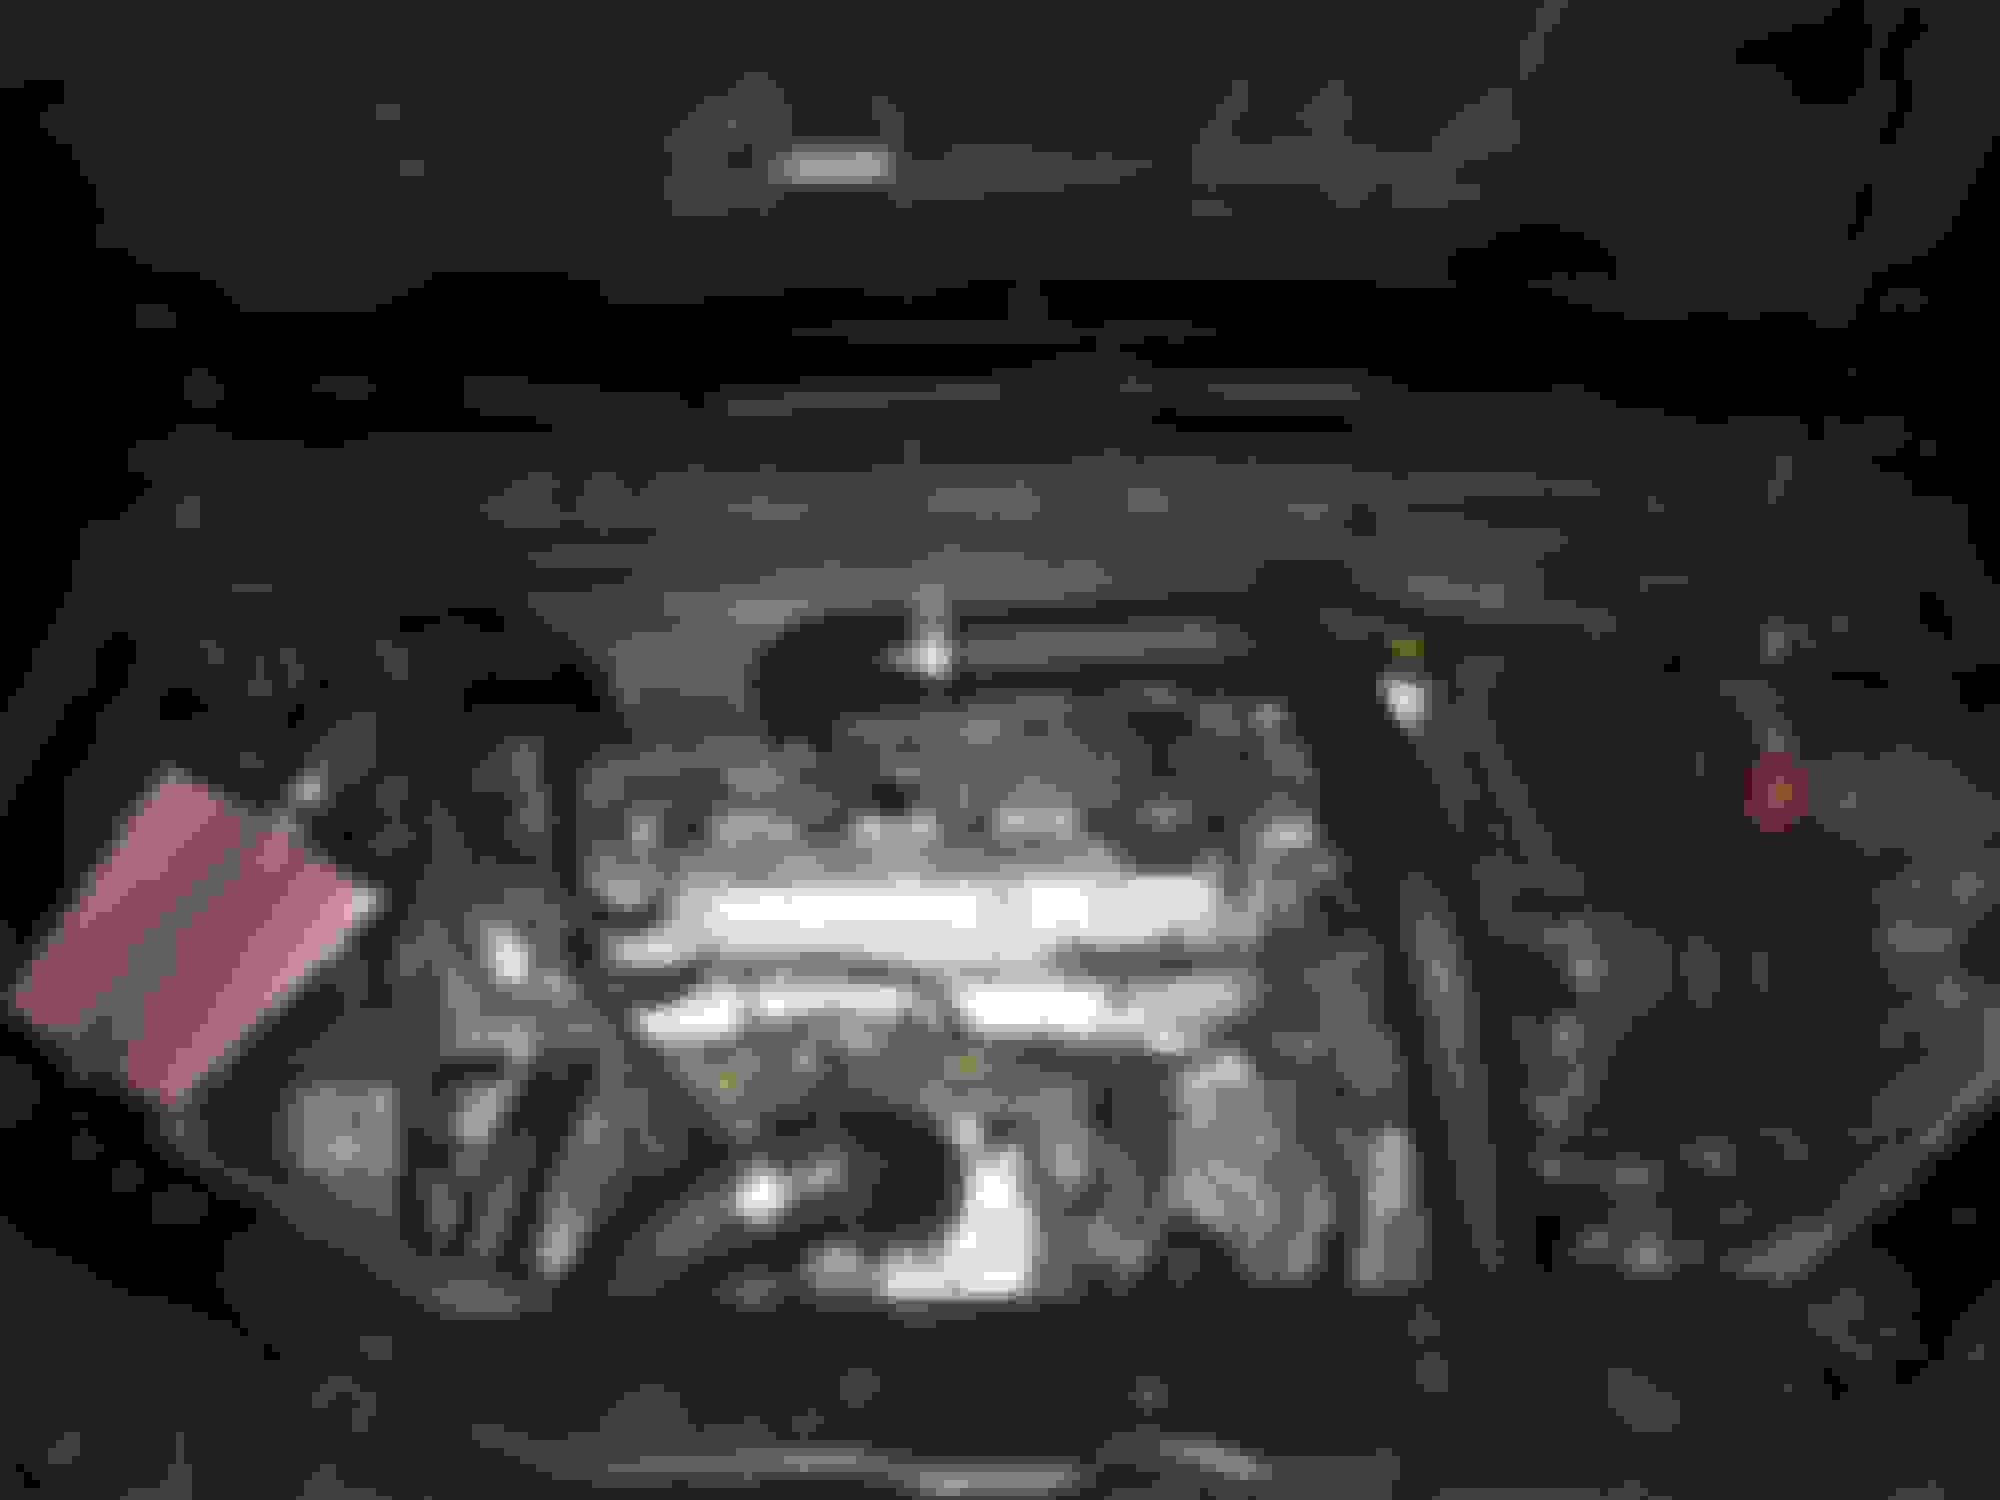
And that middle pic, it's of the ground bolt that's just to the transmission side of the starter. The starter ground bolts to it, of that I'm sure. There was a ground from the harness that was very close by and seemed to go there, and there was a ground coming off the body near the driver headlight that seemed to line up there too. The last one is the wire with a red fitting on it prior to the copper connector you see in the pic there. It also kinda ends up in that area and looks like it should go on that post. Do you know if there are 4 different grounds connected to that post? Or is the red wire run through there to provide power to the starter when we hook up jumper cables to the weird (+) post on the fuse box?
Yup, you were right. Only two go on that post. One of them is a ground strap that mounts near the driver's headlight housing. The other is a ground that comes out of the wiring harness right near there.
The wire with the red rubber housing to it near the terminal actually was one of the starter wires. It goes on the top post of the starter solenoid.
Along with it, there is a second wire that mounts to the top post on the solenoid. It is black in color (on my car anyway) and it has a black rubber boot on the end that has a large, flat terminal. That mounts to the output post of the alternator. The alternator sends power through that wire to the positive wire mounted on the starter, which relays it all the way back to the battery to keep it charged!
What had me confused is that there is a ground in the wiring harness also near the alternator that looked like it perfectly fit the output post on the alternator. But it actually mounts between the alternator and a/c compressor to a bolt on the block.
Thankfully I didn't connect the battery up or else I might've fried a whole lot of stuff!
Still waiting on my exhaust gasket and brass fitting for the coolant return from ZZP. Should be here soon, I'll be turning it over the same day I get them!
I was directed after a few phone calls around the LA area to Westech Performance group. Apparently they do tons of professional work for a lot of cars that show up in various tuner magazines, etc. And they're only 2 hours away from me!
On another note, any suggestions for starting this motor for the first time? The manual says to pull the spark plugs out and to disable the fuel pump (via the fuse box I presume) and then crank the motor briefly to build up oil pressure in the case.
My machinist who rebuilt the motor said I could certainly do that, tho he would put the spark plugs into the igniters and rest them on the valve cover so that they're grounded while I crank it, otherwise I could pop a lot of codes that could prevent it from starting.
Got it started with little to no trouble following Slow's instructions above^. Idle is a little rough, and there's a little surging under power, but I think that's really just the tune. Still have the check engine light after a few starts.
Just got down to the shop in LA (Westech Performance). They're gonna see what they can do, hopefully it all works out!
Well, didn't go as well as I hoped today. Turned out that rough idle was tripping an engine code: cam A and cam B correlation.
Acc to the tech, more than likely my timing chain was installed improperly, like 1 or 2 teeth off.
I left it at a mechanic shop down in LA (I'm 2 hours north) to get fixed. Should be good by Monday and then it'll go back over to the dyno. Should be ready for pickup Thursday or Friday. So yeah, not the greatest luck today. But on the bright side that was the only code popping, so I guess there's that?
Damn who timed it? These engines arent that hard to time.
The machine shop that rebuilt the motor for me in Ridgecrest also put the new timing set on for me. It's a Cloyes set and seemed really straightforward with color coding and everything. Plus the motor was out of the car which is half the battle when doing that.
The dyno shop said the tensioner in the set can be tricky for some people if they aren't familiar with it...
Ah. I just put my tensioner in with it already extended to avoid issues.
That seems like the smart way to do it. Hopefully the shop can fix it. I'd do it myself but I don't have the time anymore. I move in less than two weeks.
Well, got an update from the shop. The timing chain was installed correctly, so that's not the issue. They think it may be something to do with the VVT now. They're troubleshooting all of my sensors, connectors and the wiring harness to see what they can find. They think there's a short somewhere in the system. I'm hoping I didn't plug something in wrong.
Has anyone seen this problem before? Is it possible that the new intake routing is throwing off the VVT? Any suggestions as to what could trip a "Cam A Correlation" code and a "Cam B Correlation" code?
*Lesson Learned*: take pics of all your connections when taking the motor apart for the first time. The old "well the wiring harness just reaches to where it needs to go" adage may not be the best one to follow, especially when we all have phones with cameras.
The wiring harness is pretty hard to mess up in my opinion. How did they verify that the timing was correct without retiming it?
They pulled the front cover and looked at all the markings on the timing chain. The timing set from Cloyes comes with markings on the chain that match markings on our sprockets apparently. So they set it to TDC and checked everything and it all matched up the way it should.
You have to turn the engine over about 999999 times for those marks to line up. But it very well could be that the cams are swapped.
Roger, well, I'm not sure how they checked it, but I trust the shop. They do work for my dyno shop regularly, and the owner did the work on my car as he's turbo'd several cars in his day, including race cars he used to build.
Anyhow, they were turning it and watching the cams and saw as the engine turned over that the exhaust side was lifting when the intake side was supposed to and vice versa, hence the determination.
The cams are different between the exhaust and intake sides, correct?
 05-24-2016, 01:11 AM


 Moderator