LIPSTICK's 800hp first LNF compound turbo/engine build!


 05-20-2013, 11:10 PM
#528
Senior Member
Thread Starter

quick release boost brace will be used for the primary turbo to intercooler pipe since its a 2"-3" coupler.
Everything else, we'll go with a 3" vibrant vanjen clamp for cleaner look and stronger connection
Everything else, we'll go with a 3" vibrant vanjen clamp for cleaner look and stronger connection
05-21-2013, 07:56 AM
#532
Senior Member
Thread Starter
Splitsec is very similar to mega/microsquirt controller.
its an independent fuel controller.
On my set-up, it will only activate during high rpm/high boost and turn off below that set rpm/boost level.
they're pretty accurate....and been used for years by race cars....
its an independent fuel controller.
On my set-up, it will only activate during high rpm/high boost and turn off below that set rpm/boost level.
they're pretty accurate....and been used for years by race cars....
10-19-2013, 07:18 PM
#533
Senior Member
Thread Starter
Just some few updates:
Well only another 47 heatshields to fab and a gajillion miles of wiring to sort. Due to the tons of hot tubing inside the engine bay, melting of important wiring is the biggest concern.
The oil drains are now .085" wall aluminum tubing, the power steering system and reservoir was relocated and reservoir swapped out for a WRX reservoir.
The water neck on the top of the radiator was changed because it was rubbing and the glass coolant tube and charge pipe weren't parallel to each other.
Mounted the secondary fuel pressure regulator directly to the rail instead of on the frame (that's a no-no as per racing rules). Now working on a bracket for the fuel pressure damper that has been free hanging on the DI pump thus far.
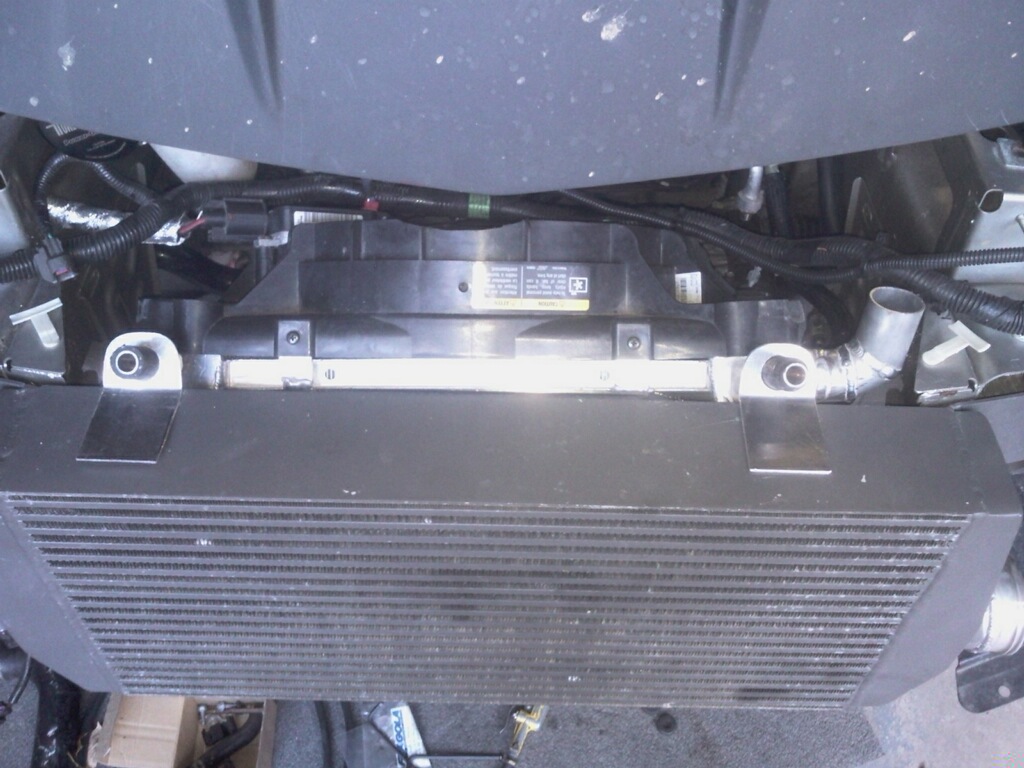
Brackets are getting welded to the top of the intercooler core since it precluded the use of the crash beam, there is nothing holding the top of the front bumper cover and it flops around
The pass thru for the engine harness between the primary header and the low pressure turbine feed is the trick here, it's fabbed from aluminum chargepipe tubing with a flare mouth aimed at the radiator fan to not only heatshield, but aircool the insulated harness
Well only another 47 heatshields to fab and a gajillion miles of wiring to sort. Due to the tons of hot tubing inside the engine bay, melting of important wiring is the biggest concern.
The oil drains are now .085" wall aluminum tubing, the power steering system and reservoir was relocated and reservoir swapped out for a WRX reservoir.
The water neck on the top of the radiator was changed because it was rubbing and the glass coolant tube and charge pipe weren't parallel to each other.
Mounted the secondary fuel pressure regulator directly to the rail instead of on the frame (that's a no-no as per racing rules). Now working on a bracket for the fuel pressure damper that has been free hanging on the DI pump thus far.
Brackets are getting welded to the top of the intercooler core since it precluded the use of the crash beam, there is nothing holding the top of the front bumper cover and it flops around
The pass thru for the engine harness between the primary header and the low pressure turbine feed is the trick here, it's fabbed from aluminum chargepipe tubing with a flare mouth aimed at the radiator fan to not only heatshield, but aircool the insulated harness
 10-21-2013, 02:05 PM
#536
Senior Member
Thread Starter
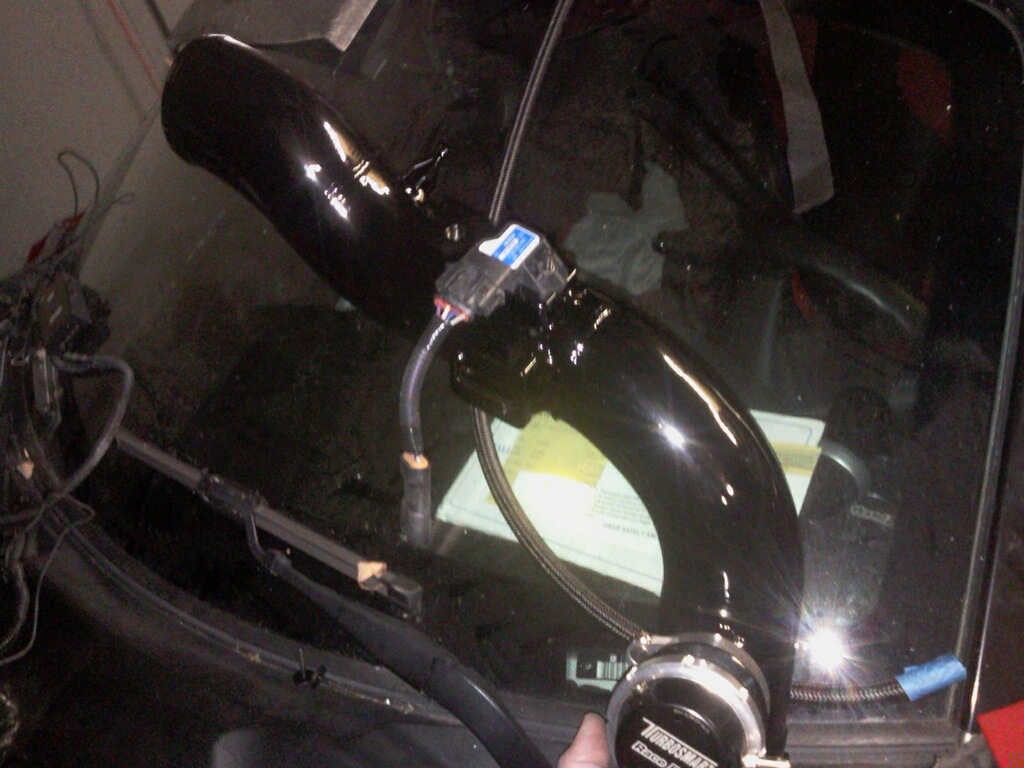
some photos (SORRY FOR THE VERY DIRTY IMAGES!)
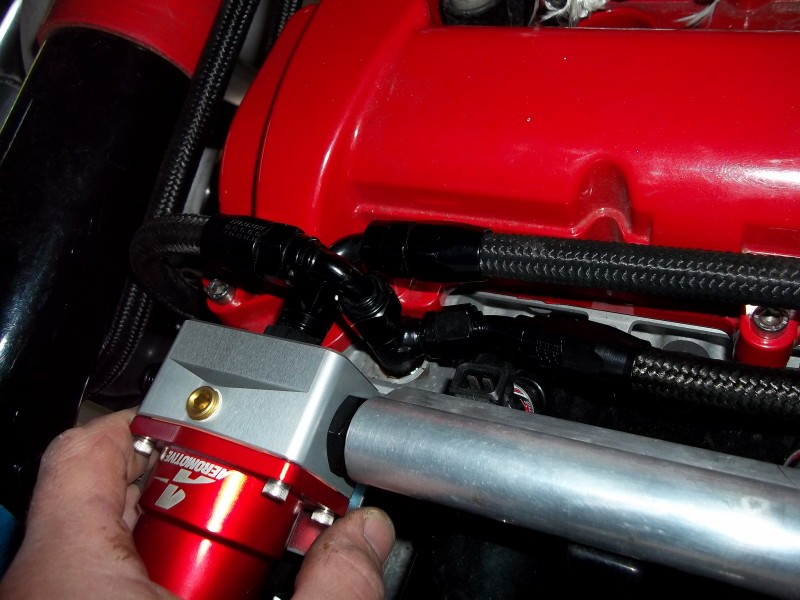
Aeromotive fuel pressure regulator for the secondary fuel rail. Werks Intake manifold below with port injectors.
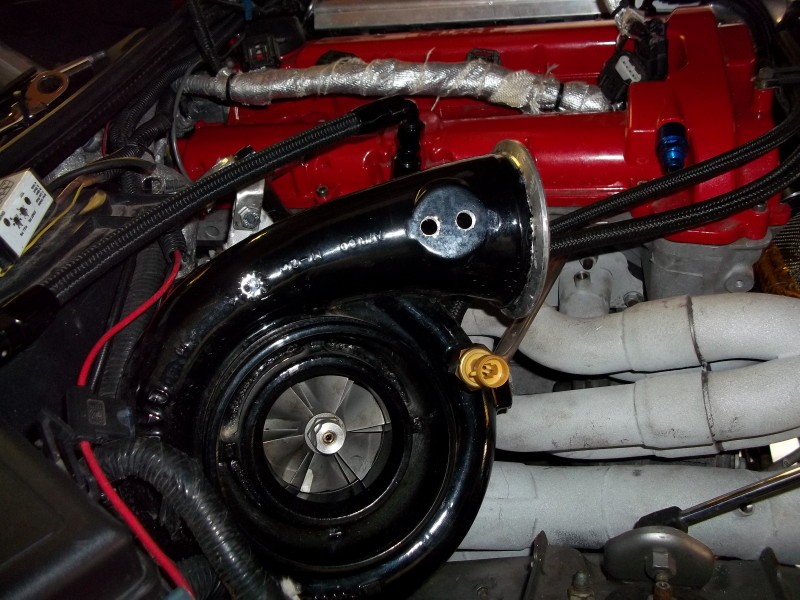
the Purdy GT4294r
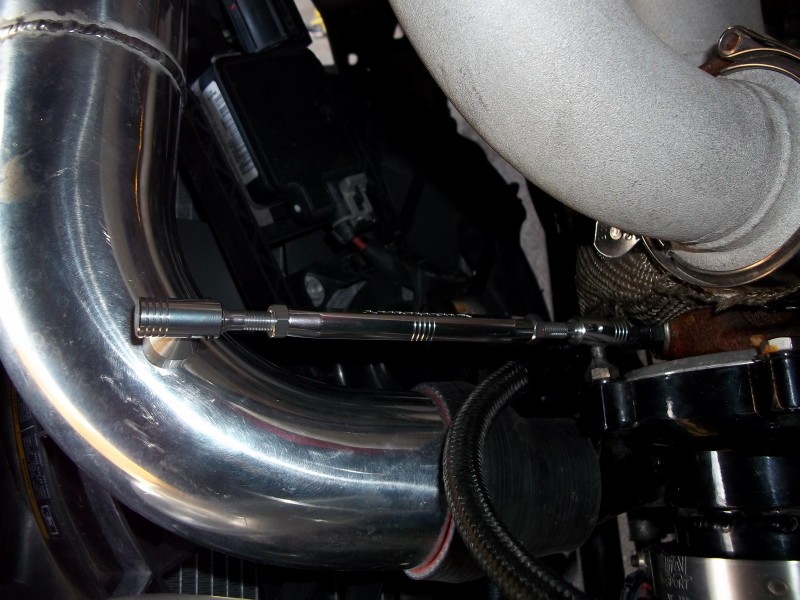
Boost brace for support
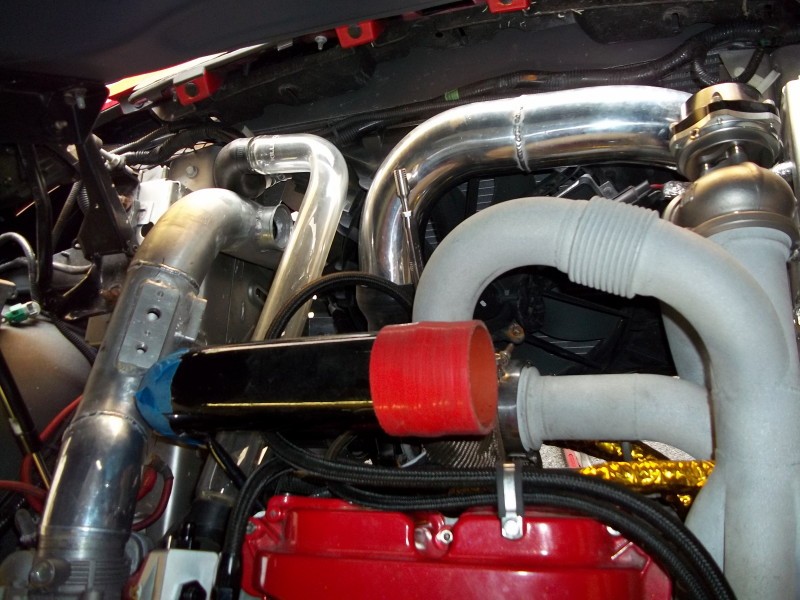
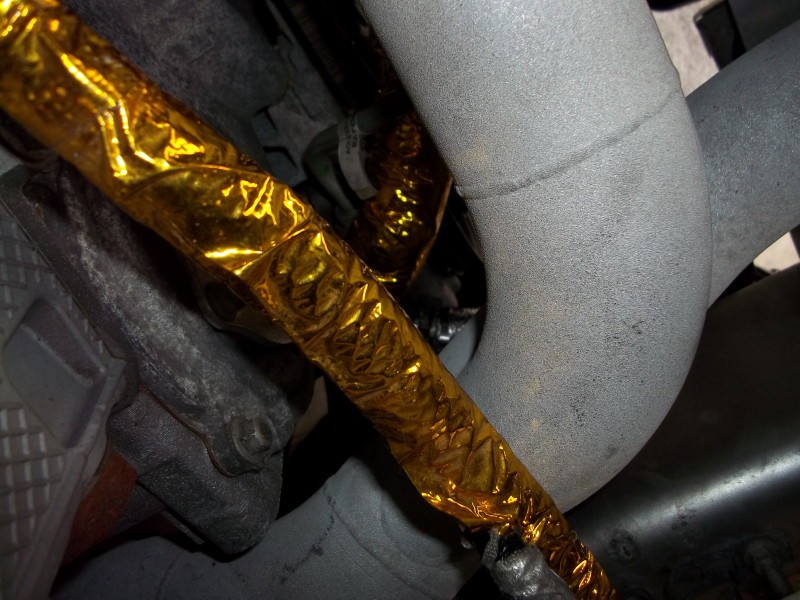
DEI gold heat shield to cover the important wires and hoses
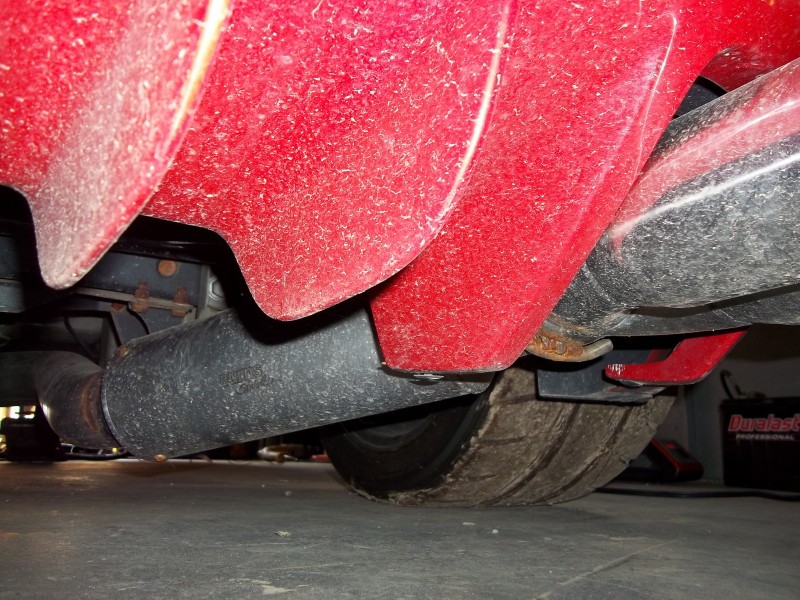
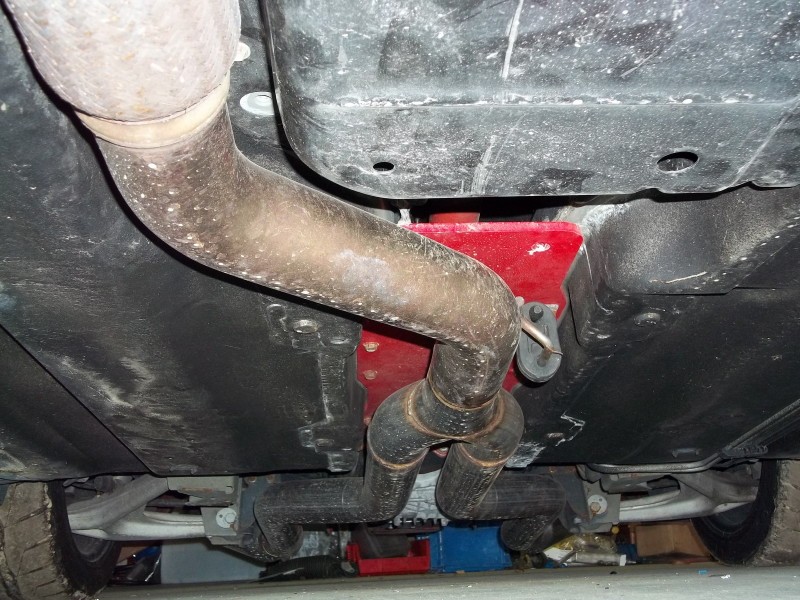
Burns Stainless Race Mufflers with SOLO custom 3" exhaust (3" on all pipings!)

Aeromotive fuel pressure regulator for the secondary fuel rail. Werks Intake manifold below with port injectors.

the Purdy GT4294r


Boost brace for support

DEI gold heat shield to cover the important wires and hoses

Burns Stainless Race Mufflers with SOLO custom 3" exhaust (3" on all pipings!)


Last edited by SKY888; 10-21-2013 at 07:25 PM.
 10-21-2013, 02:45 PM
#538
Senior Member
Thread Starter
two EGT probes on exhaust manifold will be used to monitor heat

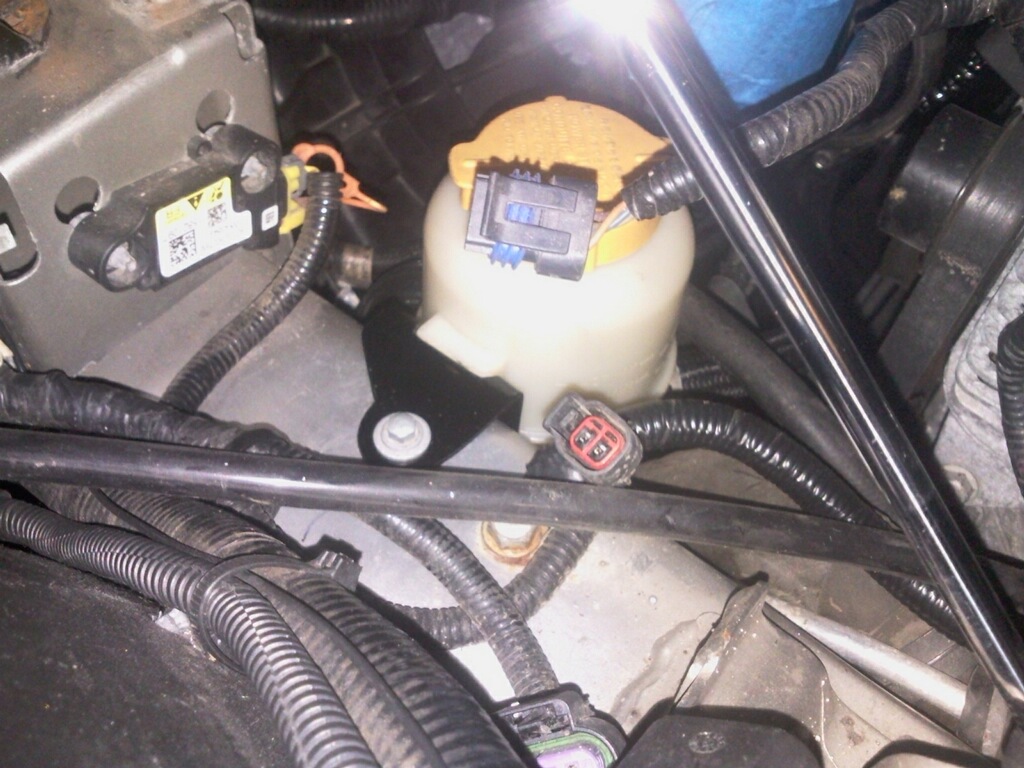
power steering relocated.....and Subaru reservoir will be used instead.
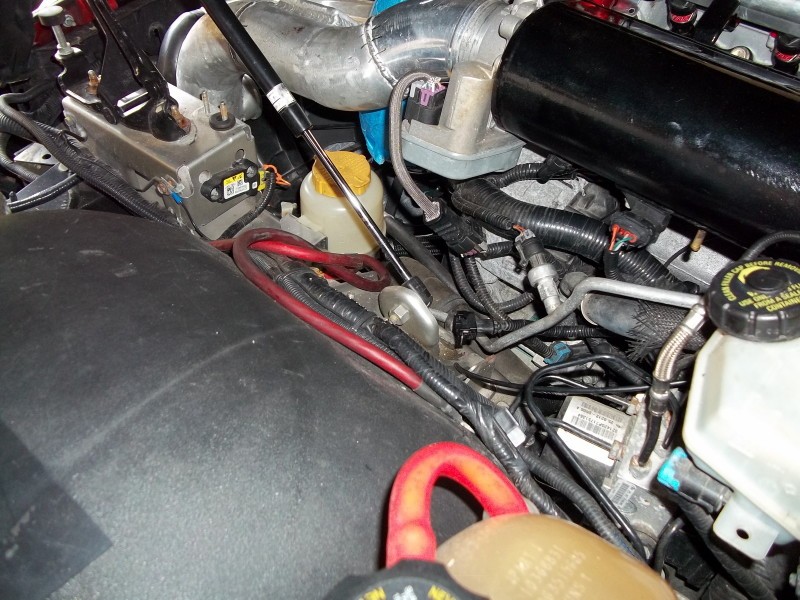

power steering relocated.....and Subaru reservoir will be used instead.

Last edited by SKY888; 10-21-2013 at 02:54 PM.

 10-21-2013, 09:57 PM
#542
Senior Member
Thread Starter
This round of changes will have the 2ndary fuel system wired and active, and will start pushing manifold pressure beyond DI capability(with respect to fueling). If everything behaves as planned then dyno tuning will begin. Only concern at this point is where will the MAF peg. At that point ignition will be static even though the load is increasing
Also building a nice, neat panel that will have the fueling controller, LED controller, the 3 backpressure sensors, tach adapter and the AEM water/meth controller
and the aeroforce EGT box
Also building a nice, neat panel that will have the fueling controller, LED controller, the 3 backpressure sensors, tach adapter and the AEM water/meth controller
and the aeroforce EGT box
10-21-2013, 10:16 PM
#543
Senior Member
Thread Starter
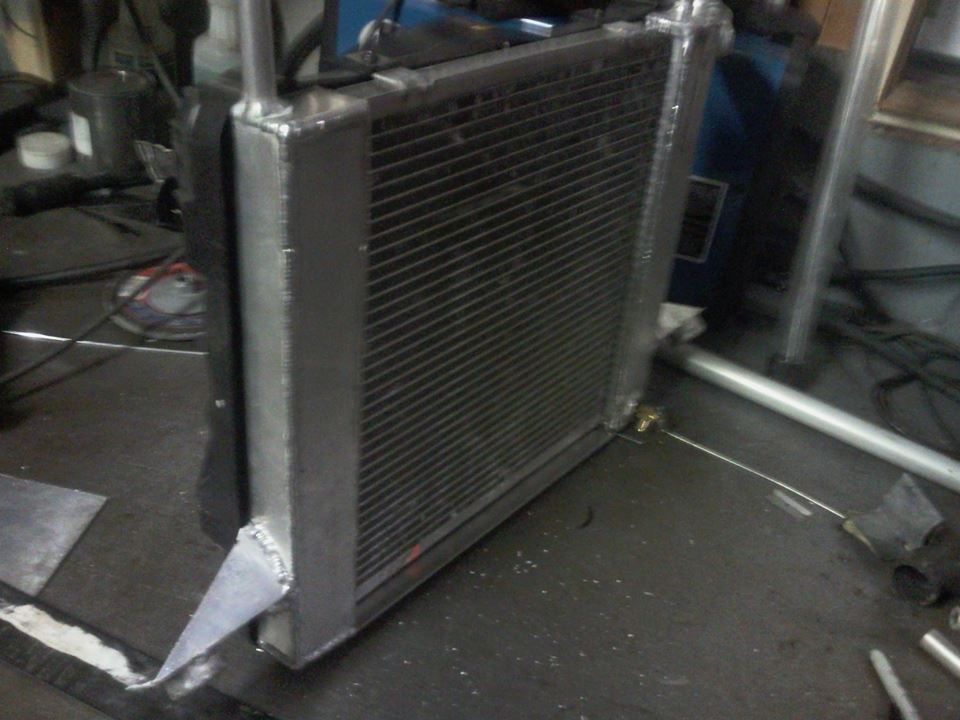
custom lay-down radiator from scratch! 
its actually 60 degree forward set-up
had to add the tabs to hold the fan on with screws
and move the radiator neck cause it was just to damn close to the charge pipe
its actually 60 degree forward set-up
had to add the tabs to hold the fan on with screws
and move the radiator neck cause it was just to damn close to the charge pipe
 10-22-2013, 01:20 PM
#544
Former Vendor

Are you saying that you are afraid of maxing the MAF sensors frequency output? If so, don't worry about that. It will function correctly well beyond your requirements.
10-23-2013, 06:03 AM
#546
Senior Member
Thread Starter
WRX power steering reservoir relocated waaaay to the other side of the engine
radiator upper brackets
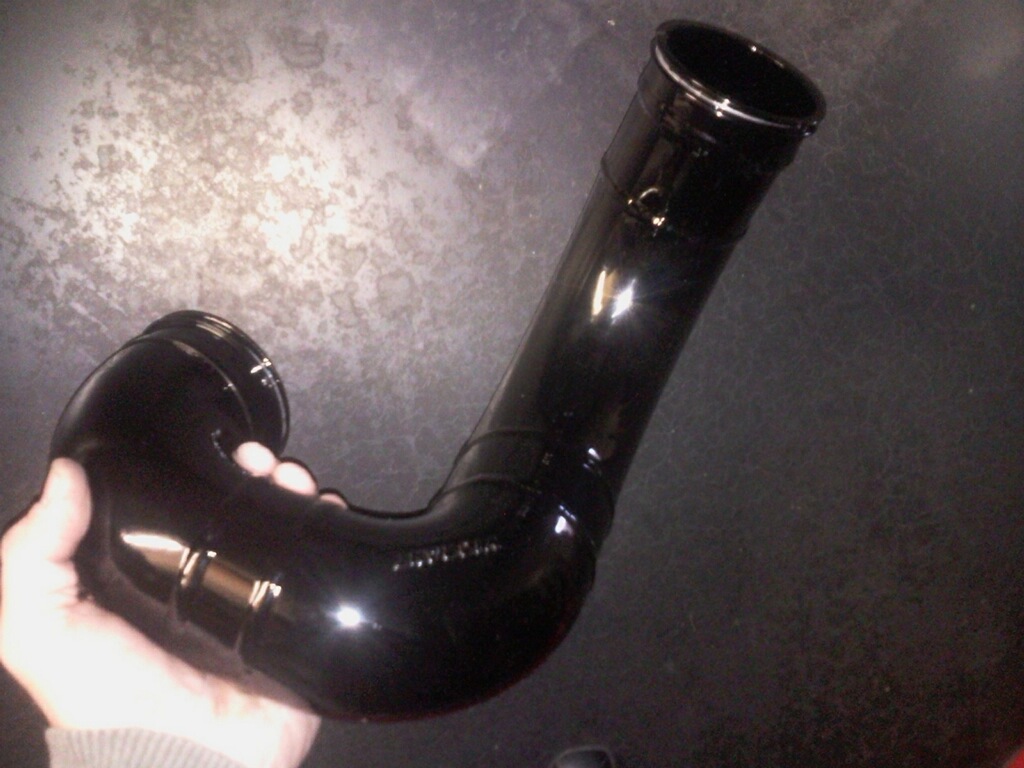
grounded down all the welds of the pipes for a smooth finish. Powdercoating begins!

radiator upper brackets

grounded down all the welds of the pipes for a smooth finish. Powdercoating begins!


 10-23-2013, 10:34 PM
#549
Senior Member
Thread Starter
first year = zero done on the car both by SMG and BTF
the following year = it slowly started moving. Dealing with multiple vendors is not a good idea. So summer of last year, I just decided to just have one...and had BTF pick up the car and bring the car to his garage.
and then BTF had a new business, and got busy early this year, and just working on my car a few hours a week. Project was really moving slow.
But for the past few weeks, he decided to take a full two weeks off from his full time job to focus on my build and plan to finally finish it....and dyno tune it afterwards
that's why lots of updates lately
anywho.....
battery and fuse box will be relocated.
this is the area where the air filter will be positioned.
NOTE: only the GT4294r will have an air filter. The GT2871r, instead of an air filter, will have a charge pipe connected to the compressor outlet of the big turbo. All the compressed air will be pushed to the compressor inlet of the small turbo. The small turbo will re-compress the already compressed air .......that's what is the compounding takes place!
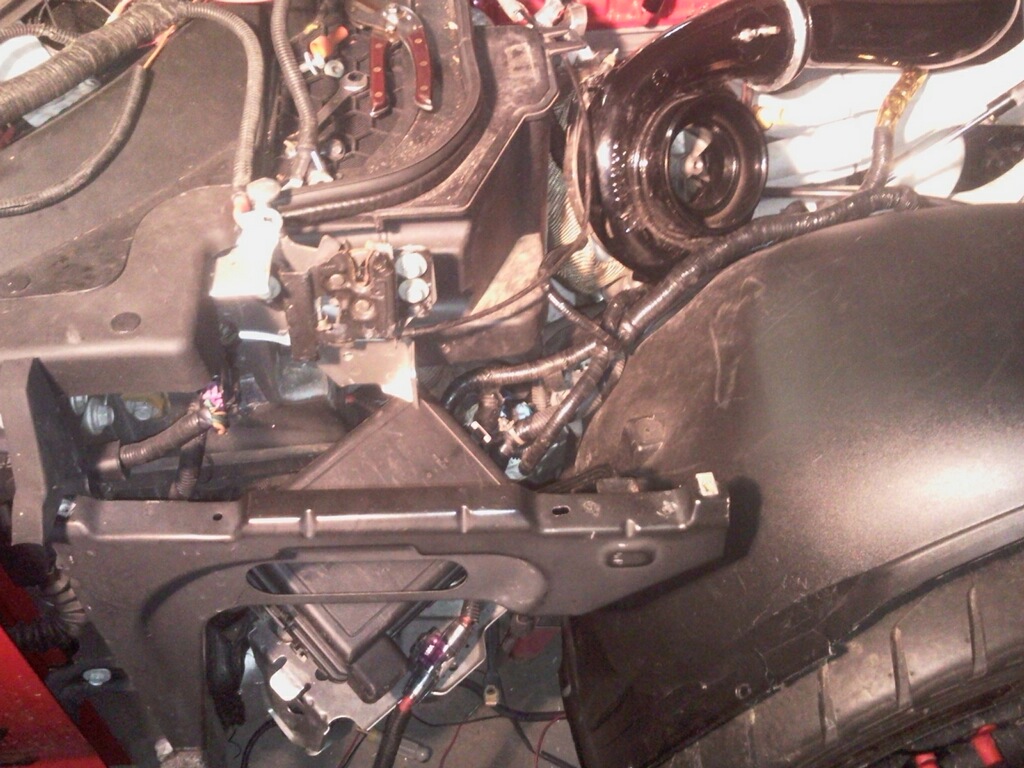
if I still have extra money, BTF will be able customize me a CF air intake w/ filter......
Last edited by SKY888; 10-23-2013 at 10:35 PM. Reason: Automerged Doublepost
10-24-2013, 05:44 PM
#550
Senior Member
Thread Starter
since BTF finally wanted to finish this project.........he took two weeks off from his full time job.
here's what he accomplished in two weeks up to date:
Street/Dynotuning (estimated, about 2hrs so far)
Build double pass radiator and mounts
Fabricate intercooler piping/Vanjen refit
Construct 2nd fuel system, re-fab cell,
route hoses under vehicle, re-fab fuel rail for FPR mounting
Remove, prep, sand, powdercoat turbos, charge pipes
Tear down turbo kit, deliver to swaintech
Reinstall turbo kit
Solve lack of bracketry for fuel pressure accumulator
relocate power steering reservoir/fab all necessary brackets
Fabricate drain tube for low pressure turbo , .085 wall 6061
layout and plumb all oil feed and water cooling lines from engine to turbo
wrap, or fab heatshieliding for most hoses, harnesses
Fabricate exhaust from supplied components, hang on car
remove backbone plate, install harness and oil in transmission
Reinstall said plate, install the clutch line. “Bleed” clutch
Fabricate,clean,pressure test -an hoses. Lots of them lol!
Fabricate radiator shrouding, relocate PS cooler
Install hood,fenders,lip etc .
Weld up the holes in intake manifold, powdercoat
Install intake manifold on car, solve design flaws WRT fit
then here's the remaining stuff to do........then dyno tuning begins:
Remove Cryo2 system
Remove old boost controller
Install Eboost 2
Install Aeroforce gauges
Install aeroforce EGT add on kit w probes
Install pressure sensor kits for turbines
Remount water injection system to suit new build
Install secondary injector controller
Fabricate brackets on intercooler for Front bumper cover
Install engine harness , re route starter cables
remove ducts from bumper cover
rewire Killerglass LED's away from heat and for new location
Remount control box for LED's in panel
Remount AEM water/meth control box in panel
Fabricate panel box for electrical components
prep&powdercoat coil cover, power steering res brackets
layout and plumb all pneumatic wastegate lines
Weld boost braces to TB, machine steel peg for compressor side
Custom machine -10 AN tee to fit in OEM drain return
Trim, install turbine blankets
Rework AMP and trunk battery locations to fit Fuel cell (scary under that rug!)
R and I valve cover to allow top coolant fitting to screw in
Replace broken fender liner, conform with heat gun to turbo kit
Relocate fuse block and battery/cables for starter
Fabricate bolt on stand for Fuse block
Fabricate air cleaner/intake to low pressure turbo
Fix the firehazard 12v passthru to the engine bay
Dyno tuning…….and fix any bugs!!!