Appearance: How-To: Install LED Taillights W/ Resisters (Coupe)
 02-22-2012, 03:23 PM
#1

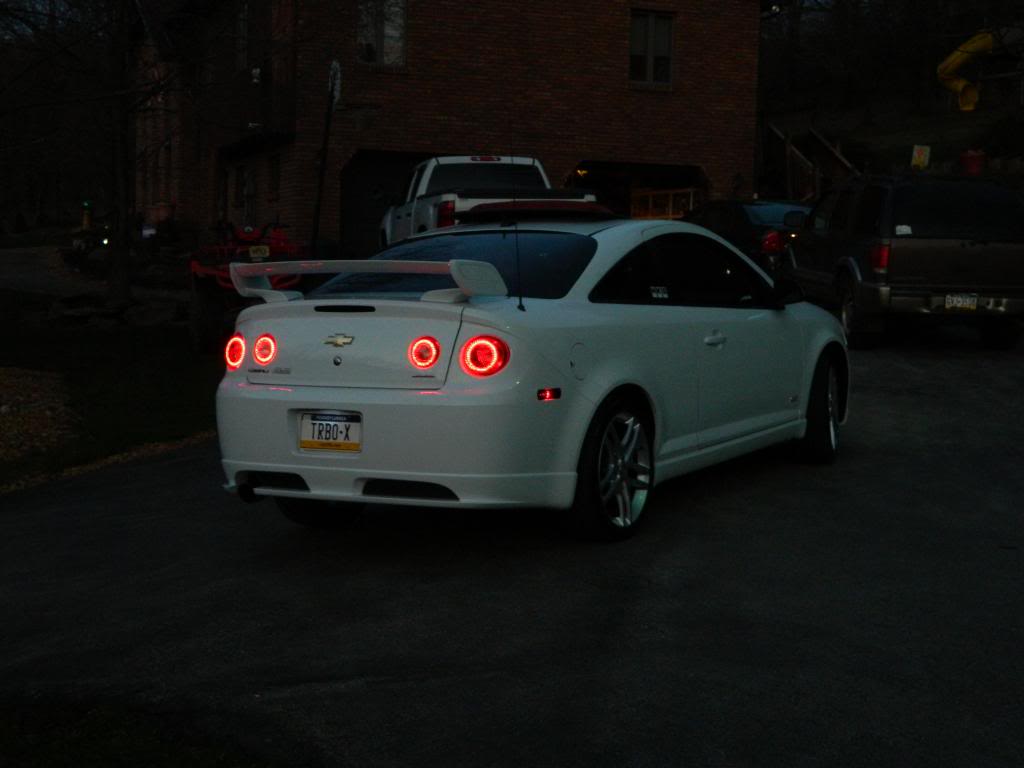
This How-To will show you how to remove your taillights install a resister and install your new LED Taillights. Coupe Only! Sedan taillights remove almost the same way but a tad different!
Tools Required:
------------------
11mm Socket
10mm Socket
Socket Wrench
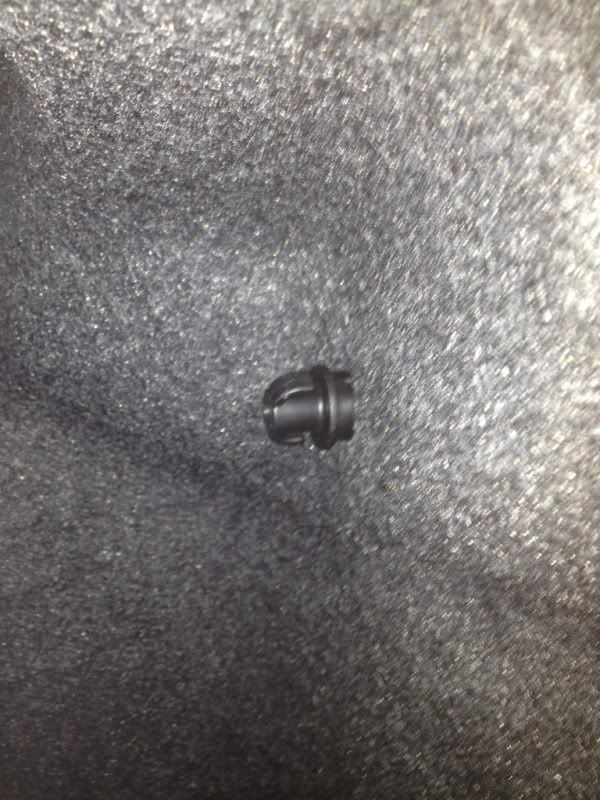
1) Open your trunk and remove the black nut that holes your net in place
2) Peel back the carpet and your left with 3x 10mm nuts. Take your 10mm socket and screw all 3 bolts.
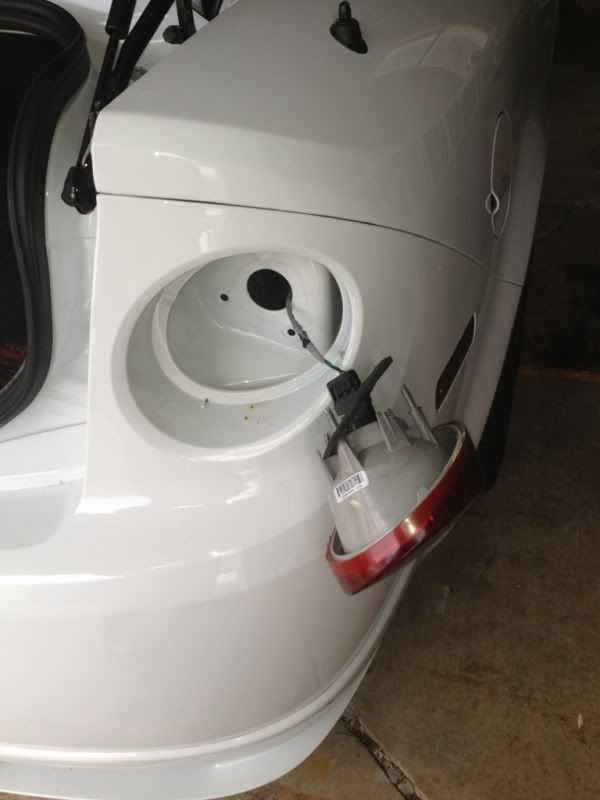
3) Slowly wiggle your taillight out and twist the bulb socket out of the headlight
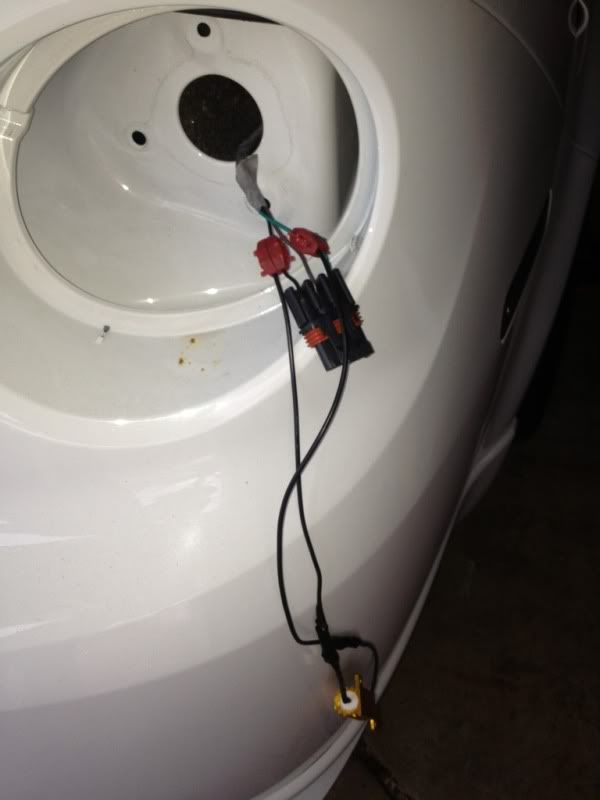
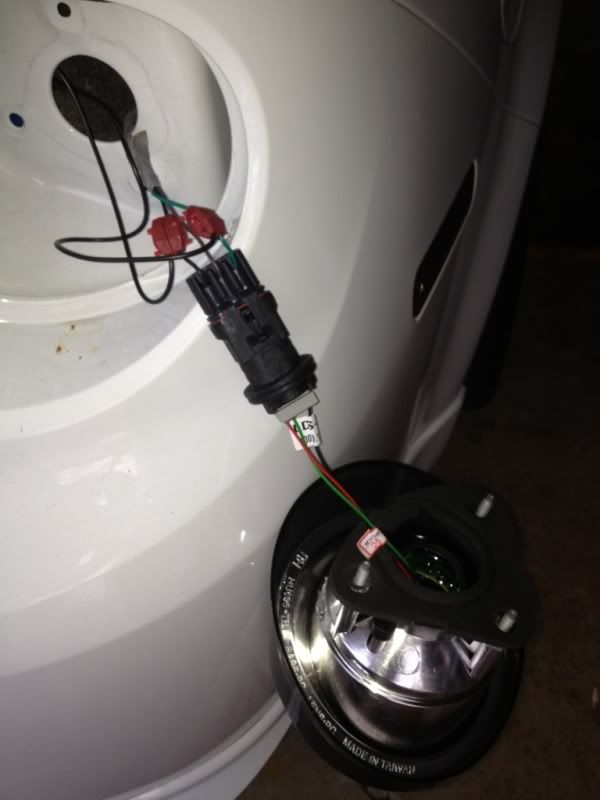
4) Now its time to wire up your resister, Take one wire from the resister and splice it into the Green OR Yellow wire on the socket. For some reason my passenger side was green and drivers side was yellow. Take the other wire on the resister and splice it into the black wire on the socket. I used quiktaps but you can use what you'd prefer.
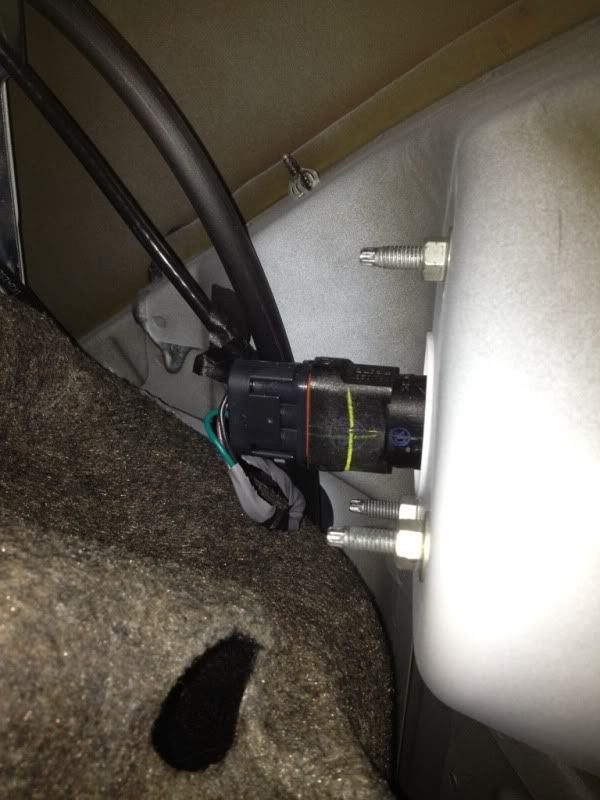
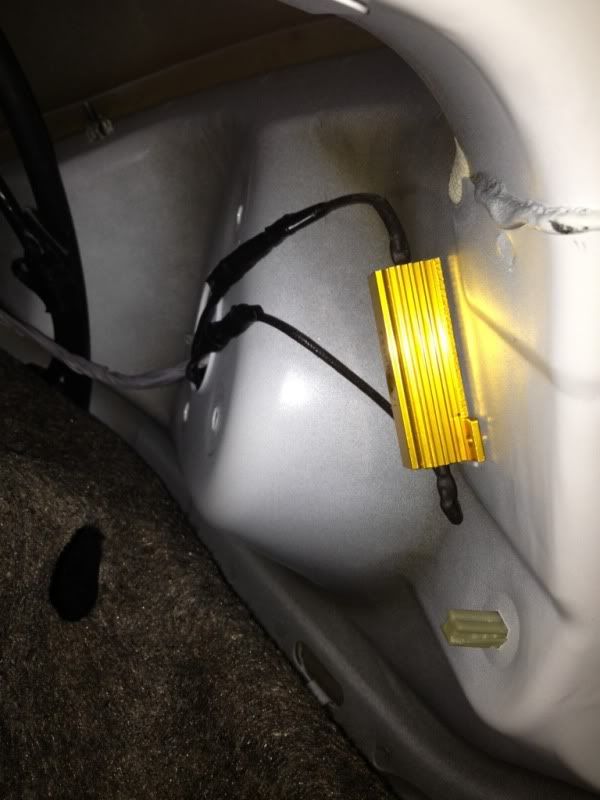
5) Now mount the resister where its out of the way. I used double sided tape and stock it inside right next to where the tail light mounts. Make sure nothing is touching it as it gets hot!
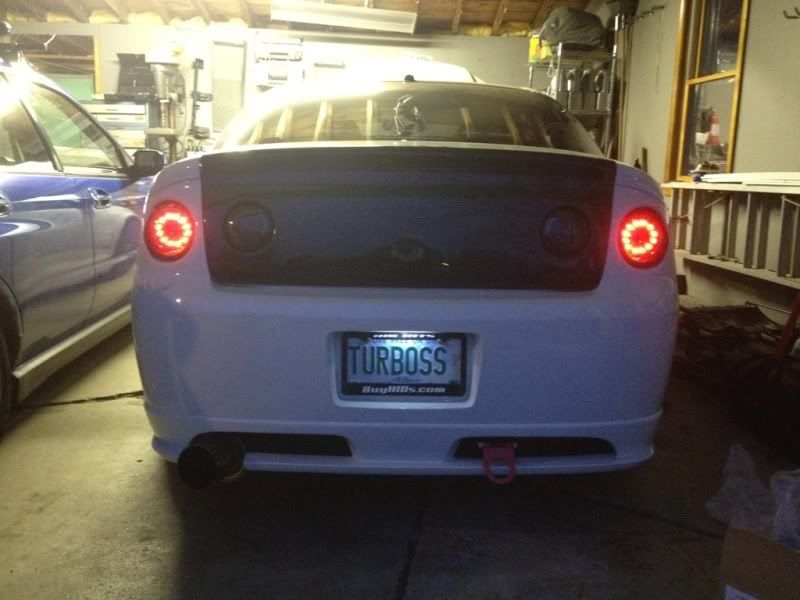
6) Connect your LED tail lights to your OEM socket. I have the "K2Motor" tailights so the leds plug into the socket then the socket twists into the tail light the same as OEM.
7) Reinstall the same as you removed them. Some taillights may require you to reuse the OEM gasket. These did not.
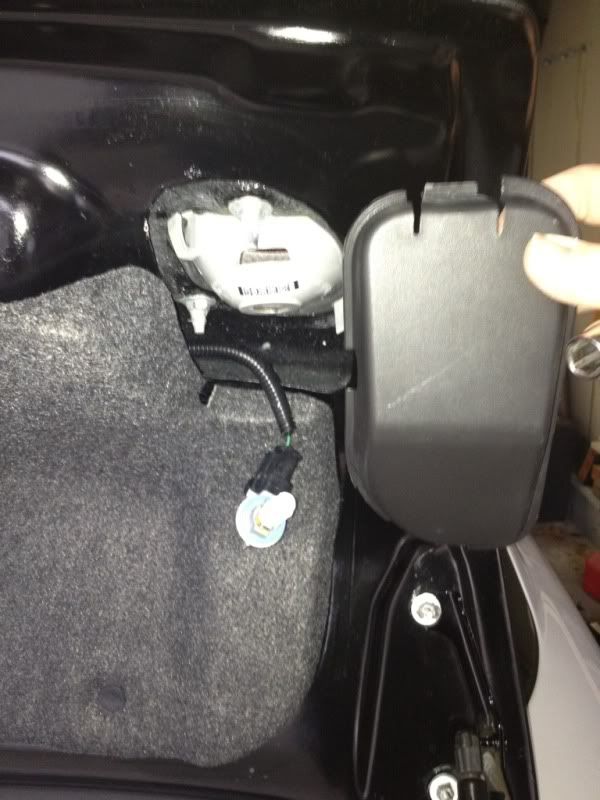
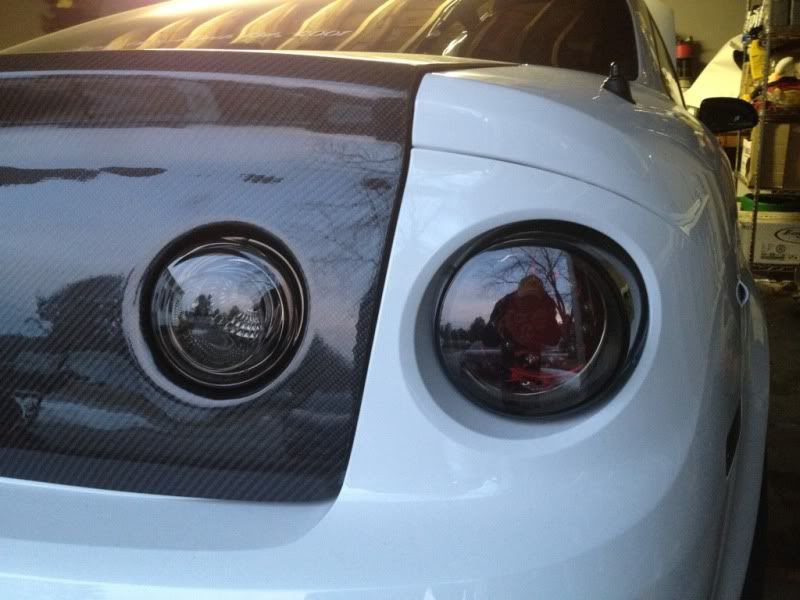
8) Now its time to install the reverse tail lights mounted on the trunk. Start by removing the cover over them and taking off the 11mm speed nuts. Once the nuts are removed you will see tabs that keep the taillight in place. Move those and take the tail light out.
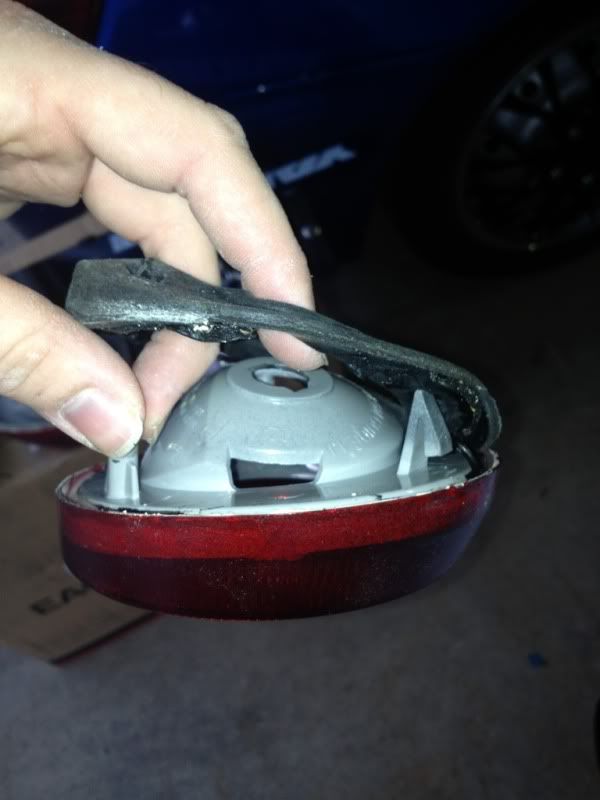
9) Now with it removed my taillights required me to reuse the old gasket. Simply peel it off slowly. Its very sticky so you will have no issue getting it to stay on your new taillights. Also take note on the raised parts of it and make sure its put on the new tail lights the exact same way.
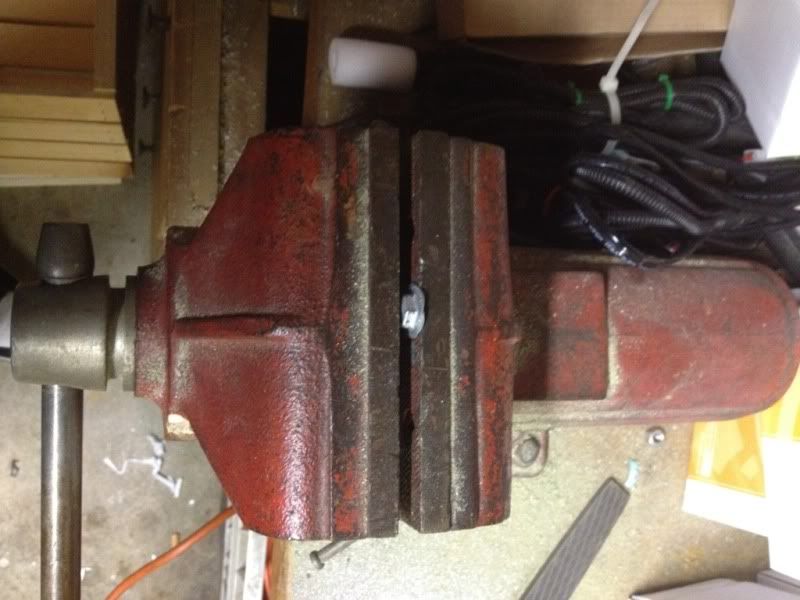
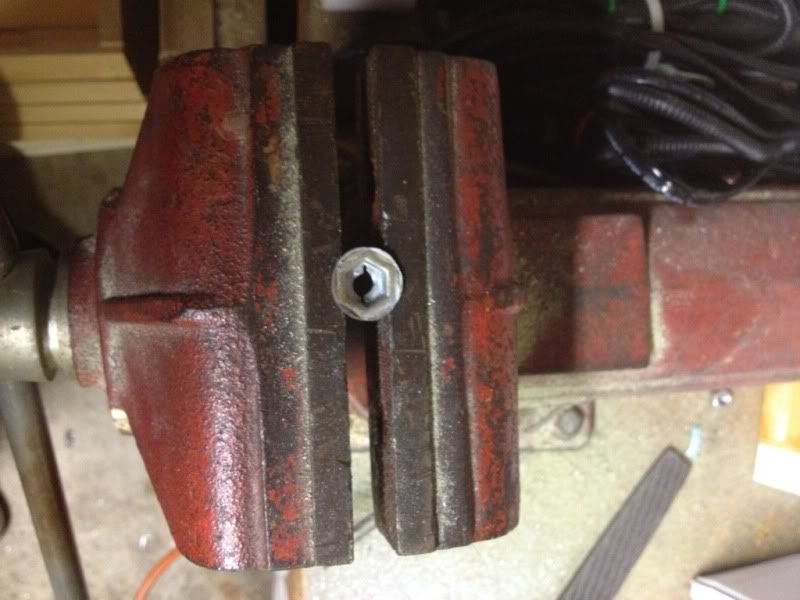
10) You may need to make your speed nuts smaller. Simply using a vice you can crush them ever so slightly to make them fit the taillights.
11) Reinstall the exact same way you removed them and be on your way with some new taillights!
Tools Required:
------------------
11mm Socket
10mm Socket
Socket Wrench
1) Open your trunk and remove the black nut that holes your net in place
2) Peel back the carpet and your left with 3x 10mm nuts. Take your 10mm socket and screw all 3 bolts.
3) Slowly wiggle your taillight out and twist the bulb socket out of the headlight
4) Now its time to wire up your resister, Take one wire from the resister and splice it into the Green OR Yellow wire on the socket. For some reason my passenger side was green and drivers side was yellow. Take the other wire on the resister and splice it into the black wire on the socket. I used quiktaps but you can use what you'd prefer.
5) Now mount the resister where its out of the way. I used double sided tape and stock it inside right next to where the tail light mounts. Make sure nothing is touching it as it gets hot!
6) Connect your LED tail lights to your OEM socket. I have the "K2Motor" tailights so the leds plug into the socket then the socket twists into the tail light the same as OEM.
7) Reinstall the same as you removed them. Some taillights may require you to reuse the OEM gasket. These did not.
8) Now its time to install the reverse tail lights mounted on the trunk. Start by removing the cover over them and taking off the 11mm speed nuts. Once the nuts are removed you will see tabs that keep the taillight in place. Move those and take the tail light out.
9) Now with it removed my taillights required me to reuse the old gasket. Simply peel it off slowly. Its very sticky so you will have no issue getting it to stay on your new taillights. Also take note on the raised parts of it and make sure its put on the new tail lights the exact same way.
10) You may need to make your speed nuts smaller. Simply using a vice you can crush them ever so slightly to make them fit the taillights.
11) Reinstall the exact same way you removed them and be on your way with some new taillights!


 02-24-2012, 01:08 PM
#7
Just a note for when people take off the foam from the reverse lights, that black sticky silicone is stringy and was all over the place making a huge mess when I changed mine. But I found putting the reverse lights in the freezer for a bit and getting the silicone cold allows it to come off nice without making a mess. I see yours came off real clean Mike. Lucky guy lol.
 03-25-2012, 11:49 PM
#10
Senior Member
iTrader: (4)
Join Date: 12-04-11
Location: USA
Posts: 3,702
Likes: 0
Received 0 Likes
on
0 Posts
Prevents it from hyper flashing.
the wattage of LED's is lower than the normal bulbs, so the car thinks the bulb is burnt out, causing your flashers to blink hella fast to alert you it's burnt out, this will stop that
the wattage of LED's is lower than the normal bulbs, so the car thinks the bulb is burnt out, causing your flashers to blink hella fast to alert you it's burnt out, this will stop that

 04-12-2012, 01:34 PM
#13
lolwut^^^
hey just wanted to thank you op for the thread and hook up, followed this how to and i'm blinking like normal now! very easy! thanks!
only 'complaint' is the buttsplicers or w/e connectors the kit provided... didn't rly work. so i soddered instead.
hey just wanted to thank you op for the thread and hook up, followed this how to and i'm blinking like normal now! very easy! thanks!
only 'complaint' is the buttsplicers or w/e connectors the kit provided... didn't rly work. so i soddered instead.
09-15-2012, 08:35 AM
#14
New Member

Join Date: 01-30-11
Location: USA
Posts: 60
Likes: 0
Received 0 Likes
on
0 Posts
perfect guide OP, subd...
i have a coupe and the exact same led taillight kit as you, so this is PERFECT for me, thanks!!!
EDIT: i noticed you added additional black wire to each end of the resistor, what gauge is that?
i have a coupe and the exact same led taillight kit as you, so this is PERFECT for me, thanks!!!
EDIT: i noticed you added additional black wire to each end of the resistor, what gauge is that?
Last edited by fullmetal289; 09-15-2012 at 08:59 AM.


 12-26-2012, 02:22 PM
#22
New Member
Join Date: 01-30-11
Location: USA
Posts: 60
Likes: 0
Received 0 Likes
on
0 Posts

Thread
Thread Starter
Forum
Replies
Last Post
Delta coupe
Pictures & Videos
1
09-30-2015 08:11 AM