Interior: How To: Install LEDs In CupHolders (Tons of Pics 56K warning)


 11-29-2006, 07:06 PM
#106
they would be about the same you wouldnt know the difference since 100ohm is the min requirment for an led on a 12volt source. its totally up to you but like i said my kit i have in my car is plenty bright to light up the roof of my car and has been like that for almost 2 years now.
11-30-2006, 01:51 PM
#107
Senior Member

Join Date: 05-05-05
Location: Missery, USA (showme state)
Posts: 920
Likes: 0
Received 1 Like
on
1 Post
I have a couple of questions. Sorry if they have been answered before. Your kits have 12 LED's and 6 resistors. I've noticed that your pics of your cupholder kit only uses 6 LED's and 3 resistors. Are the other pieces used for the floor lighting or rear cupholder?
Second, I noticed that you do not have a pic of the LED inner 3rd break light kit. I was wondering if you could post a pic of that so I can see what it looks like.
Thanks,
Fr33k
Second, I noticed that you do not have a pic of the LED inner 3rd break light kit. I was wondering if you could post a pic of that so I can see what it looks like.
Thanks,
Fr33k
11-30-2006, 01:55 PM
#108
cupholder kit = fornt(6leds + 3 resisters) and back.(6leds + 3 resisters)
led INNER brake light kit = allows you to have your inner tials on your trunk lid light up when you brake.
If you want to have your third brake light be led just take one off an impala
led INNER brake light kit = allows you to have your inner tials on your trunk lid light up when you brake.
If you want to have your third brake light be led just take one off an impala


 06-17-2007, 03:53 AM
#115
Senior Member
Join Date: 12-24-06
Location: Kingwood, TX
Posts: 1,333
Likes: 0
Received 0 Likes
on
0 Posts
Well this is my first attemp in writing a tutorial so i hope it somepeople. I used my leet xbox hacking skills and did this. Links are below to see my xboxs
Xbox 1
Xbox 2
Xbox 3
Mods feel free to put it in the how to section. i just posted here so people would see it and stop PMing me
How To: Install LEDs In Cupholders
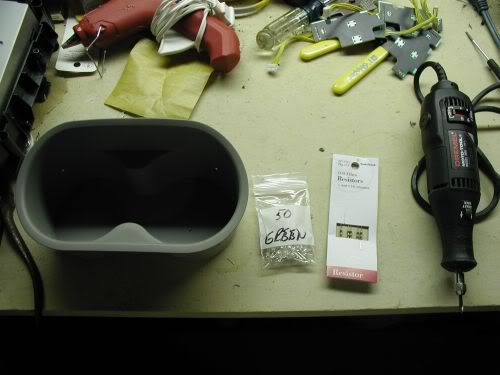
Tools Required:
------------------
Dremal Tool or Drill
22 Gauge Wire
Soldering Iron & Solder
LEDs 3mm 5000MCD+
Hot Glue Gun
Electric Tape
100OMH 1/4watt Resisters
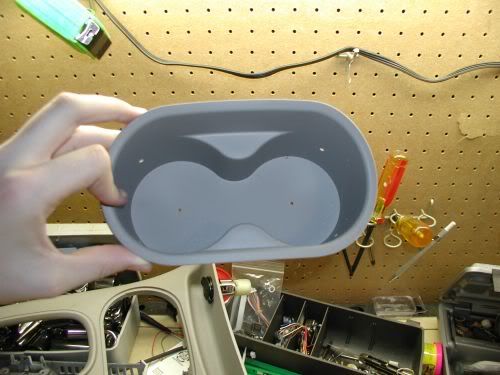
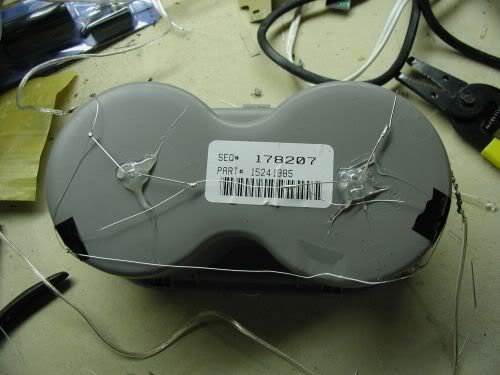
First Disamble the center console and take out the cup holders & Drill holes where ever you want to put LEDs in. make sure to drill the hole smaller then the led so it fits snug in there.
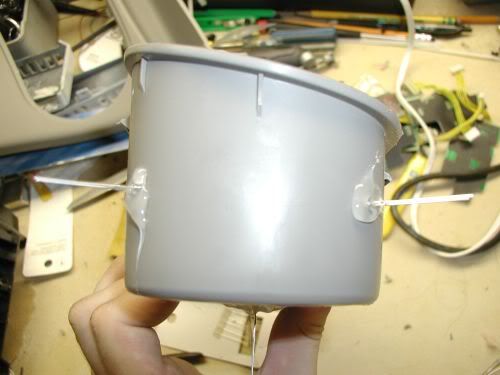
Next Take you leds and put them in the holes and hot glue them in. Try to make then as stright as possible and do one at a time till the glue drys then move to the next one.
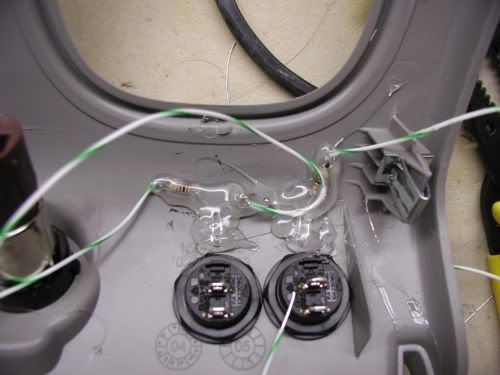
Next is to wire up the leds. The longer leg is the +12 and the shorter leg is the ground. Wire up the longer legs by soldering the wire to each leg. Run the wire from leg to leg to make a chain. Now do the same for the ground wire on the shorter legs. DO NOT let 2 wires touch other wise it will short, if it looks or seems to be touching put a price of electric tape between the 2. Now at the end of the +12 wire solder the Resisters. (1 resister for ever 2 leds) solder them in a row. Now solder a peice of wire after the resister so we can hook that up to a +12 soruce in the car.
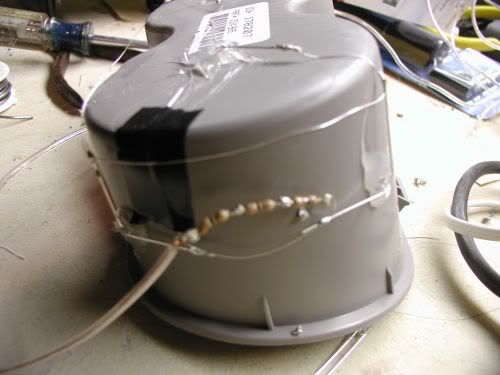
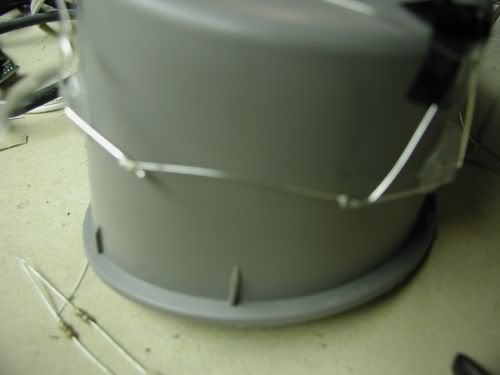
Now Tape up or hot glue all the expose wire. I chose to tape since i was lazy and didnt feel like wiaitng 5 mins for the iron to heat up.
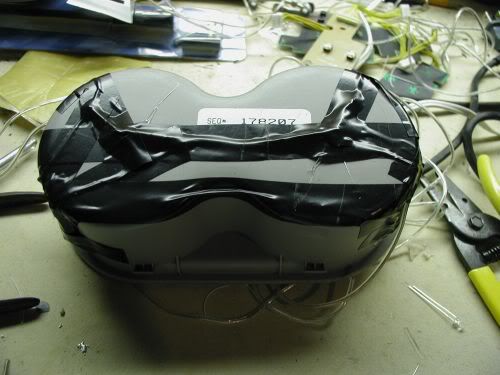
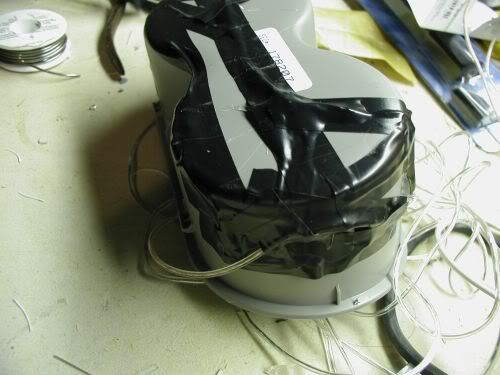
Now place back into the car and run the +12 wire to any +12 source. I just wired it to my cigar lighter. and installed a switch. Run the ground to any bolt thats bolted to the chasie. If you look next to the ebrake handle under the plasic theres a bolt. I used that. Or you can wire it to the ground on the lighter. For a switch I took a wire and wired it from the +12 on lighter to a pin on a switch then i took a wire and ran it from the other pin on the switch to the +12 wire on the leds.
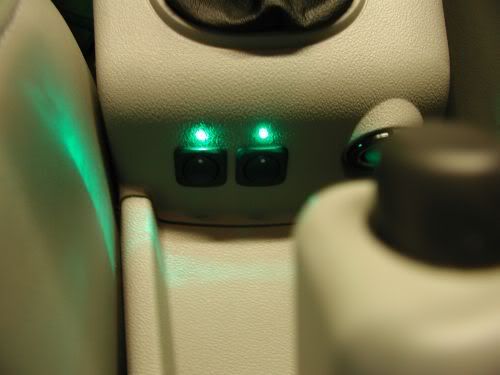
Heres a switch i made for my leds in my car and also my radar. I put geen leds on top of switch to glow when in use. hook up is same concept.
Finshed Product:

I Hope that helps you people.
Xbox 1
Xbox 2
Xbox 3
Mods feel free to put it in the how to section. i just posted here so people would see it and stop PMing me
How To: Install LEDs In Cupholders
Tools Required:
------------------
Dremal Tool or Drill
22 Gauge Wire
Soldering Iron & Solder
LEDs 3mm 5000MCD+
Hot Glue Gun
Electric Tape
100OMH 1/4watt Resisters
First Disamble the center console and take out the cup holders & Drill holes where ever you want to put LEDs in. make sure to drill the hole smaller then the led so it fits snug in there.
Next Take you leds and put them in the holes and hot glue them in. Try to make then as stright as possible and do one at a time till the glue drys then move to the next one.
Next is to wire up the leds. The longer leg is the +12 and the shorter leg is the ground. Wire up the longer legs by soldering the wire to each leg. Run the wire from leg to leg to make a chain. Now do the same for the ground wire on the shorter legs. DO NOT let 2 wires touch other wise it will short, if it looks or seems to be touching put a price of electric tape between the 2. Now at the end of the +12 wire solder the Resisters. (1 resister for ever 2 leds) solder them in a row. Now solder a peice of wire after the resister so we can hook that up to a +12 soruce in the car.
Now Tape up or hot glue all the expose wire. I chose to tape since i was lazy and didnt feel like wiaitng 5 mins for the iron to heat up
Now place back into the car and run the +12 wire to any +12 source. I just wired it to my cigar lighter. and installed a switch. Run the ground to any bolt thats bolted to the chasie. If you look next to the ebrake handle under the plasic theres a bolt. I used that. Or you can wire it to the ground on the lighter. For a switch I took a wire and wired it from the +12 on lighter to a pin on a switch then i took a wire and ran it from the other pin on the switch to the +12 wire on the leds.
Heres a switch i made for my leds in my car and also my radar. I put geen leds on top of switch to glow when in use. hook up is same concept.
Finshed Product:
I Hope that helps you people.
07-13-2007, 12:29 PM
#117
New Member

Join Date: 09-21-06
Location: Iowa
Posts: 27
Likes: 0
Received 0 Likes
on
0 Posts
I put 4 leds in my front cup holders and two in the back. Then I thought about doing the footwells. I wired it up, blew the fuse. I had the power coming off of the power outlet right next to the shifter (automatic). I thought maybe I was drawing too much power with my twelve leds. So I ran a direct wire from the battery up to the leds. lol BAD CHOICE! I went with a twenty amp fuse, again BAD CHOICE! There's a short somewhere. fuse didn't blow and the insullation on the wire started bubbling and melting off of the wire. yeah... didn't like that so much. I'm gunna tear it out and redo everything. I'm making a fusebox that just holds in two of those cheap in line fuse holders you can get at wwalmart and making it out of fiberglass. Painting it the color of my car. Anybody attempting to do this or something similar, don't be stupid like me... CHECK YOUR CONNECTIONS! With this new set of leds I might even put in an op amp to make them flash to music. Should be sweet.
 07-15-2007, 07:07 PM
#119
I put 4 leds in my front cup holders and two in the back. Then I thought about doing the footwells. I wired it up, blew the fuse. I had the power coming off of the power outlet right next to the shifter (automatic). I thought maybe I was drawing too much power with my twelve leds. So I ran a direct wire from the battery up to the leds. lol BAD CHOICE! I went with a twenty amp fuse, again BAD CHOICE! There's a short somewhere. fuse didn't blow and the insullation on the wire started bubbling and melting off of the wire. yeah... didn't like that so much. I'm gunna tear it out and redo everything. I'm making a fusebox that just holds in two of those cheap in line fuse holders you can get at wwalmart and making it out of fiberglass. Painting it the color of my car. Anybody attempting to do this or something similar, don't be stupid like me... CHECK YOUR CONNECTIONS! With this new set of leds I might even put in an op amp to make them flash to music. Should be sweet.
depends on how you mount them.
Last edited by mkulrey13; 07-15-2007 at 07:07 PM. Reason: Automerged Doublepost
 08-03-2007, 10:59 AM
#123
Senior Member

Join Date: 02-26-07
Location: chicago
Posts: 532
Likes: 0
Received 0 Likes
on
0 Posts
I did the same thing on one of my cars but i hooked the +12 volt to the speaker out and it will cause the Leds to pulse w/ the music. May wanna use a 10k pot for brightness adjustment instead of the carbon peanut resistors just my 2 cents.

