Interior: How To Paint your speedo bezel.
 10-07-2008, 10:05 PM
#1
Senior Member
Thread Starter

Join Date: 01-26-08
Location: OH-IO
Posts: 515
Likes: 0
Received 0 Likes
on
0 Posts
How To Paint your speedo bezel.
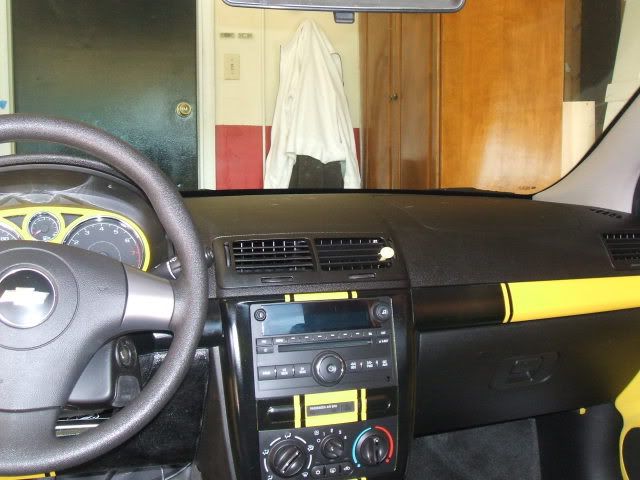
Ok this is a how to on how to paint the trim around your speedo bezel.
i am not a fan of painting the hood that goes around it... i think in my color atleast its overkill. But here we go.
Step 1 Start taking off the center trim pieces on by one... working your way from the doors in towards the radio piece. The radio piece should be the LAST one to come off.

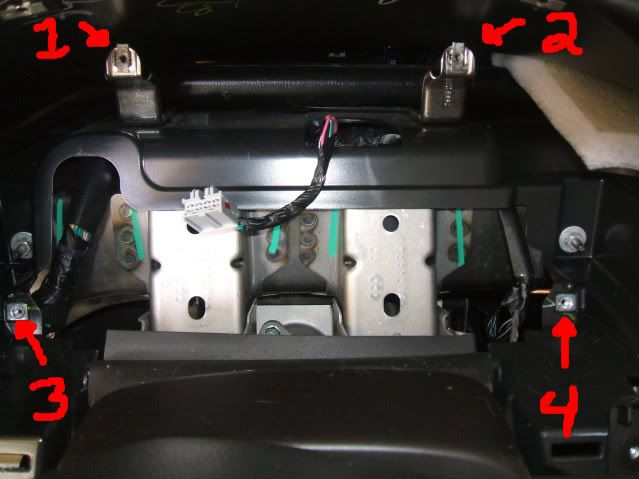
Step 2 Now there are some bolts that require a 9/32 socket and take them out. There are two of them... one on each side of the steering wheel. there are also going to be two silver one way metal cap like screws right below the bolts. you can do the hard thing and try to salvage them by backing them off... or rip them off like i did with some snips. you dont need them.

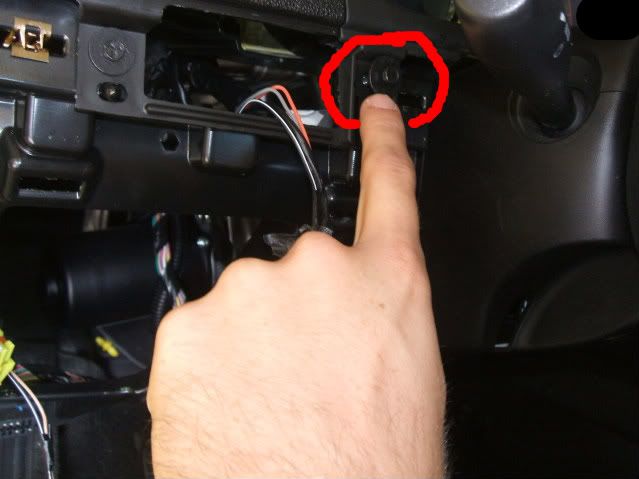
Step 3 Now there are two screws that you need to reach from underneath to get to. A shorty philips screwdriver will save you alot of time and anger.
Step 4 Now you pull out the "hood" as i am calling it. If you have tilt wheel it makes this a ton easier by moving it all the way down. Then just pull it towards you then twist to one side and pull out.
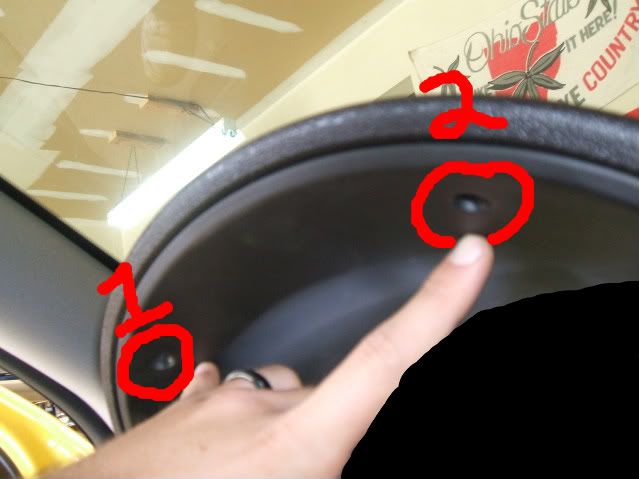
Step 5 Ok staring at your gas gage, at 1 o'clock, 4 o'clock, 8 o'clock, and 11 o'clock there are more bolts that require a 9/32 socket. For the top two put your steering wheel all the way in the UP position. Bottom two in the DOWN position.

Step 6 Unplug the sensor that connects to the middle left back of your gauges. There is only one and if you turn the gauges then its easy to unplug. Now keeping the steering wheel in the DOWN position. act like your holding a bowl of chicken noodles and your going to sip the broth. take your hands and do that motion to tilt the gauges out cleanly.
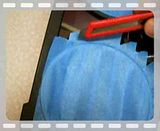
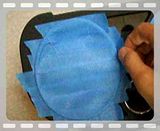
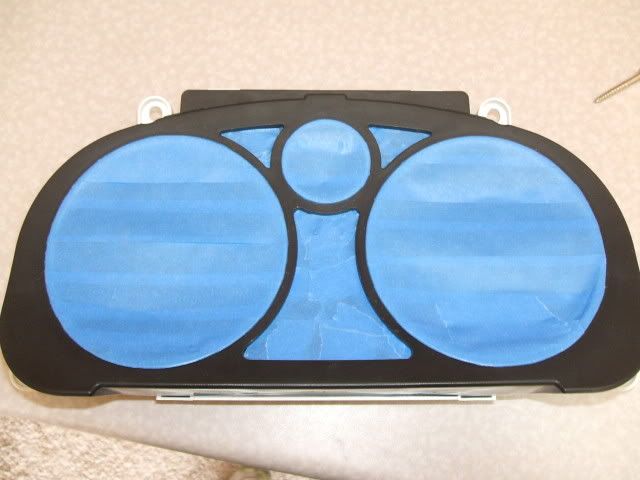
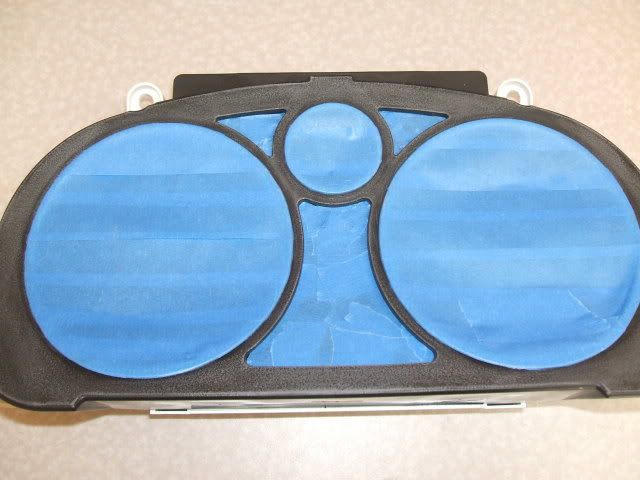
Step 7 ok now comes the part you dont want to skimp with time on. The masking. I made a soudless video as to the easiest way to mask off pieces that are circular with lips like the chrome trim. Brief description. Take the tape lay it over. drag your finger nail around the edge. repeat untill whole piece is done. then anlge your blade at 45 degrees and trim excess. Remove and repeat for other two spots. then kind of push down on the plastic and push the tape underneath the edges for the recessed other pieces of clear plastic.
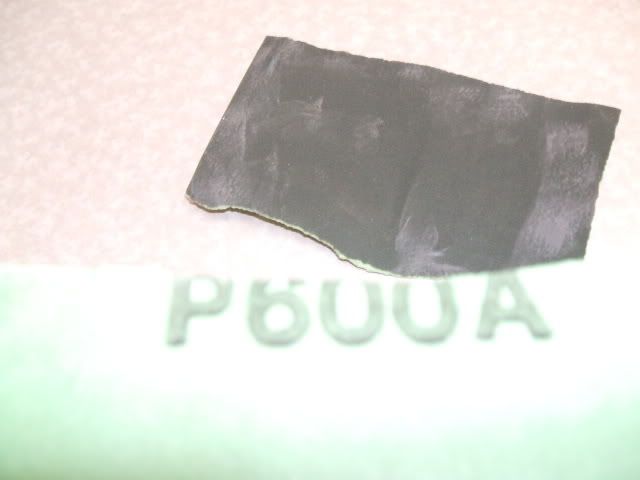
Step 8 Next you want to sand down the area so the paint has something fress to grab onto without any grease, and its nice to have a smooth turnout. i chose a 600 grit and that was it.
Step 9 Now start applying the color of choice with three coats of primer, then three coats of color choice, then three coats of clear so you dont get any chipping. and worst case is it will chip clear instead of your color flaking off.
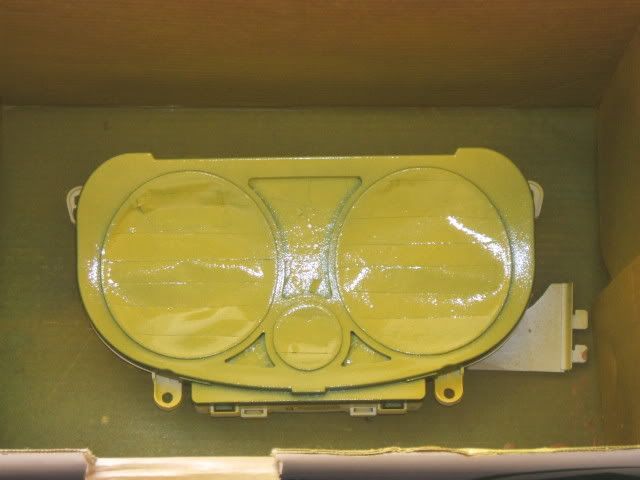
Step 10 Remove the taped areas once it has had time to dry. I suggest highly that you let this dry longer than usual... triple the length your can would say just due to the fact that you might bump putting this piece back in, and your gonna be p*ssed if you do that after all this work.
Step 11 reverse the disassembly and put everything back together. starting with
-Plugging your gauges back in
-Four bolts that hold gauge in place
-Putting hood back in place
-two screws on the underside of hood
-two bolts on either side of the steering wheel
-All trim pieces starting with the STEREO FIRST.

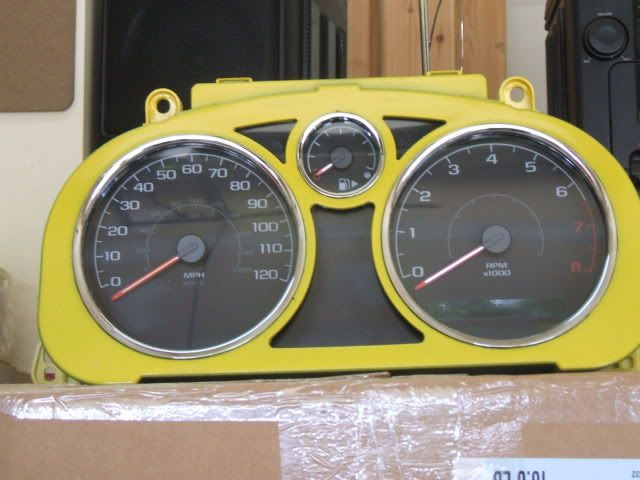
Now enjoy your nice and cleaned up gauge trim
I will be taking mine back out and fading the stripes onto it dont worry... this was just my howto page.
keep in mind if you want to paint your "hood" than your more than welcome just add it into the process. again let it dry!
i am not a fan of painting the hood that goes around it... i think in my color atleast its overkill. But here we go.
Step 1 Start taking off the center trim pieces on by one... working your way from the doors in towards the radio piece. The radio piece should be the LAST one to come off.
Step 2 Now there are some bolts that require a 9/32 socket and take them out. There are two of them... one on each side of the steering wheel. there are also going to be two silver one way metal cap like screws right below the bolts. you can do the hard thing and try to salvage them by backing them off... or rip them off like i did with some snips. you dont need them.
Step 3 Now there are two screws that you need to reach from underneath to get to. A shorty philips screwdriver will save you alot of time and anger.
Step 4 Now you pull out the "hood" as i am calling it. If you have tilt wheel it makes this a ton easier by moving it all the way down. Then just pull it towards you then twist to one side and pull out.
Step 5 Ok staring at your gas gage, at 1 o'clock, 4 o'clock, 8 o'clock, and 11 o'clock there are more bolts that require a 9/32 socket. For the top two put your steering wheel all the way in the UP position. Bottom two in the DOWN position.
Step 6 Unplug the sensor that connects to the middle left back of your gauges. There is only one and if you turn the gauges then its easy to unplug. Now keeping the steering wheel in the DOWN position. act like your holding a bowl of chicken noodles and your going to sip the broth. take your hands and do that motion to tilt the gauges out cleanly.
Step 7 ok now comes the part you dont want to skimp with time on. The masking. I made a soudless video as to the easiest way to mask off pieces that are circular with lips like the chrome trim. Brief description. Take the tape lay it over. drag your finger nail around the edge. repeat untill whole piece is done. then anlge your blade at 45 degrees and trim excess. Remove and repeat for other two spots. then kind of push down on the plastic and push the tape underneath the edges for the recessed other pieces of clear plastic.
Step 8 Next you want to sand down the area so the paint has something fress to grab onto without any grease, and its nice to have a smooth turnout. i chose a 600 grit and that was it.
Step 9 Now start applying the color of choice with three coats of primer, then three coats of color choice, then three coats of clear so you dont get any chipping. and worst case is it will chip clear instead of your color flaking off.
Step 10 Remove the taped areas once it has had time to dry. I suggest highly that you let this dry longer than usual... triple the length your can would say just due to the fact that you might bump putting this piece back in, and your gonna be p*ssed if you do that after all this work.
Step 11 reverse the disassembly and put everything back together. starting with
-Plugging your gauges back in
-Four bolts that hold gauge in place
-Putting hood back in place
-two screws on the underside of hood
-two bolts on either side of the steering wheel
-All trim pieces starting with the STEREO FIRST.
Now enjoy your nice and cleaned up gauge trim
I will be taking mine back out and fading the stripes onto it dont worry... this was just my howto page.
keep in mind if you want to paint your "hood" than your more than welcome just add it into the process. again let it dry!
Last edited by TommyP; 10-03-2012 at 01:12 PM.


 10-10-2008, 02:21 PM
#7
Senior Member

Join Date: 07-03-05
Location: Westland, MI
Posts: 3,936
Likes: 0
Received 0 Likes
on
0 Posts


 10-15-2008, 06:14 PM
#17
Senior Member
Thread Starter
Join Date: 01-26-08
Location: OH-IO
Posts: 515
Likes: 0
Received 0 Likes
on
0 Posts
no just alot of sanding... the hood you might just have to rough up because its already smooth, unlike 90% of the other dash parts where they have the grain to them
10-16-2008, 12:02 AM
#18
New Member

Join Date: 05-21-08
Location: Oregon/Sacramento
Posts: 43
Likes: 0
Received 0 Likes
on
0 Posts
10-21-2008, 06:03 PM
#21
Senior Member

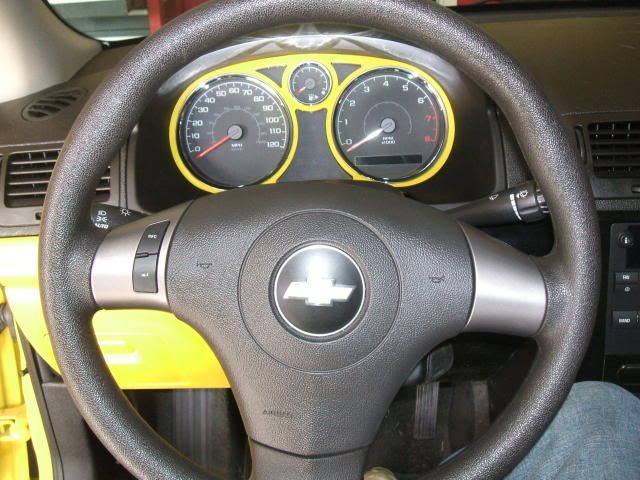
Like the way the stripes carry over to the interior, ties the car together real nice 
Guessing the trim pieces snap off / on - seems like everything else does, reminds me of the snap together models I built as a kid
Very nice write up, easy to follow. Good tip on the masking too , always have a bitch of a time with curves.
Side question - did you happen to notice if you could reach the sensor for the auto headlights with the gauge pod out? Would make my planned "Auto headlights, we don't need no steenking auto headlights!" mod much easier
Guessing the trim pieces snap off / on - seems like everything else does, reminds me of the snap together models I built as a kid
Very nice write up, easy to follow. Good tip on the masking too
, always have a bitch of a time with curves.Side question - did you happen to notice if you could reach the sensor for the auto headlights with the gauge pod out? Would make my planned "Auto headlights, we don't need no steenking auto headlights!" mod much easier

Thread
Thread Starter
Forum
Replies
Last Post
camaromanss1992
Parts
3
10-01-2015 10:51 PM

