2.0 LNF Engine: How To: Valve Gunk/Coking Removal
#226
Senior Member
k then what can i do to stop it from getting worse? i dont feel safe throwing anything in my cylinder head no matter who tells me its safe...just would liek to prolong this engine as far as i can before i need to drop in a new one...
P.S in canada (where im from) under 200.000kms is considered low kms and under 100,000 is brand new...my car has 109.000kms
P.S in canada (where im from) under 200.000kms is considered low kms and under 100,000 is brand new...my car has 109.000kms
#228
I can't order to Canada on harbor freight and can't find walnut shells anywhere. I got the GM carb cleaner but that won't be enough and I don't feel like spending hours on end scraping the valves
#232
Senior Member
iTrader: (6)
The ones I bought and it was plenty, did 2 cobalts, 1 mazda, and still have more left over
https://www.amazon.com/gp/product/B0...?ie=UTF8&psc=1
#234
I just want to confirm something here. I know that fine grit walnut shell media is required for this but I found a local store that carries 18/40 grit. Is that suitable for cleaning the valves ?
#237
For anybody who still views this how to:
Here is the link for the valve cleaning tool to save you hours of prep and prevent a huge mess. Just in case your having trouble finding it on another thread.
https://www.ecstuning.com/Search/Sit...ction_Adapter/
Here is the link for the valve cleaning tool to save you hours of prep and prevent a huge mess. Just in case your having trouble finding it on another thread.
https://www.ecstuning.com/Search/Sit...ction_Adapter/
The following users liked this post:
exninja (08-02-2017)
#246
INTRODUCTION
Alright, so I was having a bunch of misfires on my 2010 SS GMS1 (stock otherwise) with 29000 miles. It had a turbo replaced under warranty at 25000 miles after the shaft bearing went. The misfires usually happened right after Cat Warm up if it was cold outside that morning or during wide open throttle near the mid upper RPMís when in third gear. It was noticeable in your seat to the point that my passengers noticed it.
Took it to Stealership and they couldnít figure anything out and then when it finally happened in front of them (as I was picking up the car) they decided it was valve gunk and told me it was not covered under warranty. They wanted to do a fuel induction service for 150 bucks which would have done squat, according to John Powell. GM Customer Care also told me I was on my own.
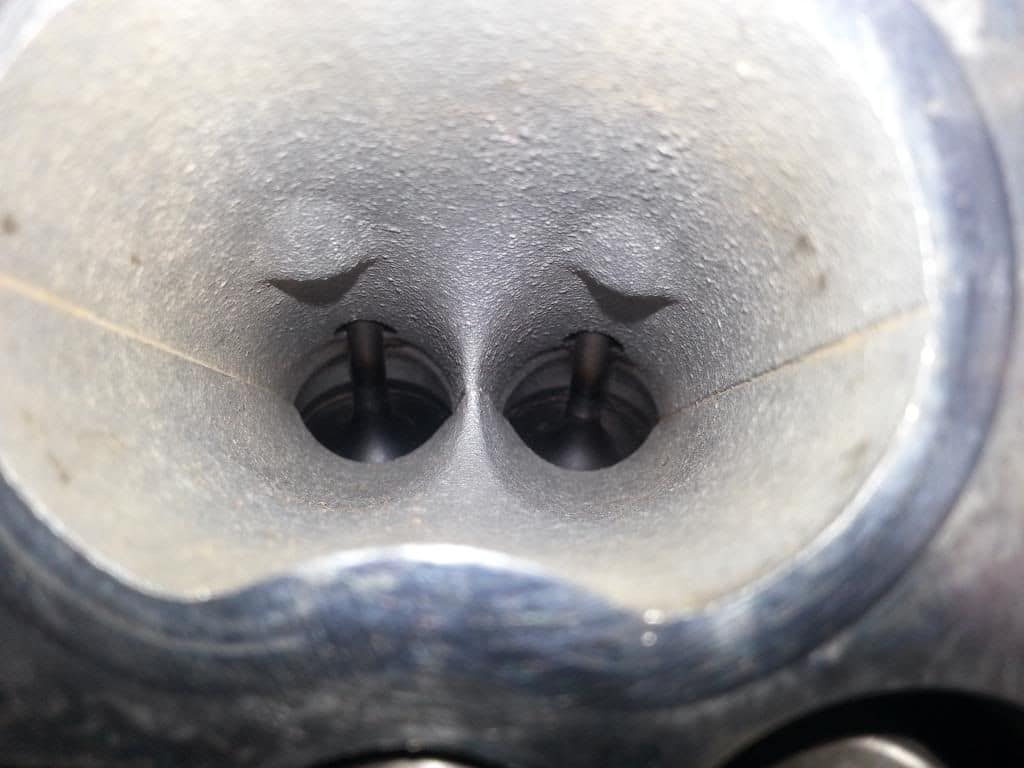
I used a bore scope that I got off of Amazon to take this following photo. I recommend you use one before pulling your manifold. This turned out to be one of the CLEANER valves of the bunch.
Attachment 29732
Needless to say, it looked like I needed a vale cleaning. Here are the steps I took. I hope they make the whole process easier for you.
EQUIPMENT NEEDED
1. Fridge with Beer. None of those bitch beers, only good ole Murica beers (Mexican beers count because Mexico really is part of America, right?)
Attachment 29733
2. New Manifold gasket. Get it from Crateenginedepot.com for about 10 bucks.
3. Plastic drop cloths. (I used plastic garbage bags that I cut into sheets.
4. Blue/Masking tape
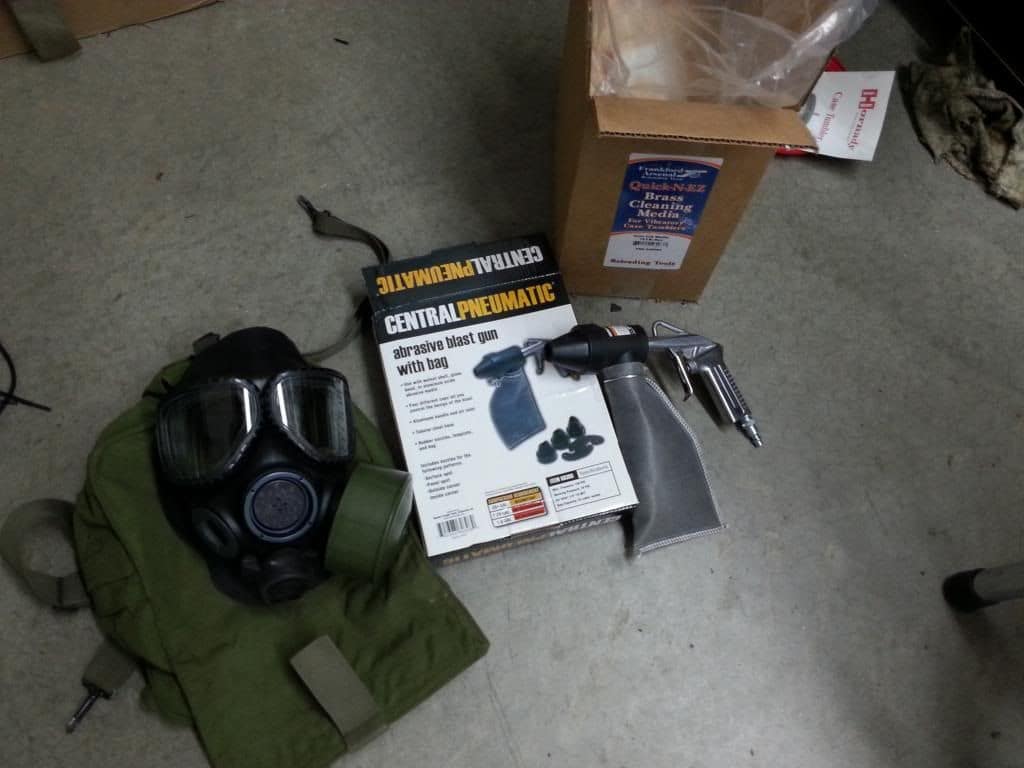
5. Blasting device (I got mine from Harbor Freight for 12 bucks. It worked OKAY but not great. I would have rather grabbed the 55 dollar 20 pound pressurized blast tank with hose and nozzle. If you get the cheapy one you can use a hose on the end to get further into the port. Also, take the cap off and load your walnut shell through the front, do not take the bag off and on, itís a PITA.
6. Personal Protection Equipment. You will want a dust mask/ respirator/ nuclear biological chemical warfare gas mask, (you know... same thing), eye protection, gloves, and ear protection. When you hit the intake ports with compressed air, it sometimes makes the highest pitch, most painful whistle I have ever heard. Seriously, I cannot describe how awful of a sound it is.
7. Walnut Shell. Pick up a box of FINE grade from harbor freight for 24 bucks for 25 pounds. You will not even need one box.
Attachment 29734
8. Vacuum, Air compressor, broom, etc.; normal shop stuff that every guy with a garage has to have to maintain his man card.
9. Brushes, picks, etc. These are useful for pre-scraping the valves to remove the hard to blast stuff. I should have grabbed the dental pick set from harbor freight but neglected to. It would have helped a TON.
10. Optional: de gunking chemical. I used the GM Top engine cleaner from CED. It works as a foam and dissolves gunk great without knocking you out from fumes like carb cleaner does.
11. Tunes. You will get bored sitting there kneeling in front of your car. Crank up some music as long as itís not some Lady Gaga or Kesha garbage. I rocked Floyd and similar.
12. Flashlight/droplight: Itís dark in those ports!
13. Patience. This is not a quick job if you are doing it right. If you finished in an hour Ė youíre doing it wrong.
PROCESS
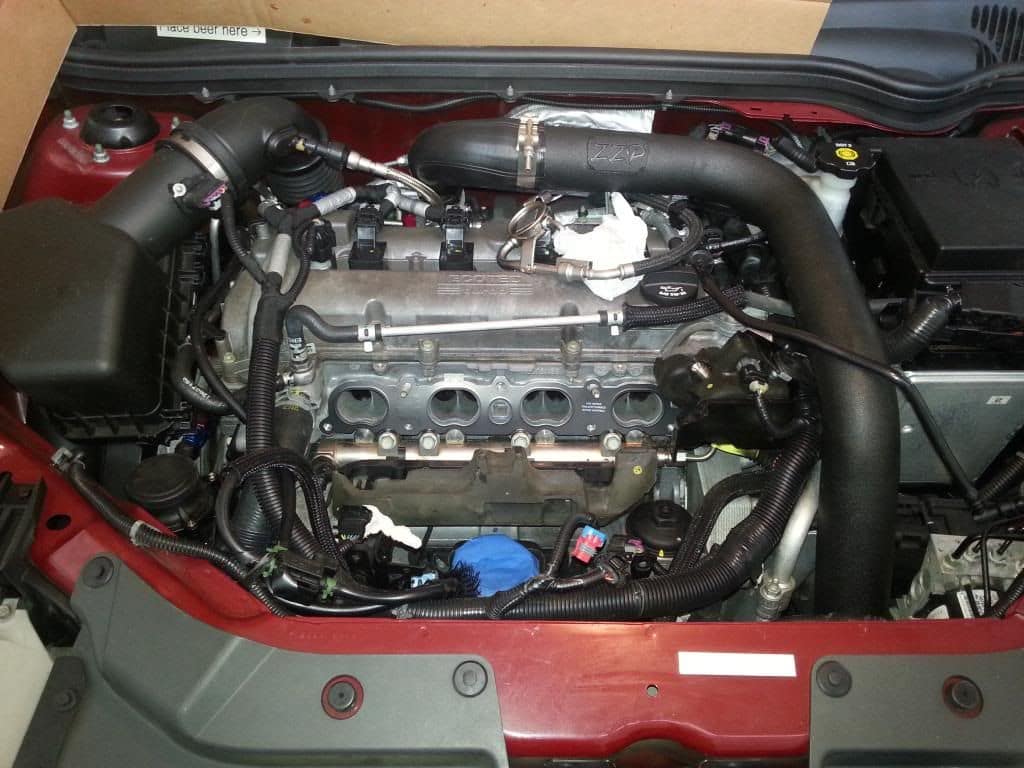
1. Manifold Removal
Read how to remove the intake manifold here: https://www.cobaltss.net/forums/how-...nifold-304187/
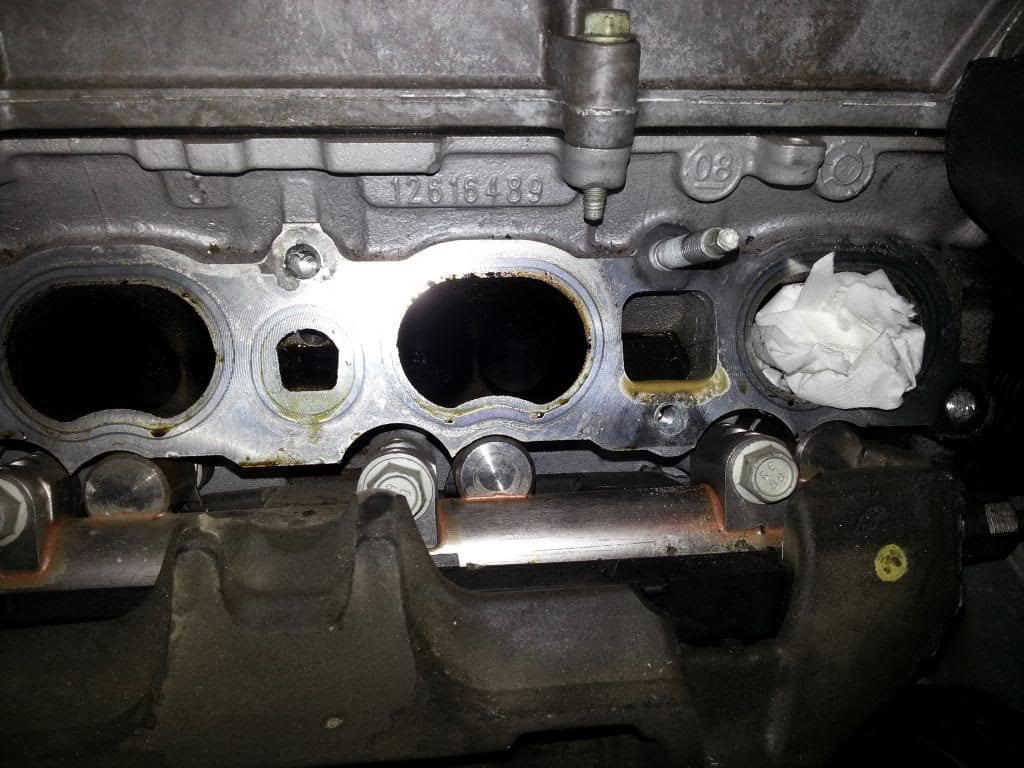
Remove the old gasket. Mine had a ton of oil build up on it. My head also had oil up to its ears in the PCV port as well as the dead space pockets.
Attachment 29735
My valves were pretty nasty. Here is a visual of that. The walnut bits were from another cylinder and I had started to scrape a bit before taking this picture. Oddly, on every cylinder, the drivers side port was always cleaner than the passengers side port.
Attachment 29736
3. Valve Cleaning
Now that your MANifold (you can call it that unless you were drinking a wine cooler and listening to that chick music mentioned above) is off it is time to prep for walnut blasting.
Cover your open ports/hoses/pipes/and the other intake ports with tape. Trust me. Walnut media is a clever beast. It will find its way into anything it can even if you properly plastic cover the bay. I had walnut media sneak into my PCV port, my cold pipe, all over my engine bay, an inch of it in my pockets, my ears, my cell phone case, and even in my hair the next morning while taking a shower. It even ended up in the pockets of jeans that I never even wore in the shop. Practice safe walnut blasting.
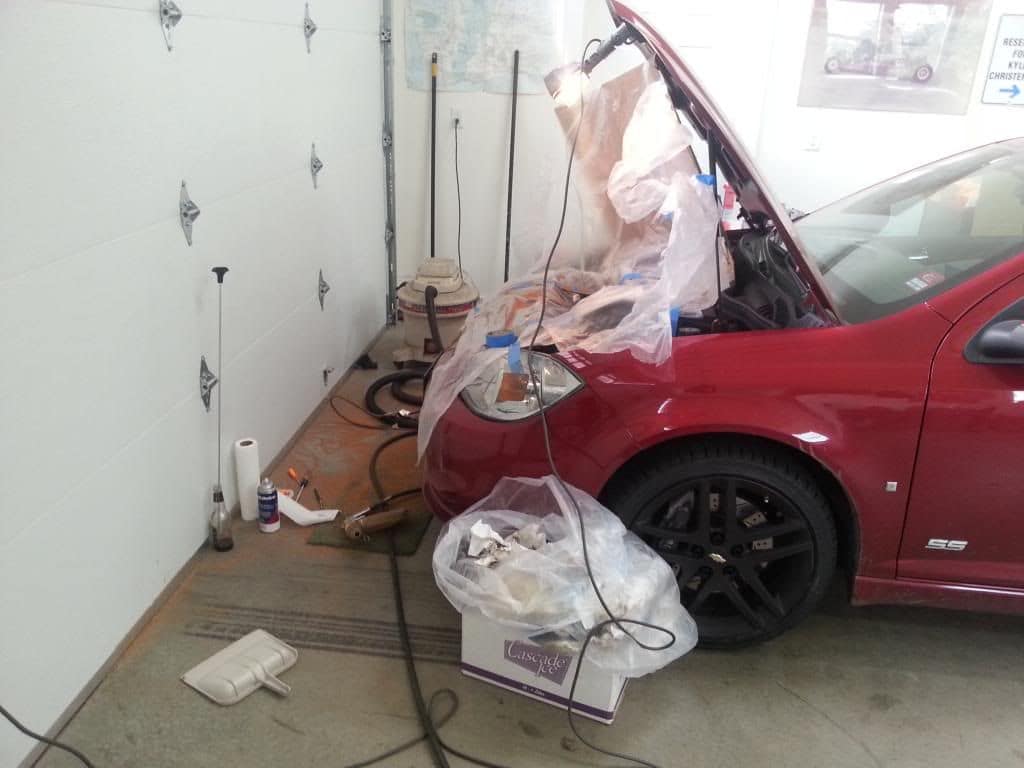
Note my garage floor. This was after about only 1 cylinder. I had vacuumed/swept the floor for the previous cylinders. This picture does not do the messiness justice.
Attachment 29737
Open Valves pictured here. Make sure to tape this port off with the rest of the important stuff!
Attachment 29738
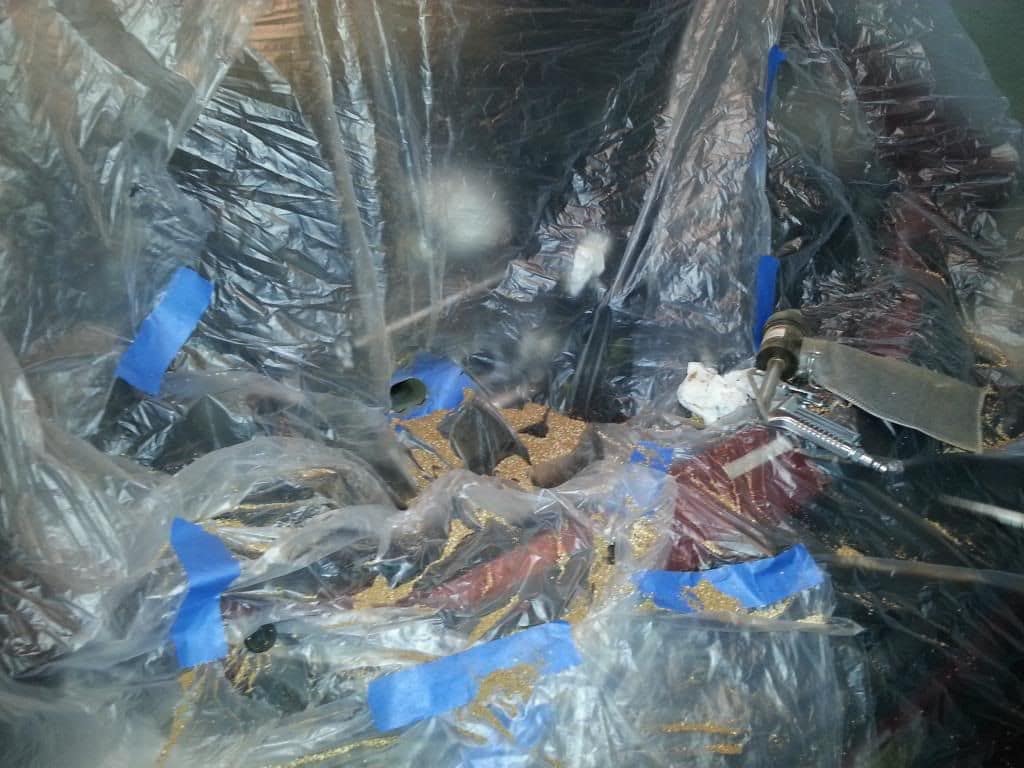
Now lay the plastic over the bay and cut a hole larger than the port for the one in which you will start. It is easy to see which valves are closed and which one is open. Then lay tape between the plastic and the port face. Then cut a hole in the tape.
Before the chaos:
Attachment 29739
After the chaos:
Attachment 29740
Now you can get to business. Use your scrapers to try and remove the brunt of the crap. Then blast with your walnut media. I used 110psi and quick bursts with blasts of compressed air between blasts to remove the piled up media. If you just keep blasting, you load the port up with media and it does nothing. This is when it gets messy. I tried to vacuum at the same time as the blasting and it did not work as well as just hitting it with air and spraying it all over myself.
Alternate these processes until everything looks decent. This will take a while so be patient and try to do a good job. I had to rush so I could have my car ready for college (this took me the whole weekend). I got it to this point and then filled the port with GM top end cleaner and then brushed the remaining gunk off of the valve stem and walls. Then crammed paper towels in the port, hit it with air, and continued to blast. Go until you are happy. I finished with walnut shell, blew it out with air and vacuum, and then paper toweled the walls to remove as much dust as possible.
This is what my valves looked like after:
Attachment 29741
Now remove the tape and go to the next set of valves.
For the last port the valves will be open. No problem, just jack one side of the car up (I used the driver side) and put it in 4th gear. Have your buddy spin the tire until another cylinder opens and your final one closes. It is really easy to tell. Then cover the other cylinder ports with tape again.
GOOD JOB! You finished! Now have a beer (or that girly wine cooler) and get ready to put stuff back together.
REINSTALL/CLEANUP
Now you want to put everything back together. It is the reverse of the removal steps but you add a new intake gasket. Try to vacuum all the clever beast walnut shell from all the hidey holes (like between the head and the fuel rail/injector insulation foam).
Attachment 29742
Torque for 10mm is 89 inch lbs while the 13mm are 16 ft lbs. Make sure to tighten till snug from the center out alternating and then torque to specs in the same order (on the manifold)
Double check all your plugs and harnesses/ support bars/ hoses/ etc.
Now take her on a test drive (after you change out of your dust storm clothing) and feel the difference. She will purr and idle much more smoothly than before. You might want to wash it as well as it is most likely covered in dust. I had gunk bits on the top of my hood!
So that concludes the how-to. If I missed something or you have a better way of doing it please let it know and we can add it to the post. Special thanks to John Powell of Powell Race Parts for his advice as well as some of the other members here that also showed their experience.
#247
Senior Member
iTrader: (1)
Thatís a lot of work just to clean carbon from valves. You can purchase top engine cleaner (GM product) that will break down the carbon deposits on the valves. You spray it into your intake with a pressured canister with a adjustable pressure regulator. This will control your spray amount into your intake. After this service is done then you need to change your oil and filter . Direct injection is bad for carbon build up on valves but good performance. It just needs routine maintenance.
#248
Senior Member
iTrader: (6)
Maybe if you use the top engine cleaner or CRC's GDI cleaner every 3-5k with oil changes and proper driving habits starting with a clean head you'll be able to avoid walnut blasting.
The following users liked this post:
Lnfopelgt (12-16-2020)
#249
And it's honestly not that much work. Use of a tool like the 034Motorsport VW/Audi tool would simplify it even more (as far as cleanup is concerned). If you had a 3D printer, it'd be easy enough to print something similar.
The following users liked this post:
Lnfopelgt (12-16-2020)
#250
If there was a magical chemical that worked, BMW & VW/Audi would have figured it out already. They have been using Direct Injection for a long time. Mechanical valve cleaning is considered normal maintenance.
The following users liked this post:
Lnfopelgt (12-22-2020)
Thread
Thread Starter
Forum
Replies
Last Post


 Moderator