2007 Cobalt SS/SC Polish
 02-07-2010, 04:29 PM
#1
Senior Member
Thread Starter

Join Date: 08-06-08
Location: Tampa, FL
Posts: 535
Likes: 0
Received 0 Likes
on
0 Posts
2007 Cobalt SS/SC Polish
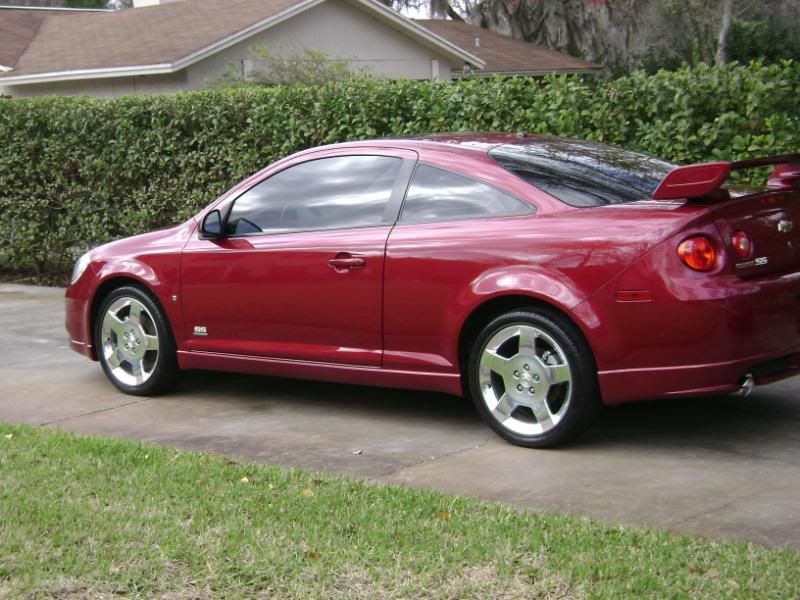
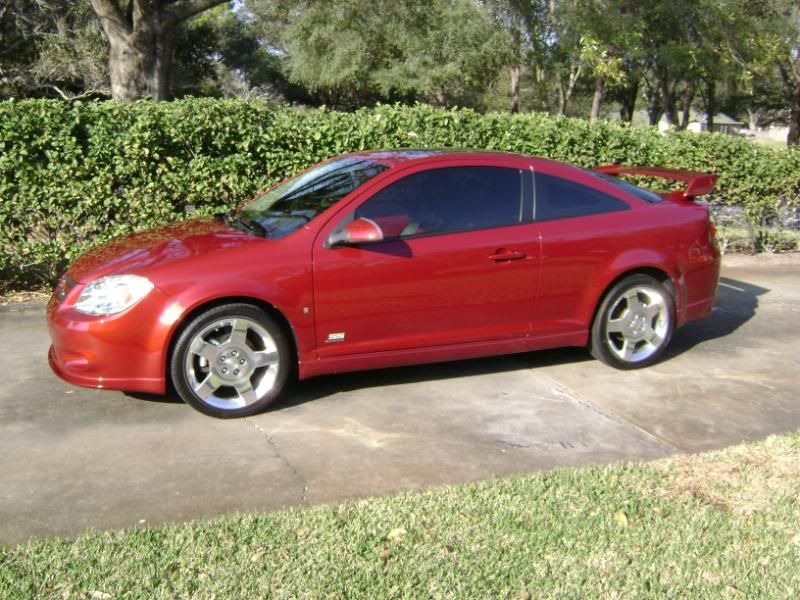
Hi guys! I had some free time this weekend and was able to get my personal car cleaned up. I did a big two step a little while ago so this time it only needed a light polish to bring back the shine. Enjoy the pictures and as always, any comments are welcome! 
I took care of the interior on Friday night. I didn't take any pictures of it because it wasn't that dirty. I shampooed and vacuumed the carpets and mats using 409 carpet cleaner (which is great by the way) and a shop vac. The plastics and vinyl were treated with 303 and the seats received a wipe down of Lexol conditioner. The windows were treated with Stoner's Invisble Glass both inside and out.
My process for the exterior was as follows:
Wheels and tires:
P21S Wheel Gel
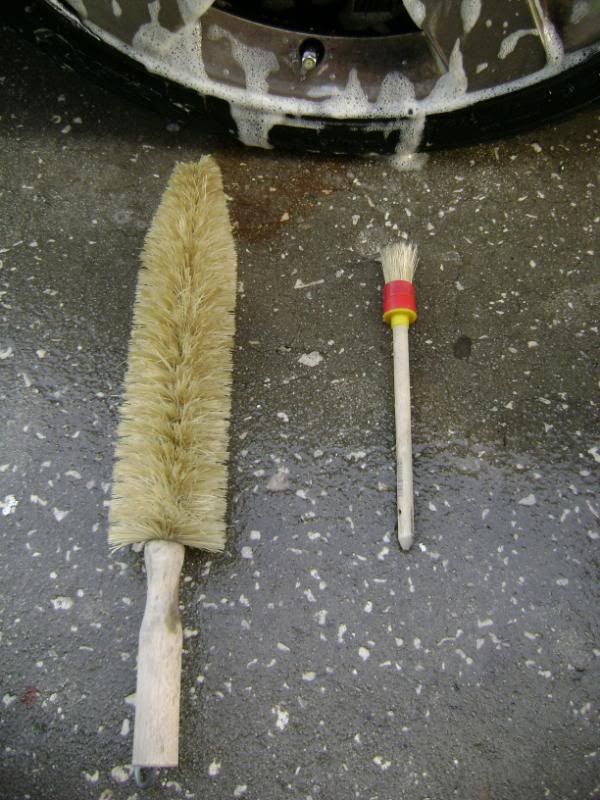
Uber Spoke brush
Swissvax-like brush
MF mitt
Optimum Opti-Bond
Wash:
Pre-rinse to remove any loose contaminants
Foamed with Dawn and let sit for about 3-5 minutes
2BM with Pinnacle shampoo
Home Depot grout sponge
Dried with PakShak WW drying towels
Clay:
Mother's yellow clay
ONR as lube
Paint:
Dewalt 849
LC backing plate
LC Blue 5.5" CCS pad
3M Ultrafine Finishing Polish
CG Premium MF
LSP:
Poorboy's World Natty's Blue Paste
Onto the pictures!!
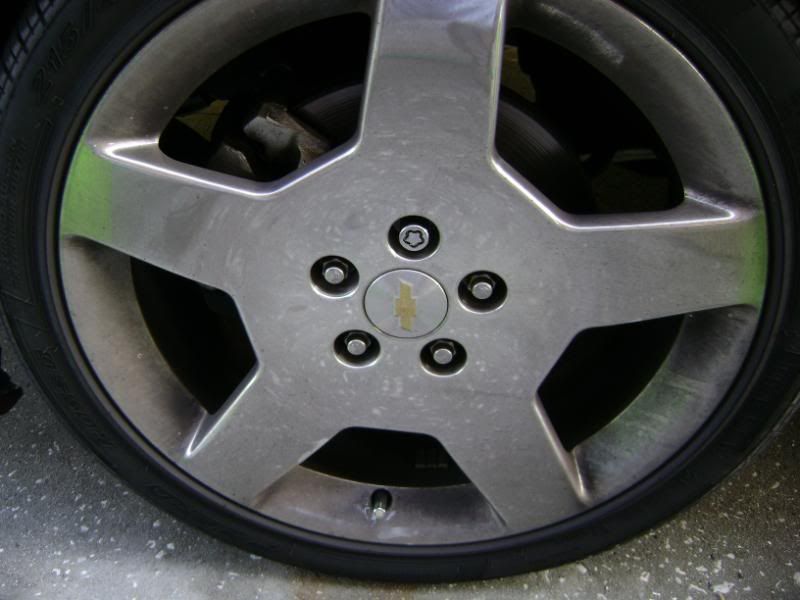
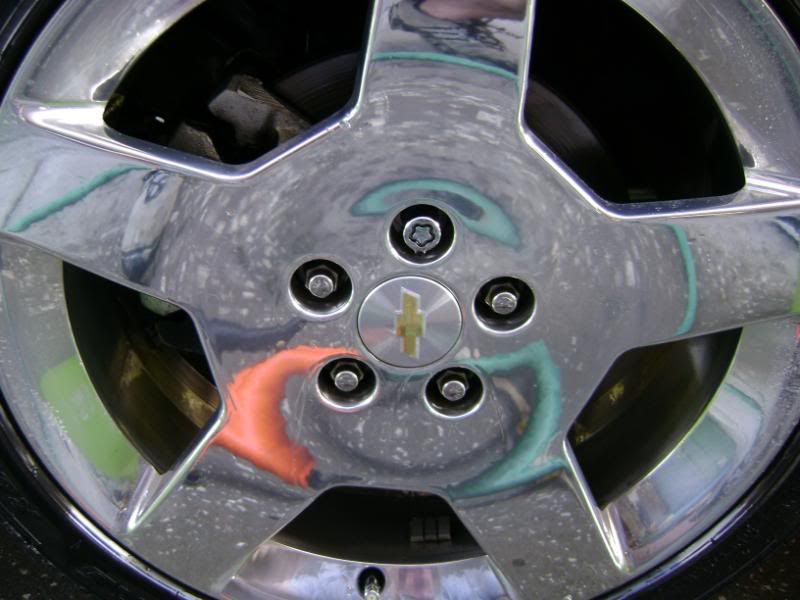
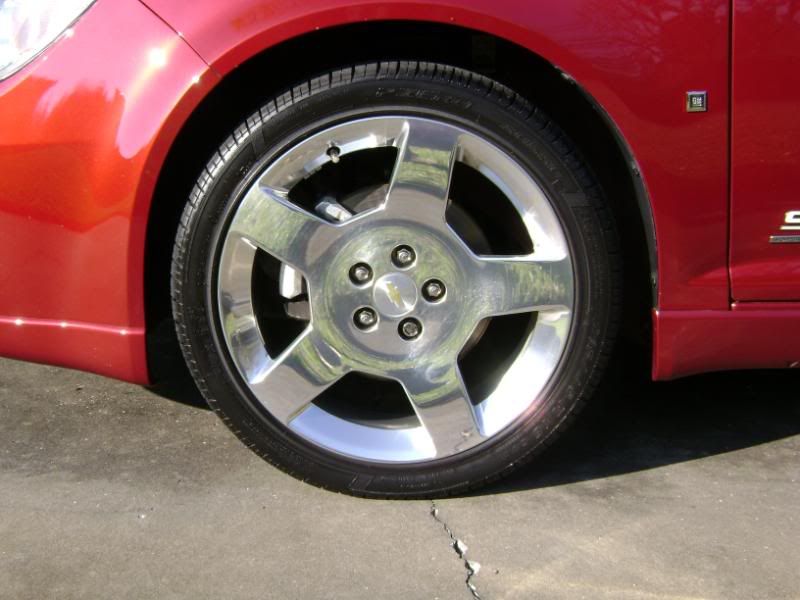
Here are what my wheels looked like before and after the cleaning. They were a mess. I was able to use the Uber spoke brush to reach back into the barrel, but I also followed that up with a scrub down using a MF towel as I'm able to reach my hand all the way to the back.

Here is P21S Gel just dwelling for a little bit:
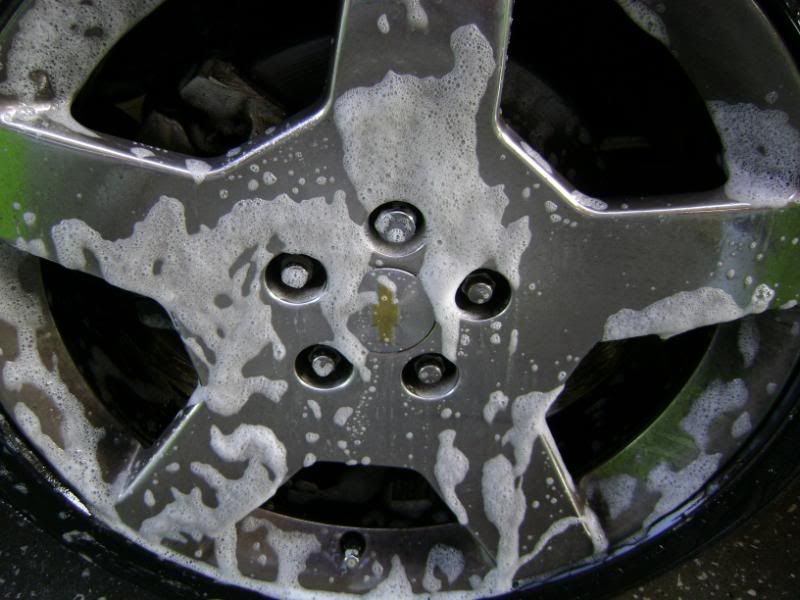
The Uber spoke brush is probably the nicest wheel brush I've used. Now I haven't used the EZ Detail brush, but for under $10, the Uber is hard to beat.
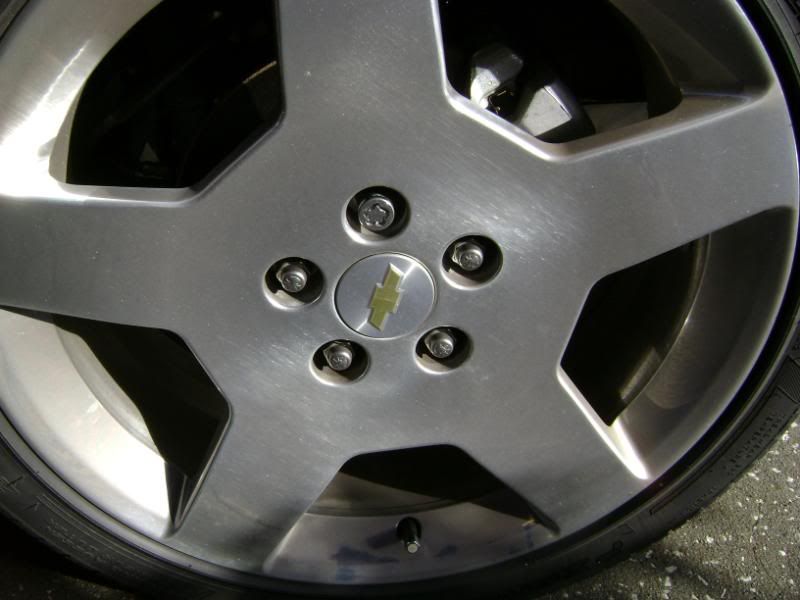
After:
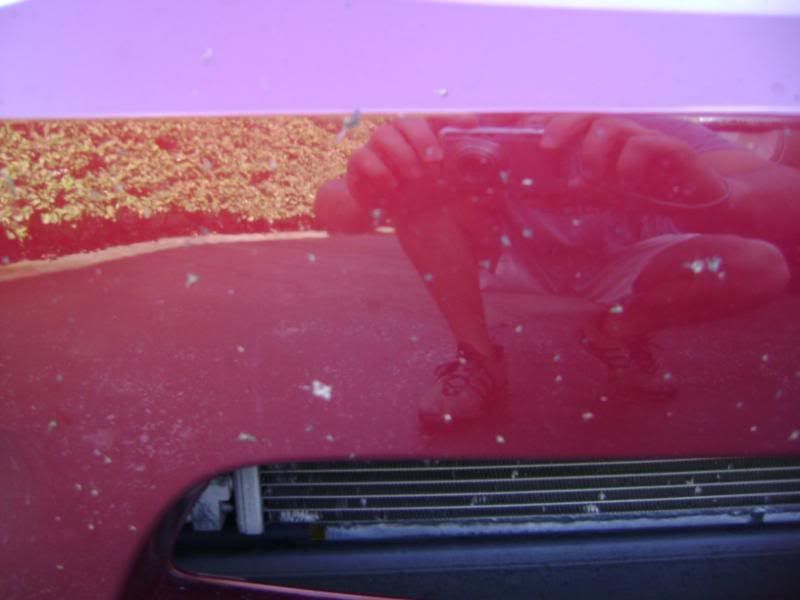
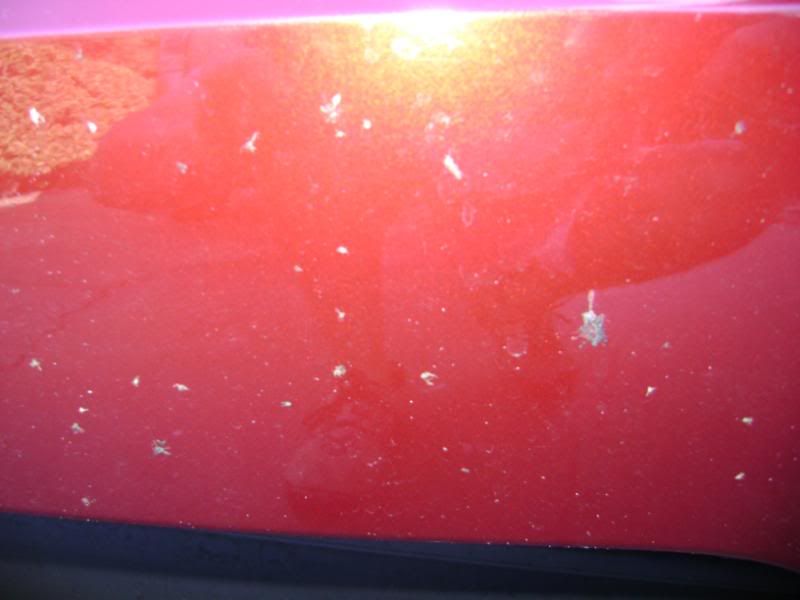
Here are a few before pictures of just how dirty my car was.
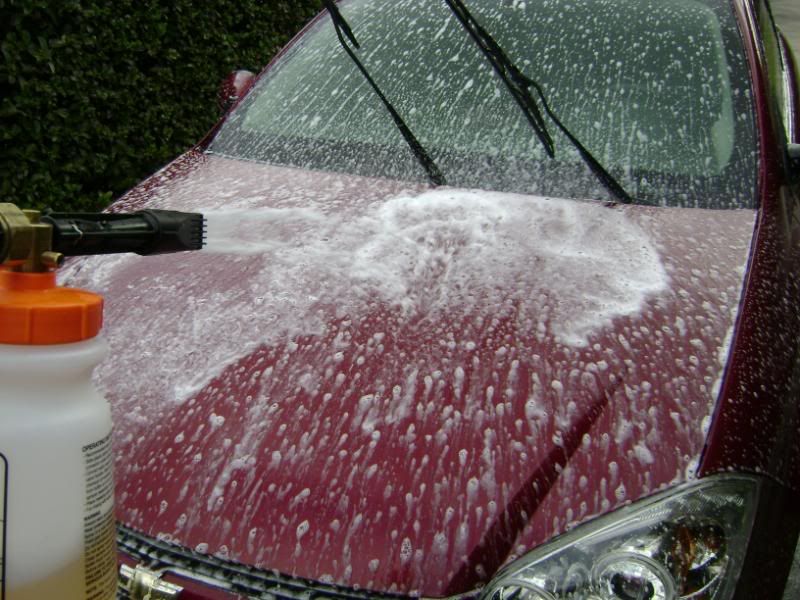
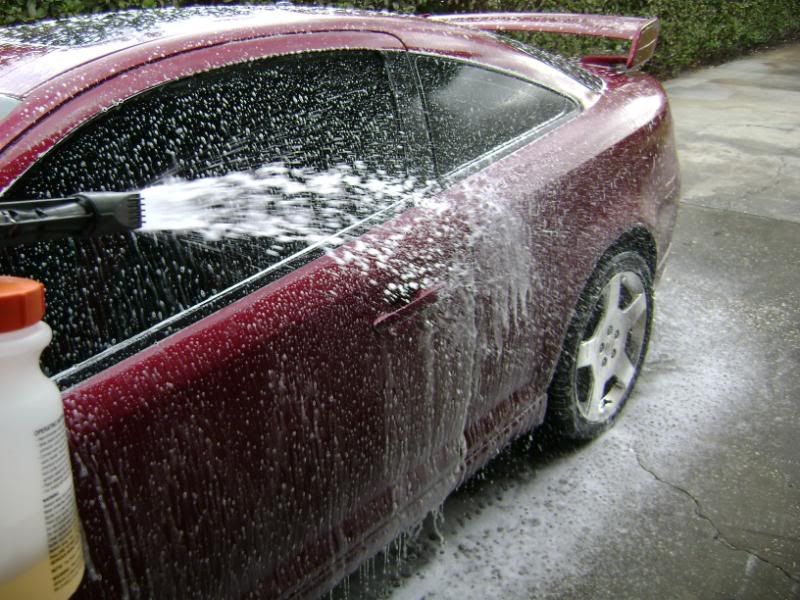
Next up was to rinse and foam the car. For this I used a healthy dose of Dawn and let sit for 3-5 minutes to loosen up as much contaminants as possible.
I then washed using the 2BM with a Home Depot grout sponge and Pinnacle shampoo. I then brought it into the garage to clay with Mother's yellow clay and ONR as lube. Here is what the clay looked like after my hood.

I was planning on doing a two step using M205 as well, but after inspection, I decided that my paint was in amazing condition and two steps wasn't needed. I don't have any during or 50/50 shots because this wasn't a correction detail. I just needed to bring back the gloss that my paint had a few months ago.
I took care of the interior on Friday night. I didn't take any pictures of it because it wasn't that dirty. I shampooed and vacuumed the carpets and mats using 409 carpet cleaner (which is great by the way) and a shop vac. The plastics and vinyl were treated with 303 and the seats received a wipe down of Lexol conditioner. The windows were treated with Stoner's Invisble Glass both inside and out.
My process for the exterior was as follows:
Wheels and tires:
P21S Wheel Gel
Uber Spoke brush
Swissvax-like brush
MF mitt
Optimum Opti-Bond
Wash:
Pre-rinse to remove any loose contaminants
Foamed with Dawn and let sit for about 3-5 minutes
2BM with Pinnacle shampoo
Home Depot grout sponge
Dried with PakShak WW drying towels
Clay:
Mother's yellow clay
ONR as lube
Paint:
Dewalt 849
LC backing plate
LC Blue 5.5" CCS pad
3M Ultrafine Finishing Polish
CG Premium MF
LSP:
Poorboy's World Natty's Blue Paste
Onto the pictures!!
Here are what my wheels looked like before and after the cleaning. They were a mess. I was able to use the Uber spoke brush to reach back into the barrel, but I also followed that up with a scrub down using a MF towel as I'm able to reach my hand all the way to the back.
Here is P21S Gel just dwelling for a little bit:
The Uber spoke brush is probably the nicest wheel brush I've used. Now I haven't used the EZ Detail brush, but for under $10, the Uber is hard to beat.
After:
Here are a few before pictures of just how dirty my car was.
Next up was to rinse and foam the car. For this I used a healthy dose of Dawn and let sit for 3-5 minutes to loosen up as much contaminants as possible.
I then washed using the 2BM with a Home Depot grout sponge and Pinnacle shampoo. I then brought it into the garage to clay with Mother's yellow clay and ONR as lube. Here is what the clay looked like after my hood.
I was planning on doing a two step using M205 as well, but after inspection, I decided that my paint was in amazing condition and two steps wasn't needed. I don't have any during or 50/50 shots because this wasn't a correction detail. I just needed to bring back the gloss that my paint had a few months ago.
 02-07-2010, 04:32 PM
#2
Senior Member
Thread Starter
Join Date: 08-06-08
Location: Tampa, FL
Posts: 535
Likes: 0
Received 0 Likes
on
0 Posts
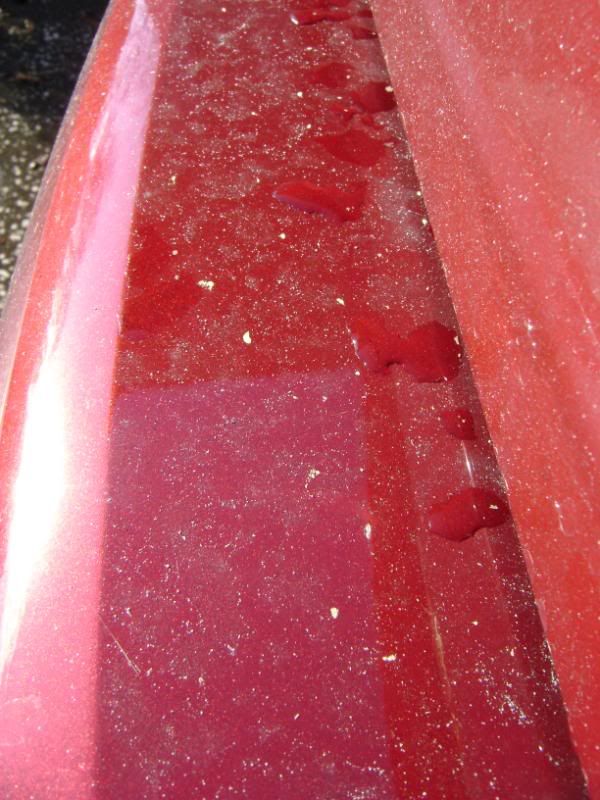
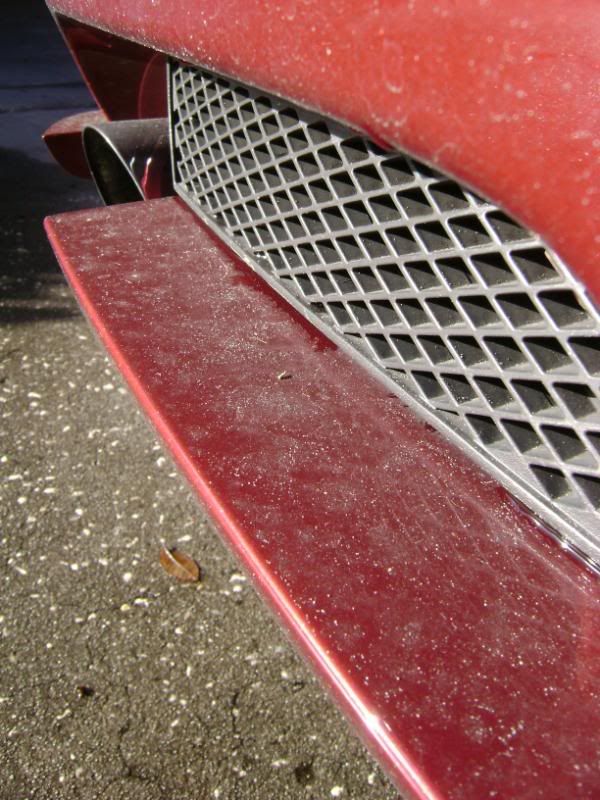
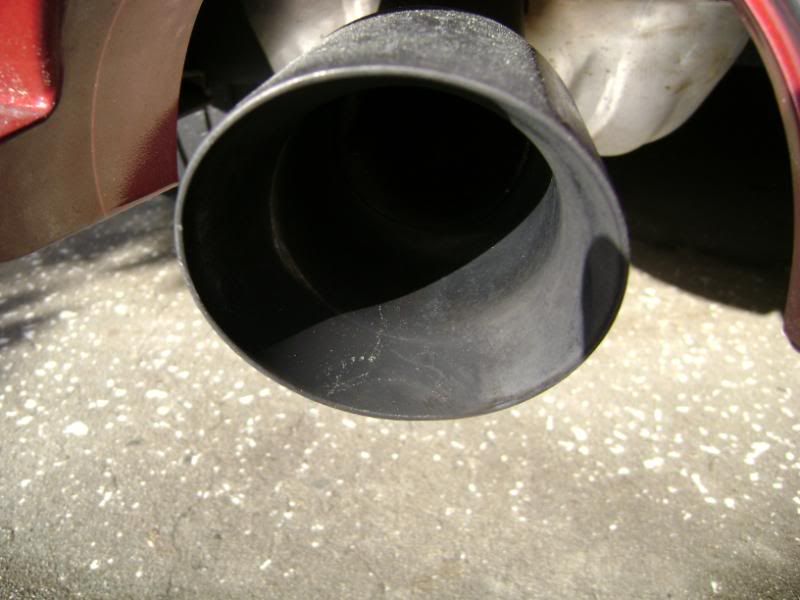
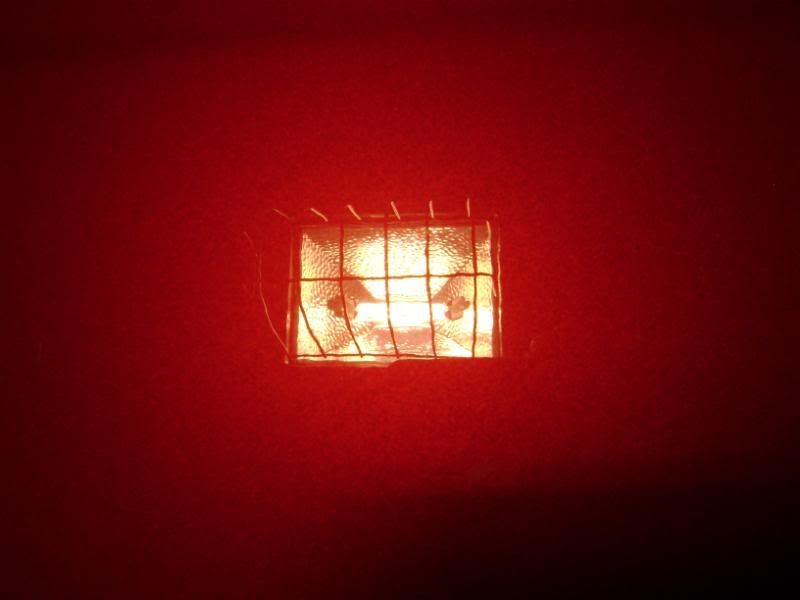
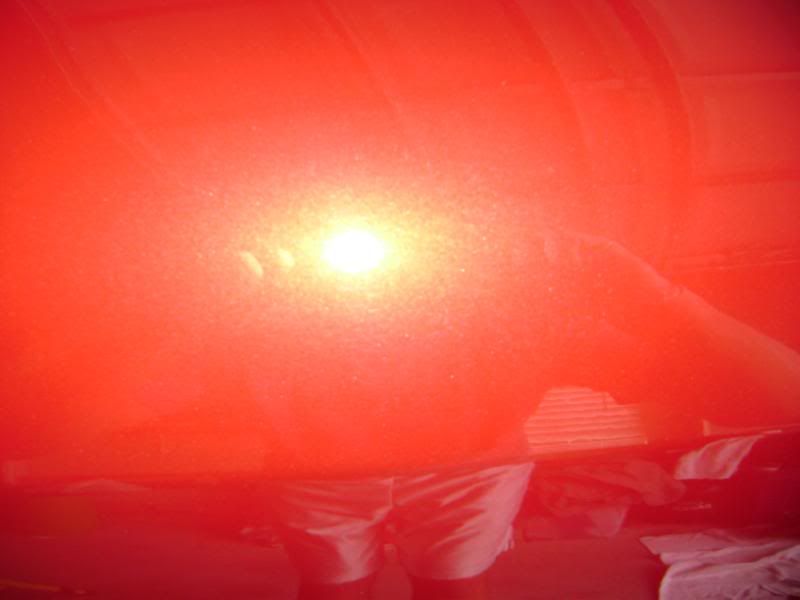
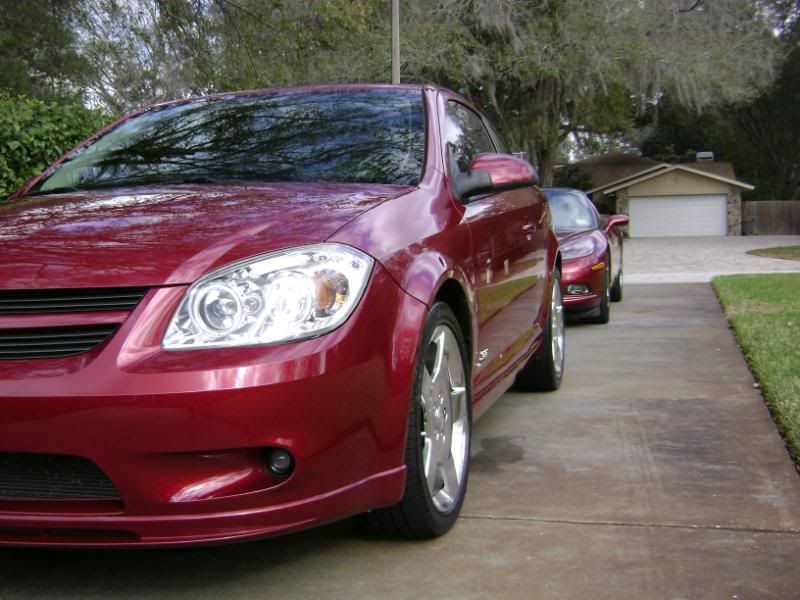
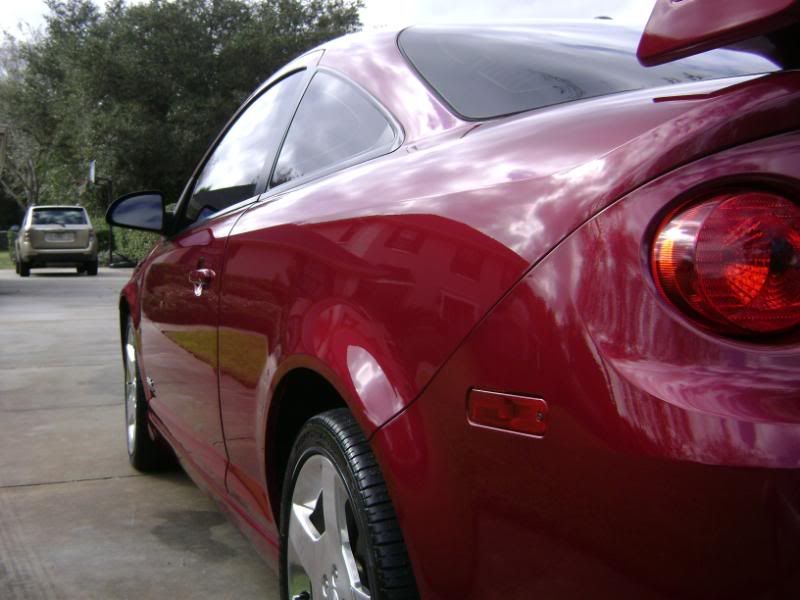
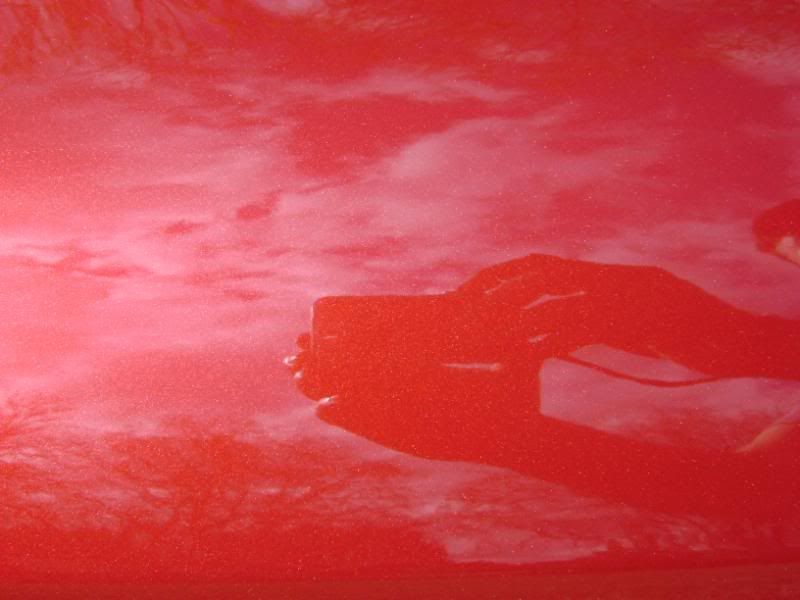
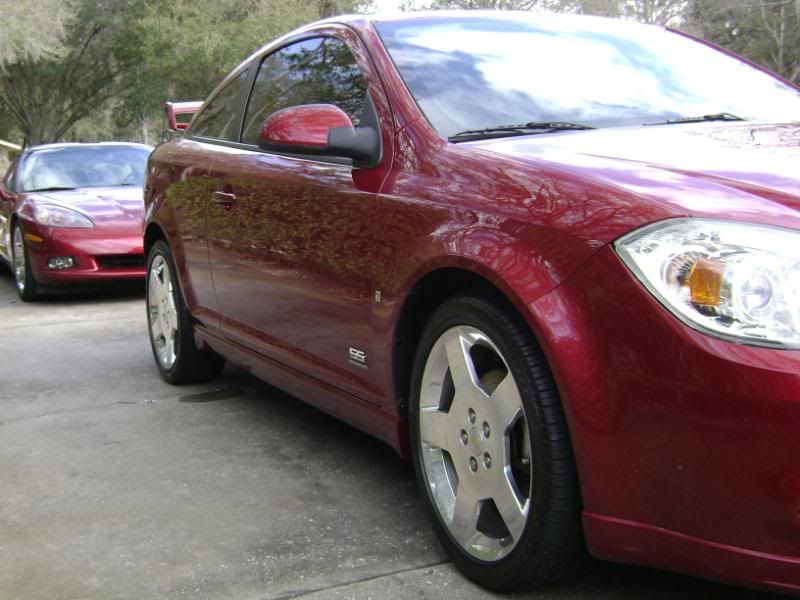
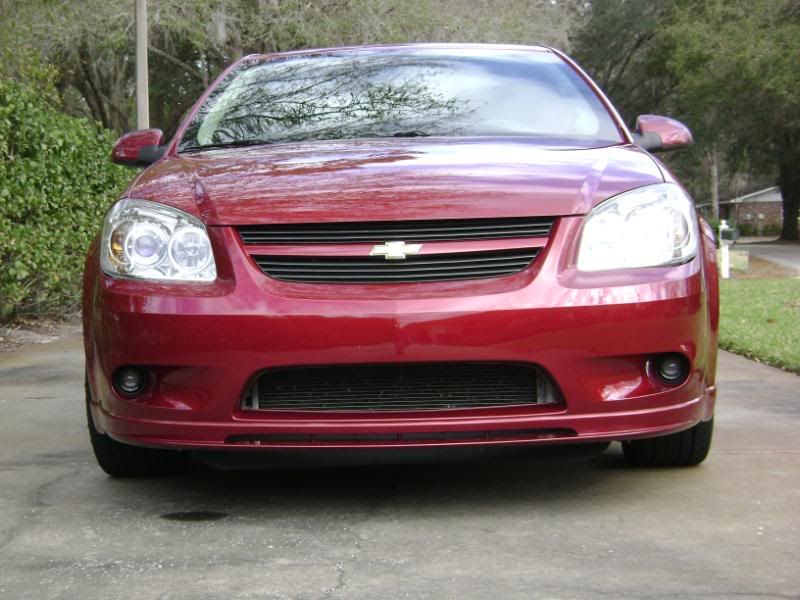
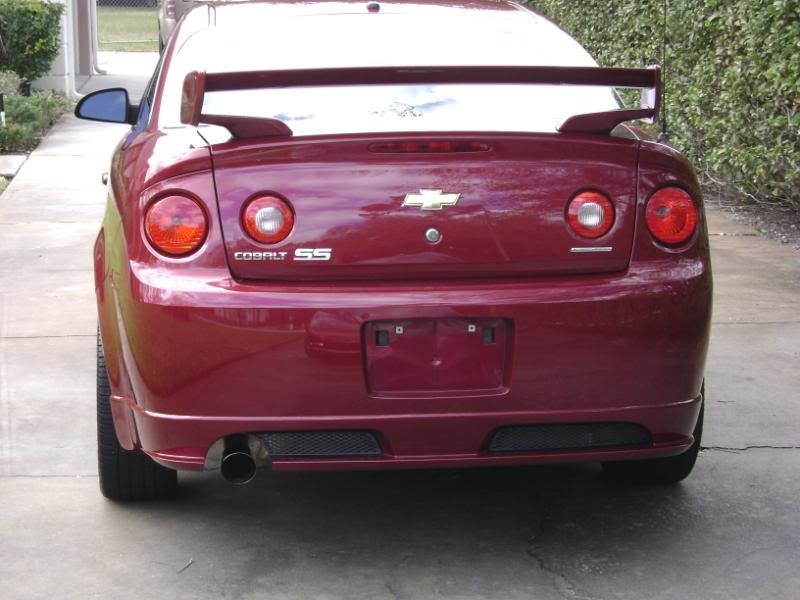
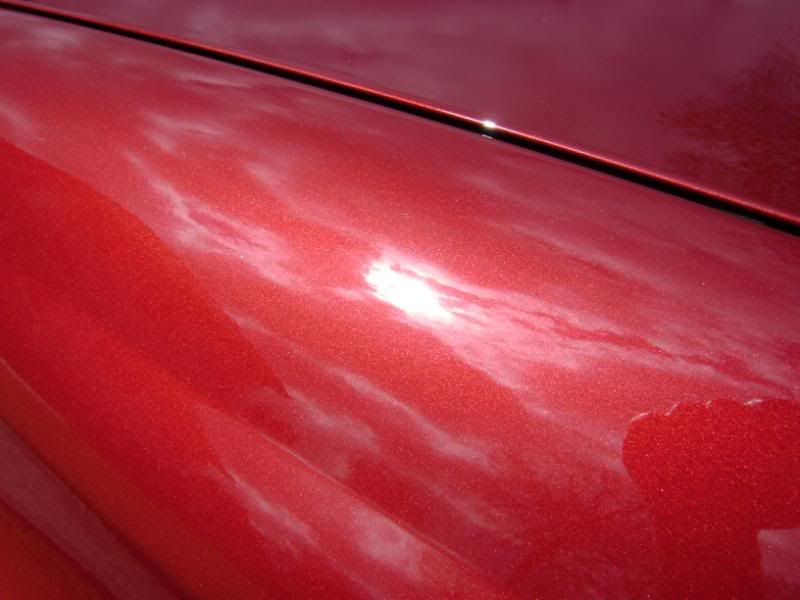
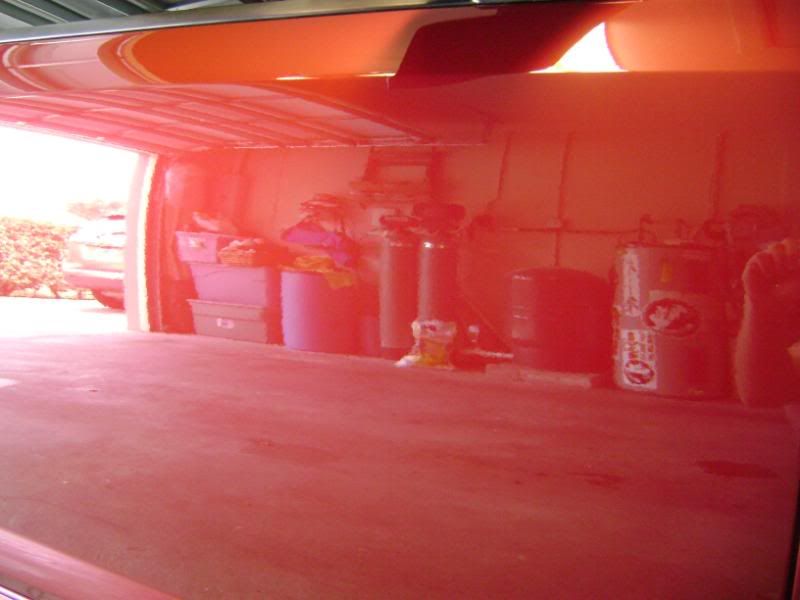
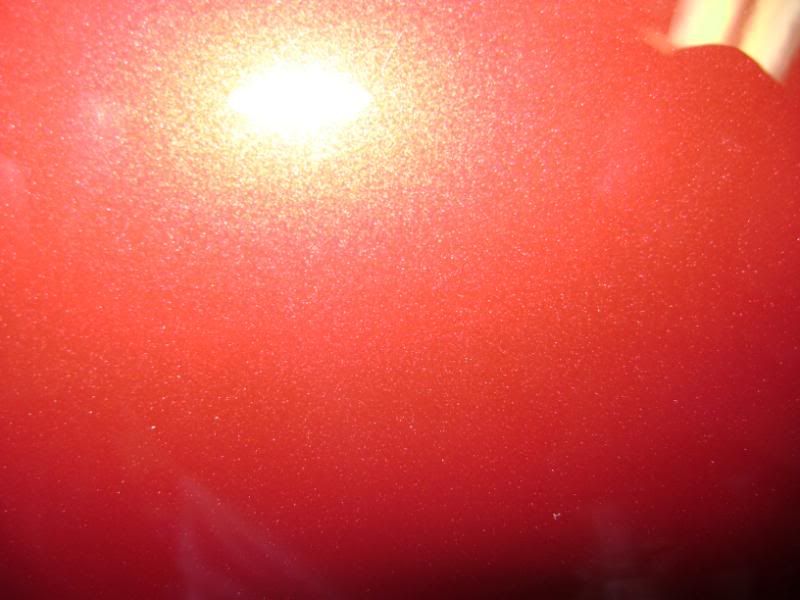
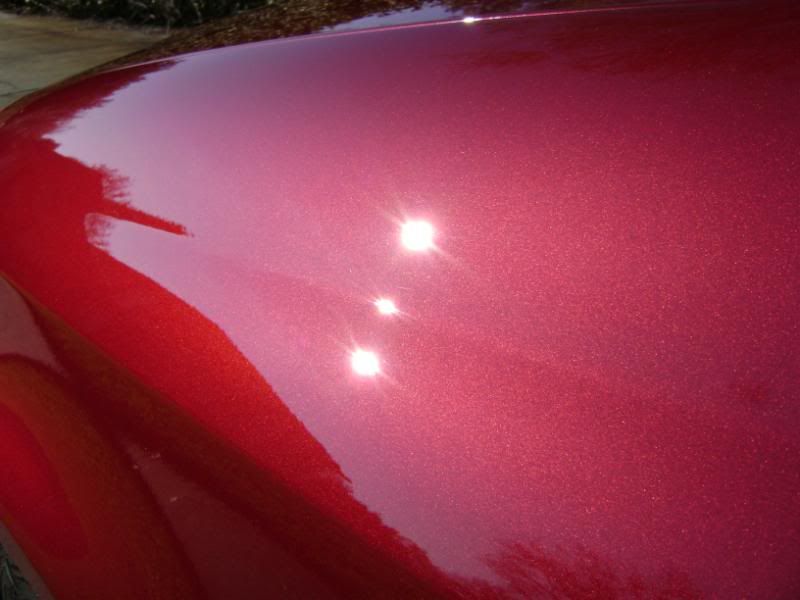
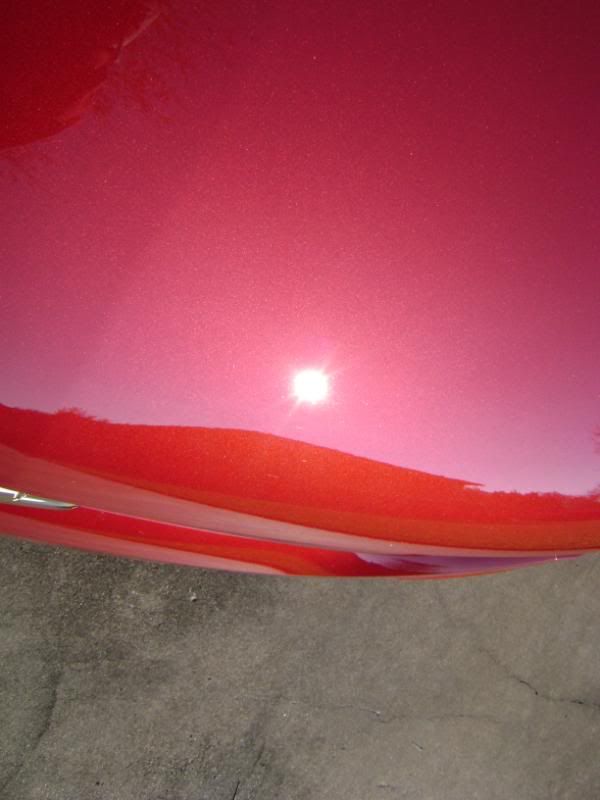
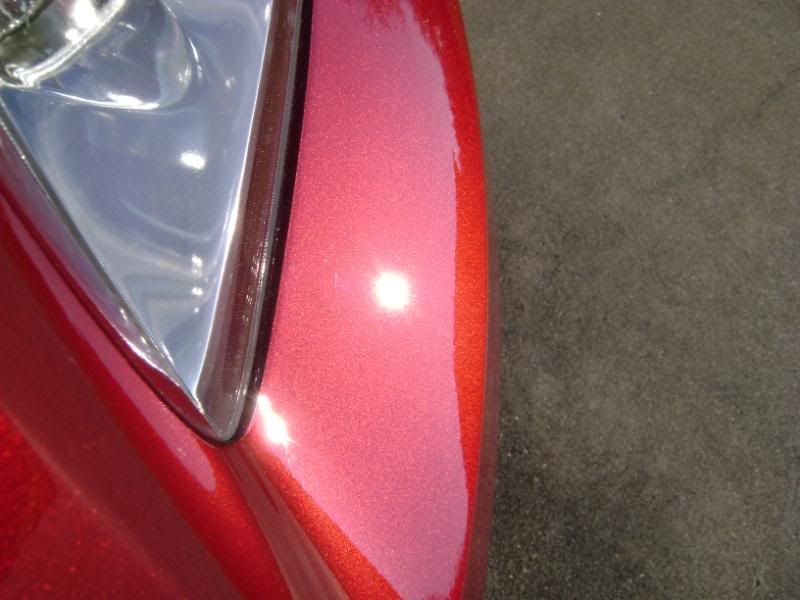
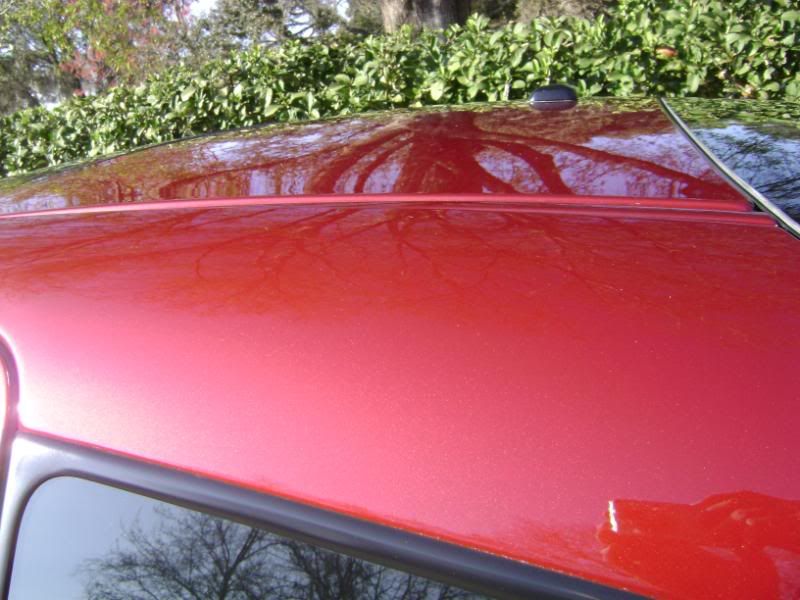
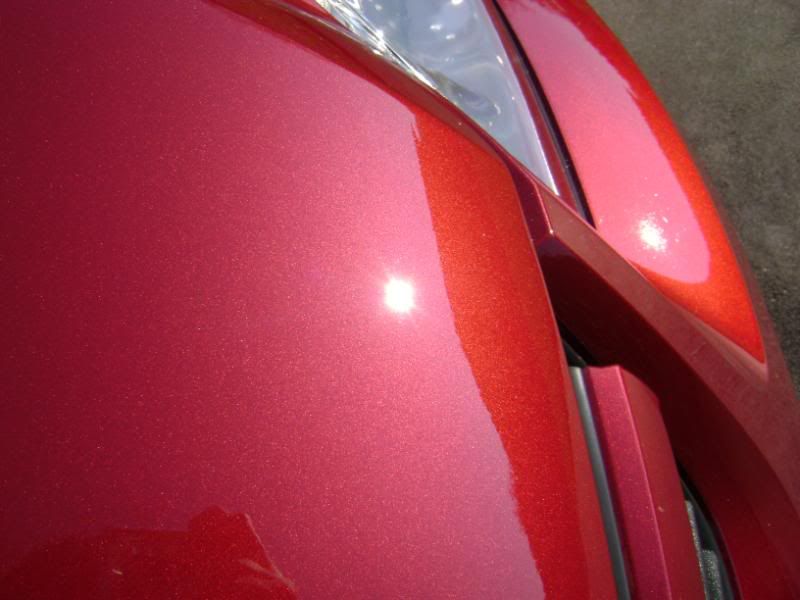
These are all the after shots of just using 3M Ultrafine polish and a 5.5" Blue LC CCS pad using the Dewalt 849 at 1500 RPMs, and after a coat of Poorboy's Work Natty's Blue paste wax.
I apologize in advance for the bad quality sun shots. It was overcast and the sun was just not cooperating. I even planned on getting a few today, but it's just not sunny out.

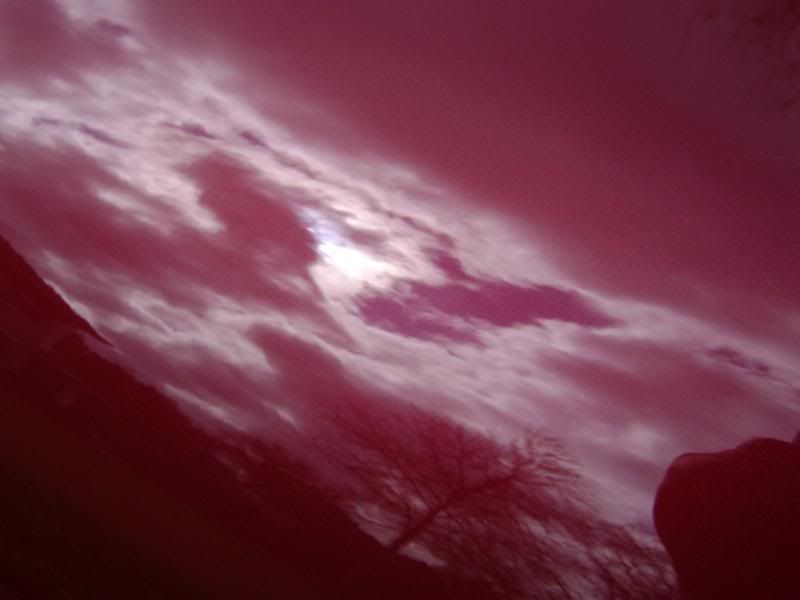
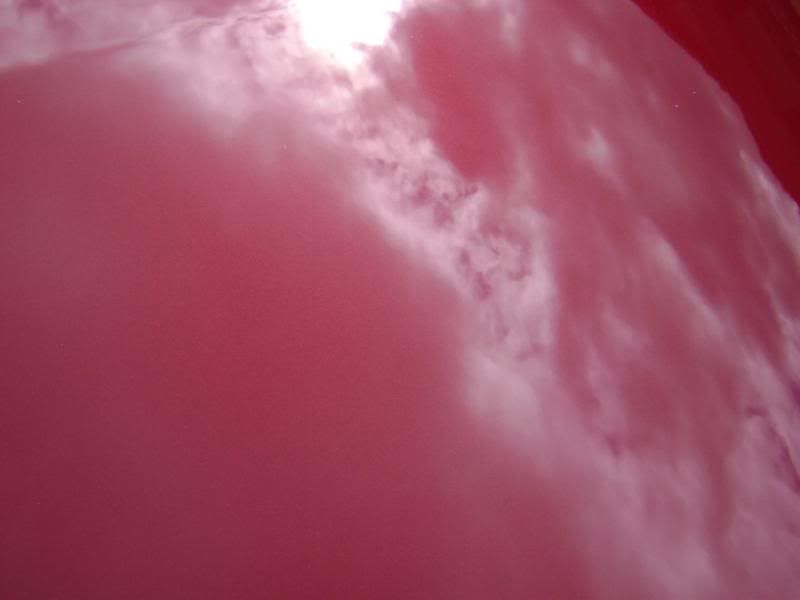
I apologize in advance for the bad quality sun shots. It was overcast and the sun was just not cooperating. I even planned on getting a few today, but it's just not sunny out.
 02-07-2010, 04:34 PM
#4
Senior Member
Thread Starter
Join Date: 08-06-08
Location: Tampa, FL
Posts: 535
Likes: 0
Received 0 Likes
on
0 Posts

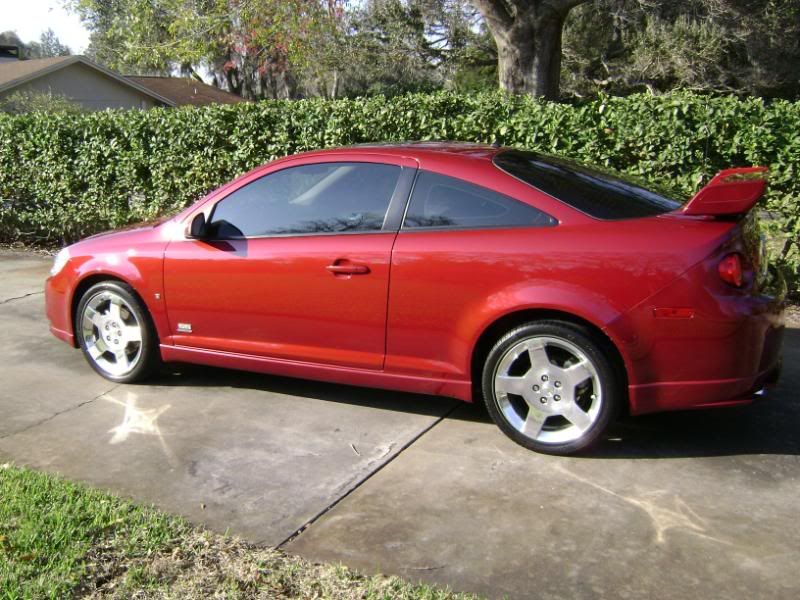
Thanks for taking the time to check out my detail! I think it's kind of nice knowing that I really won't have to ever do a big correction again because I'm able to maintain the finish with proper washing techniques. Any comments or questions are welcome!!
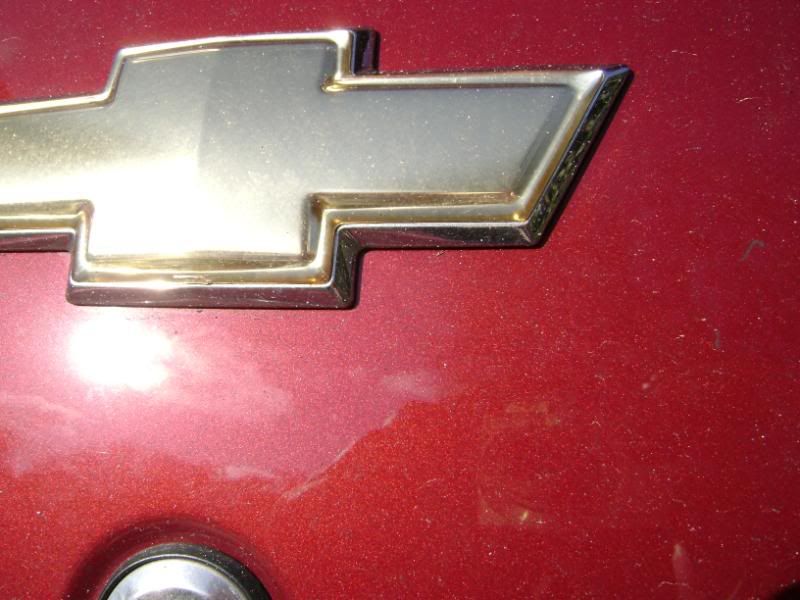
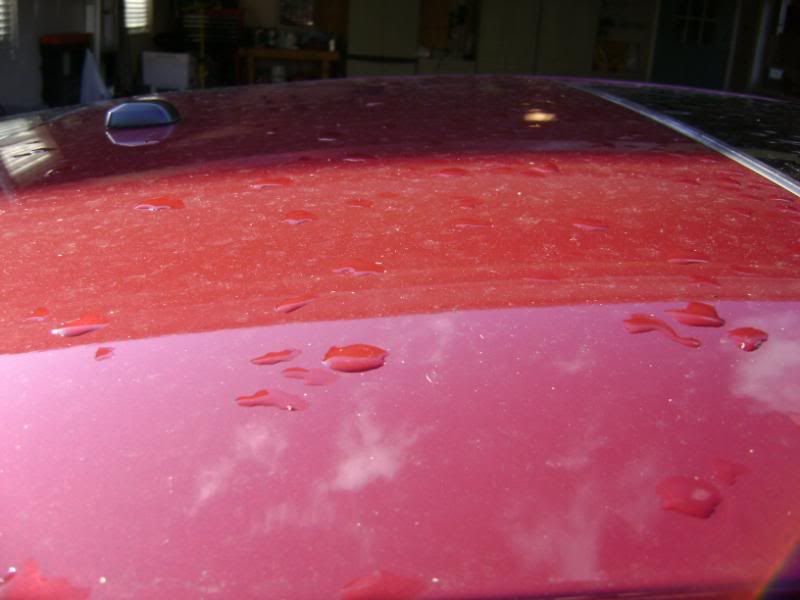
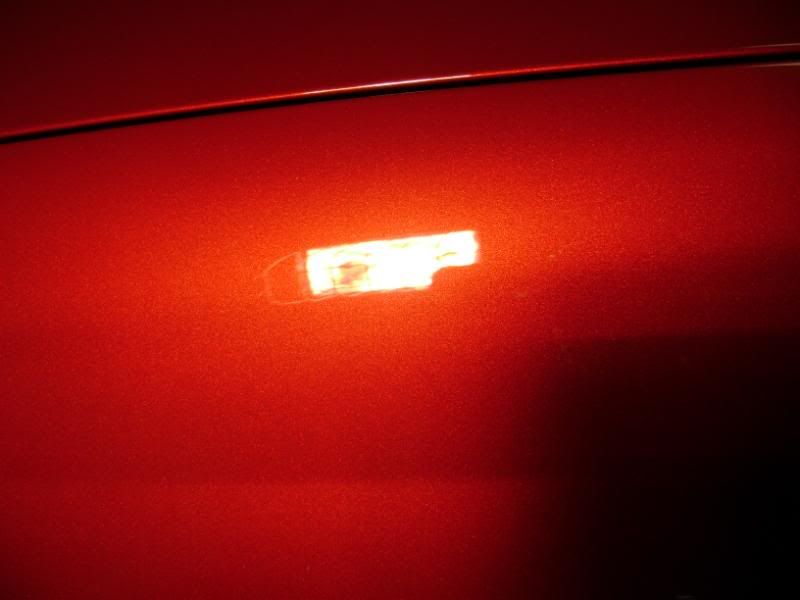
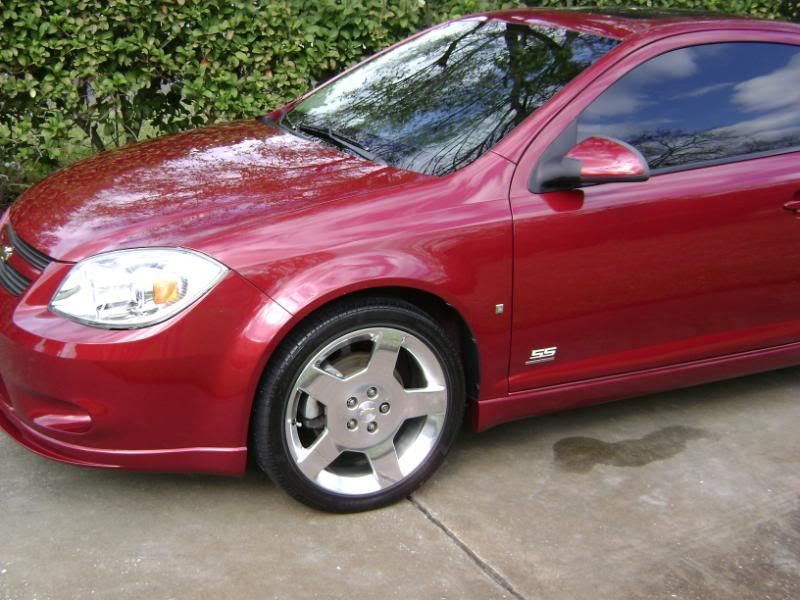
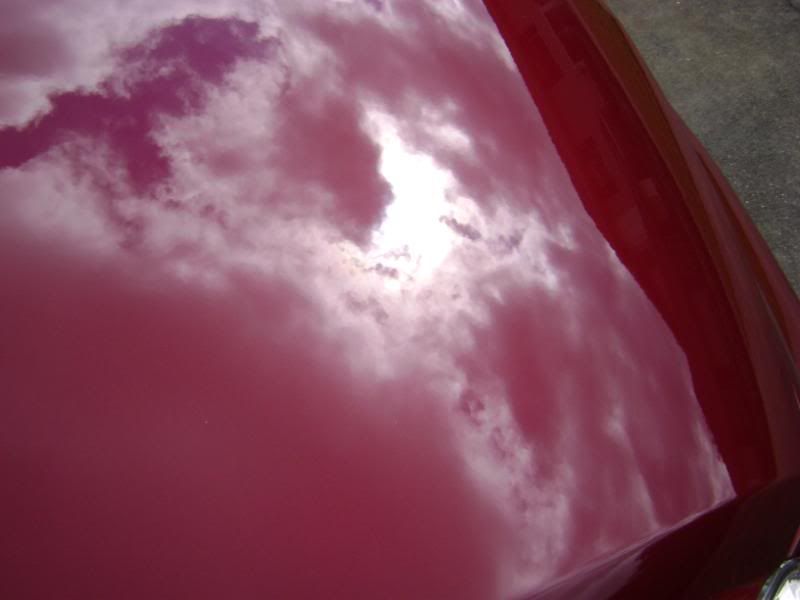
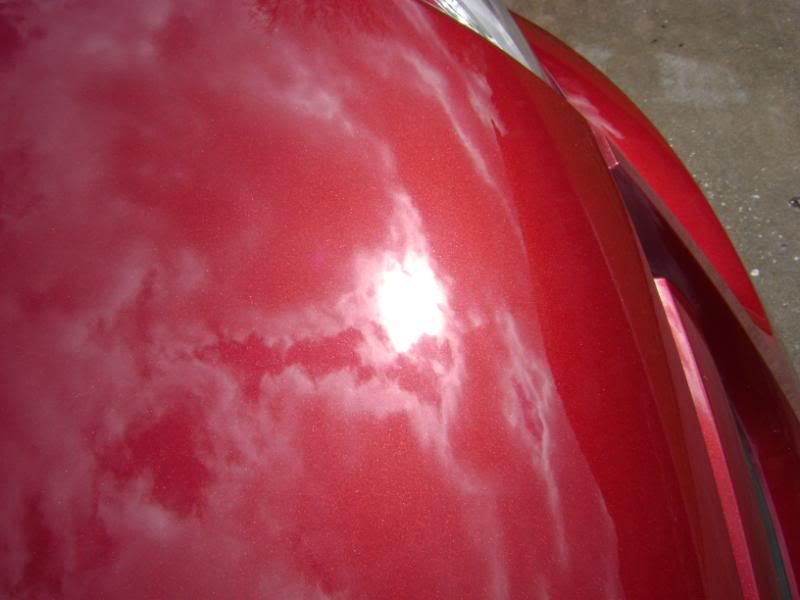
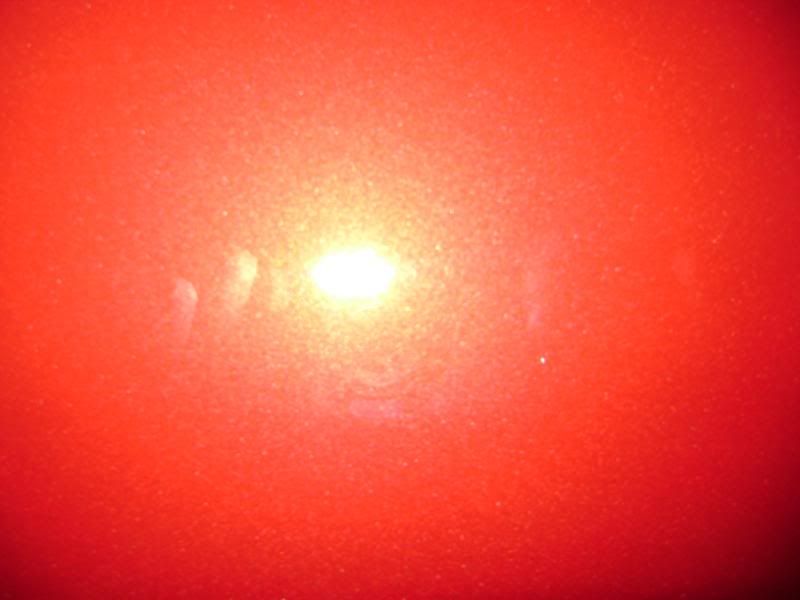
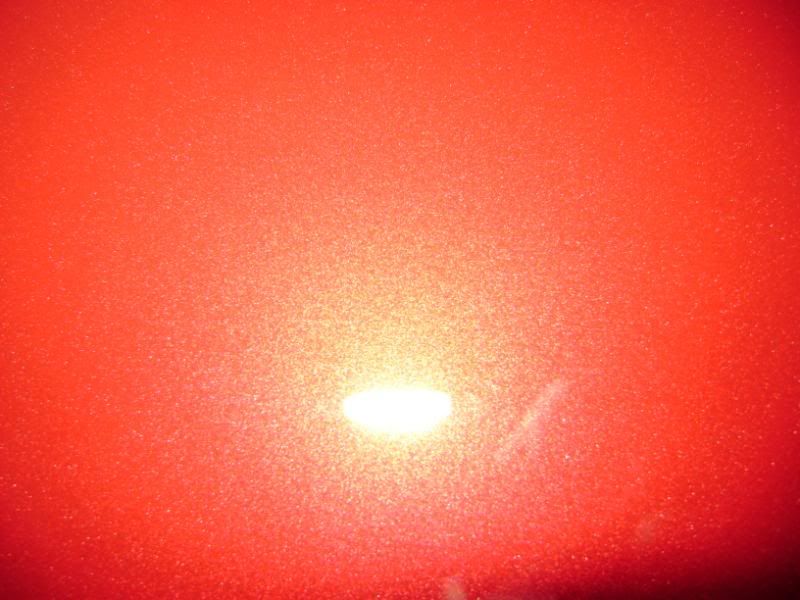
As an update, of course after I posted these up and went to lunch, the sun came out. I snapped a few sun shots.
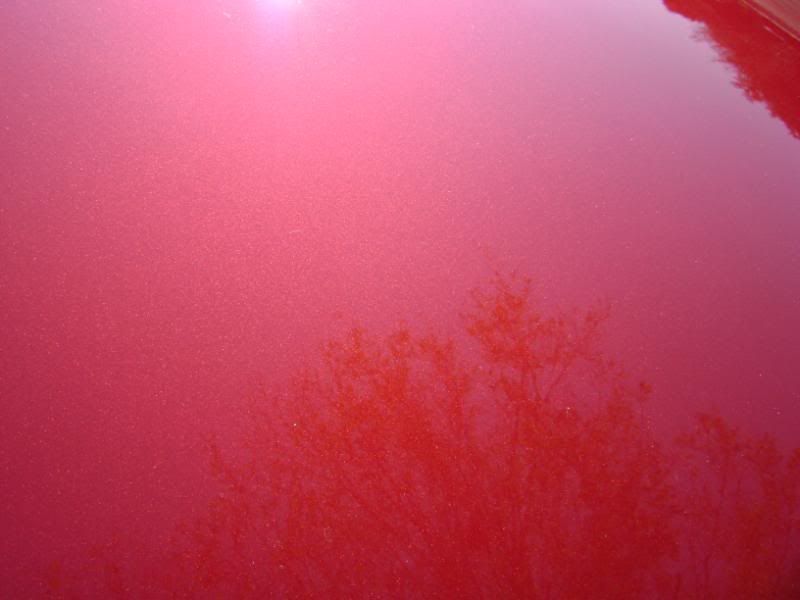
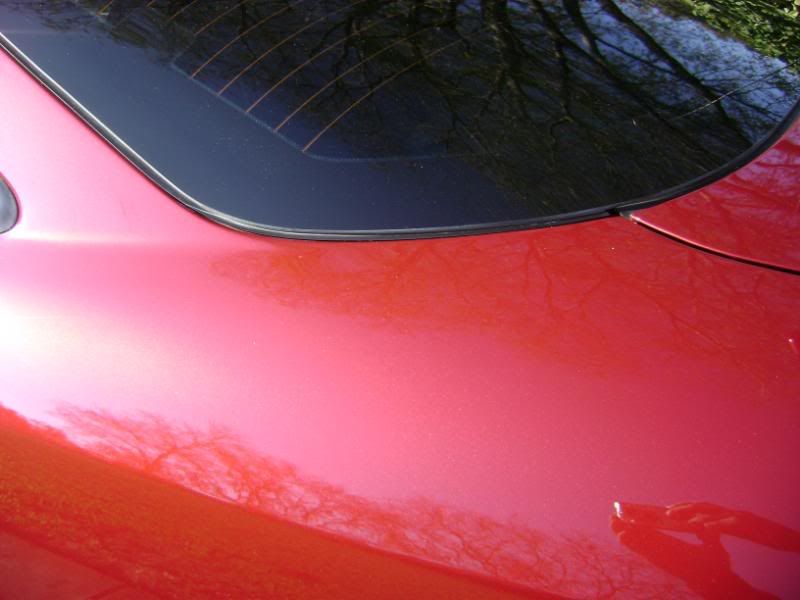
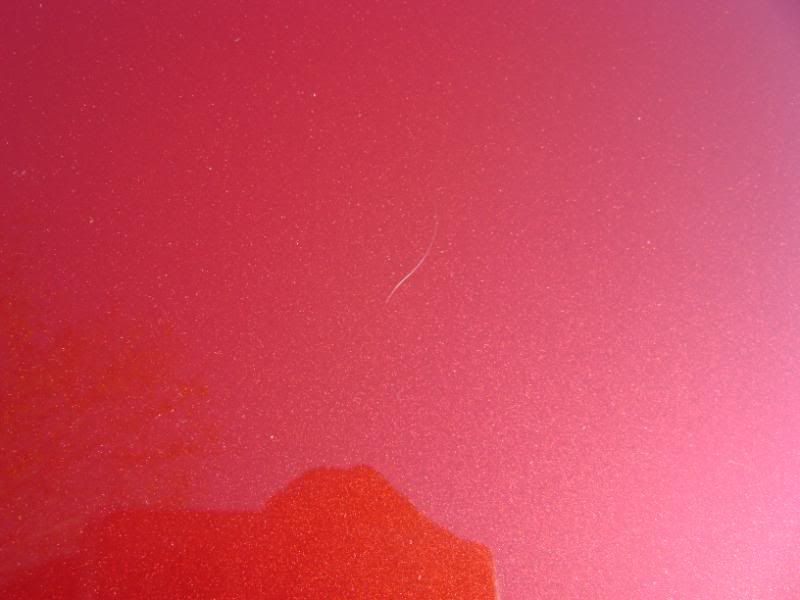
That is a strand of dog hair from sitting in the garage overnight...not a scratch.

 02-07-2010, 05:06 PM
#8
Senior Member
Thread Starter
Join Date: 08-06-08
Location: Tampa, FL
Posts: 535
Likes: 0
Received 0 Likes
on
0 Posts
 02-08-2010, 07:27 PM
#10
Senior Member
Thread Starter
Join Date: 08-06-08
Location: Tampa, FL
Posts: 535
Likes: 0
Received 0 Likes
on
0 Posts
 02-09-2010, 12:44 AM
#14
i actually only post up there once in awhile. i do a ton of cars on the side but i've never been into taking pics. my work speaks for itself and all my clientel has come strictly off peoples word of mouth and giving my business cards away. as of spring though ill be opening a little shop as a side gig from doing paint work....figure when people get off work around 4-6 and im switching jobs it would be easiest to come swipe their cars and take care of it for them. but yeah car definately looks good. nice to see someone that gives a crap about the crappy paint on these cars lol.
02-09-2010, 12:56 AM
#15
Senior Member

Join Date: 11-20-07
Location: Pittsburgh, Pistolvania
Posts: 2,961
Likes: 0
Received 1 Like
on
1 Post
Looks good.
And damn you for being in a spot warm enough to do that. If I even attempt to throw my car through the local auto-wash, it freezes over within a minute.
And damn you for being in a spot warm enough to do that. If I even attempt to throw my car through the local auto-wash, it freezes over within a minute.
02-09-2010, 06:28 AM
#16
Senior Member
Thread Starter
Join Date: 08-06-08
Location: Tampa, FL
Posts: 535
Likes: 0
Received 0 Likes
on
0 Posts
Thanks!!
That sounds like a great idea. I've always been into detailing just for fun. Heck...if I can't have a fast car, it can at least look good. I'm horrible at picture taking. I get too into the work and don't want to stop for a picture.
Lol...no auto-washes. Get some Optimum No-Rinse and a bucket and you're good to go man.
i actually only post up there once in awhile. i do a ton of cars on the side but i've never been into taking pics. my work speaks for itself and all my clientel has come strictly off peoples word of mouth and giving my business cards away. as of spring though ill be opening a little shop as a side gig from doing paint work....figure when people get off work around 4-6 and im switching jobs it would be easiest to come swipe their cars and take care of it for them. but yeah car definately looks good. nice to see someone that gives a crap about the crappy paint on these cars lol.
Lol...no auto-washes. Get some Optimum No-Rinse and a bucket and you're good to go man.
 02-09-2010, 05:59 PM
#18
Senior Member
Thread Starter
Join Date: 08-06-08
Location: Tampa, FL
Posts: 535
Likes: 0
Received 0 Likes
on
0 Posts
 02-09-2010, 07:14 PM
#20
Senior Member
Thread Starter
Join Date: 08-06-08
Location: Tampa, FL
Posts: 535
Likes: 0
Received 0 Likes
on
0 Posts
