Brembo Caliper Replacement Decals
 01-30-2015, 12:27 AM
#1

Brembo Caliper Replacement Decals
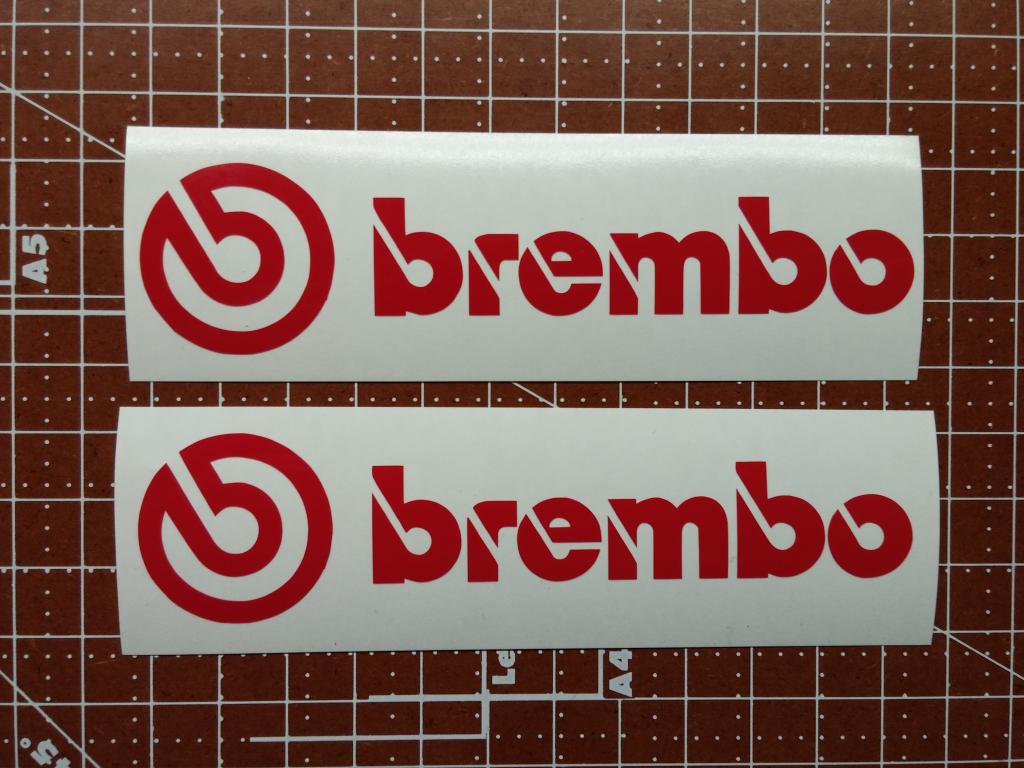
These are the exact size as your oem decals and can be ordered in any color you wish. The vinyl we use is high heat and should hold up just as your oem logos did.
BREMBO CALIPER DECAL
BREMBO CALIPER DECAL
Last edited by Sign_Something; 01-30-2015 at 10:11 AM.


 they came out great


 04-13-2016, 10:04 AM
#10
Senior Member
Do you guys recommend clearing over the decals or is it not necessary? also what do yall use to clean the calipers for repaint and new decals?
04-13-2016, 10:25 AM
#11
I used simple green and rubbing alcohol to clean mine. They still look mint.
04-13-2016, 10:37 AM
#12
I bought some clear coat in a rattle can but I heard mixed reviews. Some people have said the clear can start to yellow and crack and peal after a few years. The G2 caliper paint should remain glossy forever according to them. To clean, you can just get a damp cloth and wipe them.
The other reason to not clear them I read was if a decal got messed up, you could simply peel it off and put a new decal on it. With clear coat, the decal could get a wrinkle and to fix it, youd have to sand the clear coat off. Also, If I want to touch up the paint it will be alot easier not worrying about a clearcoat.
What I did step wise to prep and paint the calipers:
Time - 2 days. Save this for a weekend when you have no plans.
Materials - G2 caliper paint system, signsomething decal's, 220 grit wet/dry sand paper, 400 grit wet/dry sand paper, blue painters tape, a detail wire brush, a bigger wire brush, a 2" circular wirebrush drill bit attachment, a 3 ton hydraulic jack, four 3 ton jack stands.
be SURE to wear eye protection and a mask.
Step 1.) lift the car on all four corners. I had the ebrake on and lifted the front end first, then did the rear. I noticed one side of the back end of the car did not want to contact the jack so I used the hydraulic lift as support on that corner. make sure you loosen the lug nuts to hand tight before lifting so you can get them off. Disengage the ebrake once the wheels are off.
Step 2.) dissassemble the brakes on all four corners. Easier if the rotors and pads arent in the way. I then remounted the calipers to paint them while they are on the car.
Step 3.) Wirebrush all 4 calipers really well, inside and out. Get all the brake debris off of them. Use the brushes to get the hard to reach areas and the 2" circular wire brush bit to get the outside of the calipers (paint should start to come off).
Step 4.) sand using the 220 grit sand paper on all surfaces of the calipers you plan to paint. Follow up with wire brushing using both the 2" circular bit on the drill and the brushes.
Step 5.) sand using the 400 grit sand paper on all surfaces of the calipers you plan to paint. Again wire brush using the 2" circular bit and the brushes.
At this point your caliper should appear semi-polished and metallic.
Step 6.) Using blue painters tape to mask off all areas you do not want paint to be.
Step 7.) mix the G2 caliper paint with included curing agent. Wait 15 minutes to allow the hardening agent to work, and mix thoroughly again. Dont worry about seeing bubbles. Once added, the paint will harden within 3-5 hours.
Step 8.) chose a caliper to start, apply the first coat ( it will appear very liquidy and the metal will show through, dont worry.) move on to the next caliper and apply first coat. Continue around till all caliper have there first coat. After 20 minutes from the first caliper coat (note it should take you more than 20 minutes to get through all the calipers and thats okay. Drier the paint the better.), apply the 2nd coat generously to the first caliper you painted. Make sure to lightly brush and spread the paint evenly. If you dont use enough paint or brush to hard, you can scratch off the 1st semi dry coat. Continue around to all the calipers again.
Step 9.) keep applying coats of paint in this manner until roughly 4 coats have been added. You should be able to achieve 4 coats on all four calipers with one kit. At this point you should notice the paint thickening. Quickly go through with a flashlight and look for any areas that require touch up. There will be some spots.
Step 10.) wait 24 hours for paint to dry before adding decals and assembling brakes. Note this is also a good time to put new rotors and pads on. The G2 paint states the paint take 2 hours to cure but do not Touch! your finger prints will imbed in the paint and dull it or worse, pull paint off. Its very tacky at this point. Just wait 24 hours..
Hint for applying decals. take a photo of the calipers to note where the Brembo logo lines up. The logo lines up differently on the left and right caliper. Please take note of that. Photo both calipers. I noticed the logo lines up with the lower outside brembo piston bump.
After 24 hours, you can put the wheels back on.
Last edited by CudaJoe; 04-13-2016 at 11:35 AM.
06-24-2017, 07:13 AM
#13
New Member

Join Date: 06-12-17
Location: Nova Scotia
Posts: 8
Likes: 0
Received 0 Likes
on
0 Posts
The brembo decals can still be bought from the forum sponsor as mentioned ? I see this post is old..
my brembo decals are wore off in places; would I put new decals right over old ones ?
thanks
now black car, aqua colorec chev bow ties , lug nuts; do I go with stock white stickers or teal or? Decisions lol
my brembo decals are wore off in places; would I put new decals right over old ones ?
thanks
now black car, aqua colorec chev bow ties , lug nuts; do I go with stock white stickers or teal or? Decisions lol


Thread
Thread Starter
Forum
Replies
Last Post
agentirons
Electronics, Audio, and Video
2
10-16-2015 02:11 AM
DANRICKARD
Problems/Service/Maintenance
8
10-01-2015 12:08 AM
importkiller
Problems/Service/Maintenance
11
09-30-2015 07:18 PM