


Gauge Pod


Thread Starter
Senior Member
Joined: 01-15-06
Posts: 2,382
Likes: 2
From: Rockwood, MI
Gauge Pod
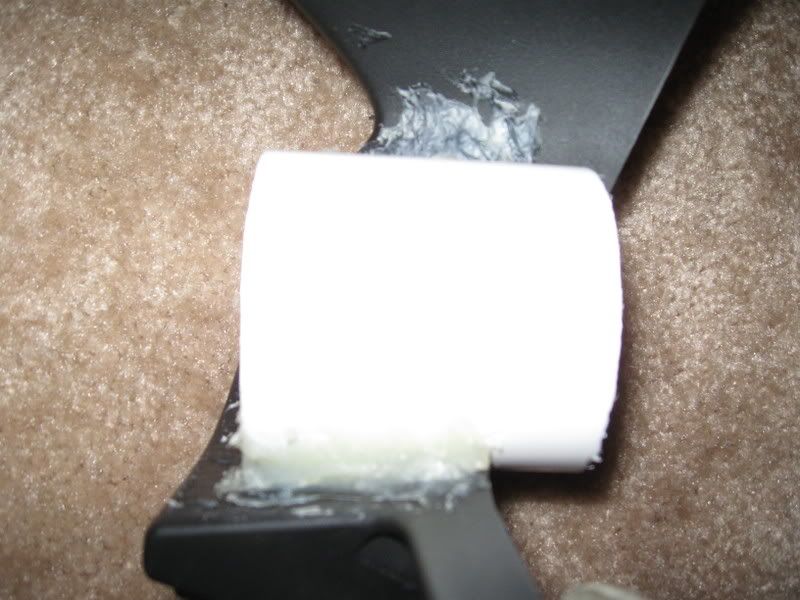
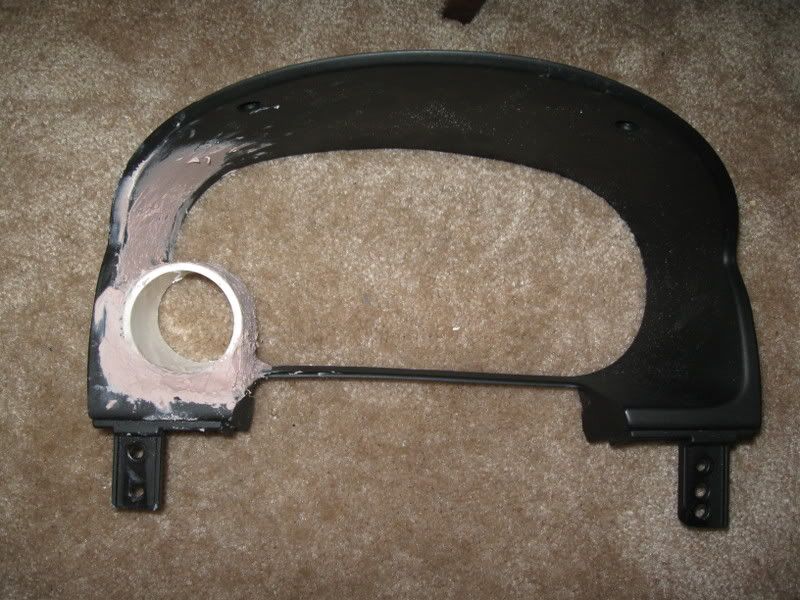
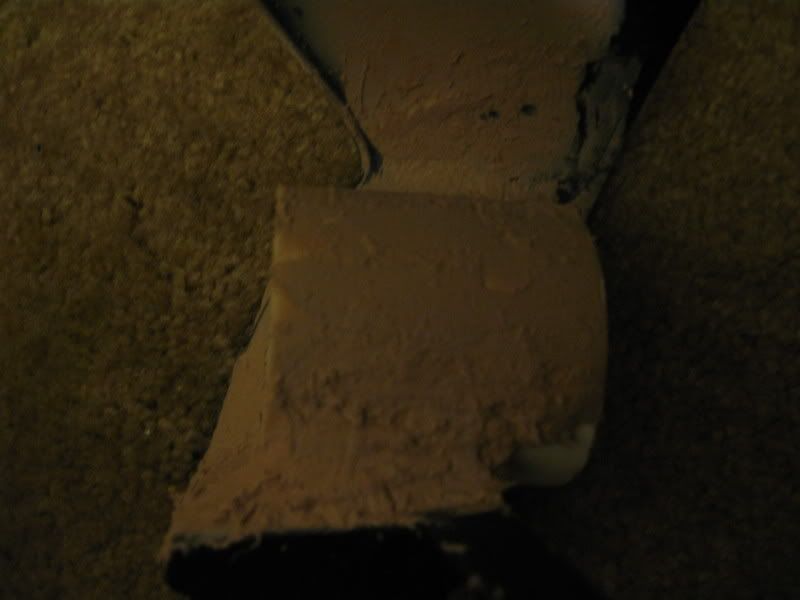
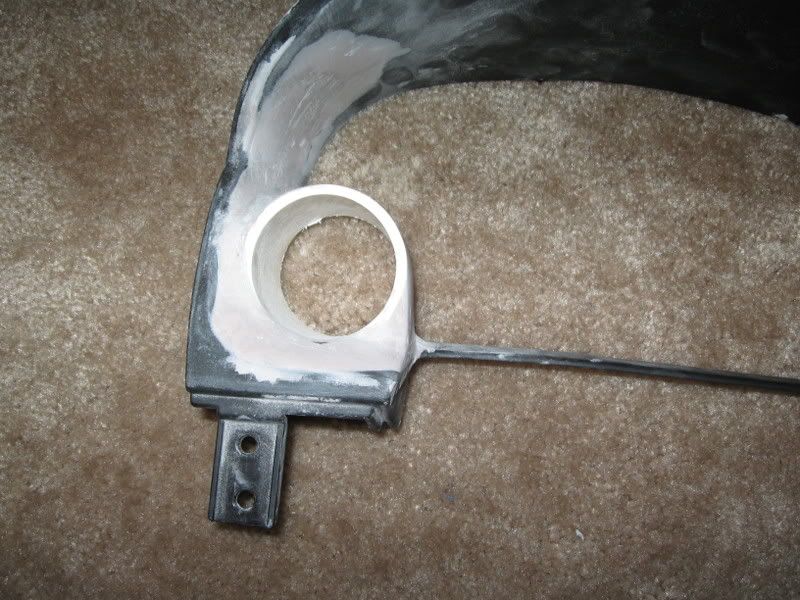
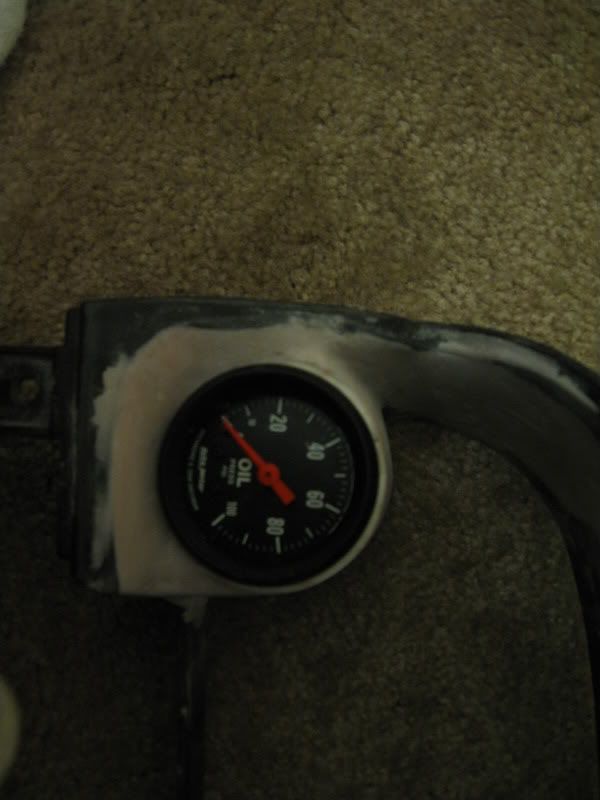
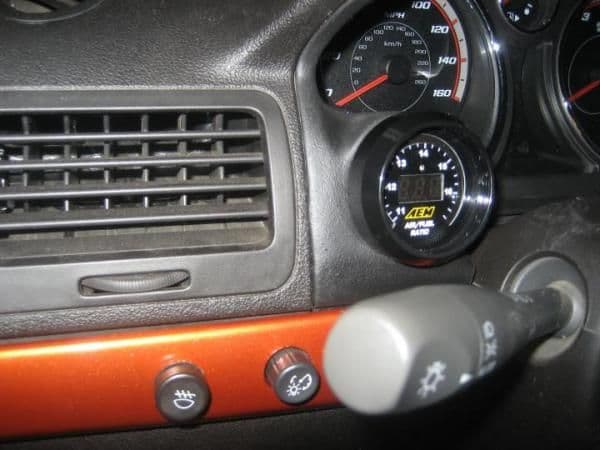
I started the bezel friday tonight after dinner and here are the steps I took so far. First I cut a hole for the PVC (sorry no pic currently). I then cut a piece of PVC about 3-4" long and used plastic bond epoxy to attach it. I then sanded the epoxy applied some bondo. I sanded this down with 100, 220, 320, & 400 sandpaper. Note that the PVC pipe needs to be cut about a 1/2" off the back at an angle to fit properly in the car. I decided to bondo everything before actually cutting it down to proper size. Also you may notice the gauge change from oil pressure to water temp. This is due to the fact the line adapter for the mechanical oil gauge doesn't have enough clearance in the limited cluster area. Here are some pics of the process.





Thread Starter
Senior Member
Joined: 01-15-06
Posts: 2,382
Likes: 2
From: Rockwood, MI
Ya, your setup might have given me the added clearance that I needed for the oil pressure gauge but o well. I will probably just put it in the pillar instead.

Senior Member
Joined: 08-23-08
Posts: 1,097
Likes: 0
From: strawberry plains, tn
they have said this before then back out after, i actually don't want duals just need single and the column pod is so flimsy... but i'll probably get a friend locally to do it for me i was just giving you mad props on it 


Thread Starter
Senior Member
Joined: 01-15-06
Posts: 2,382
Likes: 2
From: Rockwood, MI
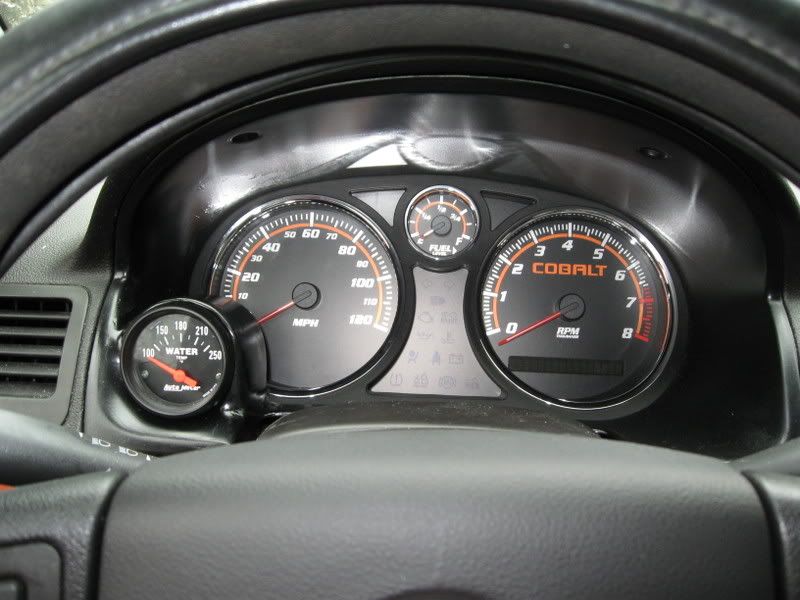
Here are some final pics of it installed on the car along with my new gauge faces from BCC. I however did not install the LED kit because 1 I could not get the old light out and didn't want to risk damaging anything and 2 the stock lights put out enough light. Also as an FYI the gauge has not been hooked up yet.
Lights Off
Lights On

Lights Off
Lights On

Senior Member
Joined: 05-25-08
Posts: 698
Likes: 1
From: Edson, Ab
Looks really good man. I just completed my dual gauge bezel and it took me like 30 hours. I guess I am a perfectionist so the sanding and filling became very time consuming. I will post pics of it today to see what others think.. Anyhow, very nice work especially for your first crack at it
Thread Starter
Senior Member
Joined: 01-15-06
Posts: 2,382
Likes: 2
From: Rockwood, MI
Thanks. I know what you mean about the sanding. I was going to do a dual pod but just didnt have the patience to do both this weekend. I figured one that is 1/2 way decent was good for the first shot. Eventually I will probably take it back out and perfect the defects and ad another pod.


Thread Starter
Senior Member
Joined: 01-15-06
Posts: 2,382
Likes: 2
From: Rockwood, MI
Jn2 how did you get the textured look for your pod. I kind of like that better than the smooth look and would hide a lot of my defects.
because I like to see the outside temp and milage on the dic and eliminated the need to constantly cycle threw it to get to the water temp. Also while racing at the track I want to be able to make note of engine temp and outside temp quickly before each run and this will make it a bit easier to do. I also plan on putting in a voltage and oil pressure gauge
Jn2 how did you get the textured look for your pod. I kind of like that better than the smooth look and would hide a lot of my defects.
Jn2 how did you get the textured look for your pod. I kind of like that better than the smooth look and would hide a lot of my defects.

Senior Member
Joined: 10-27-08
Posts: 1,420
Likes: 0
From: ohio
lol just use some undercoating... not rilly but they sell a spray can that makes it textured like that.( advanced, autozone, walmart( maby), oriely, napa... what ever auto part store u go to most likely.


mine is damaged; the bondo seperated from the plastic when i was putting it in, it didnt give enough since it has to slightly bend for like 1 second while i slid into to place back behind the steering wheel, than when i tighened it down with the screw on the bottom it cracked right under the guage, till this point it cant tighen it more bc i fear if i make it tigher it will crack more
 but slowbalt said he'd fix it for me, also the gauge pod didnt allow the guages to sit flush so i had to dremel it, but i cannot for the life of me get the left gauge to sit flush, i got the right one, but the left one is a bitch, no matte rhow much i dremel i cant get it to sit in there right

Thread Starter
Senior Member
Joined: 01-15-06
Posts: 2,382
Likes: 2
From: Rockwood, MI
I didnt use the mounting bracket that came with the gauge. I just added some electrical tape around the middle of the gauge to make it fit nice and snug and cut down the mounting bolts to that it fit properly
ps ur sig is a size violation lol 20pixels to high
