Post pictures of your custom interior!


 10-10-2010, 10:11 AM
#152
Senior Member

Join Date: 10-31-09
Location: the darkness
Posts: 2,652
Likes: 0
Received 0 Likes
on
0 Posts
steering pod i built for someone(not gloss paints still wet)

single bezel pod i did for scythe snake(can do duals too)


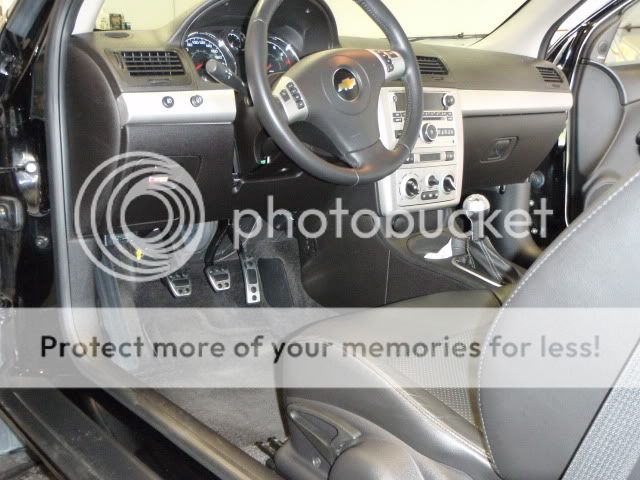
my interior
hardwired valentine one

custom dash


cutout/halo switches

custom seat brackets and recaros


black headliner/interior


 10-10-2010, 01:42 PM
#155
Senior Member
iTrader: (2)
Join Date: 05-10-08
Location: Kure Beach, NC
Posts: 11,788
Likes: 0
Received 0 Likes
on
0 Posts
looks good matt! dude wtf u use such a small amoutn of filler on ur gauge pods. lmao i build them up like a **** and it takes forever to sand. i should do it ur way i like that

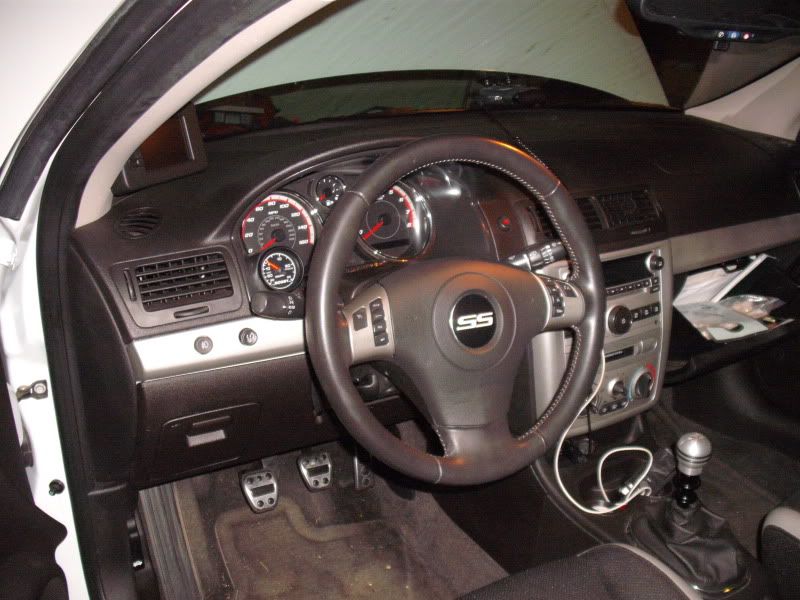
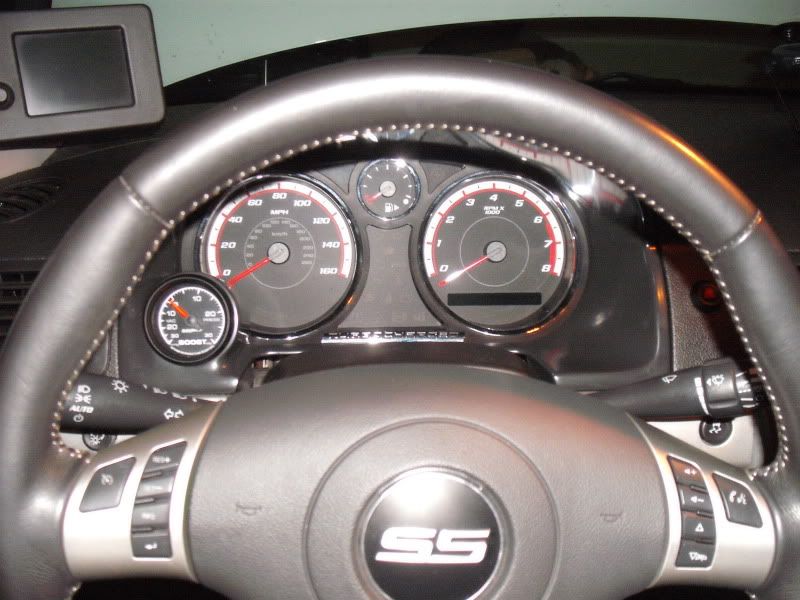
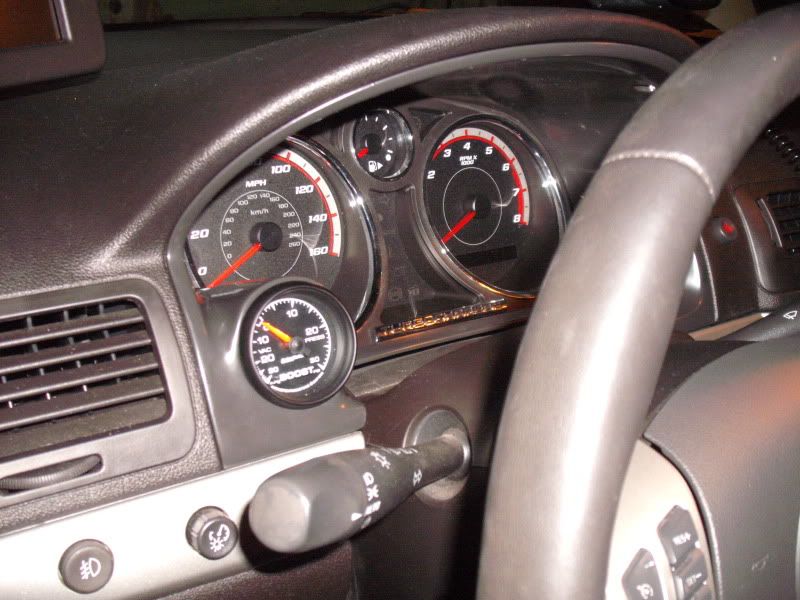
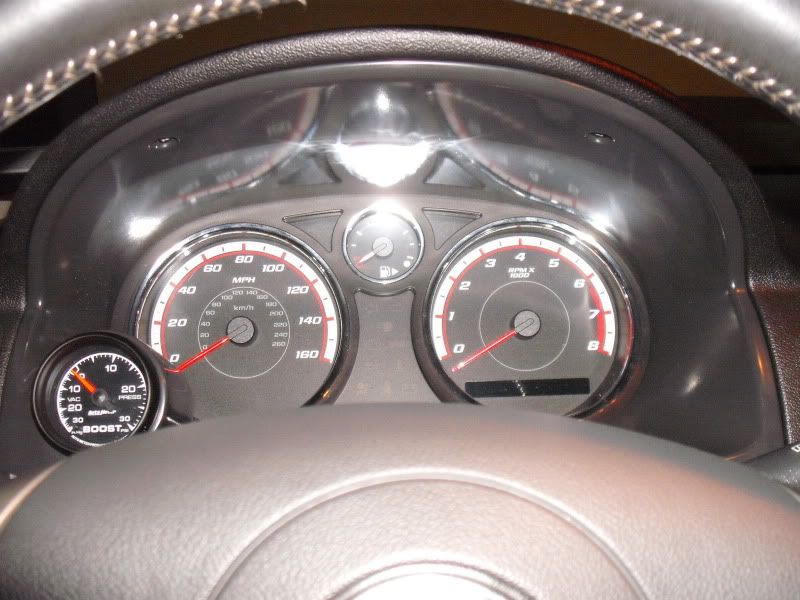
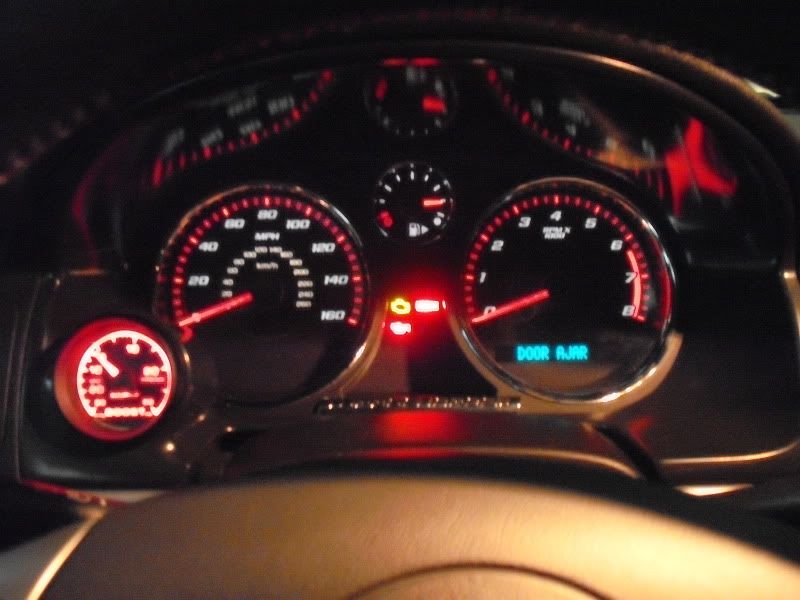
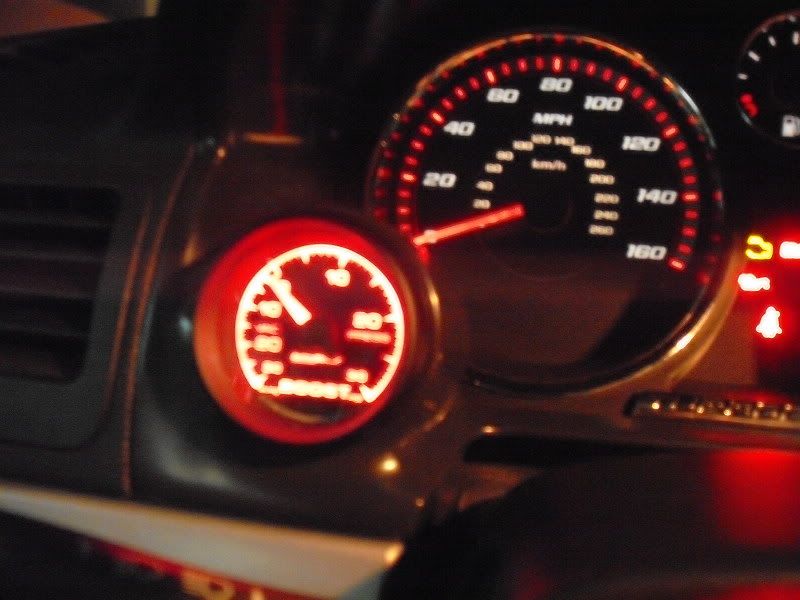
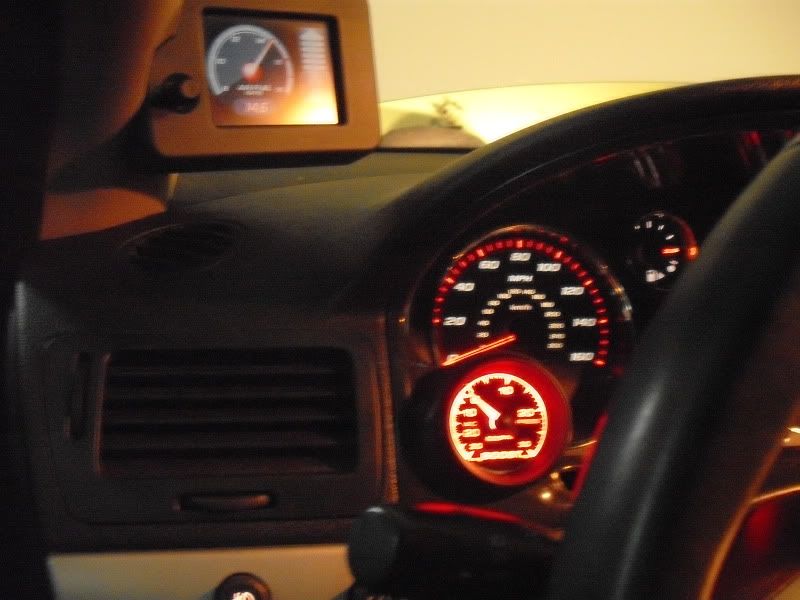
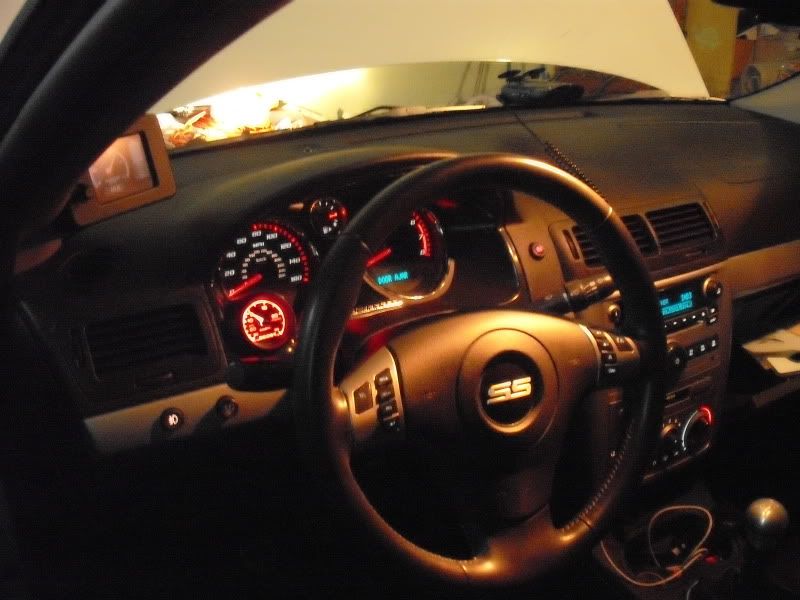
Heres my new interior pics! Im gonna swap my interceptor n boost gauge today since i dont like having a red gauge on the right with a black bezel and a stock gauge on the left with a chrome bezel. and one with a red display. just looks unbalanced to me. And i gotta get rid of that volts gauge and get something good, i just happened to have that sitting in my attic forever and threw it in my pod


Heres my new interior pics! Im gonna swap my interceptor n boost gauge today since i dont like having a red gauge on the right with a black bezel and a stock gauge on the left with a chrome bezel. and one with a red display. just looks unbalanced to me. And i gotta get rid of that volts gauge and get something good, i just happened to have that sitting in my attic forever and threw it in my pod
Last edited by Gestapo007; 10-10-2010 at 01:48 PM.
10-10-2010, 02:29 PM
#156
Senior Member
Join Date: 10-31-09
Location: the darkness
Posts: 2,652
Likes: 0
Received 0 Likes
on
0 Posts
looks good poo. tip for you. less filler is betta. lol.
no seriously though. the first picture doesnt really show how i glue it in good. i do it in 2 steps. glue the one side to ensure placement. sand it glue the entire thing in and glue the back. sand it all down. right theres a extremely good base to start from and half the filler work was done by the glue. i finish the glue in 80 grit. then i apply usually 2 sometimes 3 coats of filler depending on how i want it to look. sand it down, glaze it, sand again finish in 180. I DO THE BACKSIDE TOO NOT JUST THE FRONT before i get questions. prime it up, sand that paint away.
no seriously though. the first picture doesnt really show how i glue it in good. i do it in 2 steps. glue the one side to ensure placement. sand it glue the entire thing in and glue the back. sand it all down. right theres a extremely good base to start from and half the filler work was done by the glue. i finish the glue in 80 grit. then i apply usually 2 sometimes 3 coats of filler depending on how i want it to look. sand it down, glaze it, sand again finish in 180. I DO THE BACKSIDE TOO NOT JUST THE FRONT before i get questions. prime it up, sand that paint away.
 [/QUOTE]
 10-16-2010, 01:21 PM
#163


its a work in progress...I've already got new speedo gauges coming in so I'll redo the bezel when that happens. Then I'm heading to San Antonio for 5 weeks at the end of October. Thats when I will be dropping off my car do have the inserts on the seats and doors redone

 10-16-2010, 01:39 PM
#165
New Member

Join Date: 04-11-10
Location: Plymouth, MA
Posts: 61
Likes: 0
Received 0 Likes
on
0 Posts

 10-16-2010, 07:23 PM
#170
Senior Member
iTrader: (2)
Join Date: 05-10-08
Location: Kure Beach, NC
Posts: 11,788
Likes: 0
Received 0 Likes
on
0 Posts
honestly bro i think a darker metallic blue would be nicer. that baby blue just doesnt cut it for me. i mean thats my opinion obviously but seriously i think even maybe ud be happier with a darker metallic blue. even like an arrival blue color
10-16-2010, 08:19 PM
#171
Senior Member
Join Date: 10-31-09
Location: the darkness
Posts: 2,652
Likes: 0
Received 0 Likes
on
0 Posts
if your serious pm me. you wont be happy with the price though but understand how much work it really is
Last edited by whyyoumadson?; 10-16-2010 at 08:20 PM. Reason: Automerged Doublepost
10-16-2010, 08:21 PM
#172
Senior Member
Join Date: 10-31-09
Location: the darkness
Posts: 2,652
Likes: 0
Received 0 Likes
on
0 Posts

 10-16-2010, 08:38 PM
#175
Senior Member
iTrader: (1)

Join Date: 08-11-10
Location: Oklahoma City
Posts: 1,284
Likes: 0
Received 0 Likes
on
0 Posts
[QUOTE=hinow41;3865681]Well ill jump in on this heres what I did
Dome light

Red Leds in foot area

QUOTE]
I have done these two as well, but my foot area lights are blue
Dome light
Red Leds in foot area
QUOTE]
I have done these two as well, but my foot area lights are blue