
Valve Cover Polish

Thread Starter
Senior Member
Joined: 11-16-05
Posts: 11,137
Likes: 1
From: Central NY
Valve Cover Polish
Originally Posted by UPDATE
EDIT: I'm Finished!!
See end of post for results
See end of post for results
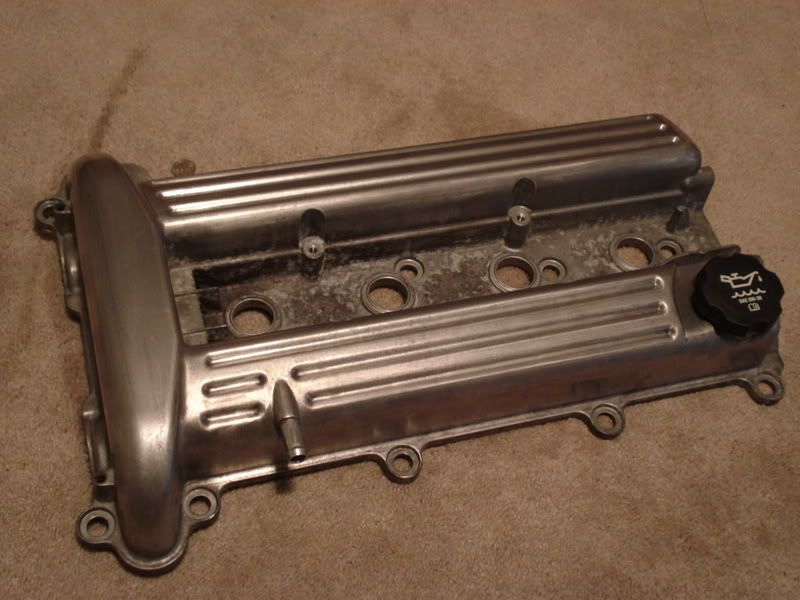
Went up to the junkyard today and tore the Valve cover of a 2.2 Cavalier, for 10 bucks, that had been there for quite a long time (2+ years with the hood open). It was quite a mess of corrosion and grime, but i was able to get it all off with some citrus cleaner and a good scrub with a brush after about 30 minutes it was set to go. I started with 400 grit and sanded it for a good hour and a half to get rid of the bigger imperfections, then I upgraded to 800 grit and got about another 45mins in before it got too dark to continue.
This is the result after 2.5 hours of sanding (hand sanding and electric sander)

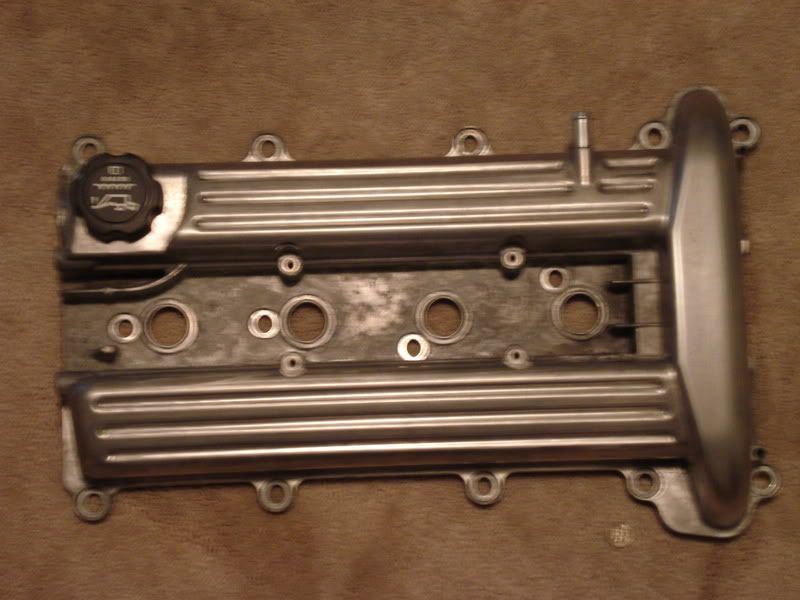
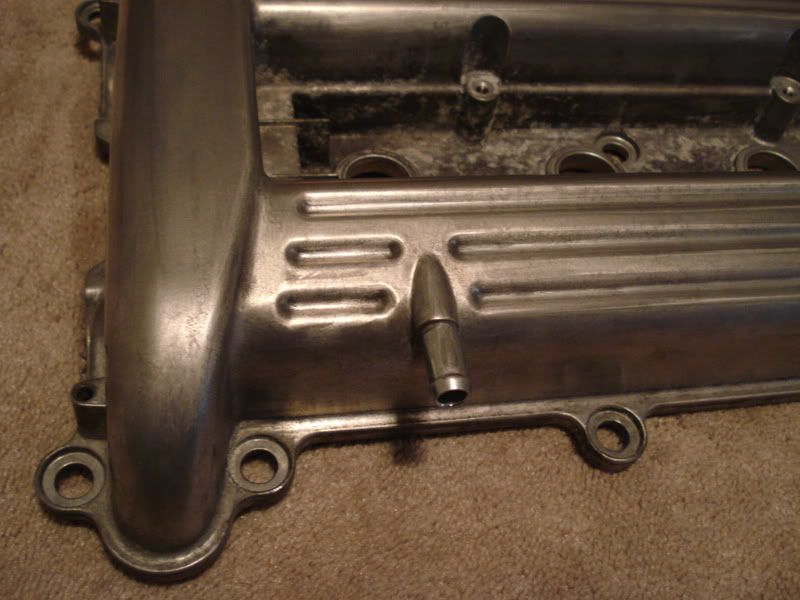
I've bought sandpaper all the way up to 2000 grit, so hopefully I can get a nice mirror finish out of it after about 8-10 more hours of work! Yes, i know the lower area inear the spark plugs is filthy, but after the coil pack is reinstalled, it wont be visible anyway.
My arm hurts already
Will update after every sanding session until its finished
This is not for the impatient or people with ADD

Before:

After:
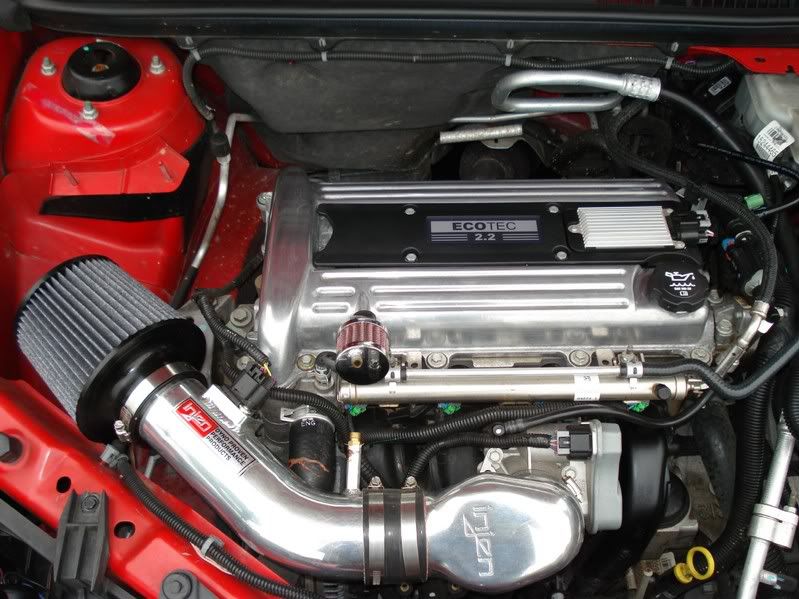
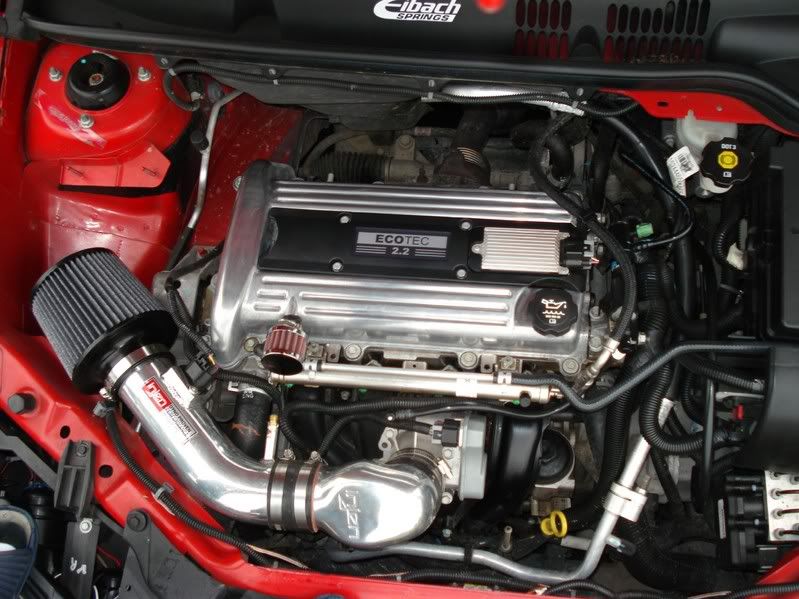
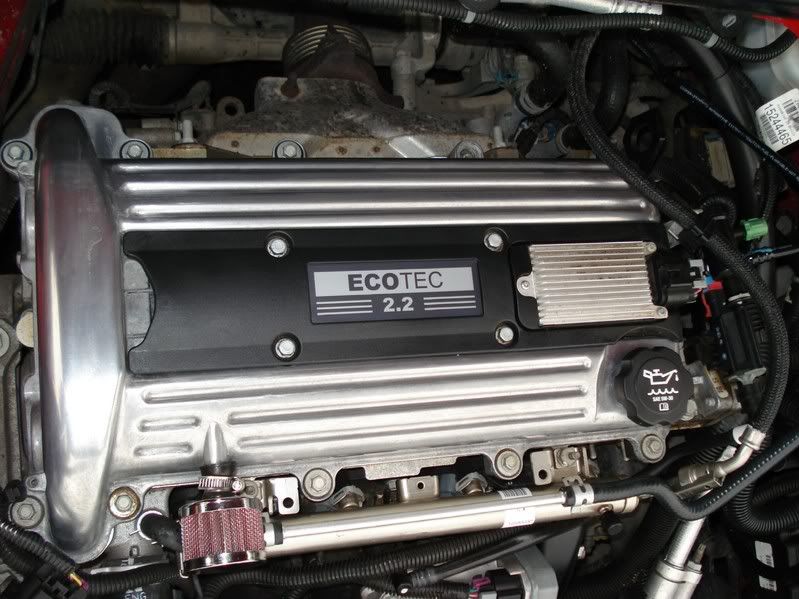
I didnt end up doing a mirror finish, but it looks a HELL of alot better than my old valve cover did, and it only took 4 hours of work and 20 bucks.
I also jacked the oil cap off the cavy cause it looks alot better than my stock one.
Last edited by HackAbuse; Oct 3, 2006 at 03:09 PM.
Thread Starter
Senior Member
Joined: 11-16-05
Posts: 11,137
Likes: 1
From: Central NY
Originally Posted by joeworkstoohard
i'd whip out a polishing wheel on a die grinder if you've got one... it'll REALLY speed this up.
edit: and high temp clear coat it when you're done.
edit: and high temp clear coat it when you're done.
Senior Member
Joined: 05-21-06
Posts: 5,577
Likes: 3
From: Gainesville, FL
Originally Posted by HackAbuse
I'm definitely going to clear coat once i'm done, i'll look for some polishing wheels tomorrow at the store.
i've also seen people load soft things like baking soda into a sand blaster to get the grime out.
Senior Member
Joined: 01-05-06
Posts: 2,509
Likes: 1
From: Ft Lauderdale
After sanding to 1500 Grit >>> You Need a set of small wheels from eastwood. A swen Cloth & loose cloth wheel. With some Tipoli & white Rouge!>> Sears has it some times >> But eastwood.com is easiest & They have every thing! <<<<<<< But this is needed if you want a Shine Like this!
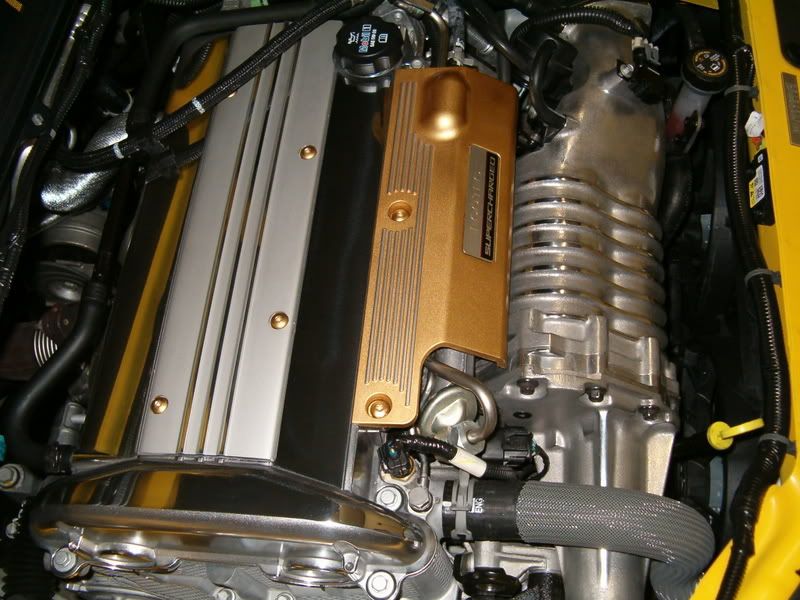
Good Luck! OH when You Think That Your done Sanding>>>Sands some More! (LOL)<<<True!
Good Luck!
OH when You Think That Your done Sanding>>>Sands some More! (LOL)<<<True!
Thread Starter
Senior Member
Joined: 11-16-05
Posts: 11,137
Likes: 1
From: Central NY
What grit did you use to get your finish Bill?
What exact things should I buy from eastwood (part numbers)?
Whhat does everyone think of the mohters powerball, will it help me at all?
What exact things should I buy from eastwood (part numbers)?
Whhat does everyone think of the mohters powerball, will it help me at all?


Senior Member
Joined: 01-05-06
Posts: 2,509
Likes: 1
From: Ft Lauderdale
Use These to Buff it after you sand up to 1500 grit! And you need some Tipoli to go on them they have it>> Just look under buffing & compounds! Buy a Mandrell that fits them! so you can attach to a Drill 1800 to 2200 Hundred RPM!
http://www.eastwoodco.com/jump.jsp?i...Cat=434&page=3
After that you need Loose Cloth wheels At this Link! Bottom right of page has some Loose Cloth wheels find the 1s that suit you best & your Drill or what ever your going to use the 4inch wheel works good on the Flat areas But you need some small 1s to get on the edges! You also need some White Rouge for this step! <<<< Now you have a Mirror Like above! Dont Forget to get the Half inch mandrell for the wheels!
http://www.eastwoodco.com/jump.jsp?i...mType=CATEGORY
http://www.eastwoodco.com/jump.jsp?i...Cat=434&page=3
After that you need Loose Cloth wheels At this Link! Bottom right of page has some Loose Cloth wheels find the 1s that suit you best & your Drill or what ever your going to use the 4inch wheel works good on the Flat areas But you need some small 1s to get on the edges! You also need some White Rouge for this step! <<<< Now you have a Mirror Like above!
Dont Forget to get the Half inch mandrell for the wheels!http://www.eastwoodco.com/jump.jsp?i...mType=CATEGORY


Banned
Joined: 03-14-06
Posts: 3,660
Likes: 1
From: soon to banned as I am from MANITOBA?
I bought a Aluminum polishing kit for 20.00 cdn. It comes with three polishing girts and like nine different wheels and tips to get in every area. I saw a guy with a mustang and his intake was done and clear coated. I asked where did he go to get that done and he said "I did myself" I went bought the kit the next day. winter project man when I park my 13sec. 40MPG car LOL I just love this thing. best for your money.
Senior Member
Joined: 01-05-06
Posts: 2,509
Likes: 1
From: Ft Lauderdale
Originally Posted by JCswoosher2
ok so the grits of sand paper we need is....... 1500 grit? is that it? im fixing to go buy the sand paper
You Need 240>>400>>>600>>>800>>1000>>1500 Then Buffing >> Then sand some More to take out what you missed & Repeat Till all scratches Are Gone after Polishing with Loose Cloth Wheel & white Rouge!

Do Not Use Polish In a Can at this Point it will Only dull the Finish!
Banned
Joined: 03-14-06
Posts: 3,660
Likes: 1
From: soon to banned as I am from MANITOBA?
Originally Posted by HackAbuse
get every grit you can find between 400 and 2000

