
Interior: DIY custom gauges


Thread Starter
Member
Joined: 11-14-07
Posts: 323
Likes: 0
From: Palmyra, PA
DIY custom gauges
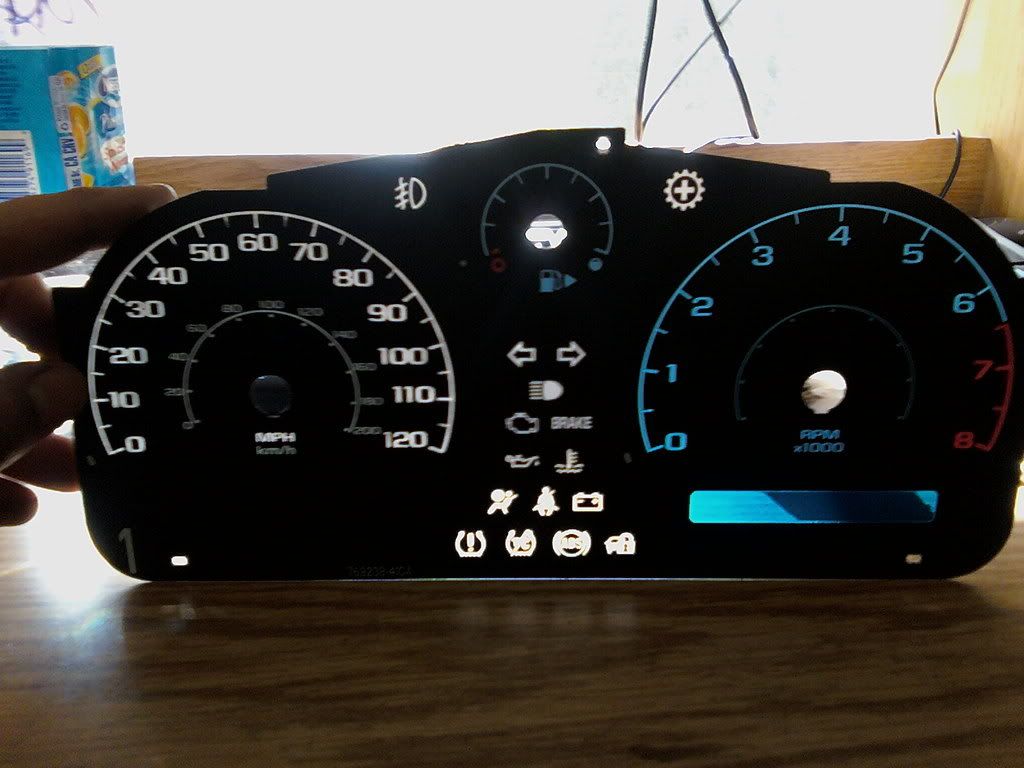
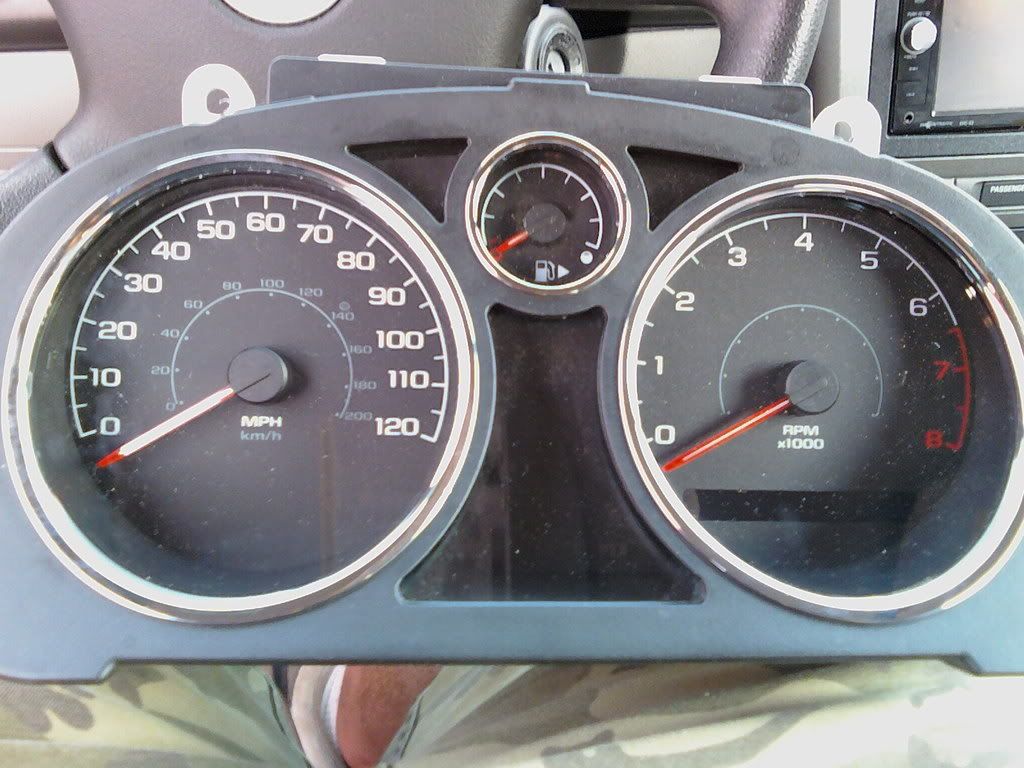
I don't know about the rest of you but i like the looks of the stock gauges but i don't like how they light up that white color. So i decided to do something about it. I looked on blackcatcustom but i really didn't feel like spending 35 bucks just to change the color (i'm a cheap college student).
Supplies:
1) Paint thinner
2) Lots of Q-tips
3) Some paper towels
4) White paint and possibly black
5) Cellophane (color of your choice)
6) Tape
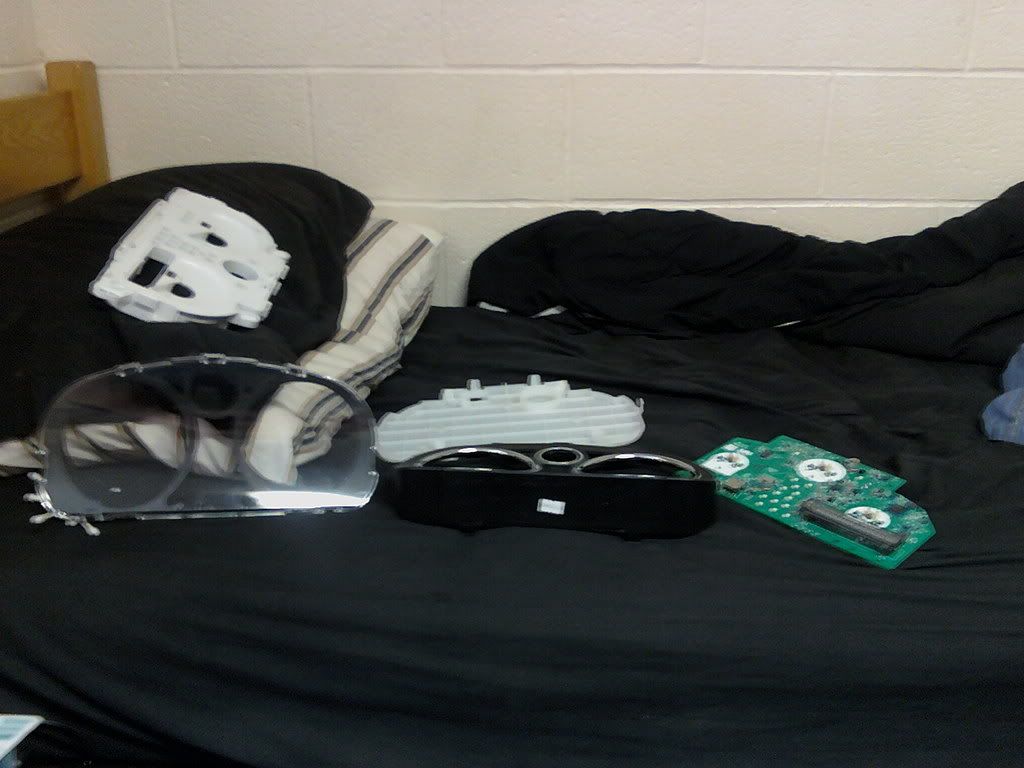
First you need to remove the gauges from the dash. Just remove the lower panels and take out the 2 bolts on the bottom of the trim around the gauges and the 2 screws on the top side of the trim. Then you have to take out the 4 screws out that hold in the gauges. Now that you have it out you must disassemble it. The best way is to follow the instructions on black cat customs
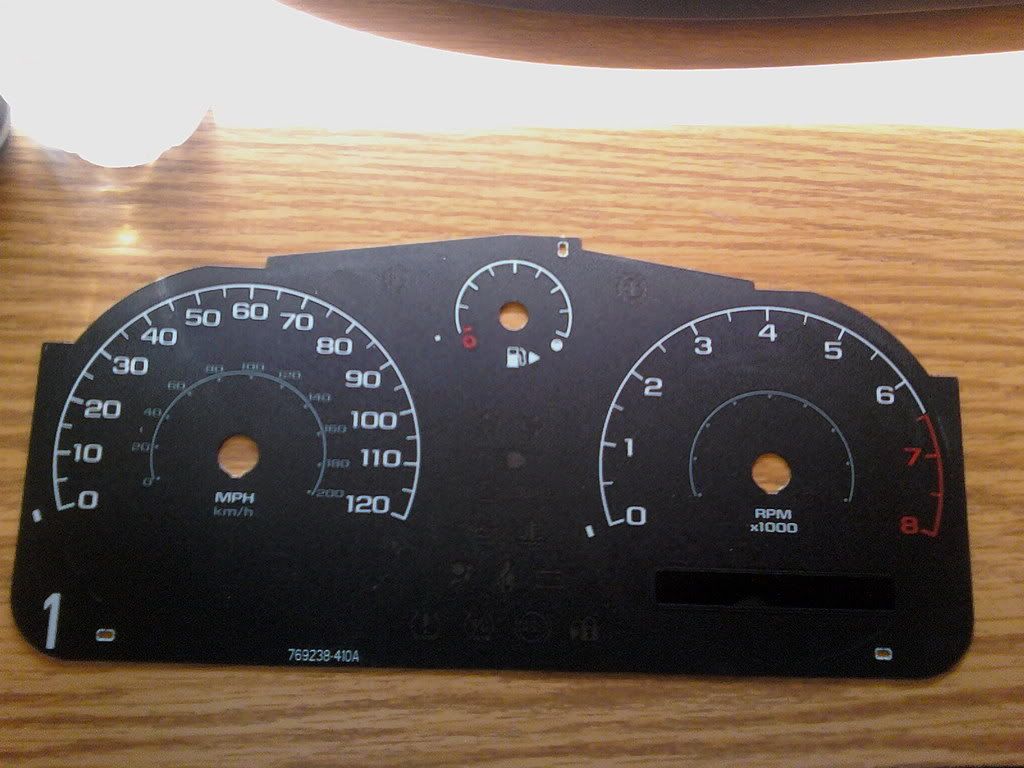
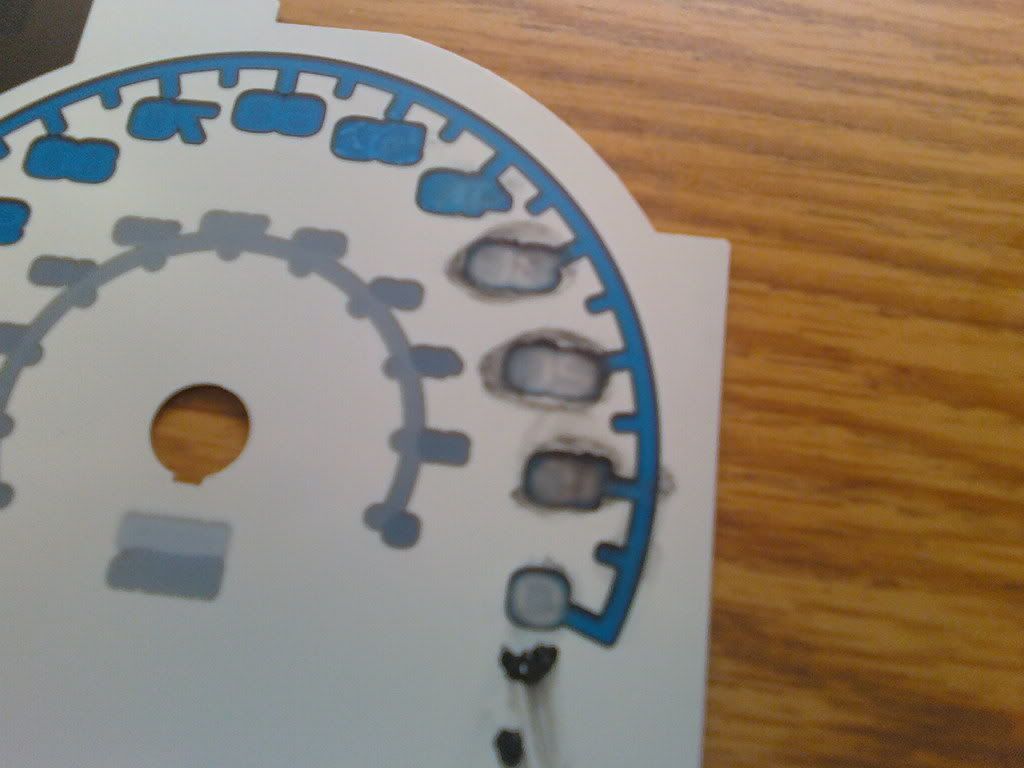
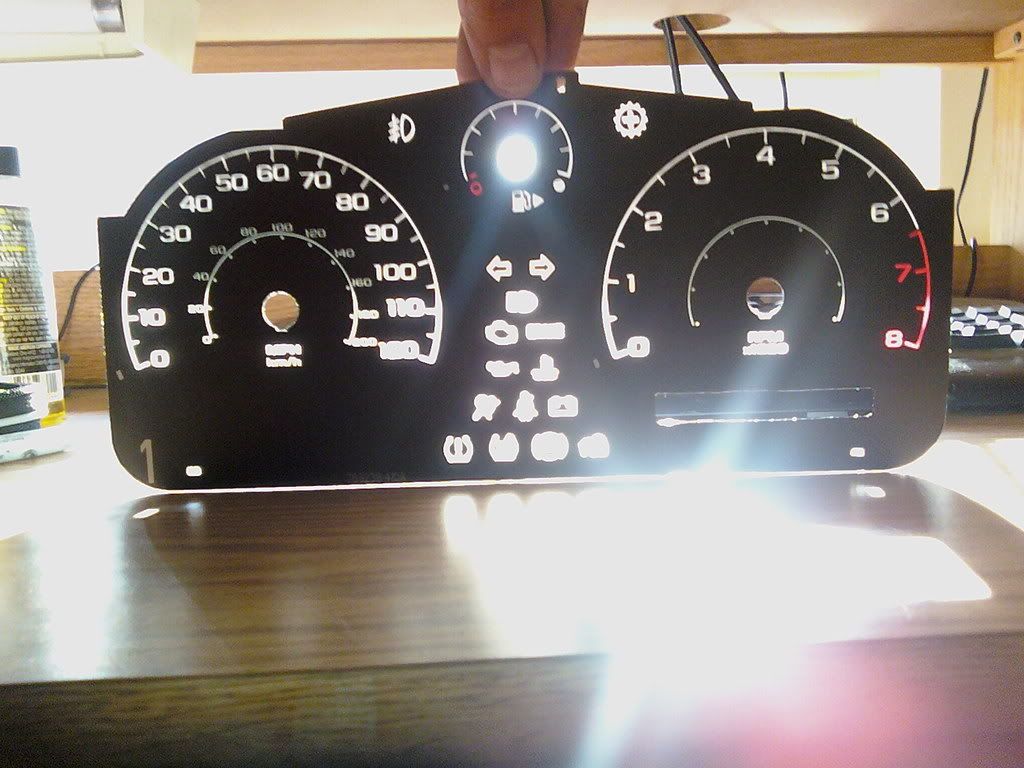
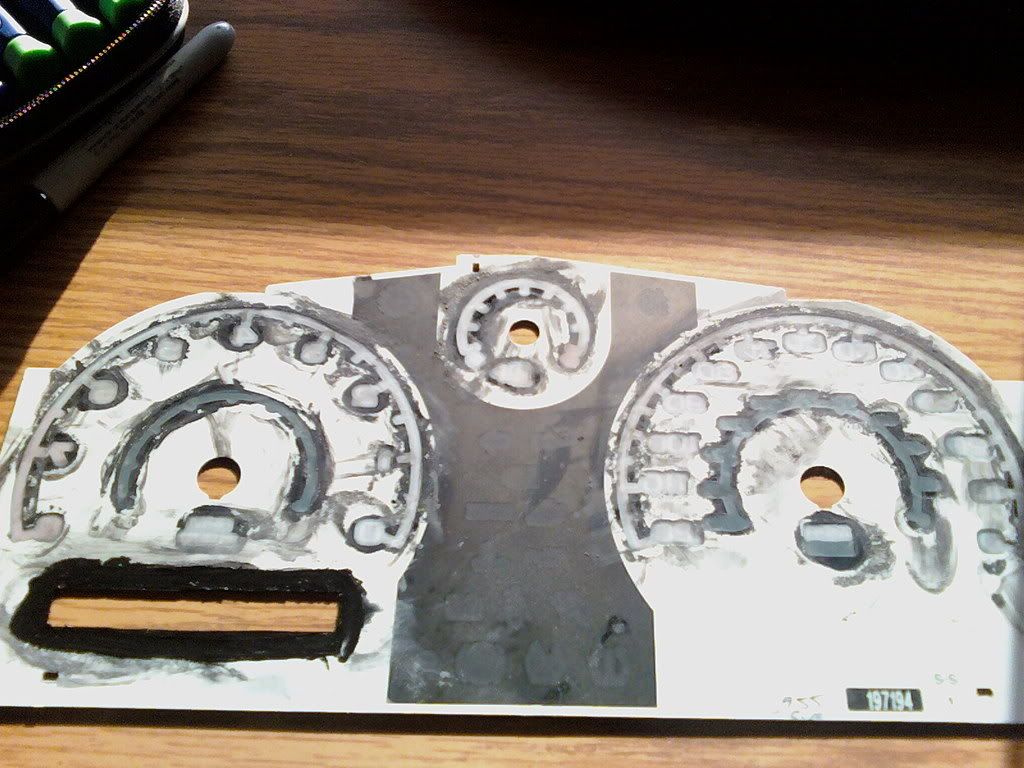
Use the thinner to gently rub off the blue behind the numbers. Don't worry if the white and black come off too that will be addressed later.
Once you get the blue off you can see now that the light can come through without looking blue.
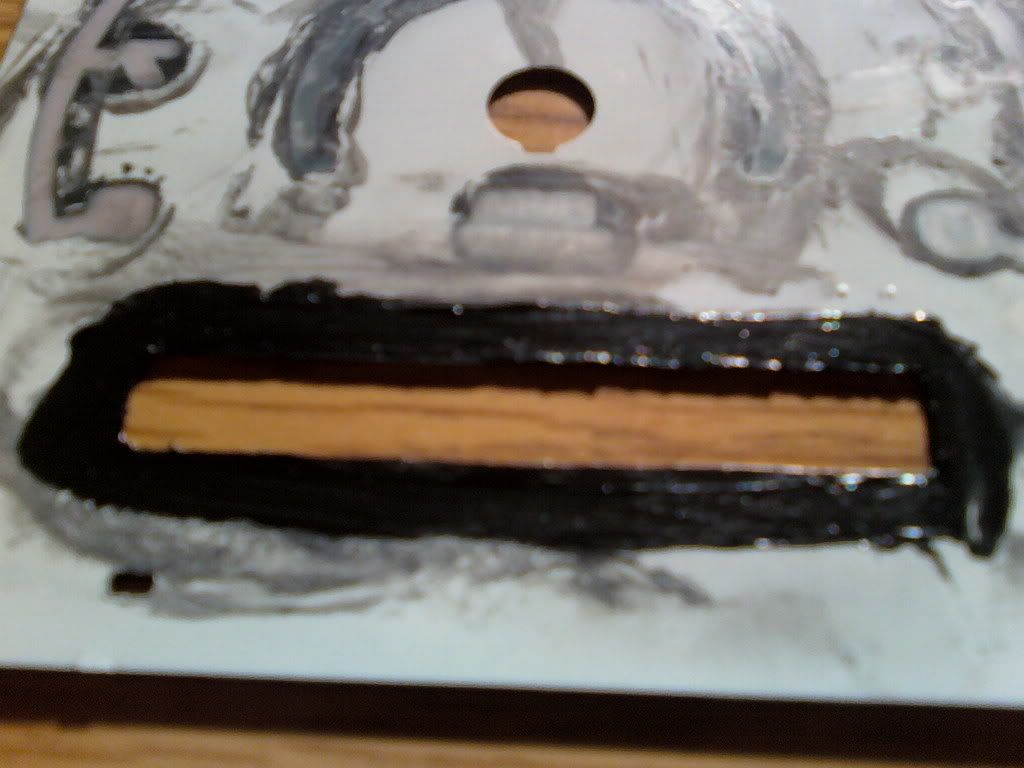
I tried to make the display red also but it didn't really work out the way i planned so i just cut out the blue plastic around it. Some of the black on the front chipped off so i painted the back of it black so light wouldn't show through.
Lastly i changed the color of the needles by just using thinner to take off the red on the bottom and repainting them black. I think it looks much better.
From:
To:
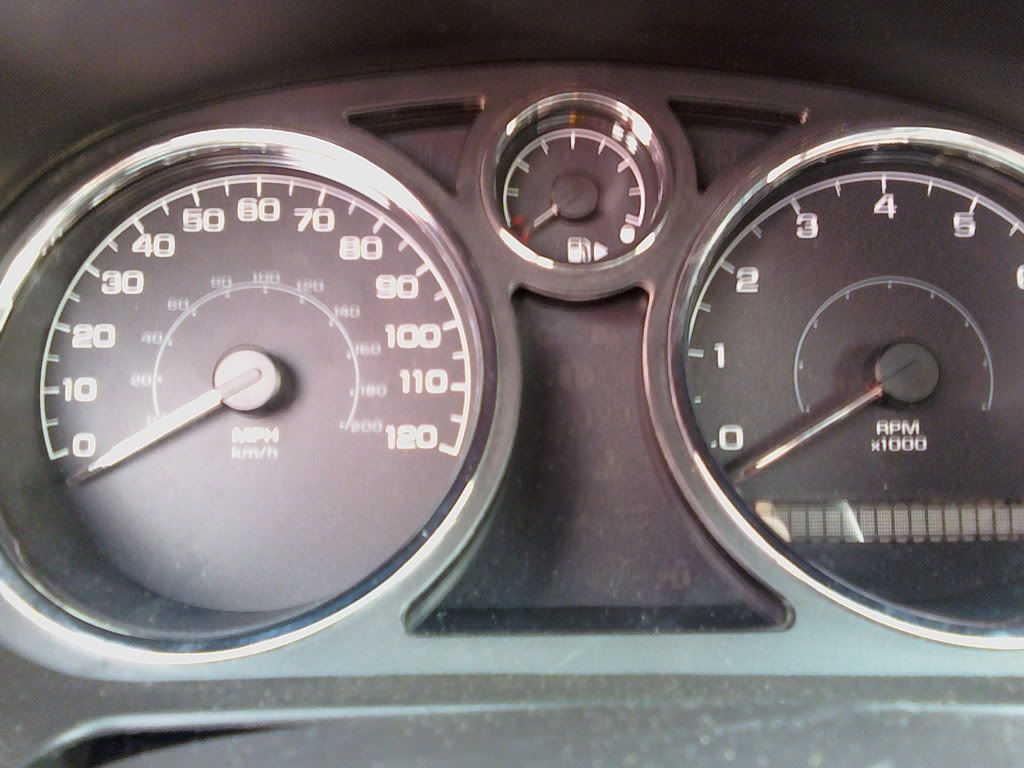
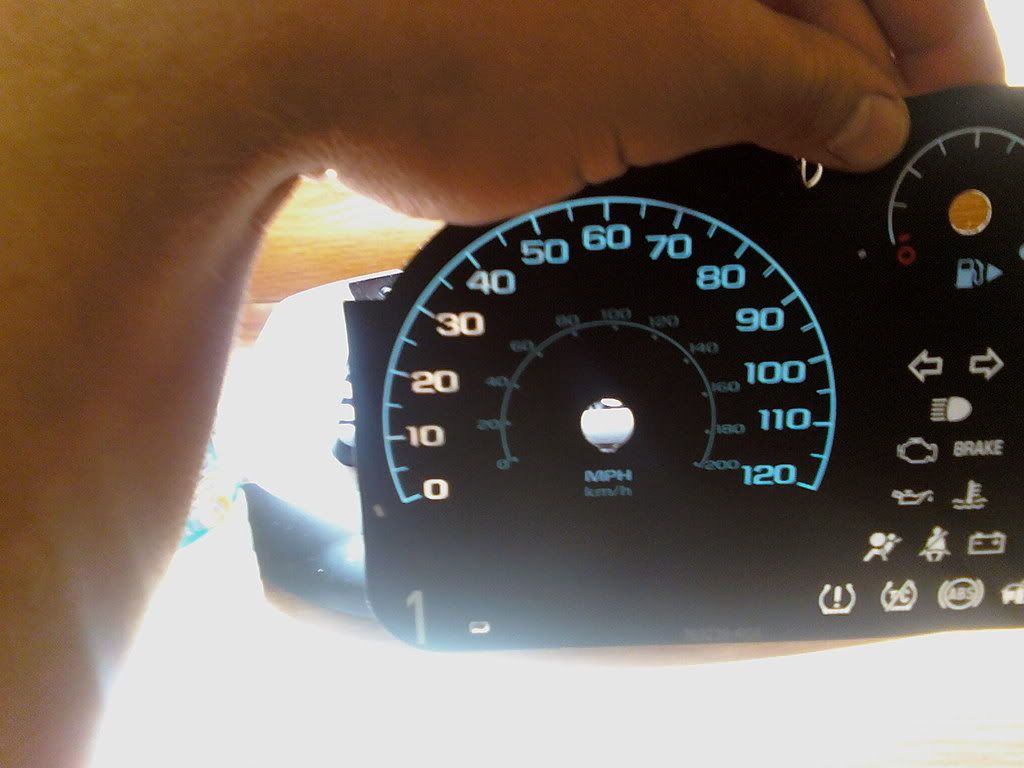
Once you have it all done take the white paint and carefully touch up the are around the numbers so that the light will be reflected back down and eventually out the display. Then all you have to do is cut your cellophane to fit tape it down and cut out the holes.
Once you have all of it completed you have to reassemble it. Make sure your needles are on correctly and accurate. TEST them before you reassemble the gauges. Hopefully yours will turn out as well as mine did.
Supplies:
1) Paint thinner
2) Lots of Q-tips
3) Some paper towels
4) White paint and possibly black
5) Cellophane (color of your choice)
6) Tape
First you need to remove the gauges from the dash. Just remove the lower panels and take out the 2 bolts on the bottom of the trim around the gauges and the 2 screws on the top side of the trim. Then you have to take out the 4 screws out that hold in the gauges. Now that you have it out you must disassemble it. The best way is to follow the instructions on black cat customs
Use the thinner to gently rub off the blue behind the numbers. Don't worry if the white and black come off too that will be addressed later.
Once you get the blue off you can see now that the light can come through without looking blue.
I tried to make the display red also but it didn't really work out the way i planned so i just cut out the blue plastic around it. Some of the black on the front chipped off so i painted the back of it black so light wouldn't show through.
Lastly i changed the color of the needles by just using thinner to take off the red on the bottom and repainting them black. I think it looks much better.
From:
To:
Once you have it all done take the white paint and carefully touch up the are around the numbers so that the light will be reflected back down and eventually out the display. Then all you have to do is cut your cellophane to fit tape it down and cut out the holes.
Once you have all of it completed you have to reassemble it. Make sure your needles are on correctly and accurate. TEST them before you reassemble the gauges. Hopefully yours will turn out as well as mine did.
Last edited by TommyP; Oct 3, 2012 at 12:39 PM.


Senior Member
Joined: 09-28-06
Posts: 2,288
Likes: 0
From: Columbus, OH - Wilkes Barre, PA

Thread Starter
Member
Joined: 11-14-07
Posts: 323
Likes: 0
From: Palmyra, PA
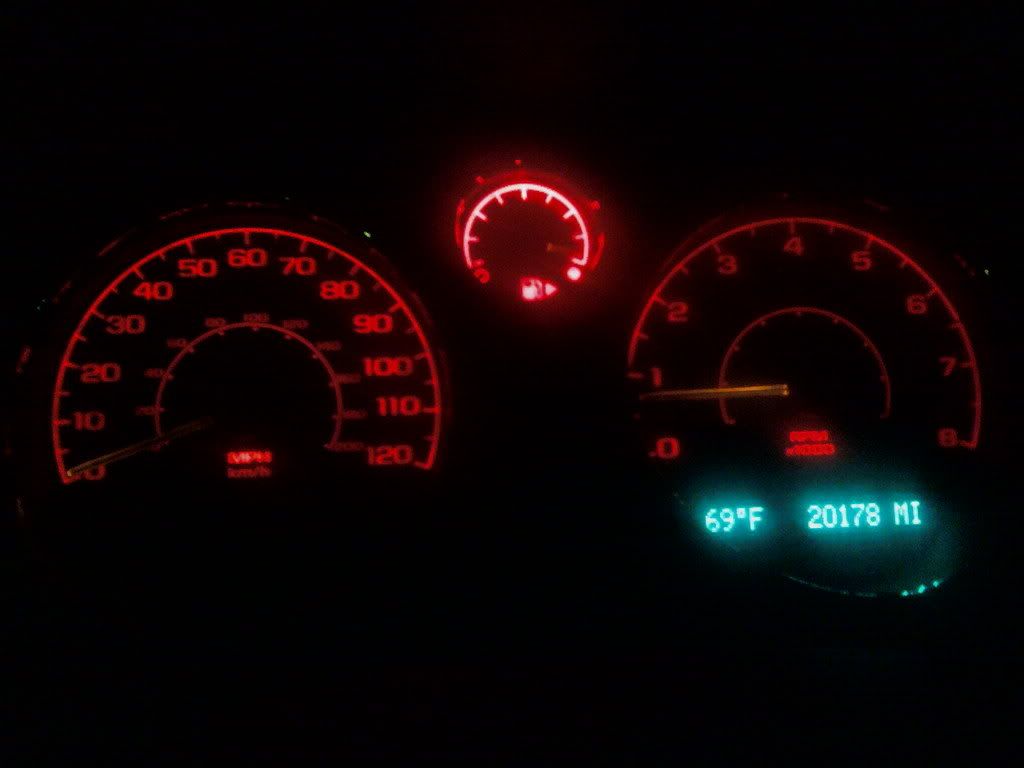
The needles dont look very bright but that was a cell phone pic. You can still tell where the redline is too cause its a different shade of red if you put the coloring behind them too.

Senior Member
Joined: 10-13-08
Posts: 1,198
Likes: 0
From: Georgia
the SS/SC gauges you cant get rid of the red ticks every 5 or 10 mph...ive done this mod about a year ago. Also you dont need cellophane if your patient and just scrape the top layer....use a sharpie.


New Member
Joined: 01-30-07
Posts: 40
Likes: 0
From: Owensboro KY
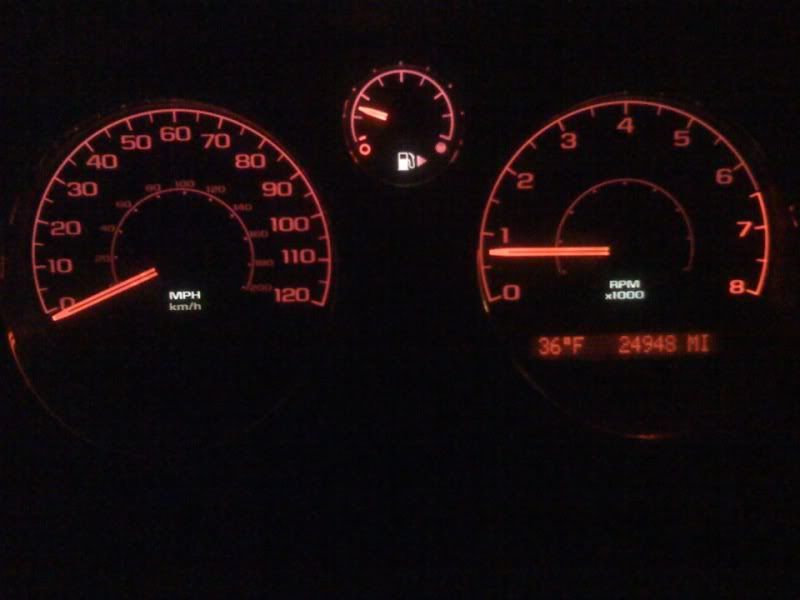
I did this mod some time ago...other than trying to get the gauge cluster out its a really easy mod and I like the results. I didnt have to remove anything from the gauges though. I just taped the red cellophane to the back and It looked fine, had to use 2 layers though because it came out too pink looking with only one. Here is my results, and I promise that they arent pink...its a nice deep red, just darker than the redline, my cell phone just has crappy color.

New Member
Joined: 01-30-07
Posts: 40
Likes: 0
From: Owensboro KY


New Member
Joined: 11-25-08
Posts: 132
Likes: 0
From: Phoenix, AZ
It was good to see this thread as I was wanting to perform this on my cobalt and could not find a guide anywhere. Didn't want to start tearing the cluster apart without a guide. Removing the blue crap was a pain and time consuming. Went with a bluer blue for the color. Turned out okay.
It was a learning experience.
Good thread.
It was a learning experience.
Good thread.

New Member
Joined: 11-09-08
Posts: 2
Likes: 0
From: Goffstown, NH
hey this mod is awesome. i actually did it without taking the paint off and it works just as good. i want to add that the cellophane mod also works with the heater control panel and your window/lock/mirror switches. its a little tough with the switches cause there so small but you take them apart and stuff little pices of cellophane in over the part that shine and it actually works. i wish i could explain it better but im not 100% sure how i actually did it lol. and the heater control panel just take it apart and lay to layers over the part with the weird clear thing. take the switches out of the cover snap the cover on cut out the holes for the switches put them back on and your done. it looks good if i can get mt camera ill throw some pictures on to shw you.


Senior Member
Joined: 11-20-07
Posts: 2,961
Likes: 1
From: Pittsburgh, Pistolvania
