
General Suspension: How to build your own traction Bars

Thread Starter
Senior Member
Joined: 12-03-06
Posts: 1,791
Likes: 4
From: Merritt Island ,Fl
How to build your own traction Bars
Want traction bars? Think 200+ bucks is too much? Well I did, so I set out on a quest to build my own. What I found is that most traction bars for the SS/redline are made up of components you can find at your everyday speed shop.
You don�t have the buy from the places I list , use Google to find other retailers that carry the same items, you may even have a shop near home that carries some of this stuff.I went with 2 piece mild Steel rod ends,summit chromemoly rod ends are available , but mild steel should be more than strong enough for the application.
1. 2 - 10-11� Threaded tube with LH and RH thread , aluminum $7.99 each or - steel $10.99 each
2. 2- 5/8-18 thread 5/8 hole spherical rod ends right hand thread $8.95 each chromemoly $13.95 each
3. 2- 5/8-18 thread 5/8 hole spherical rod ends left hand thread $6.95 each chromemoly $13.95each
All fallowing items should be available at local hardware store and shouldn�t cost more than $20-25 , or you can search and order all hardware online.
4. 2 - 4 1/2" x 5/8-11 grade 5 or better bolts (frame)
5. 2 - 3" x 5/8-11 grade 5 or better bolts (control arm)
6. 8 � 5/8 lock washers
7. 4 � - 5/8 aluminum tapered spacers or �� or 3/4� straight spacers
8. 4 - 5/8-11 nylock nuts(nylon lock nuts)
If you add everything up it comes out to 80 to 90 bucks for a basic set up or $140 tops for super cool HARDCORE bars , and that�s factoring shipping.
Don�t get me wrong , retailers offer a good product , and it nice if you don�t want to do all the shopping around. Plus they offer there�s in different powder coated finishes. But if your cheap like me � this is the way to go.
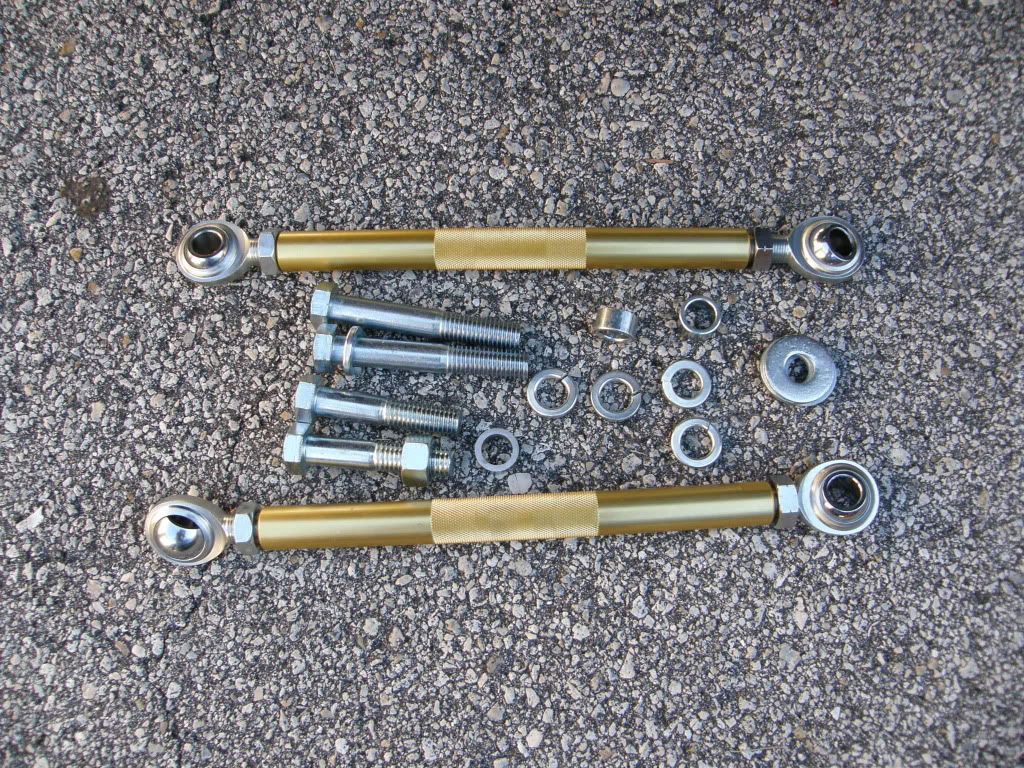
So here�s all my ordered parts assembled.
Pretty simple. RH jam nut goes on RH rod end then RH rod into RH thread of your tube
And same for the LH. Also in the pic is miscellaneous grade 5 hardware.
I�m not going to go into detail on the install. If you search Google, you may be able find a detailed how-to.
I�ll just say it involves drilling a 5/8ths hole in the center of your controle arms about 2 � inches from the little nub. And the a pre-existing hole on the sub frame.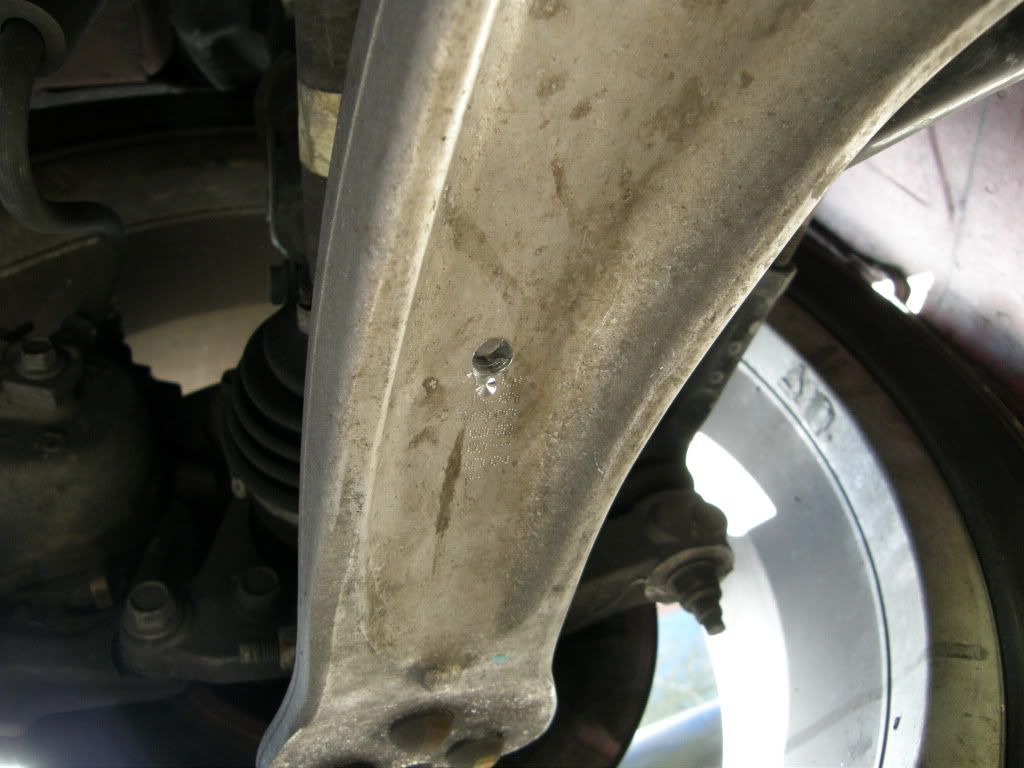
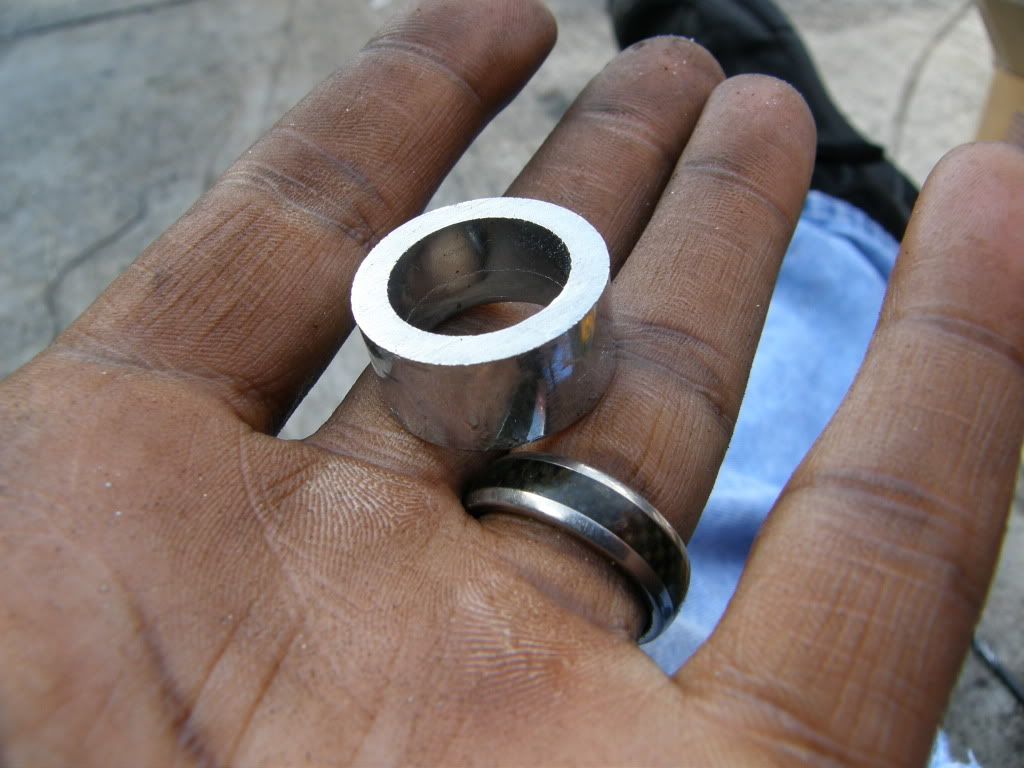
My �� long spacer.
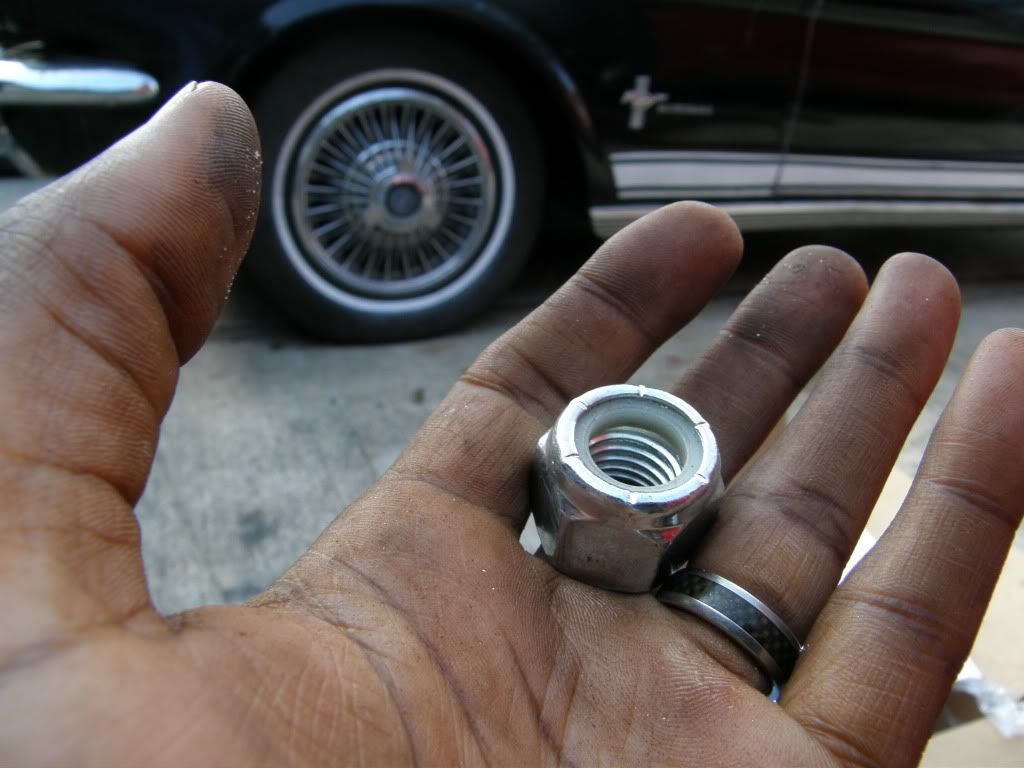
And what a nyloc nut looks like .
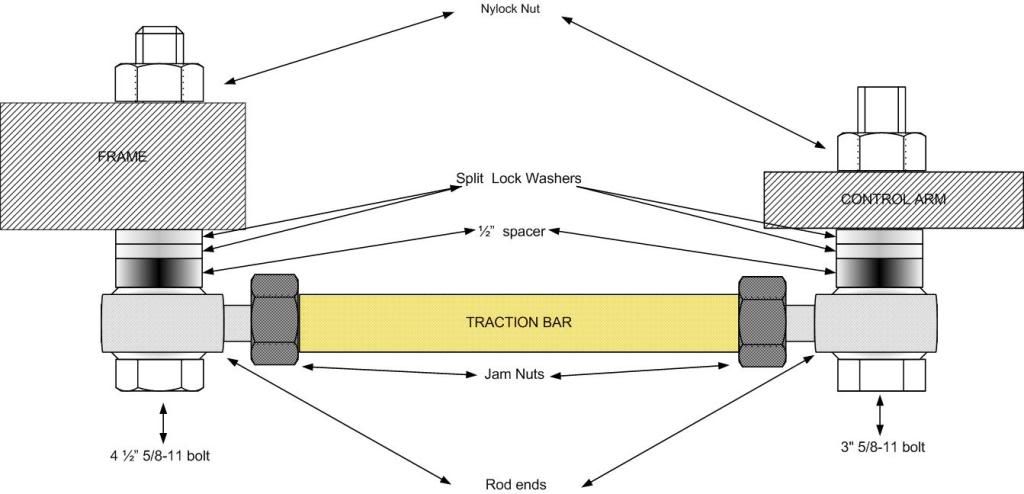
And the final install. You can see the spacer and the split lock washers used as adjustment shims. order of assembly is bolt-rod end �spacer-lock washer �lock washer-frame/control arm-nyloc nut. 3� bolt goes thru control arm , 4 �� bolt goes thru hole in frame . Be sure to use a good metal to metal lube .like white lithium grease on the rod ends joints.
You don�t have the buy from the places I list , use Google to find other retailers that carry the same items, you may even have a shop near home that carries some of this stuff.I went with 2 piece mild Steel rod ends,summit chromemoly rod ends are available , but mild steel should be more than strong enough for the application.
1. 2 - 10-11� Threaded tube with LH and RH thread , aluminum $7.99 each or - steel $10.99 each
2. 2- 5/8-18 thread 5/8 hole spherical rod ends right hand thread $8.95 each chromemoly $13.95 each
3. 2- 5/8-18 thread 5/8 hole spherical rod ends left hand thread $6.95 each chromemoly $13.95each
All fallowing items should be available at local hardware store and shouldn�t cost more than $20-25 , or you can search and order all hardware online.
4. 2 - 4 1/2" x 5/8-11 grade 5 or better bolts (frame)
5. 2 - 3" x 5/8-11 grade 5 or better bolts (control arm)
6. 8 � 5/8 lock washers
7. 4 � - 5/8 aluminum tapered spacers or �� or 3/4� straight spacers
8. 4 - 5/8-11 nylock nuts(nylon lock nuts)
If you add everything up it comes out to 80 to 90 bucks for a basic set up or $140 tops for super cool HARDCORE bars , and that�s factoring shipping.
Don�t get me wrong , retailers offer a good product , and it nice if you don�t want to do all the shopping around. Plus they offer there�s in different powder coated finishes. But if your cheap like me � this is the way to go.
So here�s all my ordered parts assembled.
Pretty simple. RH jam nut goes on RH rod end then RH rod into RH thread of your tube
And same for the LH. Also in the pic is miscellaneous grade 5 hardware.
I�m not going to go into detail on the install. If you search Google, you may be able find a detailed how-to.
I�ll just say it involves drilling a 5/8ths hole in the center of your controle arms about 2 � inches from the little nub. And the a pre-existing hole on the sub frame.
My �� long spacer.
And what a nyloc nut looks like .
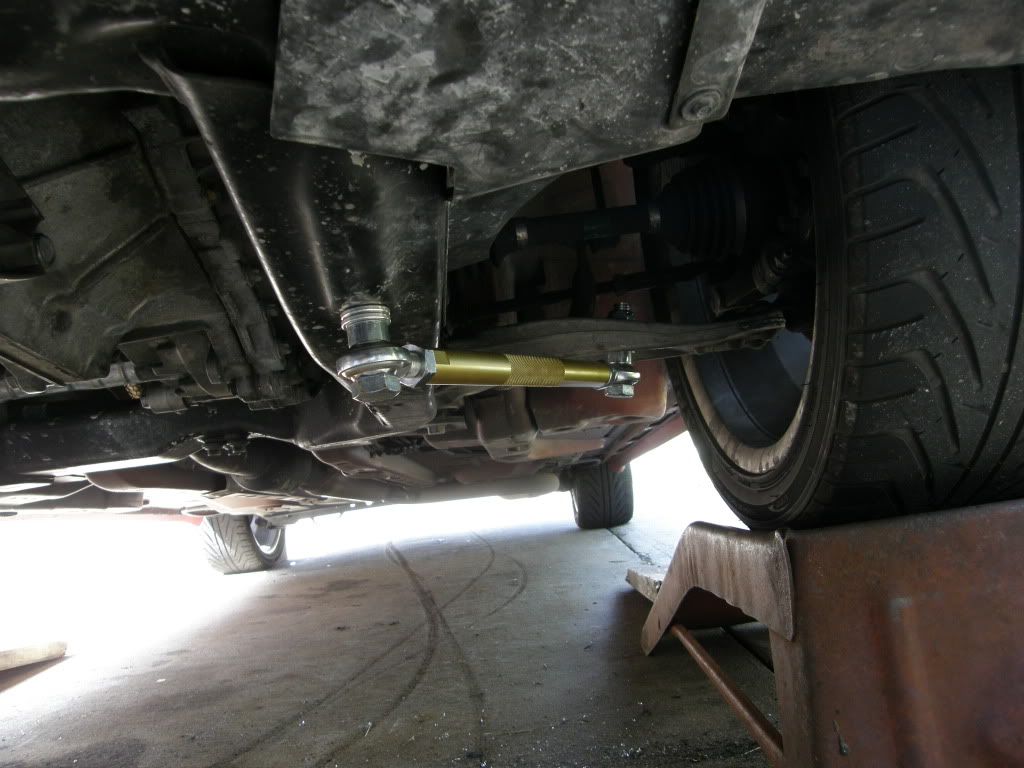
And the final install. You can see the spacer and the split lock washers used as adjustment shims. order of assembly is bolt-rod end �spacer-lock washer �lock washer-frame/control arm-nyloc nut. 3� bolt goes thru control arm , 4 �� bolt goes thru hole in frame . Be sure to use a good metal to metal lube .like white lithium grease on the rod ends joints.
Last edited by REIGN SS; Aug 23, 2010 at 10:59 AM.


Thread Starter
Senior Member
Joined: 12-03-06
Posts: 1,791
Likes: 4
From: Merritt Island ,Fl
Thread Starter
Senior Member
Joined: 12-03-06
Posts: 1,791
Likes: 4
From: Merritt Island ,Fl


New Member
Joined: 11-14-11
Posts: 31
Likes: 0
From: Gadsden, AL
My 09 SS/TC doesn't wheel hop at all and I've made no modifications to the suspension what so ever. I think its weird though because my tuner's 09 SS hops like crazy. Mine has a badmab catless dp, muffler delete, HPT 23psi tune, and TR12 Treadstone intercooler. He is just running the same tune, so you'd think it'd be the other way around. Ran him friday night, i was alone in my car, he had a friend in his, and he still wheel hopped.


but to the op did you use 10 inch or 11 inch sleeves?
and nice write up i like the idea alot
 up
up\\\wtf happend to the little twothumbs up smiley face?? got rid of it?
Thread Starter
Senior Member
Joined: 12-03-06
Posts: 1,791
Likes: 4
From: Merritt Island ,Fl
Wow i forgot about this lol.
If you don't crank down on them it shouldn't affect aliment. as far as range of motion, it dose seem to affect it to some extent when the car is jacked up. but the range it affects would only matter if you took your cobalt off some sweet jumps or go rock crawling.
I don't remember off the top of my head. i want to say it was in the ball park of 100 bucks...maybe less.
When i lower my car i will probably remove them or try and remove the spacers,they have only been a problem with me in the case of deep pot holes or extreme inclines with gutters in front of them. this is one reason why grade 5 bolts or better bolts are so important.
i wanna say i went with 10" but i don't remember off the top of my head.
On a side note , since i wrote this better options have come along , like LCA bushings or new LCA all together. This is however still the cheapest.
I don't remember off the top of my head. i want to say it was in the ball park of 100 bucks...maybe less.
yz thats wat i was thinkin my ***** so low im worried its rip off if i put some also, specially with the cali speedbumps.
but to the op did you use 10 inch or 11 inch sleeves?
and nice write up i like the idea alotup
\\\wtf happend to the little twothumbs up smiley face?? got rid of it?
but to the op did you use 10 inch or 11 inch sleeves?
and nice write up i like the idea alot
up\\\wtf happend to the little twothumbs up smiley face?? got rid of it?
On a side note , since i wrote this better options have come along , like LCA bushings or new LCA all together. This is however still the cheapest.