General Suspension: How To install lowering Springs on a Ion Redline (56k Be weary)
 03-17-2008, 02:56 PM
#1
Senior Member
Thread Starter
Join Date: 06-06-07
Location: somewhere
Posts: 9,714
Likes: 0
Received 0 Likes
on
0 Posts
How To install lowering Springs on a Ion Redline (56k Be weary)
Well We just did the install on an ion redline and i wanted all you guys who havent done it have some help because its not the exact same as a cobalt. so lets go ahead and start.
You can do this several ways. You can do it on a lift which is really the easiest way but if you dont have access to a lift this is still not a hard intall.
if you do it like we did, without a lift, then youll need the following:
A floor jack
2 jack stands
tq wrench
spring compressor( we got ours at advance auto parts, auto zone has them too)
18mm socket
19mm socket
Air Tools
1/4" star socket
?15mm socket? -no positive on this one...
Springs
So lets get started:
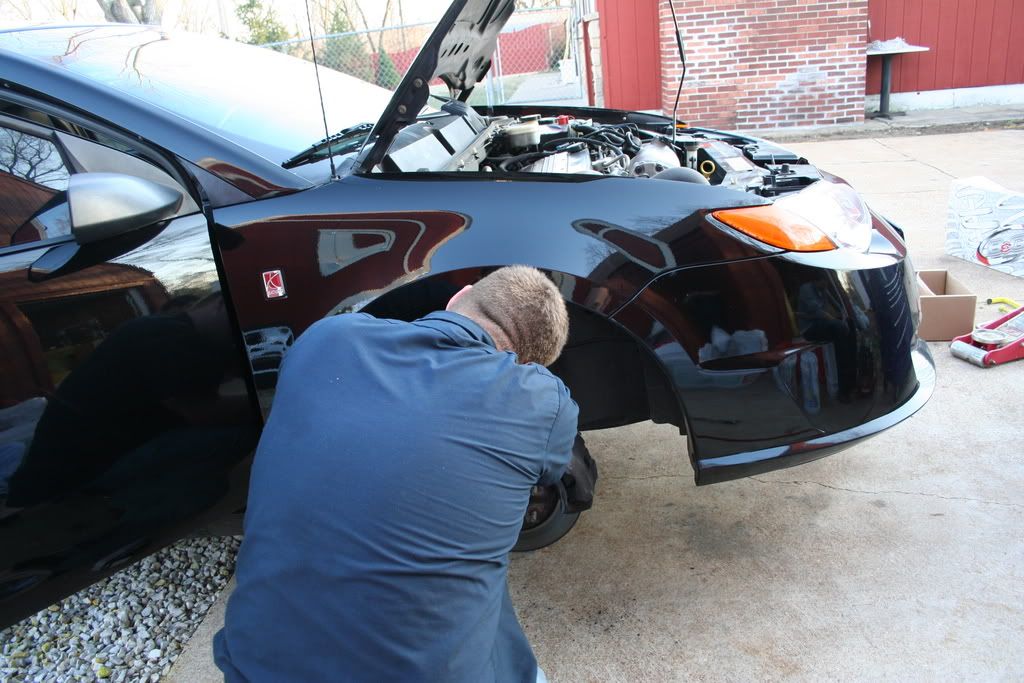
1. You first have to jack the car up, we started with the front because it would take the longest.
2. Put the jack stands under the car and then lower the car onto the jackstands.
3. Take off the wheels.
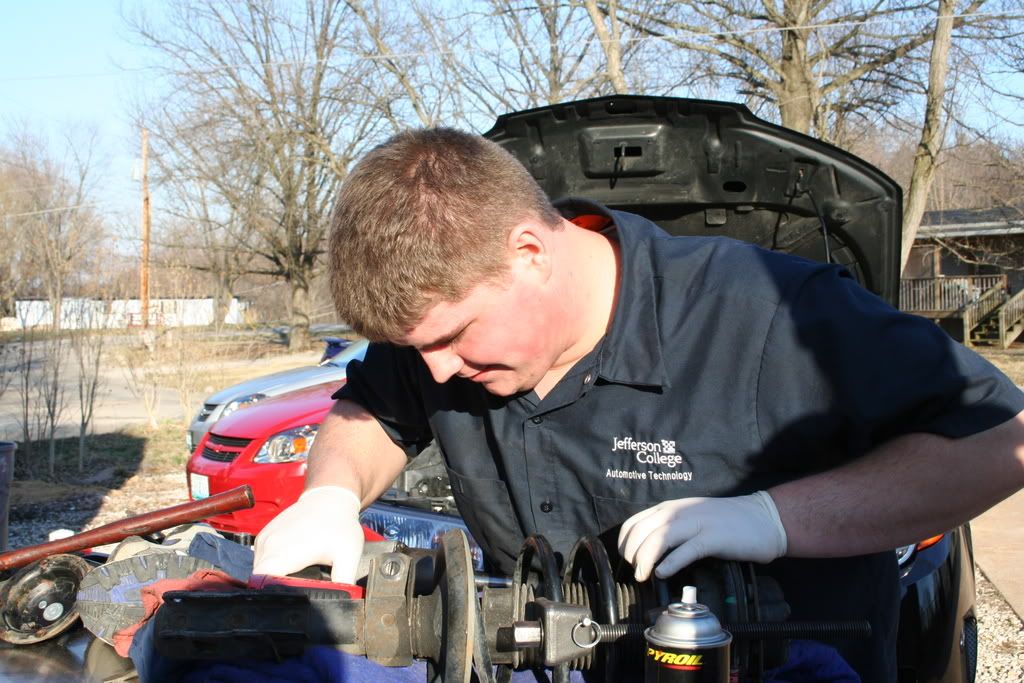
4. when getting the front struts out of the car you have to remove the pins in the following way.
a) remove the bolt under the spring disk... its right under where the spring is..undo that
b)remove the two bolts holding the lower strut to the braking assembly
c) Remove the bolt, holding the strut assembly to the body of the car in the engine bay.
5. after getting the strut assembly out it should look like this:
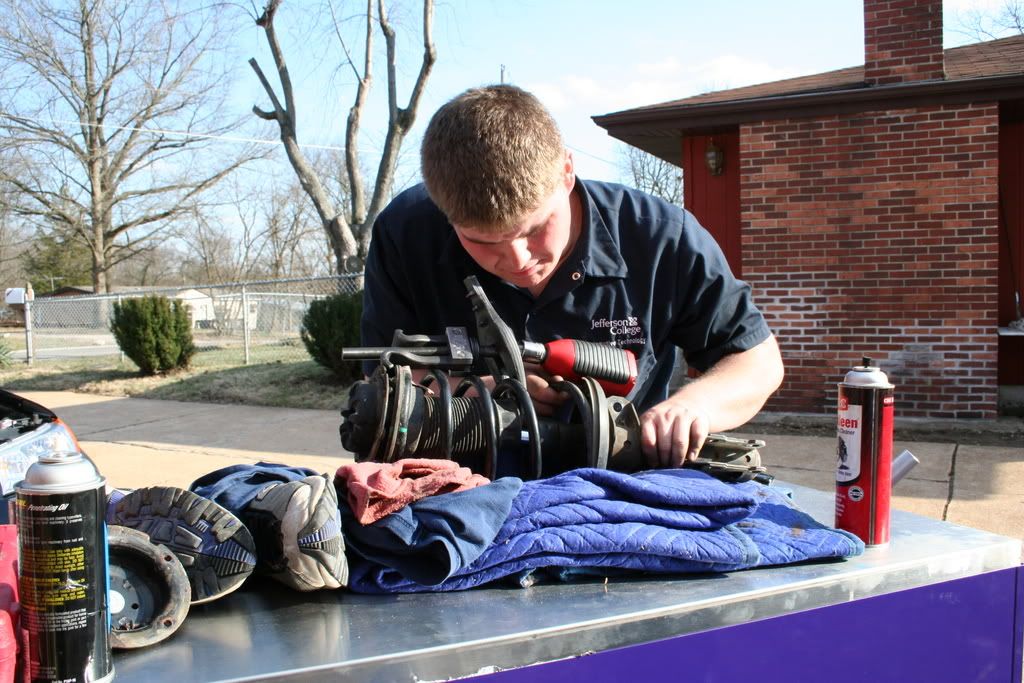
6. for the redlines you have three star screws that hold the top of the strut to the rest of the strut assembly. you have to remove those screws using a 1/4" socket. ( Do not remove the main nut from under the cover! This will cause the whole strut assembly to pop apart prematurely and cause damage or injury)
7. Now you must put the spring compressor on the springs. Obviously this will compress the springs so that when you disassemble the strut by removing the nut off the bolt at the top of the strut assembly.
8. after step 7 you will have the springs off the strut assembly and it will look like so:
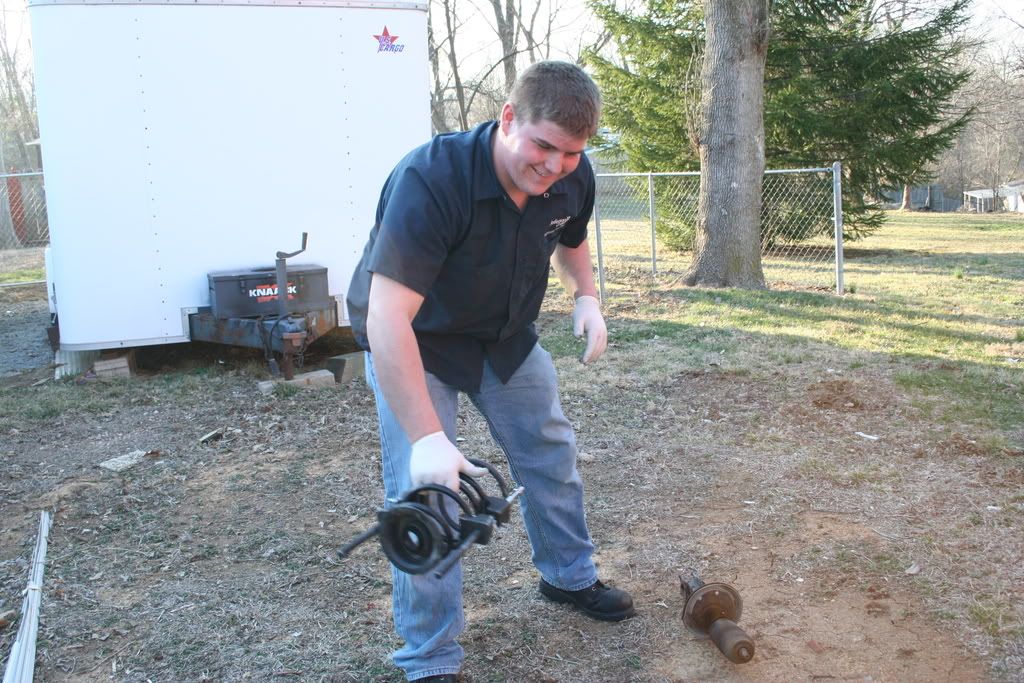
9. Pull off the top of the strut assembly that has the bump stop.
10. Decompress the stock springs
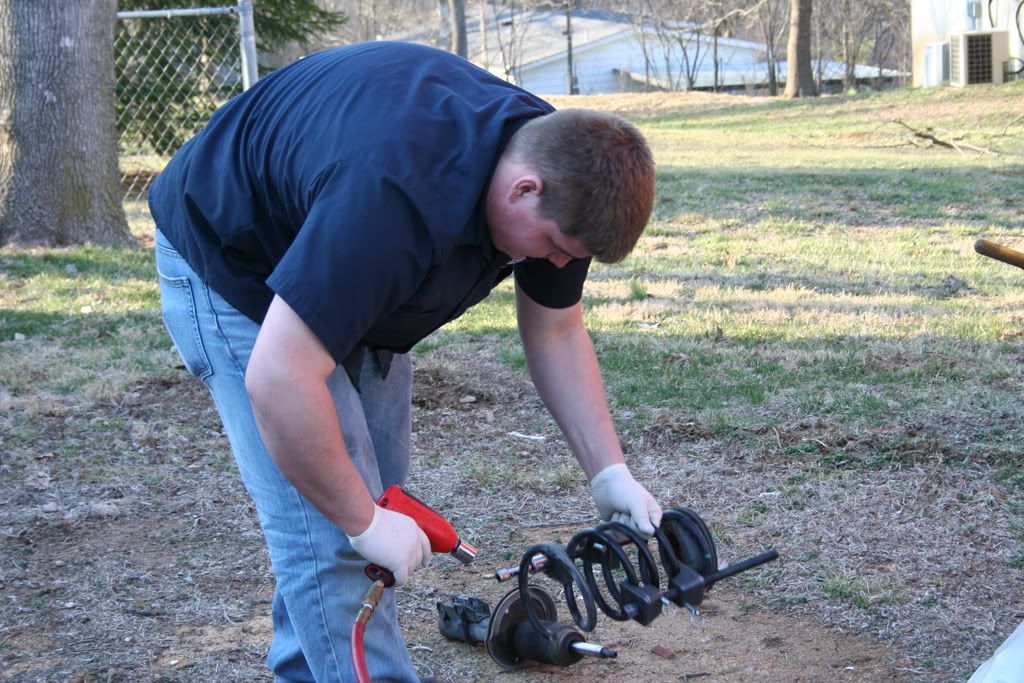
11. After decompressing the stock springs compress the new springs and put the strut back together.
12. Put the strut back into the car and do all the previous steps to the other side of the car..
13. Now put the wheels back on, torque to gm spec.
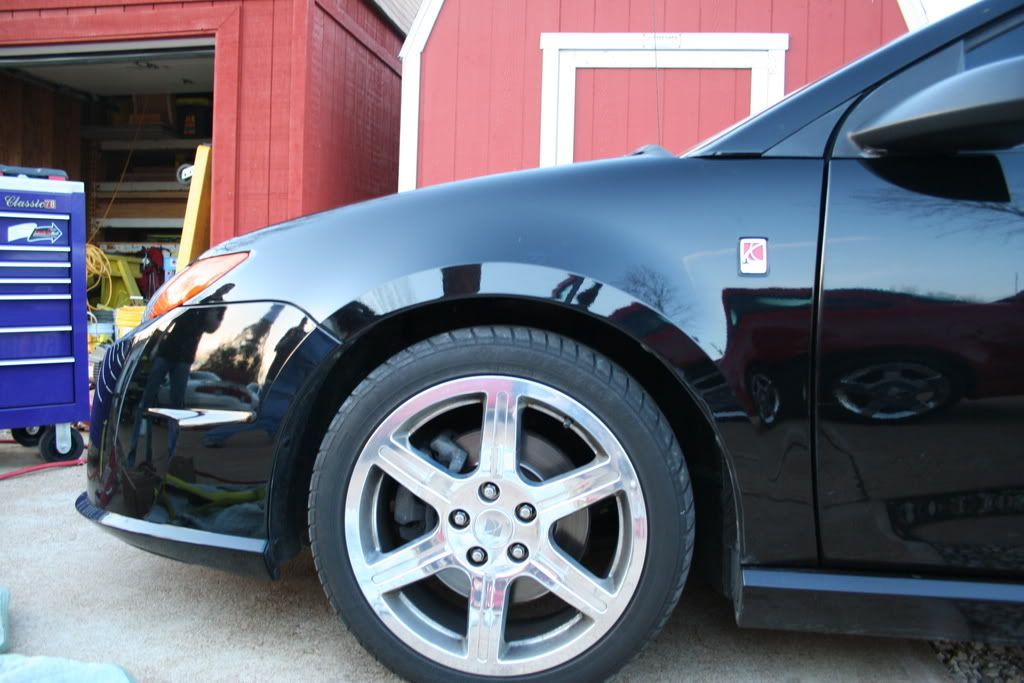
14. Lower the car back onto the ground. This is what the front looked like:
Now to do the rear:
1. Jack the rear of the car up and put the jackstands under the car.
2. Take off the wheels.
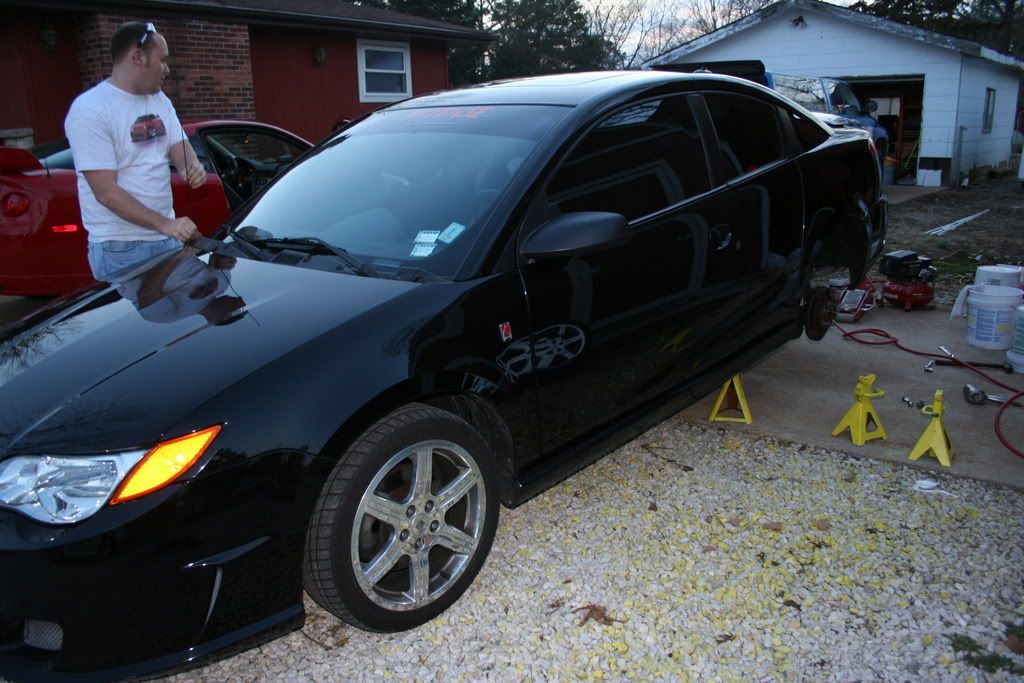
3. Remove the bolt to the bottom of the shock and the ABS sensor bolt. ( the ABS sensor is all the way on the right side of this picture.
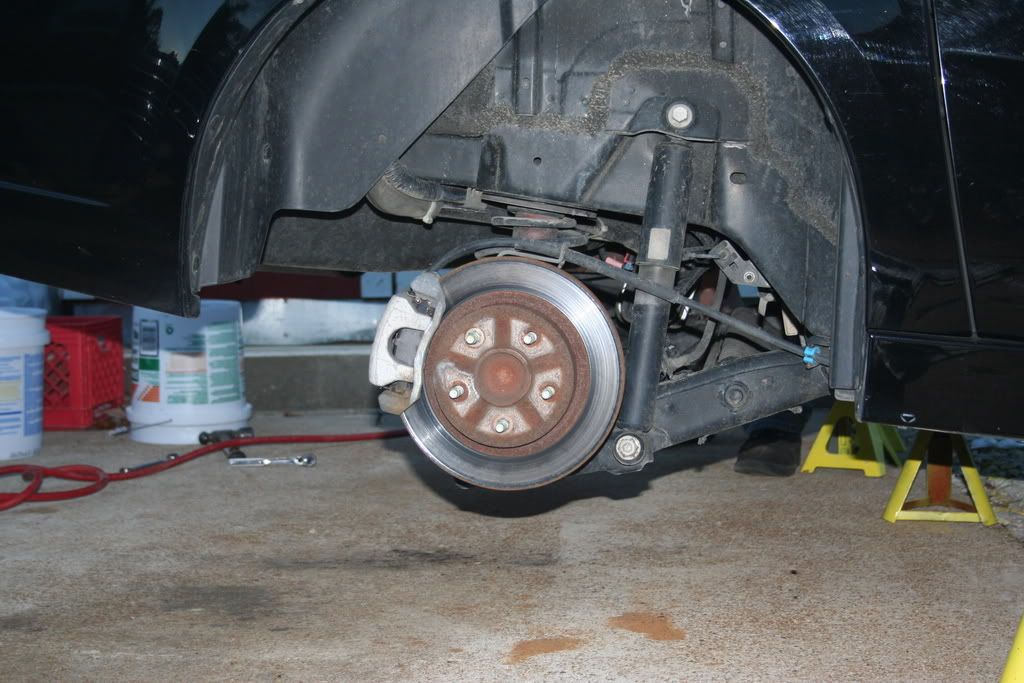
4. Drop the rear axle.
5. Remove stock springs and take out the bumpstops (this takes some turning and pulling)
6. Put the new springs in with the bumpstops, and raise the rear axle.
7. bolt everything back up.
8. put the wheels back on torque to gm spec and lower the car back down.
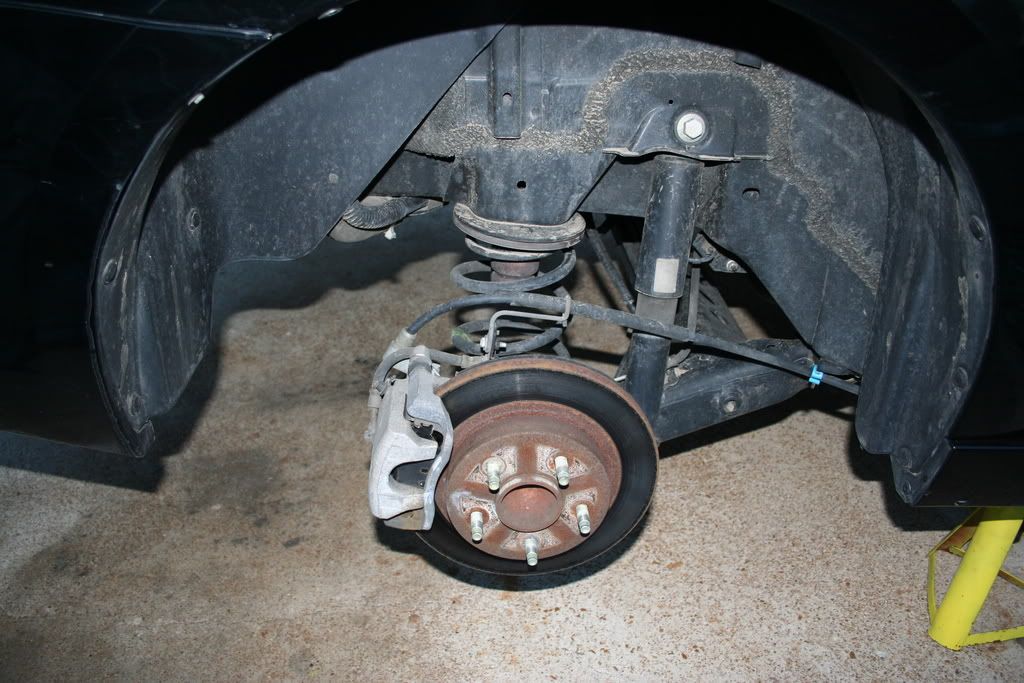
9. the rear will look like so:
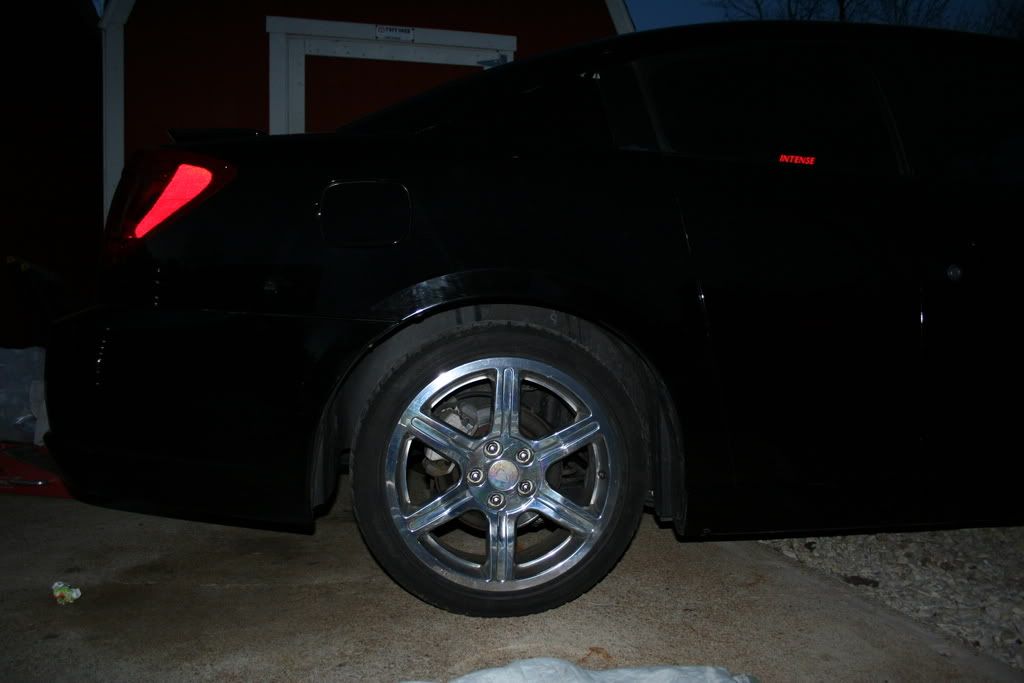
Clean up and your done!!! Have fun with your new lowered Redline!
Special thanks to John (nonss), Tim (SSuperchargd), Jake (jekqmb), and David (Sick06cobalt)
Jake enjoy your new lowered redline!
-Sick06cobalt
You can do this several ways. You can do it on a lift which is really the easiest way but if you dont have access to a lift this is still not a hard intall.
if you do it like we did, without a lift, then youll need the following:
A floor jack
2 jack stands
tq wrench
spring compressor( we got ours at advance auto parts, auto zone has them too)
18mm socket
19mm socket
Air Tools
1/4" star socket
?15mm socket? -no positive on this one...
Springs
So lets get started:
1. You first have to jack the car up, we started with the front because it would take the longest.
2. Put the jack stands under the car and then lower the car onto the jackstands.
3. Take off the wheels.
4. when getting the front struts out of the car you have to remove the pins in the following way.
a) remove the bolt under the spring disk... its right under where the spring is..undo that
b)remove the two bolts holding the lower strut to the braking assembly
c) Remove the bolt, holding the strut assembly to the body of the car in the engine bay.
5. after getting the strut assembly out it should look like this:
6. for the redlines you have three star screws that hold the top of the strut to the rest of the strut assembly. you have to remove those screws using a 1/4" socket. ( Do not remove the main nut from under the cover! This will cause the whole strut assembly to pop apart prematurely and cause damage or injury)
7. Now you must put the spring compressor on the springs. Obviously this will compress the springs so that when you disassemble the strut by removing the nut off the bolt at the top of the strut assembly.
8. after step 7 you will have the springs off the strut assembly and it will look like so:
9. Pull off the top of the strut assembly that has the bump stop.
10. Decompress the stock springs
11. After decompressing the stock springs compress the new springs and put the strut back together.
12. Put the strut back into the car and do all the previous steps to the other side of the car..
13. Now put the wheels back on, torque to gm spec.
14. Lower the car back onto the ground. This is what the front looked like:
Now to do the rear:
1. Jack the rear of the car up and put the jackstands under the car.
2. Take off the wheels.
3. Remove the bolt to the bottom of the shock and the ABS sensor bolt. ( the ABS sensor is all the way on the right side of this picture.
4. Drop the rear axle.
5. Remove stock springs and take out the bumpstops (this takes some turning and pulling)
6. Put the new springs in with the bumpstops, and raise the rear axle.
7. bolt everything back up.
8. put the wheels back on torque to gm spec and lower the car back down.
9. the rear will look like so:
Clean up and your done!!! Have fun with your new lowered Redline!
Special thanks to John (nonss), Tim (SSuperchargd), Jake (jekqmb), and David (Sick06cobalt)
Jake enjoy your new lowered redline!
-Sick06cobalt
Last edited by TommyP; 05-17-2012 at 10:00 PM.

 :
:
 06-05-2008, 01:45 AM
#6
Senior Member

Join Date: 08-06-05
Location: AB
Posts: 884
Likes: 0
Received 0 Likes
on
0 Posts
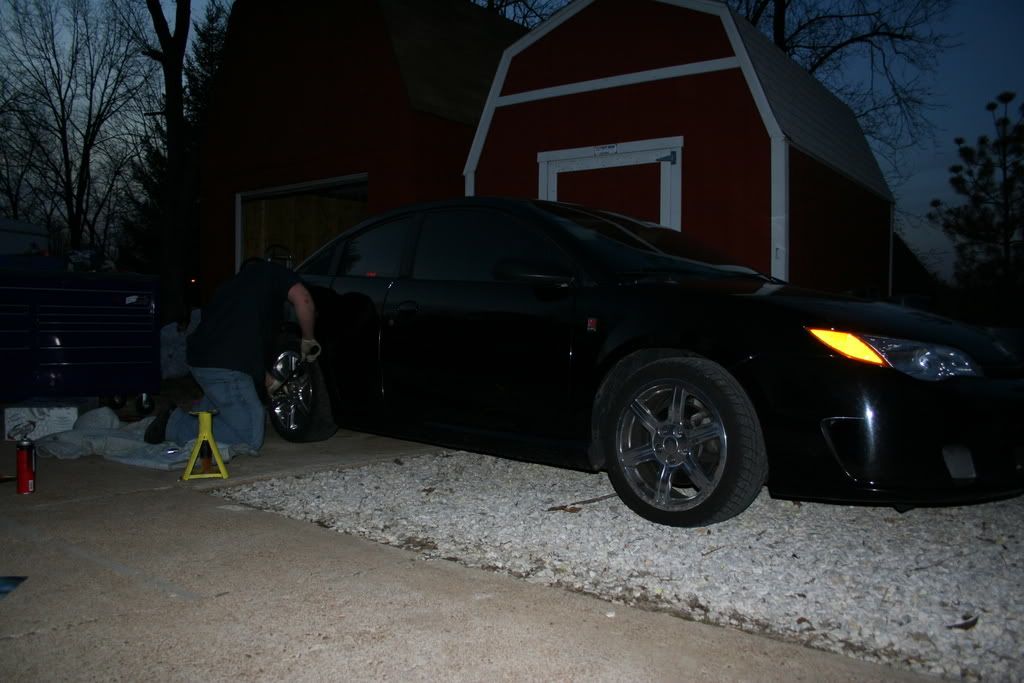
Hey man, no offence but next time post some better pictures, like the actual work.. Not you just standing around holding tools from a distance...It would be helpful to see the structure of the components that need out, etc.. I am halfway done my springs, the rears were easy as ever, but there is one bolt attached the strut that I can't get done because the bolt keeps spinning along with the nut.. It is attached to what I beleive is called an end line? Anyways, I'll be back at it after work tomorrow, so any suggestions on how to get this ******* bolt off would be great!!
06-05-2008, 02:21 AM
#8
Senior Member
Join Date: 08-06-05
Location: AB
Posts: 884
Likes: 0
Received 0 Likes
on
0 Posts
Hmm, I couldn't find the SS how to. Well theres 2 of them, one which only needs to come off.. They attach to ball joints on the end line that holds the sway and strut in place I beleive..
06-05-2008, 02:24 AM
#9
Senior Member
Thread Starter
Join Date: 06-06-07
Location: somewhere
Posts: 9,714
Likes: 0
Received 0 Likes
on
0 Posts


Thread
Thread Starter
Forum
Replies
Last Post
Jesse
Problems/Service/Maintenance
2
09-28-2015 12:51 PM