General Suspension: How to install SS/SC front sway bar,Moog endlinks,and spacers on LS. With pics
 02-09-2012, 05:09 PM
#1
Senior Member
Thread Starter
iTrader: (1)

Join Date: 02-08-08
Location: Fayetteville/Linden, NC/Myrtle Beach, SC
Posts: 3,728
Likes: 0
Received 0 Likes
on
0 Posts
Now for a general disclaimer, I nor CSS.net are not responsible for damage, injury, or
death to property, animals or persons due to your mistakes on following this how-to. I did
not think to get pics of some steps, provided interest or questions I can get them based on
request. I do not have finished pics due to my girlfriend rushing me so we could go to her
sister's to watch the superbowl. Those will be up soon.
Tools needed: Impact wrench(very preferable if you plan on keeping oem endlinks(you will
see why)) Size 15MM-22MM sockets, ratchet, pry bar(we didn't have one handy so we used
a jack handle), a few extensions, flathead screwdriver, a few wrenches, another person for help and
support, and I believe that was it.
Parts installed: MOOG Endlinks, MOOG sway bar bushings, FE5 SC front sway bar, OTTP Steering rack spacers
Sway bar & endlinks
Step 1: Jack up car and place inner box frame on jackstands within ~8-12 inches of front
subframe.
Step 2: Remove wheels.
Step 3: Remove upper endlink bolts, they are the bolts that hold the top of the endlinks to
the strut housings just below the spring perches, you must remove both at this time:
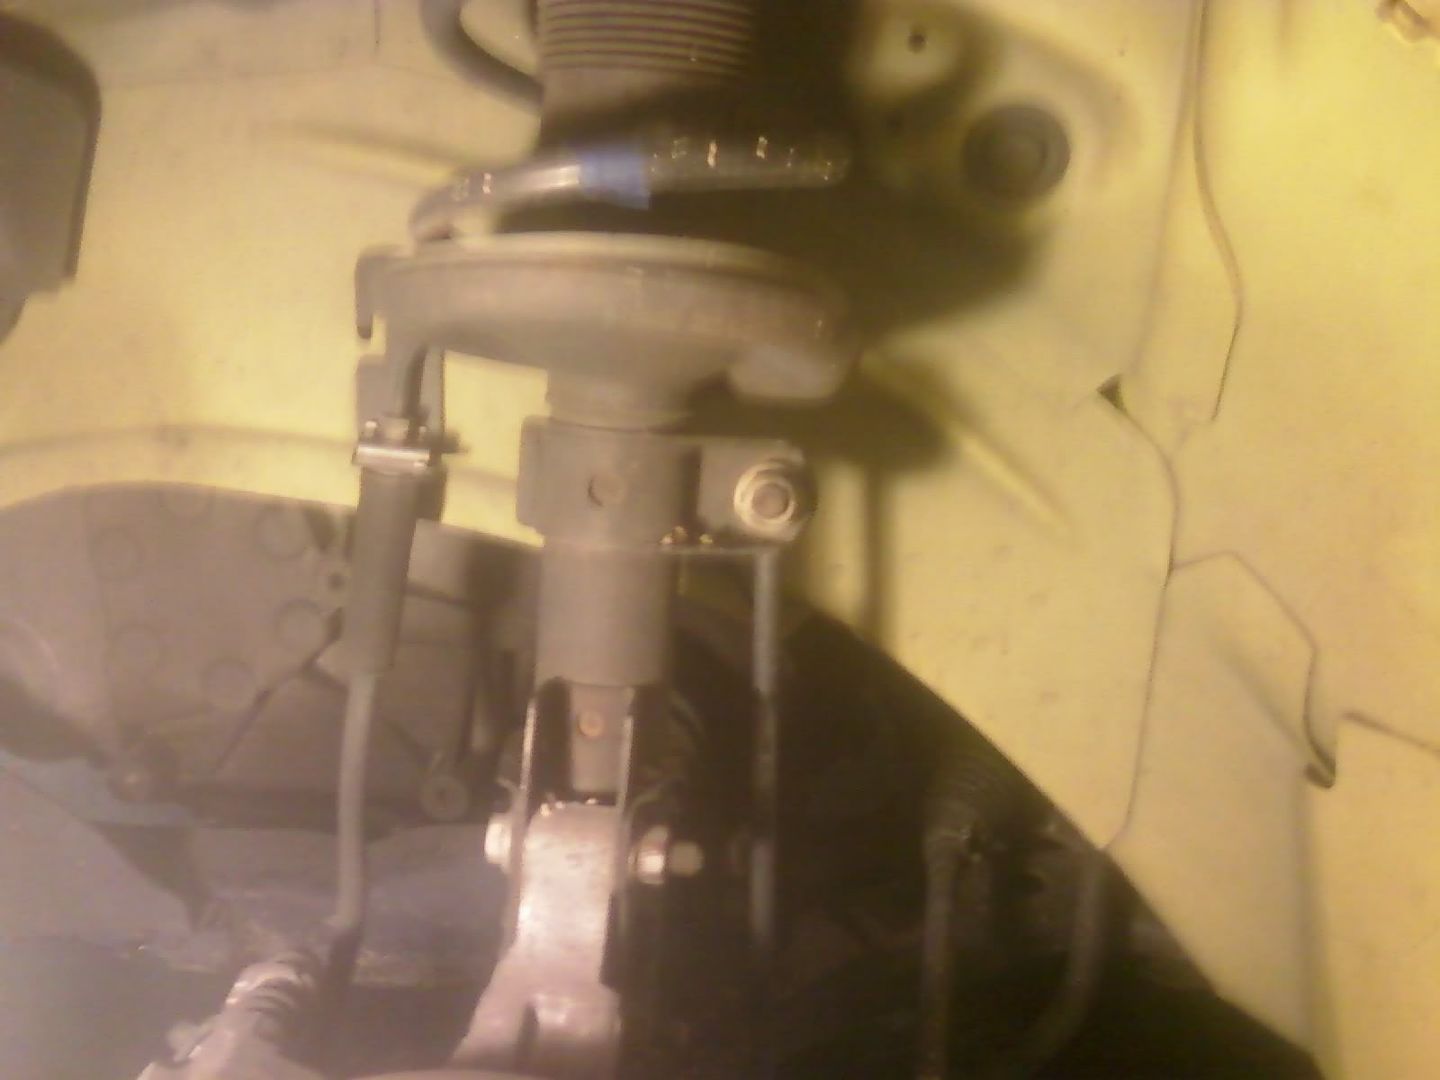
Step 4: Remove lower endlink bolts, they are at the other end of the thin rod attached to
the first bolts you removed. You do this by twisting the sway bar down so you can fit the
impact under the control arm facing the brake disk:

Step 5: remove sway bar clamp bolts(2, 1 on each side), after that you can remove
bushings by tilting the clamp back and pulling forward(releasing tab) and pulling bushings
towards sway bar ends and pulling sway through slits in the bushing:
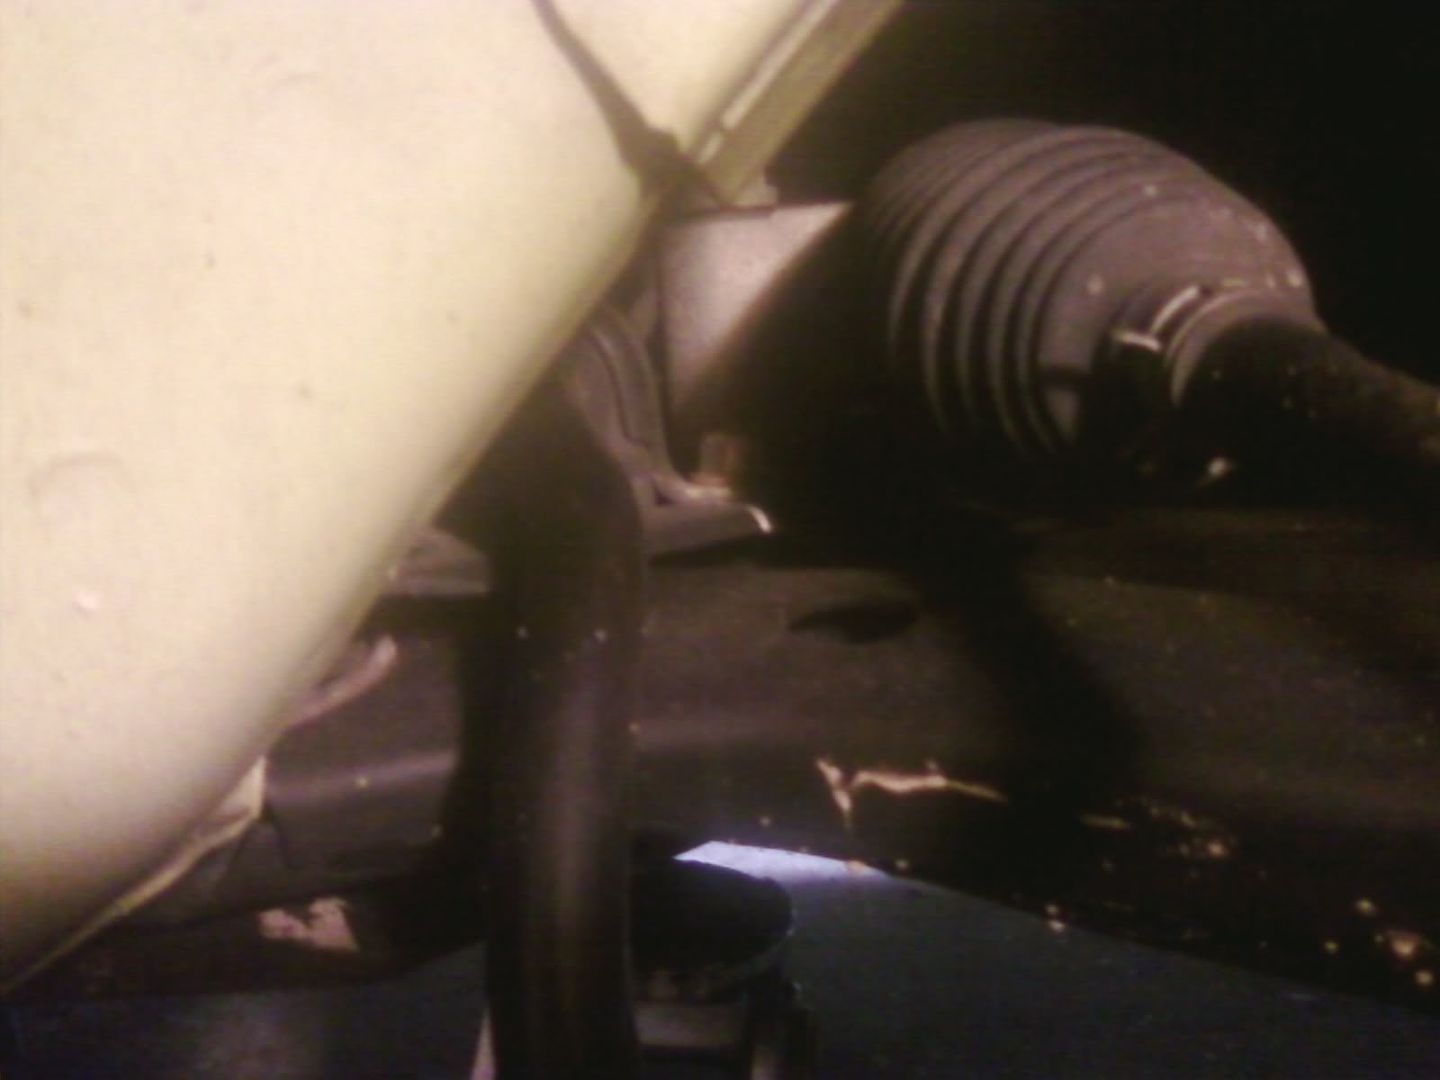
It is the bolt in the pic just in front of the sway bar partially shadowed by the steering boot.
Step 6: Holding the rear of the subframe up with a jack(not only for safety but to not bend
or break bolts) remove rear subframe/control arm bolts(2, 1 on each side) and rear
transmission mount bolts(tranny mount bolts are in a very tight triangle pattern only a few
MM apart from each other.
Step 7: Remove plastic shrouding from front and loosen front subframe bolts(2, 1 on each
side) so there is approx. 3/8" gap between the head of the bolt and the subframe, now let
jack down slowly and there should be about 2" of space between the tranny mount and
subframe.
Step 8: Pry drivers side subframe down while friend removes passenger side sway bar by
pulling towards the back of the car with bar going between subframe and car body, then
have them pry while you remove drivers side, once passenger side is loose if car is high
enough from ground you can wiggle it out without prying but it was just easier to pry it out.
Step 9: Reverse removal instructions and you have a badass swaybar (when coupled with
moog endlinks creates quite a difference). Only difference was using n open end wrench to
hold the bolt section of the Moog endlink while I impacted the nut on.
Steering rack spacers
Step 1: Follow steps 1 & 2 above.
Step 2: Remove the steering rack bolts, your's will be harder to get to than mine because I
did my sway bar at the same time so I did the rack spacers after I had gotten the bar out
but before I installed the new one. Also the bolts are stupidly long for some reason so using a ratchet you will be there for a while.
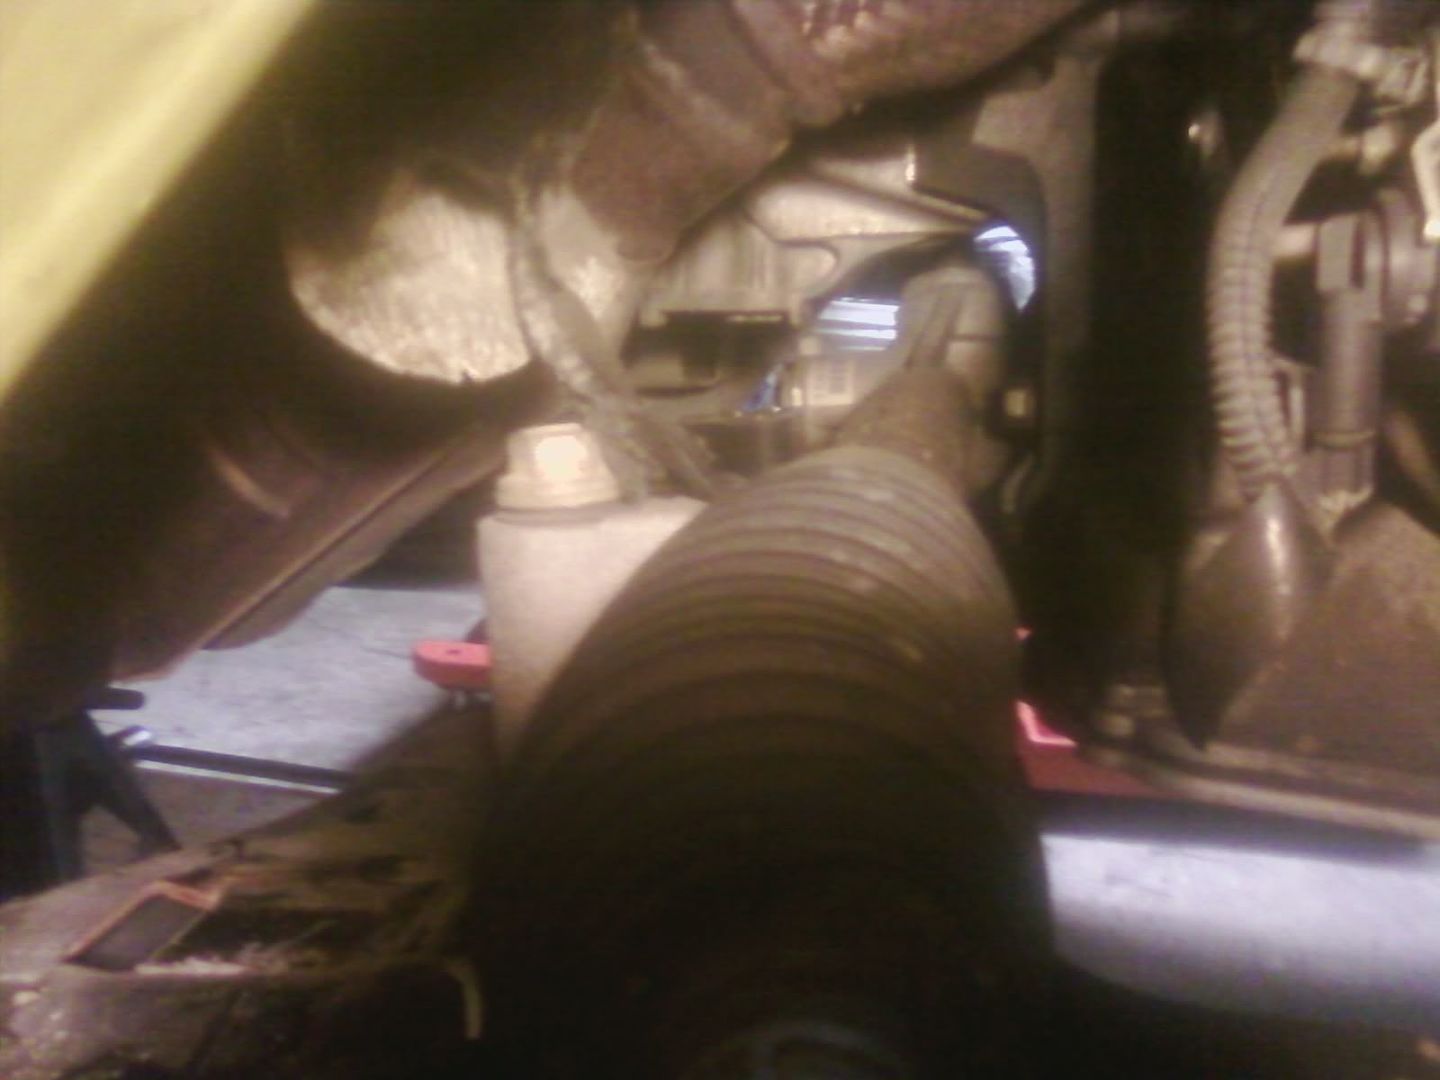
Step 3: Lift rack and put spacer underneath with machined cup area up and flat side down.
Place bolt back in hole and start cranking down.
Step 4: After your arms have gone numb from the workout be sure to tighten to TAF
specs, replace wheels, test it out and go rock crawling or something.
Additional pics and reference:
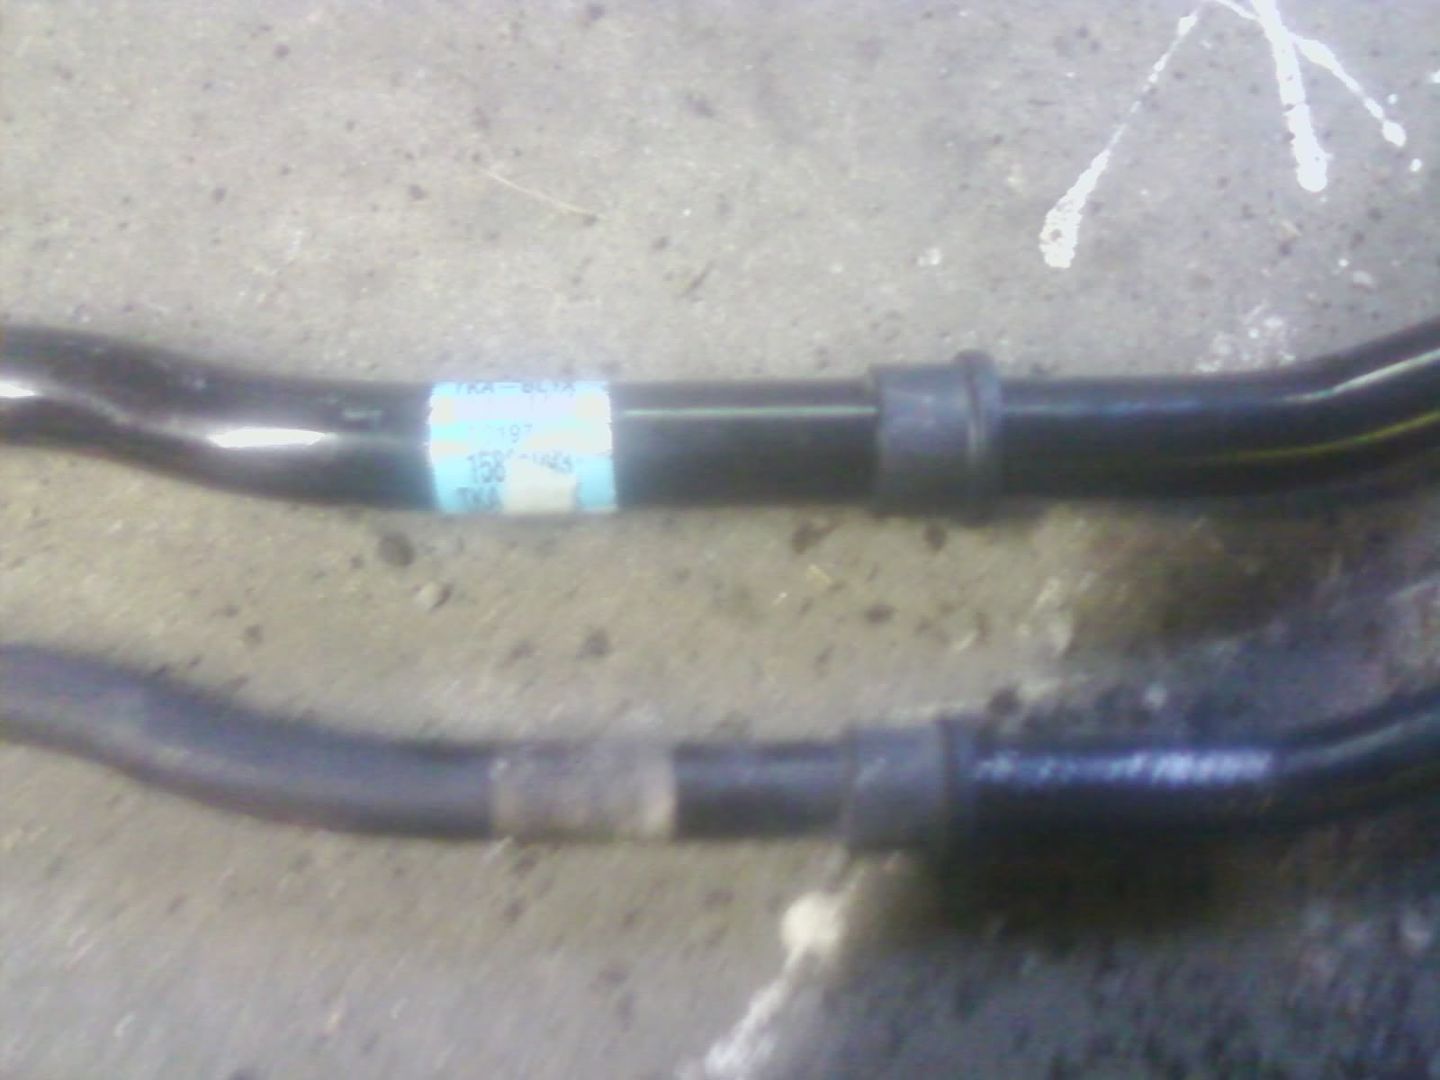
As you can see the FE5 LSJ is a lot bigger running at 25MM vs the stock FE1 at 21MM:
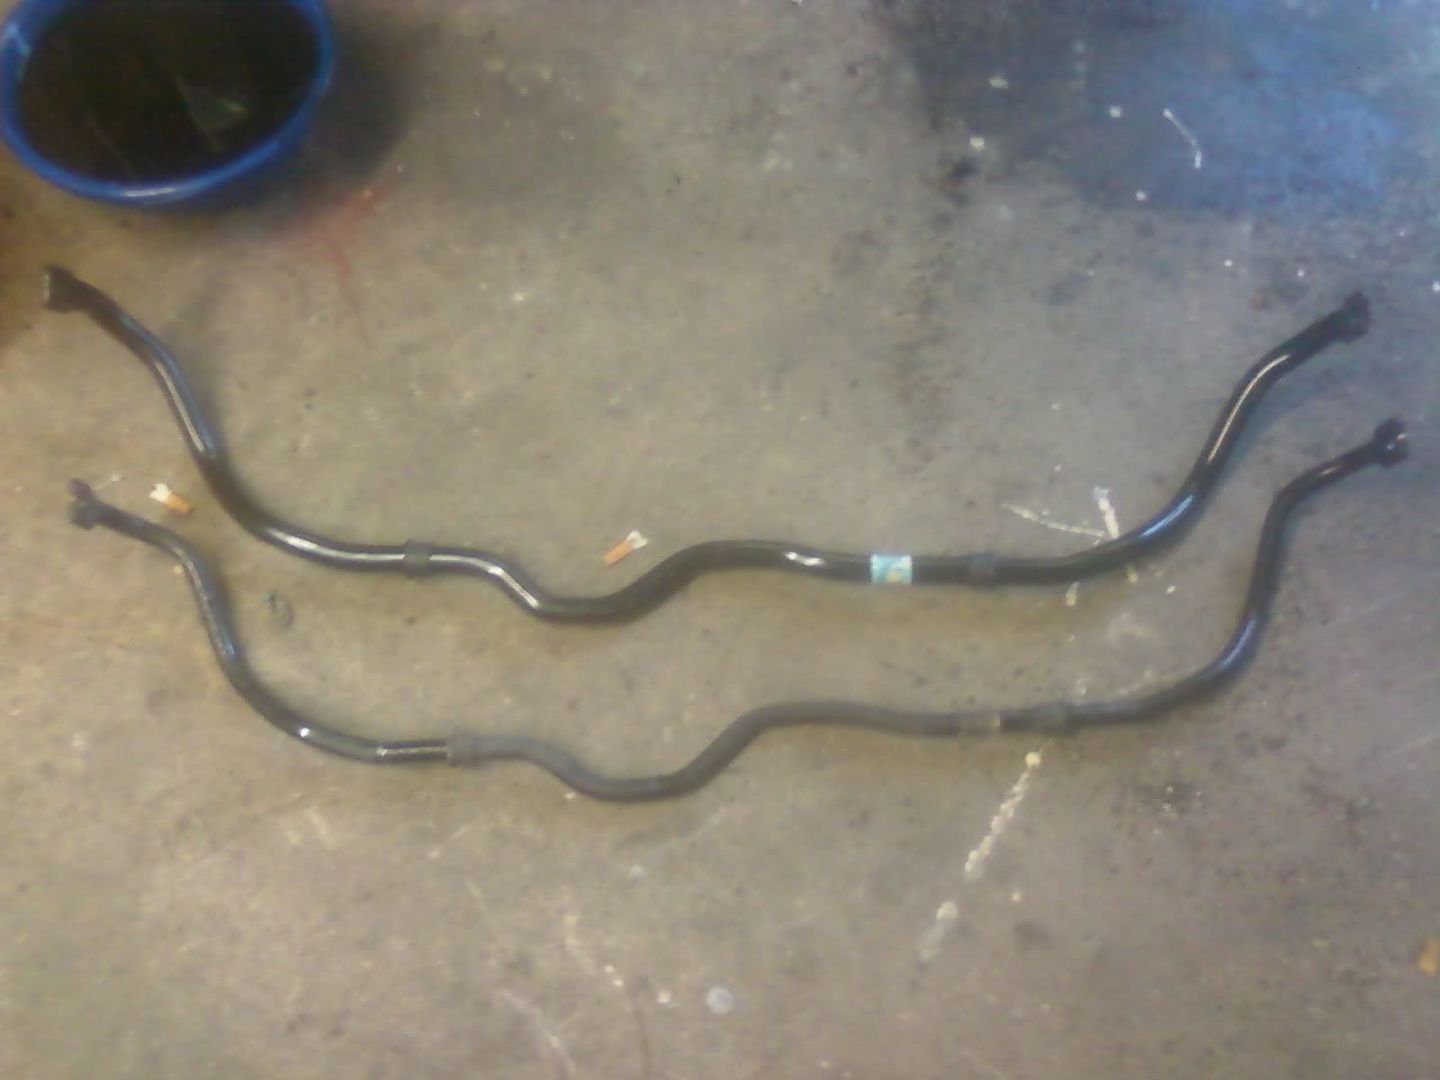
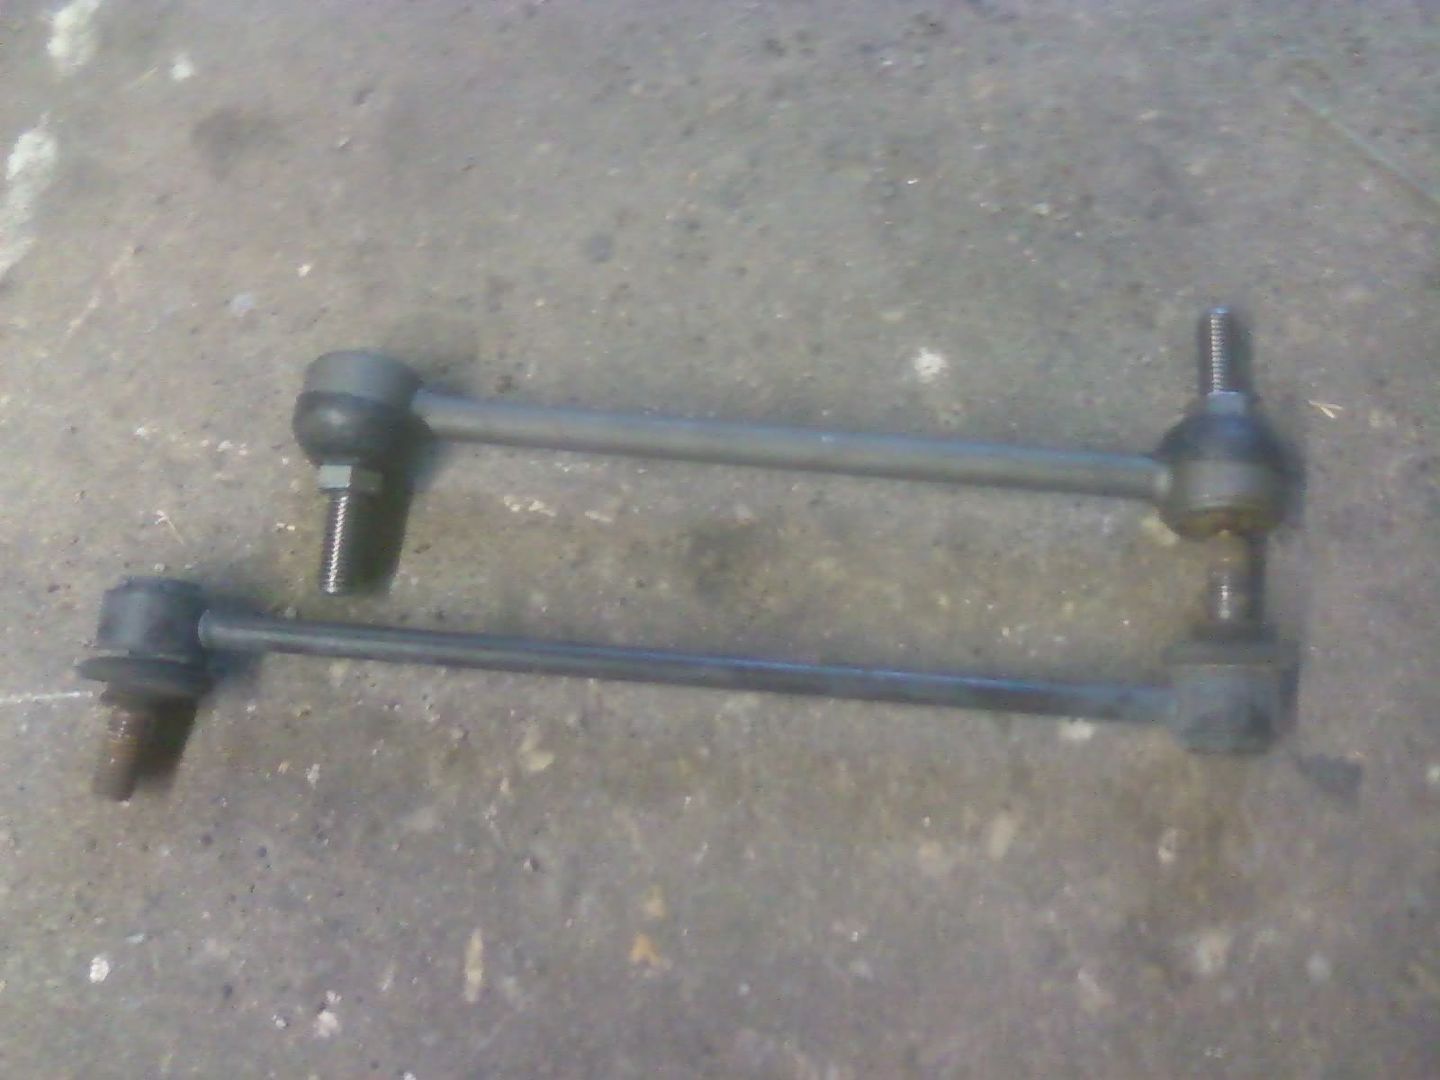
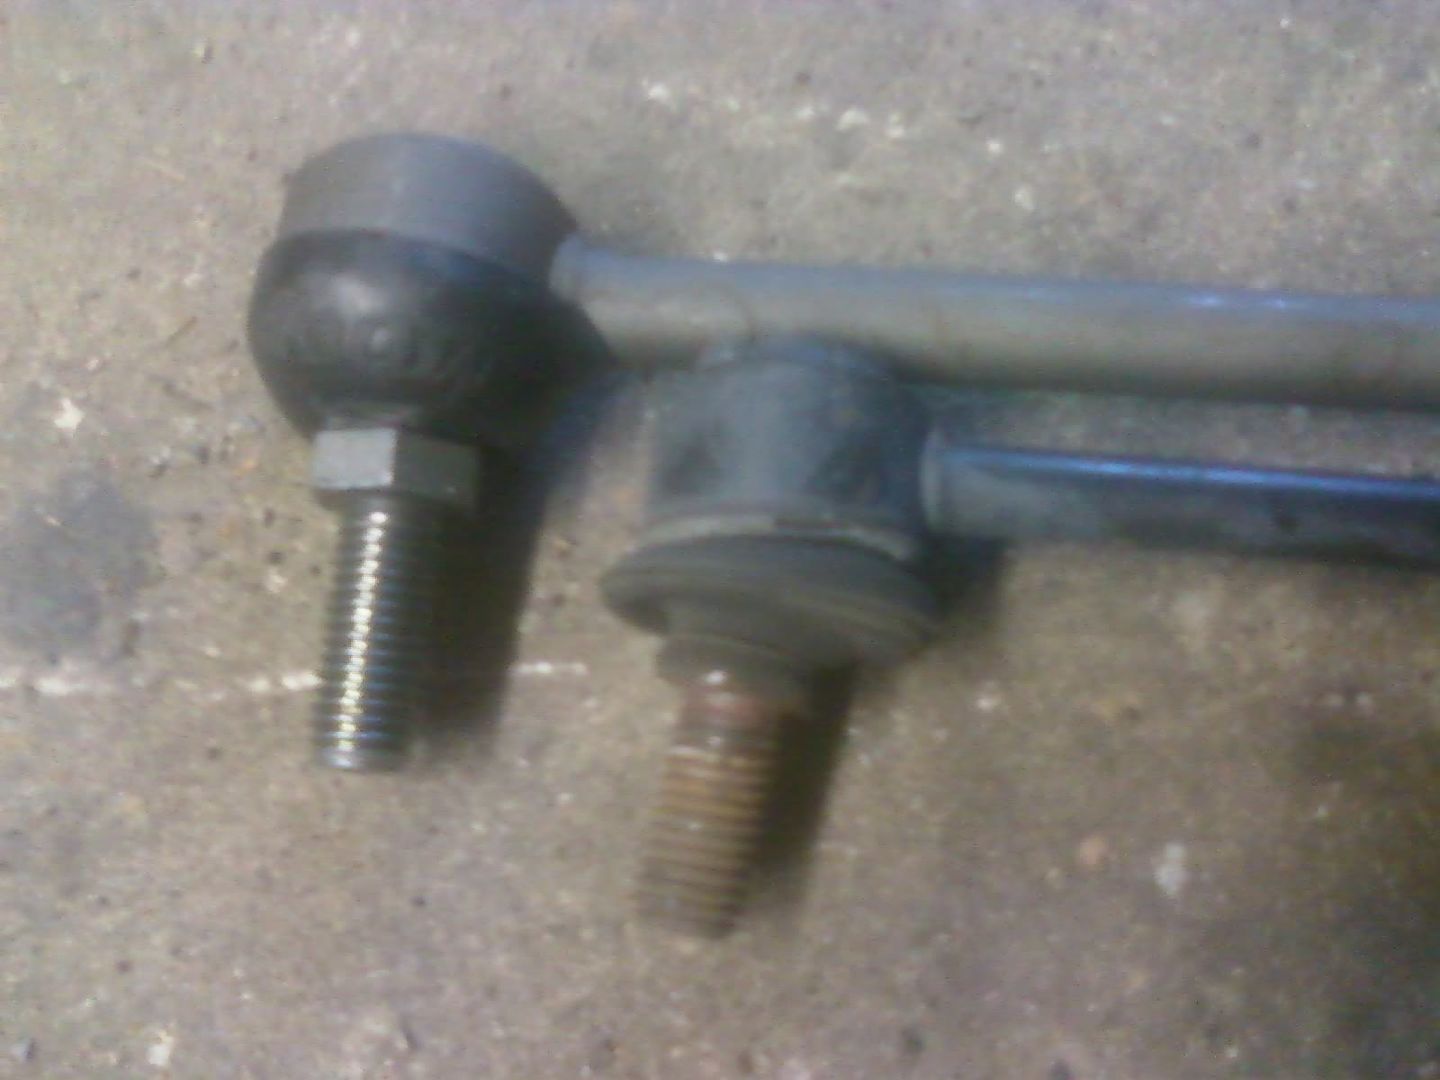
The MOOG endlinks are much beefier too and they have grease fittings, they are shorter which means less flex in them but it also allows for running the smaller wheel fitment of the LS:
As a few notes I should mention:
The FE5 swaybar and bushings only fit in 1 bolt clamps(some Cobalts came with 2 bolt
clamps) not to worry though you will just need to get the clamps too which are relatively
cheap. All 05/06 LS Cobalts were 1 bolt. I do not know about others.
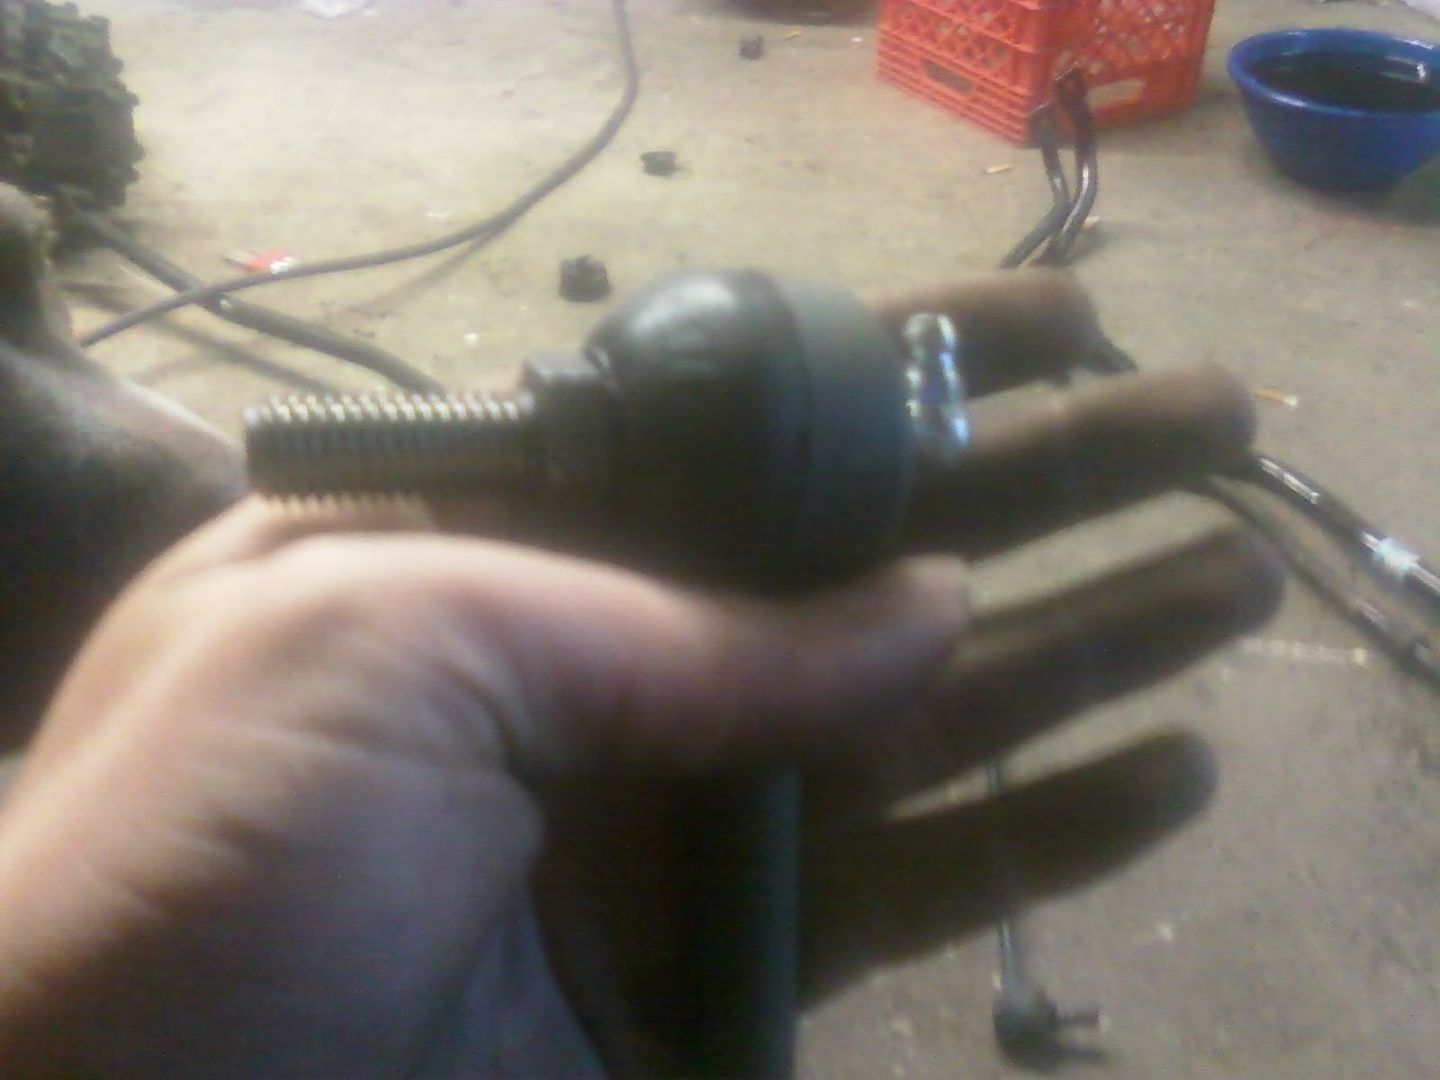
The MOOG endlinks come with grease fittings, a 10 MM open end wrench is needed to get
them on, they thread into the brass grease covers in the back. You will need to kinda of
force them in there since there are no threads in the brass covers but the ones on the
grease fittings are self tapping.
All these parts I installed were were chosen after years of research and reading Maven
rattle on about suspension. I bought all of them well over a year ago but never had the
proper tools to install them until now... All of these parts were completely worth the cost
and the wait. Aside from some fitment issues with my sway bar getting fresh with my OTTP
Catted 3" downpipe I had no problems and the install went well, with probably an hour of
BSing around, taking pics, and putting up with constant harassment from my girlfriend
calling every 20 minutes asking me if I was finished yet, it only took us 3 hours to install
these parts. Chassis flex is greatly reduced, I have a hill getting into my driveway at my
apartment complex where with just the OTTP Hardcore rear sway bar I would three wheel
with my back wheel up and be able to fit a pack of smokes and 2 lighters(stacked)
underneath it. Now I three wheel with enough room to fit my soccer ball under the tire.
Also bumpsteer, which I never really noticed it was so bad until now. With the spacers I
barely have to grip the wheel when pulling into my apartment when before without thinking
I had a death grip on it... Now bumpsteer is almost non existent.
death to property, animals or persons due to your mistakes on following this how-to. I did
not think to get pics of some steps, provided interest or questions I can get them based on
request. I do not have finished pics due to my girlfriend rushing me so we could go to her
sister's to watch the superbowl. Those will be up soon.
Tools needed: Impact wrench(very preferable if you plan on keeping oem endlinks(you will
see why)) Size 15MM-22MM sockets, ratchet, pry bar(we didn't have one handy so we used
a jack handle), a few extensions, flathead screwdriver, a few wrenches, another person for help and
support, and I believe that was it.
Parts installed: MOOG Endlinks, MOOG sway bar bushings, FE5 SC front sway bar, OTTP Steering rack spacers
Sway bar & endlinks
Step 1: Jack up car and place inner box frame on jackstands within ~8-12 inches of front
subframe.
Step 2: Remove wheels.
Step 3: Remove upper endlink bolts, they are the bolts that hold the top of the endlinks to
the strut housings just below the spring perches, you must remove both at this time:
Step 4: Remove lower endlink bolts, they are at the other end of the thin rod attached to
the first bolts you removed. You do this by twisting the sway bar down so you can fit the
impact under the control arm facing the brake disk:
Step 5: remove sway bar clamp bolts(2, 1 on each side), after that you can remove
bushings by tilting the clamp back and pulling forward(releasing tab) and pulling bushings
towards sway bar ends and pulling sway through slits in the bushing:
It is the bolt in the pic just in front of the sway bar partially shadowed by the steering boot.
Step 6: Holding the rear of the subframe up with a jack(not only for safety but to not bend
or break bolts) remove rear subframe/control arm bolts(2, 1 on each side) and rear
transmission mount bolts(tranny mount bolts are in a very tight triangle pattern only a few
MM apart from each other.
Step 7: Remove plastic shrouding from front and loosen front subframe bolts(2, 1 on each
side) so there is approx. 3/8" gap between the head of the bolt and the subframe, now let
jack down slowly and there should be about 2" of space between the tranny mount and
subframe.
Step 8: Pry drivers side subframe down while friend removes passenger side sway bar by
pulling towards the back of the car with bar going between subframe and car body, then
have them pry while you remove drivers side, once passenger side is loose if car is high
enough from ground you can wiggle it out without prying but it was just easier to pry it out.
Step 9: Reverse removal instructions and you have a badass swaybar (when coupled with
moog endlinks creates quite a difference). Only difference was using n open end wrench to
hold the bolt section of the Moog endlink while I impacted the nut on.
Steering rack spacers
Step 1: Follow steps 1 & 2 above.
Step 2: Remove the steering rack bolts, your's will be harder to get to than mine because I
did my sway bar at the same time so I did the rack spacers after I had gotten the bar out
but before I installed the new one. Also the bolts are stupidly long for some reason so using a ratchet you will be there for a while.
Step 3: Lift rack and put spacer underneath with machined cup area up and flat side down.
Place bolt back in hole and start cranking down.
Step 4: After your arms have gone numb from the workout be sure to tighten to TAF
specs, replace wheels, test it out and go rock crawling or something.
Additional pics and reference:
As you can see the FE5 LSJ is a lot bigger running at 25MM vs the stock FE1 at 21MM:
The MOOG endlinks are much beefier too and they have grease fittings, they are shorter which means less flex in them but it also allows for running the smaller wheel fitment of the LS:
As a few notes I should mention:
The FE5 swaybar and bushings only fit in 1 bolt clamps(some Cobalts came with 2 bolt
clamps) not to worry though you will just need to get the clamps too which are relatively
cheap. All 05/06 LS Cobalts were 1 bolt. I do not know about others.
The MOOG endlinks come with grease fittings, a 10 MM open end wrench is needed to get
them on, they thread into the brass grease covers in the back. You will need to kinda of
force them in there since there are no threads in the brass covers but the ones on the
grease fittings are self tapping.
All these parts I installed were were chosen after years of research and reading Maven
rattle on about suspension. I bought all of them well over a year ago but never had the
proper tools to install them until now... All of these parts were completely worth the cost
and the wait. Aside from some fitment issues with my sway bar getting fresh with my OTTP
Catted 3" downpipe I had no problems and the install went well, with probably an hour of
BSing around, taking pics, and putting up with constant harassment from my girlfriend
calling every 20 minutes asking me if I was finished yet, it only took us 3 hours to install
these parts. Chassis flex is greatly reduced, I have a hill getting into my driveway at my
apartment complex where with just the OTTP Hardcore rear sway bar I would three wheel
with my back wheel up and be able to fit a pack of smokes and 2 lighters(stacked)
underneath it. Now I three wheel with enough room to fit my soccer ball under the tire.
Also bumpsteer, which I never really noticed it was so bad until now. With the spacers I
barely have to grip the wheel when pulling into my apartment when before without thinking
I had a death grip on it... Now bumpsteer is almost non existent.


Thread
Thread Starter
Forum
Replies
Last Post