
Appearance: "How to" remove SS High Rise Spoiler/Wing Fin Blade Insert


Thread Starter
New Member
Joined: 07-27-12
Posts: 24
Likes: 0
From: Salt Lake City
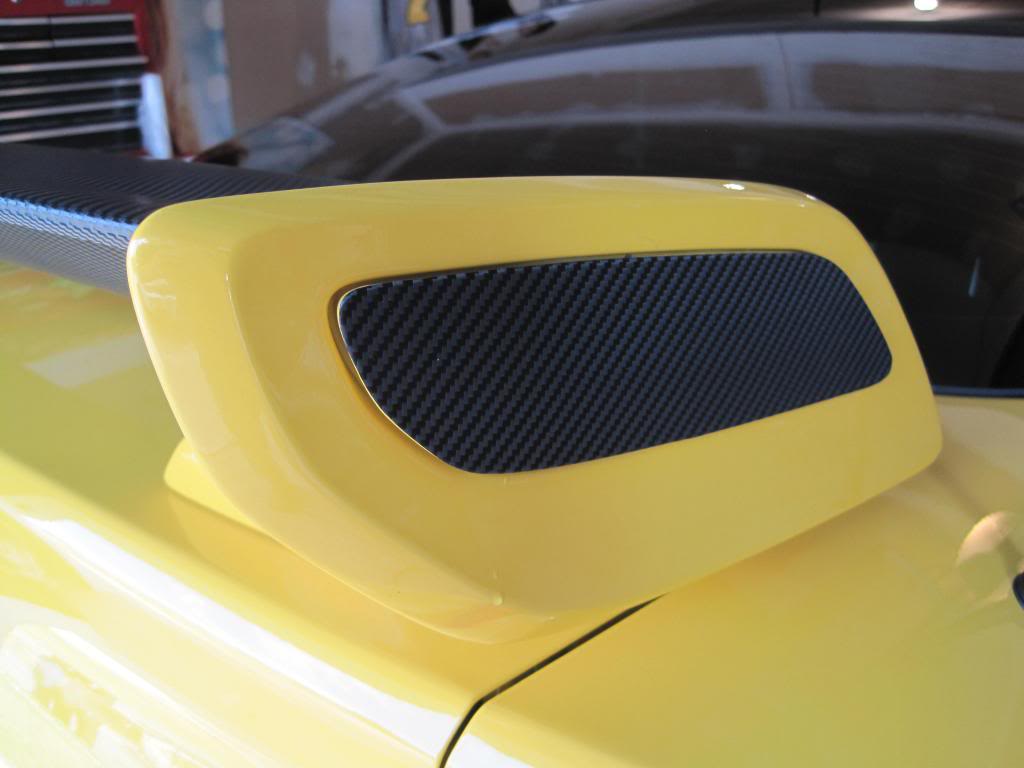
I needed to remove the center wing insert blade from my spoiler to paint the sides and noticed no one has it documented very well. Here goes:
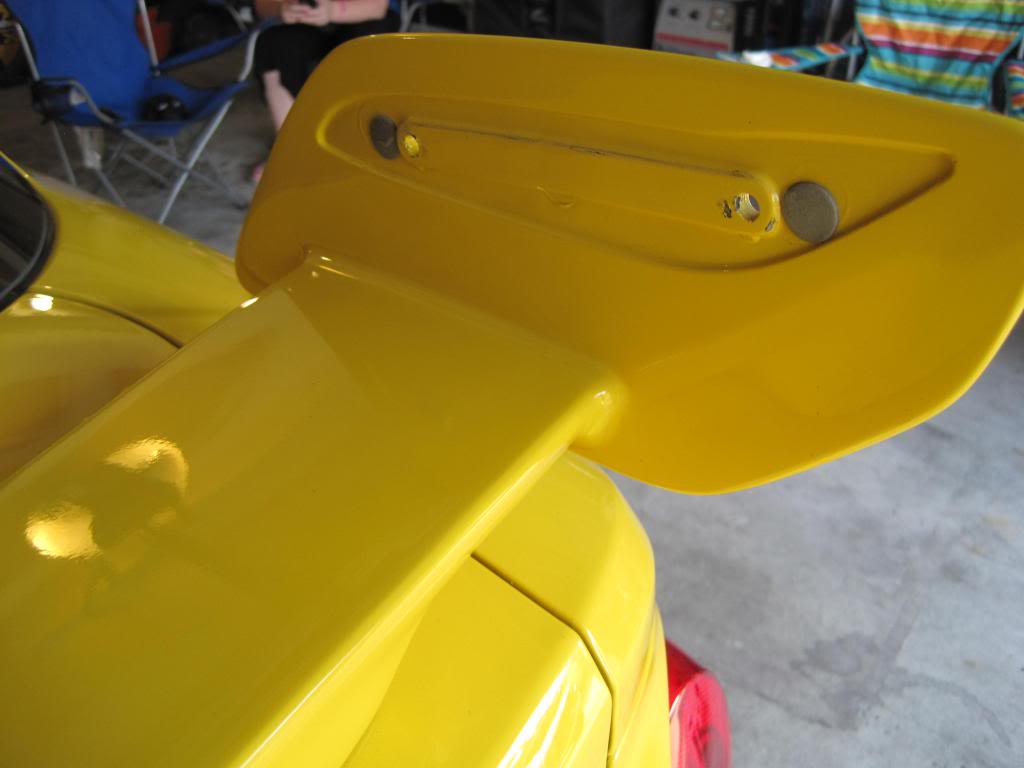
1 - On each side of the wing are small curved rectangular screw covers.
2 - Using Plastic Tools ($4 from Harbor Freight) so you don't scratch your paint, use a heat gun or hair dryer (I used a hair dryer just fine) and start from the easiest corner. I found working from right right side and moving back was awesome. You simply heat up the goo, pry your plastic trim tool in there and lift out. The side brackets are quite durable so even if they bend a little, as long as you are applying heat, they don't break they just melt away from the sticky tape. BE CAREFUL as there are two small tubes sticking out from the cap as shown in the picture below, so move your tool along the edges for those parts.
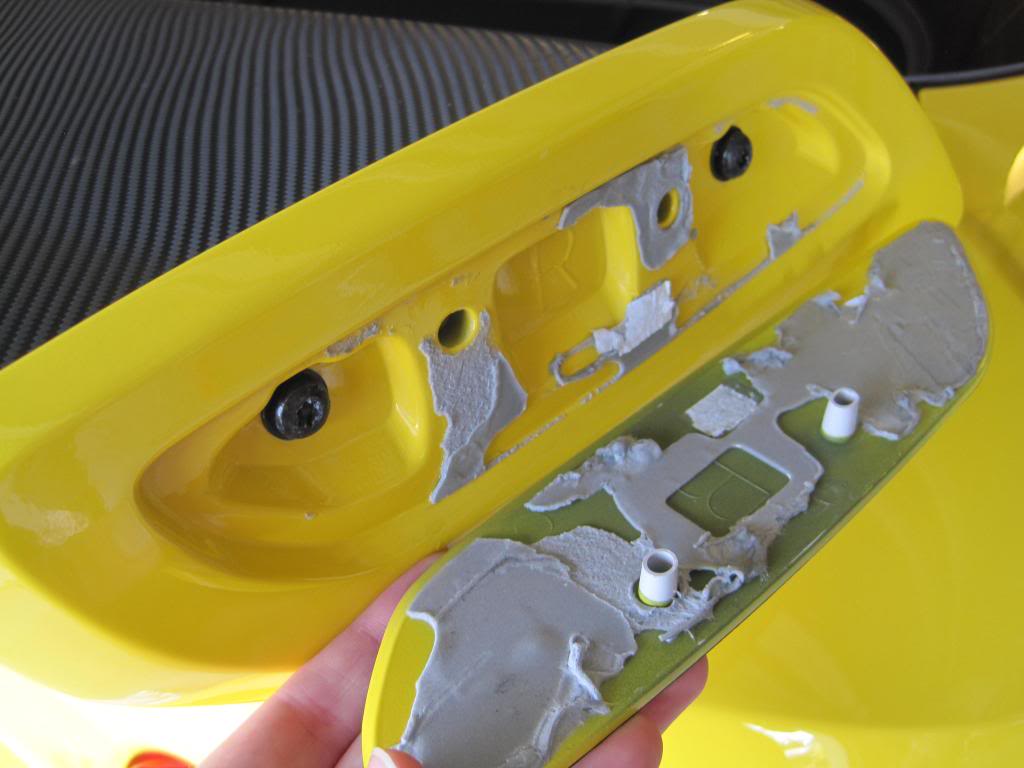
3 - Use your finger or 3M adhesive remover and remove all of the gunk from both sides
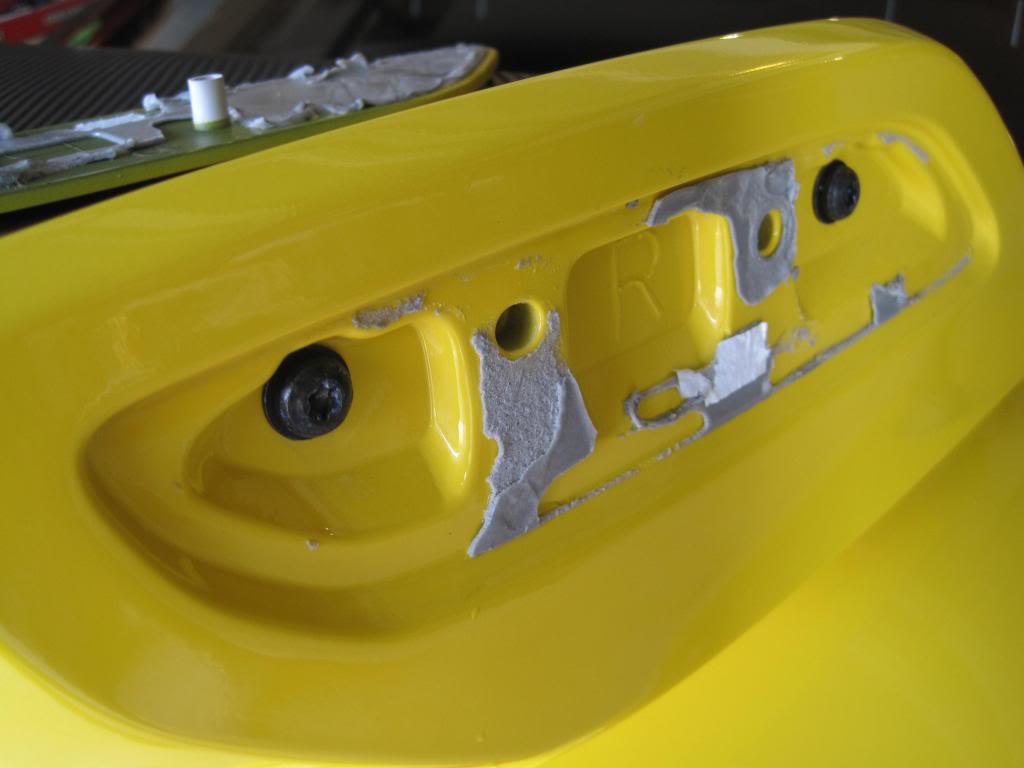
4 - There are two STAR screws on each side that need to be removed. The blade is wedges between the two side stands, so you can easily remove the screws without needing to support the wing. Remove the two screws and set aside.
5 - Pick a side and very gently pull the very top of the blade support stand away from the blade and the blade will just drop into your hands so be ready to support it and hold it with your other hand. It is literally just held there with pressure once the screws are removed.
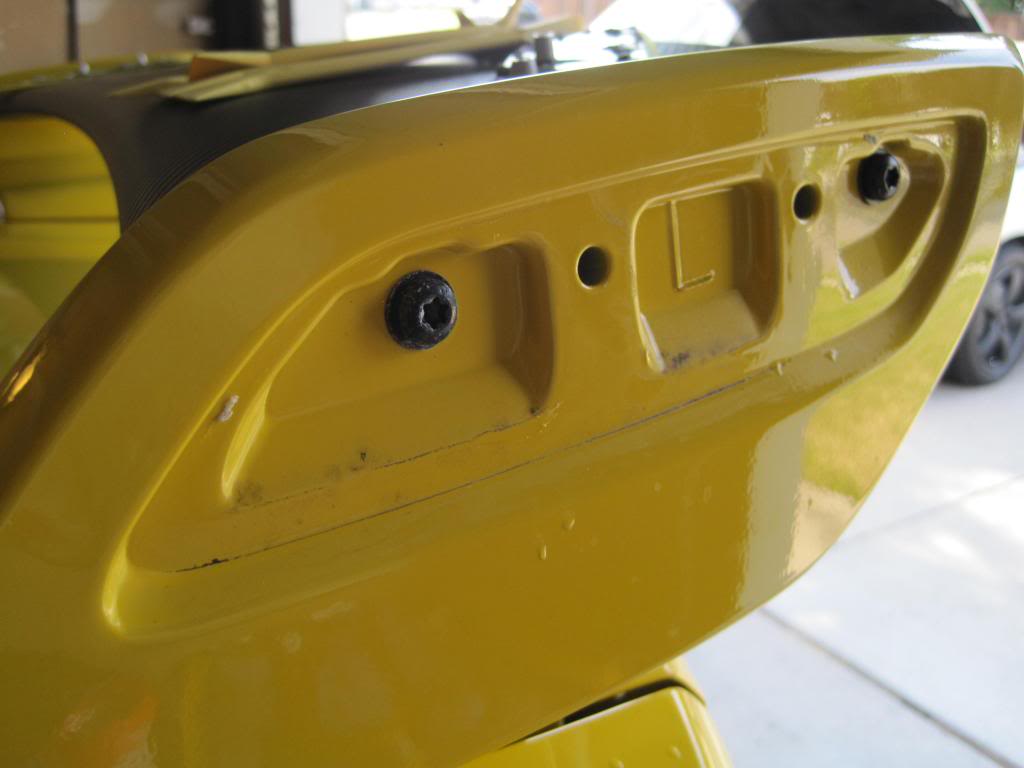
Another view:
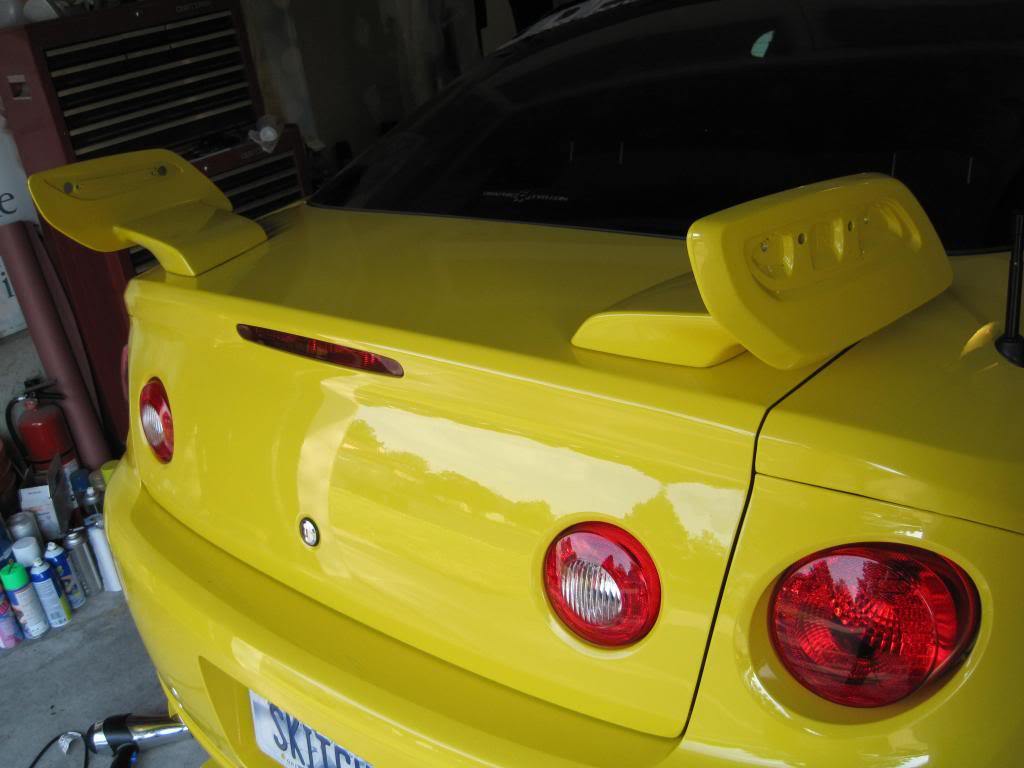
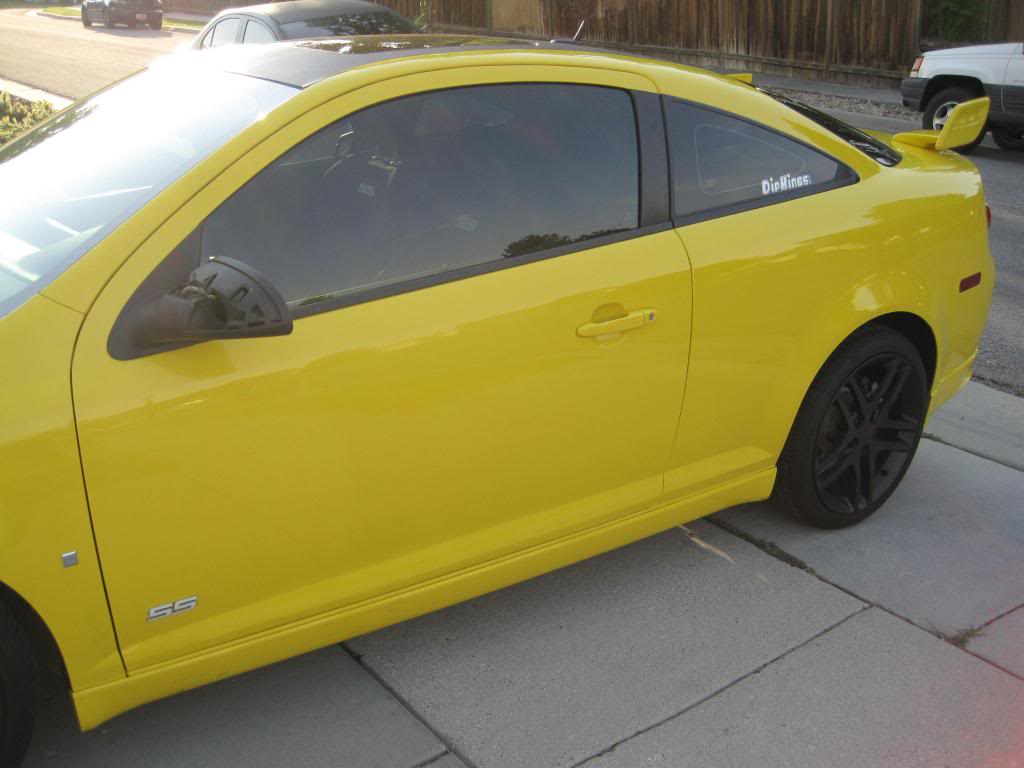
Now you are ready to paint your car, vinyl wrap your blade or whatever you want to do.
1 - On each side of the wing are small curved rectangular screw covers.

2 - Using Plastic Tools ($4 from Harbor Freight) so you don't scratch your paint, use a heat gun or hair dryer (I used a hair dryer just fine) and start from the easiest corner. I found working from right right side and moving back was awesome. You simply heat up the goo, pry your plastic trim tool in there and lift out. The side brackets are quite durable so even if they bend a little, as long as you are applying heat, they don't break they just melt away from the sticky tape. BE CAREFUL as there are two small tubes sticking out from the cap as shown in the picture below, so move your tool along the edges for those parts.

3 - Use your finger or 3M adhesive remover and remove all of the gunk from both sides

4 - There are two STAR screws on each side that need to be removed. The blade is wedges between the two side stands, so you can easily remove the screws without needing to support the wing. Remove the two screws and set aside.

5 - Pick a side and very gently pull the very top of the blade support stand away from the blade and the blade will just drop into your hands so be ready to support it and hold it with your other hand. It is literally just held there with pressure once the screws are removed.

Another view:

Now you are ready to paint your car, vinyl wrap your blade or whatever you want to do.


Joined: 02-04-12
Posts: 9,042
Likes: 7
From: Donegal, PA (Pittsburgh Area)
Thread Starter
New Member
Joined: 07-27-12
Posts: 24
Likes: 0
From: Salt Lake City
Depending on what you are going for Vinyl wrap would look awesome and be removable. If you are looking for a more realistic looking carbon fiber, there is a paint process called "Hydro-Dipping" which places the CF pattern on the wing and then clear is painted over it giving it the resin look. But that is more permanent but obviously looks a million times better than vinyl but not the upkeep required for actual CF.


Thread
Thread Starter
Forum
Replies
Last Post
soccerkid13
Wanted - What to buy - All categories
5
Jan 11, 2016 10:25 AM
camaromanss1992
Parts
3
Oct 1, 2015 10:51 PM