
Appearance: how to: tint your tail lights the pro's way


Thread Starter
Banned
Joined: 02-19-09
Posts: 3,818
Likes: 0
From: Carol Stream
how to: tint your tail lights the pro's way
this how to isnt for everyone but in all honesty i think this is the only correct way to black out tail lights in stead of using that garbage vht makes. i understand this method wont be for everyone BUT i wanted to post it anyways.
Materials needed
1. 1500 grit wetsanding paper. i use 3m but all the others are gine
2. a gray scotch bright pad
3. scuffing paste
4. some 1 1/2" tape finished tape rolls
5. 1/4" trape(scotch green) and 1 1/2" tape
6. a piece of cardboard
7. your favorite spray gun and booth
8. clear coat(my choice spies and hekker 8530 high solids low voc clear)
9. single stage black(my choice spies and hekker fp2000 deep black)
10. silicone remover and a tack cloth
11. static free/ lint free towels
i didnt take pictures of all the steps but just the important ones
1. remove tail lights and dis assemble the third brake light
2. lightly sand the tail lights with 1500 grit wet(i usually let it soak for 10-20 minutes prior). sand the lights until you see your imperfections removed and a hazy finish
3. now on the edges of the lights theres always some plastic build up or an un even spot where they were glued together. this is where the gray scuff pad and paste come in. using some water scuff around the edges very good until there are no shiney spots left. also for insurance i do this on the whole light aswell.
4. after getting the lights all sanded its important to give them a thorough washing to remove and paste or wet sanding residue. dry them off extermely well.
5. now i take my greentape and lay it around the inner edge of where they are glued together. i get a nice line around them
6. the i take my finished off rolls of tape and place them between the screws. this raises the lights so they arent close to the cardboard.
7. now tape them all up and place them on the cardboard and tape everything down to the cardboard.

8. wipe them down thoroughly with your wax and grease remove or silicone remove.
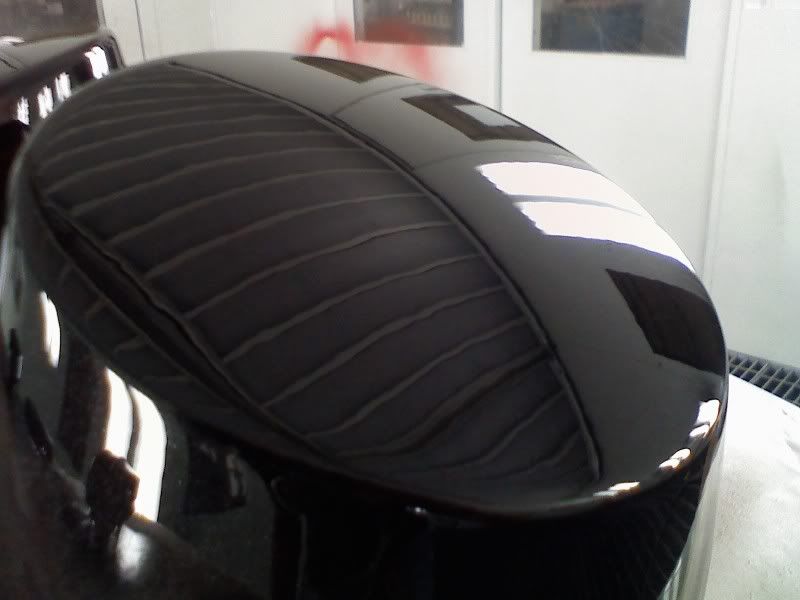
9. prepare your paint. theres really no right way to do this. mix your clear the proper way and add some black into it. i sprayed a test panel with x amount of coats to see how dark they would get. after 1 coat i got this.

flash was accidently on for this pic

i was going for a really light tint because my cars black and i like the tail lights breaking it all up a bit. so after 3 coats this is what iwas left with.


10. bake them in the booth at 170 degrees for 45 minutes. let them cool for 20-30 minutes depending on the outside temp.
11. wetsand them flat with 1500 and finishing in 3000
12. buff with compound and polish with a polishing compound(personal perference)
13. reinstall stand back and be a happy person!
Materials needed
1. 1500 grit wetsanding paper. i use 3m but all the others are gine
2. a gray scotch bright pad
3. scuffing paste
4. some 1 1/2" tape finished tape rolls
5. 1/4" trape(scotch green) and 1 1/2" tape
6. a piece of cardboard
7. your favorite spray gun and booth
8. clear coat(my choice spies and hekker 8530 high solids low voc clear)
9. single stage black(my choice spies and hekker fp2000 deep black)
10. silicone remover and a tack cloth
11. static free/ lint free towels
i didnt take pictures of all the steps but just the important ones
1. remove tail lights and dis assemble the third brake light
2. lightly sand the tail lights with 1500 grit wet(i usually let it soak for 10-20 minutes prior). sand the lights until you see your imperfections removed and a hazy finish
3. now on the edges of the lights theres always some plastic build up or an un even spot where they were glued together. this is where the gray scuff pad and paste come in. using some water scuff around the edges very good until there are no shiney spots left. also for insurance i do this on the whole light aswell.
4. after getting the lights all sanded its important to give them a thorough washing to remove and paste or wet sanding residue. dry them off extermely well.
5. now i take my greentape and lay it around the inner edge of where they are glued together. i get a nice line around them
6. the i take my finished off rolls of tape and place them between the screws. this raises the lights so they arent close to the cardboard.
7. now tape them all up and place them on the cardboard and tape everything down to the cardboard.
8. wipe them down thoroughly with your wax and grease remove or silicone remove.
9. prepare your paint. theres really no right way to do this. mix your clear the proper way and add some black into it. i sprayed a test panel with x amount of coats to see how dark they would get. after 1 coat i got this.
flash was accidently on for this pic
i was going for a really light tint because my cars black and i like the tail lights breaking it all up a bit. so after 3 coats this is what iwas left with.
10. bake them in the booth at 170 degrees for 45 minutes. let them cool for 20-30 minutes depending on the outside temp.
11. wetsand them flat with 1500 and finishing in 3000
12. buff with compound and polish with a polishing compound(personal perference)
13. reinstall stand back and be a happy person!
Junior Member
Joined: 03-03-09
Posts: 457
Likes: 0
From: Northern Kentucky/ Cincinnati
exactly
Mine were done in a booth and are not only smoother and cleaner looking than VHT, but let light pass thru better.
Mine were done slightly different, but close enough. 10 parts clear, one part black. Two coats of mix and one coat of clear. (hardener in mix)
came out perfect
Mine were done in a booth and are not only smoother and cleaner looking than VHT, but let light pass thru better.
Mine were done slightly different, but close enough. 10 parts clear, one part black. Two coats of mix and one coat of clear. (hardener in mix)
came out perfect


I love Boosted. He does it the right way and makes me happy!  BEAUTIFUL job. Sooo pretty!
Be careful wetsanding and buffing after you finish spraying! Unless you put coats of regular clear over the light, if you wetsand a spot more then another you will have less tint in that spot, when they are illuminated it will stick out like a soar thumb. Also be careful wetsanding and buffing edges! Always least amount of paint there.

Those are BLACK!
BEAUTIFUL job. Sooo pretty!Be careful wetsanding and buffing after you finish spraying! Unless you put coats of regular clear over the light, if you wetsand a spot more then another you will have less tint in that spot, when they are illuminated it will stick out like a soar thumb. Also be careful wetsanding and buffing edges! Always least amount of paint there.
Those are BLACK!

Thread Starter
Banned
Joined: 02-19-09
Posts: 3,818
Likes: 0
From: Carol Stream
man sorry i didnt even know this was approved hahaha. anyone that wants lights done pm me and we'll talk. shoot me your bowtie too will. price varies depending on how dark, if they are coupe or sedan lights, if you just want the rear lights or the markers and third brake light too.
yeah i wetsand them flat so they stay uniform as far as the color goes.
yeah i wetsand them flat so they stay uniform as far as the color goes.


i know this post is all about tailights but could i use that tinting stuff to tint my chevy bowties? i really want them black. or do you think black high gloss paint would be better? i dont know.
Vtec Rep
Platinum Member

Joined: 05-11-09
Posts: 27,815
Likes: 1
From: Parma, OH
just use black spray paint haha. this is just so you can stll have light output haha


Senior Member
Joined: 10-31-09
Posts: 2,635
Likes: 0
From: the darkness
hey guys....sorry its been awhile...the boosted name on here is dead...if you want sets pm my new name(whyyoumadson?) ad ill be more then happy to help any of you out. i do interior trim and all that stuff to...NOTHING IS DONE WITH SPRAY CAN.

130% troof. This guys 2 legit 2 quit. He makes the most finished and OEM looking gauge pod I have ever seen. Finished front and back with brackets and painted the right way. if u want pods this is your #1 man
