
Interior: How to Upholster your A Pillar


Thread Starter
Member
Joined: 11-09-09
Posts: 235
Likes: 0
From: Ft. Knox, KY
How to Upholster your A Pillar
So you hate your tan pillars and wish they were the same color as your interior.
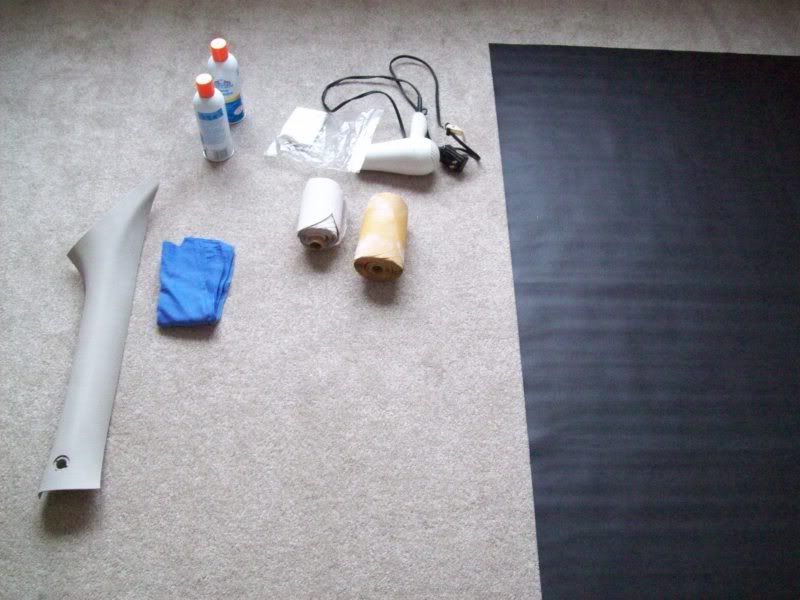
Go get yourself:
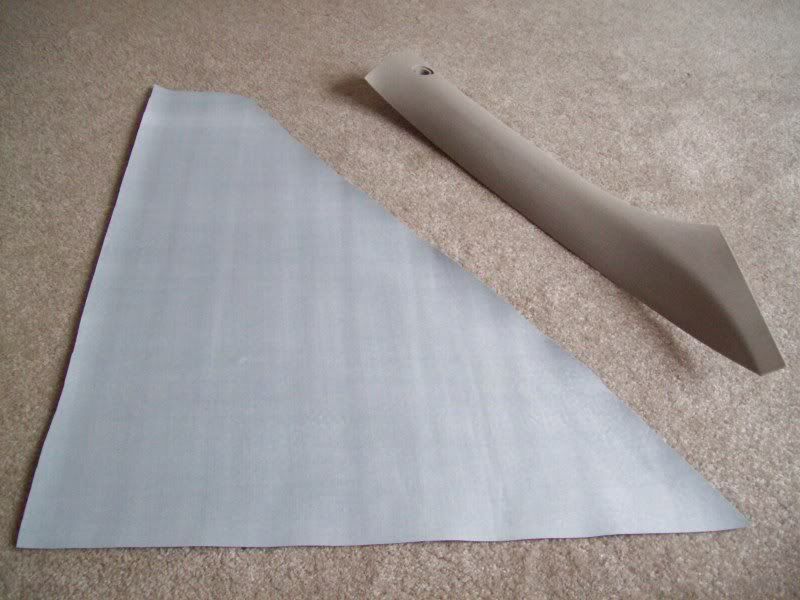
1 yard of desiered material
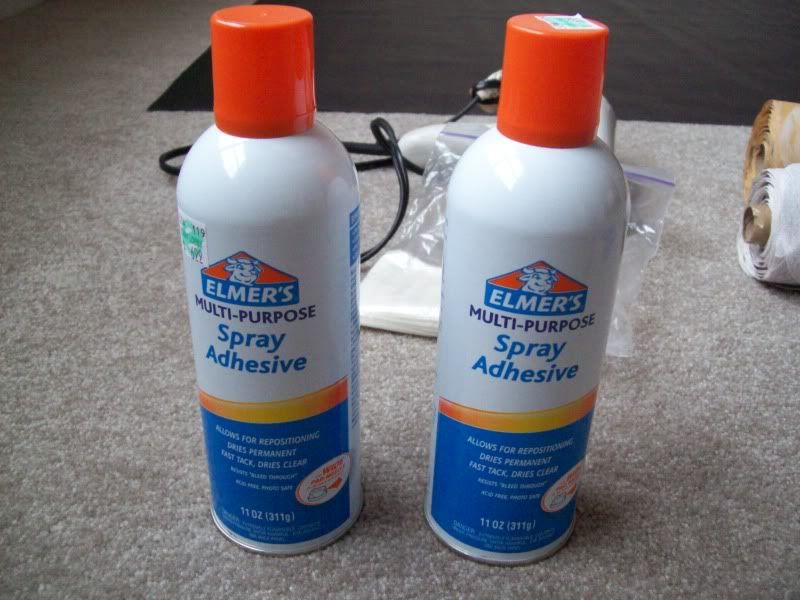
1 can of Elmers Multi-Purpose Spray Adheasive
80 Grit Sandpaper
Razor Blade or Sharp Knife
Utility Shears
Heat Gun or Blowdryer
Alcohol Perp Pads
Desired A Pillar
Perp the surface by lightly sanding the front and about 3/4" area around the back of the pillar.
Next Wipe down the pillar with the prep pads to remove any oils and the sanding from preping.
Now spray the front of the A pillar and the back of your material with the Adheasive.
Work the material over the front of the pillar using the heat gun to make the vinyl plyable. make sure to work out any wrinkles in the front. let this set up for about 5 mins before starting work on the back.
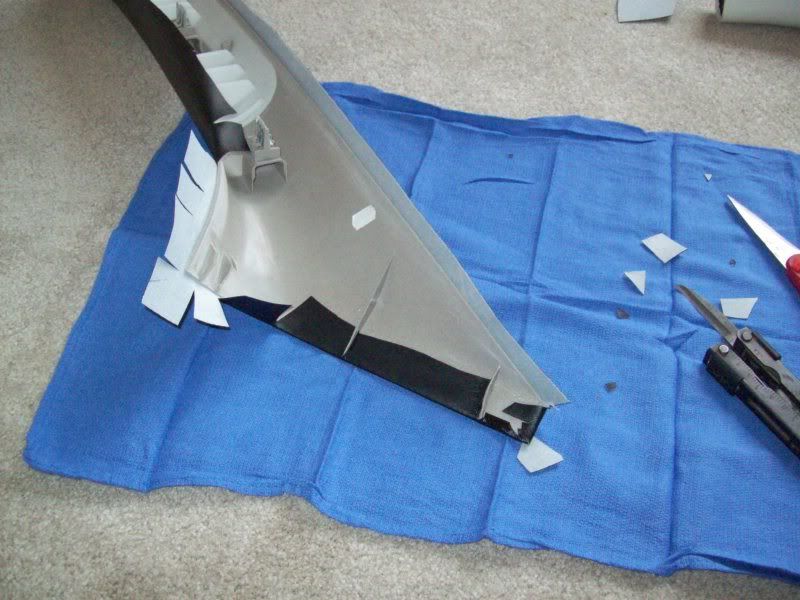
Start by making pie cuts to relive stress around the radiuses. Then work slowly around the edge of the pillar. Work in about 3"-4" sections. Let the areas set up before moving on.
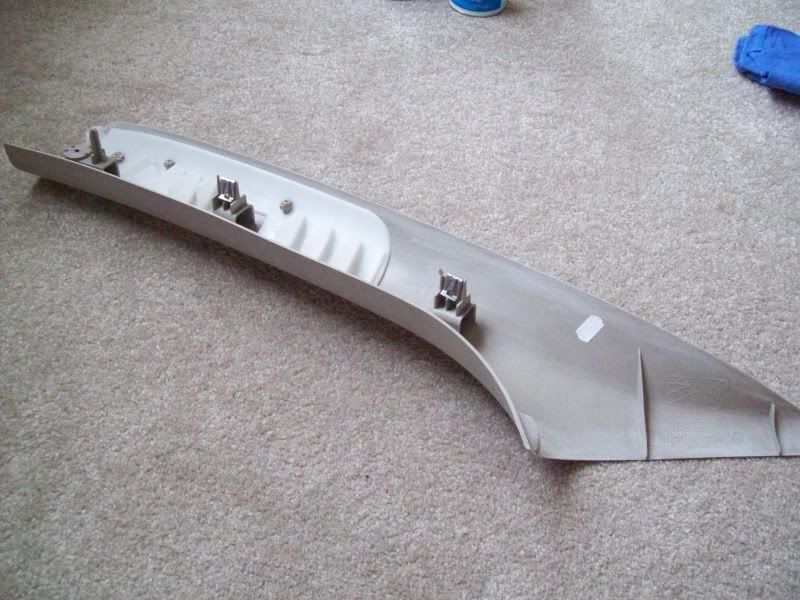
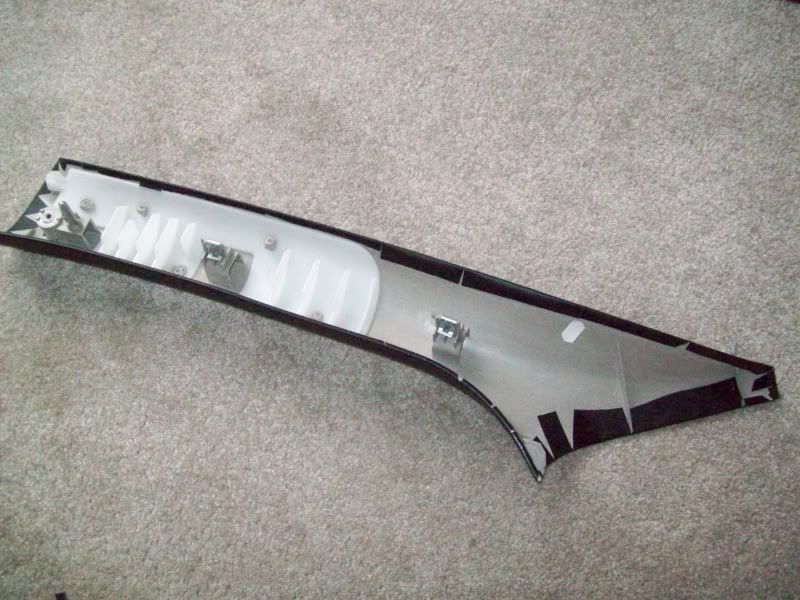
Once completly surrounded it should look something like this:
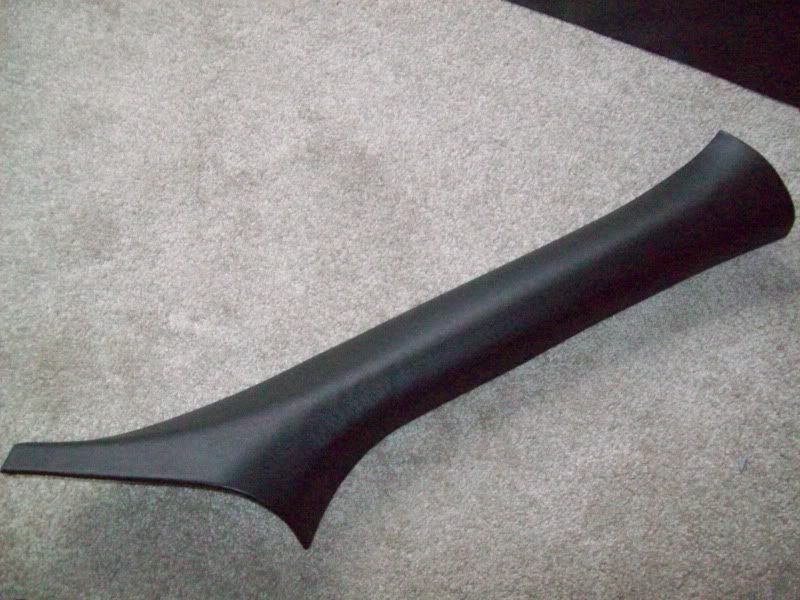
Work out any last wrinkles or imperfections by using the heat gun to warm up the area.
Once complete reinstall. BAM now you have a custom color matched peice for your car.


Go get yourself:
1 yard of desiered material
1 can of Elmers Multi-Purpose Spray Adheasive
80 Grit Sandpaper
Razor Blade or Sharp Knife
Utility Shears
Heat Gun or Blowdryer
Alcohol Perp Pads
Desired A Pillar
Perp the surface by lightly sanding the front and about 3/4" area around the back of the pillar.
Next Wipe down the pillar with the prep pads to remove any oils and the sanding from preping.
Now spray the front of the A pillar and the back of your material with the Adheasive.
Work the material over the front of the pillar using the heat gun to make the vinyl plyable. make sure to work out any wrinkles in the front. let this set up for about 5 mins before starting work on the back.
Start by making pie cuts to relive stress around the radiuses. Then work slowly around the edge of the pillar. Work in about 3"-4" sections. Let the areas set up before moving on.
Once completly surrounded it should look something like this:
Work out any last wrinkles or imperfections by using the heat gun to warm up the area.
Once complete reinstall. BAM now you have a custom color matched peice for your car.


New Member
Joined: 10-18-08
Posts: 117
Likes: 0
From: Lewisville TX
This looks very very clean, like you purchased it looking like that. I might look into doing this some time over this Christmas break, I hate how out of place the pillar coloring looks some times.


Senior Member
Joined: 11-20-07
Posts: 2,961
Likes: 1
From: Pittsburgh, Pistolvania


Senior Member
Joined: 09-24-08
Posts: 1,044
Likes: 0
From: new orleans
that looks really good...i would just be hesitant to do it around my boost gauge since im not too comfortable with using materials like that...but hey makes a good project for a rainy day
nice job
nice job
 and all the other comments.


