


Control Arm Bushing Replacement


Thread Starter
New Member
Joined: 06-04-16
Posts: 50
Likes: 1
From: Quebec
 Control Arm Bushing Replacement
Hello everyone.
While ago, my steering wheel was pulling to the right when accelerating and to the left when braking.
Bad Control Arm Bushing, more specifically the driver's side.
Bought Powell's bushing - they look awesome.
Decided to install them this weekend.
Started disassembling the arms.
Both cage nuts decided to spin freely inside their cage.
Had to break the cages out so I could use a crescent wrench to free the nut from the bolt.
Most "Horror Story" ever! Small space, horrible access. This is a perfect torture!
Fortunately, did not have to cut or drill anything.
Passenger side Control Arm came out after a full day.
Driver side bolt decided to stick to the sleeve of the bushing.
Followed Powell's advice and took the cradle down.
Heat and hammer did not help in separate the bolt from the sleeve.
Any advice?
Thank you very much.
While ago, my steering wheel was pulling to the right when accelerating and to the left when braking.
Bad Control Arm Bushing, more specifically the driver's side.
Bought Powell's bushing - they look awesome.
Decided to install them this weekend.
Started disassembling the arms.
Both cage nuts decided to spin freely inside their cage.
Had to break the cages out so I could use a crescent wrench to free the nut from the bolt.
Most "Horror Story" ever! Small space, horrible access. This is a perfect torture!
Fortunately, did not have to cut or drill anything.
Passenger side Control Arm came out after a full day.
Driver side bolt decided to stick to the sleeve of the bushing.
Followed Powell's advice and took the cradle down.
Heat and hammer did not help in separate the bolt from the sleeve.
Any advice?
Thank you very much.

Hello everyone. While ago, my steering wheel was pulling to the right when accelerating and to the left when braking. Bad Control Arm Bushing, more specifically the driver's side. Bought Powell's bushing - they look awesome. Decided to install them this weekend. Started disassembling the arms. Both cage nuts decided to spin freely inside their cage. Had to break the cages out so I could use a crescent wrench to free the nut from the bolt. Most "Horror Story" ever! Small space, horrible access. This is a perfect torture! Fortunately, did not have to cut or drill anything. Passenger side Control Arm came out after a full day. Driver side bolt decided to stick to the sleeve of the bushing. Followed Powell's advice and took the cradle down. Heat and hammer did not help in separate the bolt from the sleeve. Any advice? Thank you very much.

You're either going to have to soak the crap out of it to get the rust to let go or just cut the bolt from the subframe.
If my memory is correct this is the bolt you need https://www.amazon.com/gp/product/B0...?ie=UTF8&psc=1
If my memory is correct this is the bolt you need https://www.amazon.com/gp/product/B0...?ie=UTF8&psc=1
Thread Starter
New Member
Joined: 06-04-16
Posts: 50
Likes: 1
From: Quebec
I'm thinking about using a vise grip to see if I can lock the sleeve.
If that doesn't work, cutting will be the option, unfortunately.
Originally Posted by ECaulk
You're either going to have to soak the crap out of it to get the rust to let go or just cut the bolt from the subframe.
If my memory is correct this is the bolt you need https://www.amazon.com/gp/product/B0...?ie=UTF8&psc=1
If my memory is correct this is the bolt you need https://www.amazon.com/gp/product/B0...?ie=UTF8&psc=1
I was wondering if anyone has the cage nut part number, because I believe I'll have to replace those as well.
Thanks guys.
I have a feeling the cage nut isn't a common part number, you might have to hit up a dealer for that. As long as you didn't mess the threads up you should be able to reuse the nut.


Originally Posted by mzspd
Sigh.. Not looking forward to doing this.. Hopefully mine come out nice.

Joined: 09-29-06
Posts: 20,664
Likes: 217
From: Land of Freedom
mine came out fine but didnt want to go in with a hand operated hydraulic press. im 265 and had all my weight off of the ground and they wouldnt go in. went with an automated hydraulic press and went in like butter
Originally Posted by 07MetallicSC
mine came out fine but didnt want to go in with a hand operated hydraulic press. im 265 and had all my weight off of the ground and they wouldnt go in. went with an automated hydraulic press and went in like butter
Thread Starter
New Member
Joined: 06-04-16
Posts: 50
Likes: 1
From: Quebec
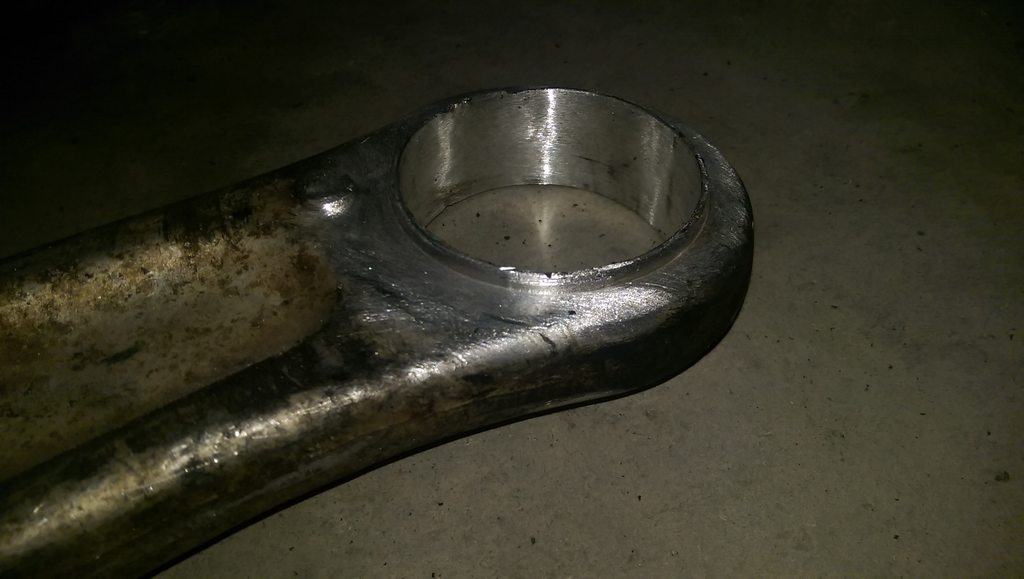
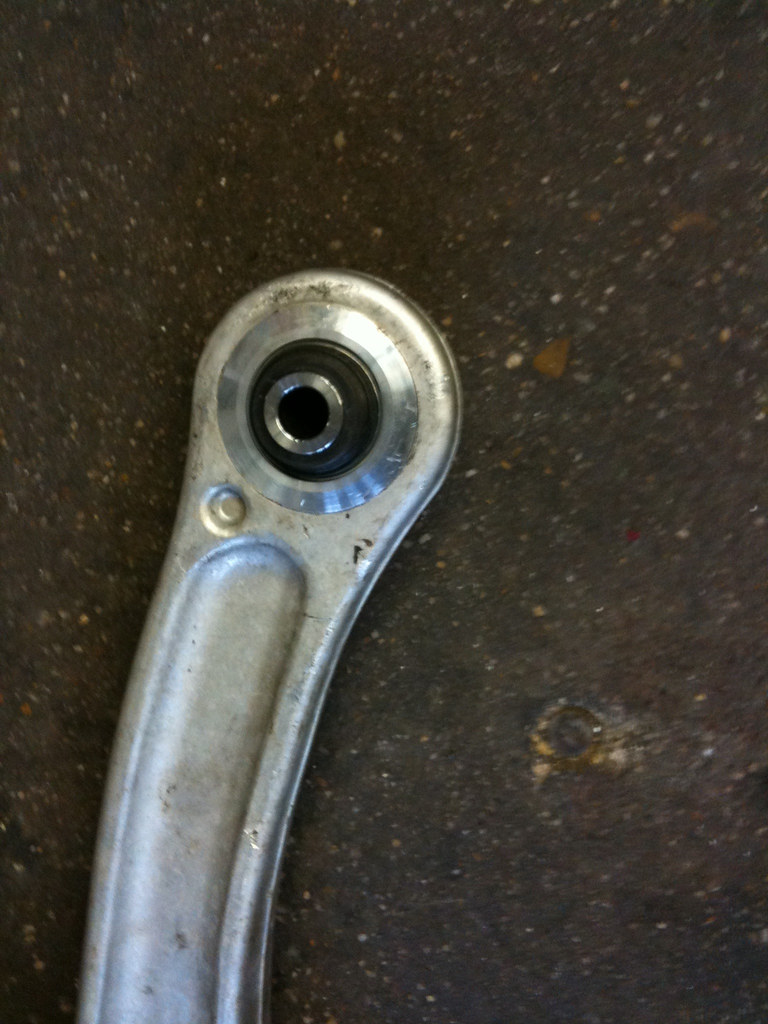
After breaking both cage nuts, having to lower the cradle, having to buy a terrible reciprocating saw and 3 blades (all damaged), a ton of PB and WB40, propane torch, vise grips and a hand saw, two scrapped t-shirts and (fortunately) a very supportive wife, I finally managed to take the damn driver's control arm out.
Now time for bushing replacement.
It was supposed to be a 45 minutes job, but became a 1 week nightmare. I hope I can end all this by tomorrow.
Now time for bushing replacement.
It was supposed to be a 45 minutes job, but became a 1 week nightmare. I hope I can end all this by tomorrow.
After breaking both cage nuts, having to lower the cradle, having to buy a terrible reciprocating saw and 3 blades (all damaged), a ton of PB and WB40, propane torch, vise grips and a hand saw, two scrapped t-shirts and (fortunately) a very supportive wife, I finally managed to take the damn driver's control arm out. Now time for bushing replacement. It was supposed to be a 45 minutes job, but became a 1 week nightmare. I hope I can end all this by tomorrow.

Thread Starter
New Member
Joined: 06-04-16
Posts: 50
Likes: 1
From: Quebec
Talking about rust... I have some rust spots on the cradle that I would like to take care prior to reinstalling it. Does anyone have advices on how to handle rust?
I mainly want to remove only. Later this year I'll request an antitrust application.
Thanks again guys for the support.
I mainly want to remove only. Later this year I'll request an antitrust application.
Thanks again guys for the support.

Senior Member
Joined: 06-10-12
Posts: 2,880
Likes: 63
From: Manitoba, Canada
Talking about rust... I have some rust spots on the cradle that I would like to take care prior to reinstalling it. Does anyone have advices on how to handle rust?
I mainly want to remove only. Later this year I'll request an antitrust application.
Thanks again guys for the support.
I mainly want to remove only. Later this year I'll request an antitrust application.
Thanks again guys for the support.
Driven my '08 in 3 or 4 Winters and it's still pretty clean underneath. No rust on the body just tiny surface spots on suspension and cradle.
Thread Starter
New Member
Joined: 06-04-16
Posts: 50
Likes: 1
From: Quebec
Know a guy that bought a STi from Quebec and it's so rusty. Here in Winnipeg they use more sand than salt so cars hold up a bit better. Beats up the front end paint though.
Driven my '08 in 3 or 4 Winters and it's still pretty clean underneath. No rust on the body just tiny surface spots on suspension and cradle.
Driven my '08 in 3 or 4 Winters and it's still pretty clean underneath. No rust on the body just tiny surface spots on suspension and cradle.
Honestly, it is very clean under it.
Maybe the owner before did not use it during winters or had taken very good care of it.
Me, I'll have to use it during the cold days... Since bike on ice to go to work is not a safe idea... Maybe fun, definitely not safe.
Thread Starter
New Member
Joined: 06-04-16
Posts: 50
Likes: 1
From: Quebec

 Moderator
Thread Starter
New Member
Joined: 06-04-16
Posts: 50
Likes: 1
From: Quebec
Hi guys.
I finally reinstalled the subframe back in place. Yeeeaaah!
Question:
Do I torque the bolts when the car is on the ground or can I torque them while on the jack stands?
Thanks.
I finally reinstalled the subframe back in place. Yeeeaaah!
Question:
Do I torque the bolts when the car is on the ground or can I torque them while on the jack stands?
Thanks.