
swirl Marks


Thread Starter
Former Vendor
Joined: 12-14-05
Posts: 976
Likes: 0
From: Florida
swirl Marks
Swirl Marks
As the book said,”Theres many ways to skin a cat” so I’m taking the liberty to provide some input and steps that have worked for me in the past.
Some of the most common ways to induce swirl marks onto your surface:
1- Automatic Car washes
2- Wrong type of Microfiber towel
3- Wrong type of wax product.
4- Wrong type of pads
5- Wrong type of machine
6- Harsh polishing compounds
7- Not keeping your wash mitt or sponge properly rinsed.
8- Wiping down a dusty or dirty car with a dry towel.
9- Towels and applicators containing polyester threads.
10- A dirty chamois or a chamois that has not been properly maintained
11- Using a car cover when the car or the cover is not clean.
12- Wrong type of shampoo
The first thing will be to wash the car, since this is going to be a project, I suggest we start from ground zero, removing all of the previous wax from the surface. It’s extremely important to do this since there’s many ways to do so, via clay bar or similar product, there are companies that sell a product just to remove the car wax or the conventional way that so many people praise, which the product manufacture is against doing so the dishwashing wonder soap product.
Once we have dried the vehicle our next step is to evaluate the condition of the surface we are going to work with. If the vehicle is outside with direct sun light you should be able to see that some areas are worse than others and if the vehicle is inside the garage you may need the aid of additional lights to pinpoint the more severe areas. In either way, once you have located them, take a small piece of “painters tape” cut a small piece and place on the affected area, this will help as a guide of the areas that will need more attention.
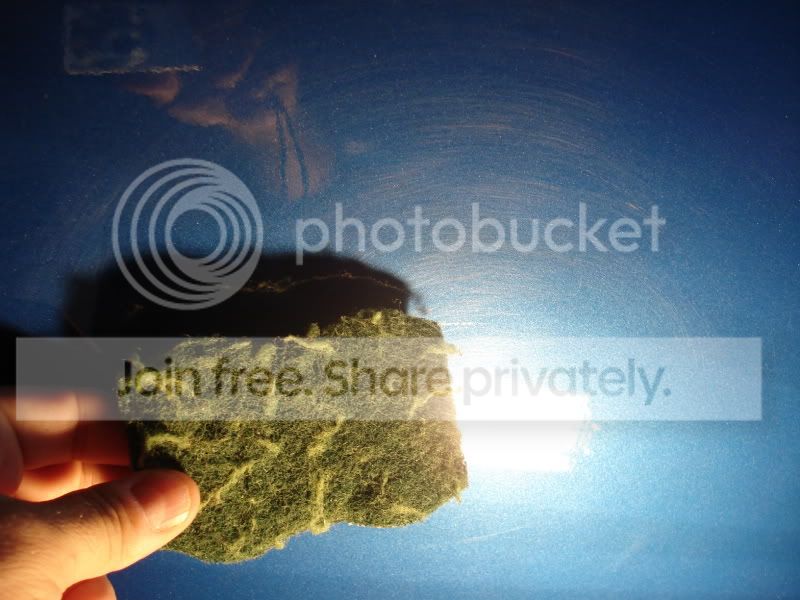
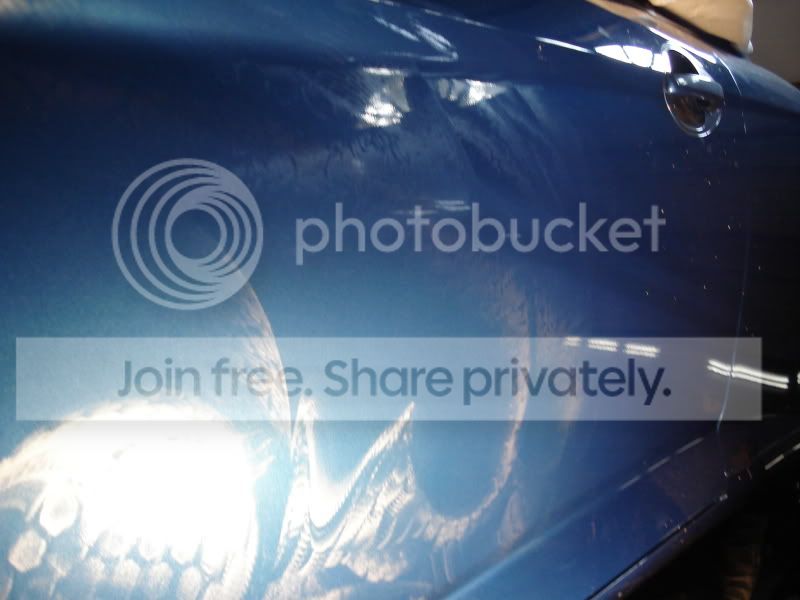
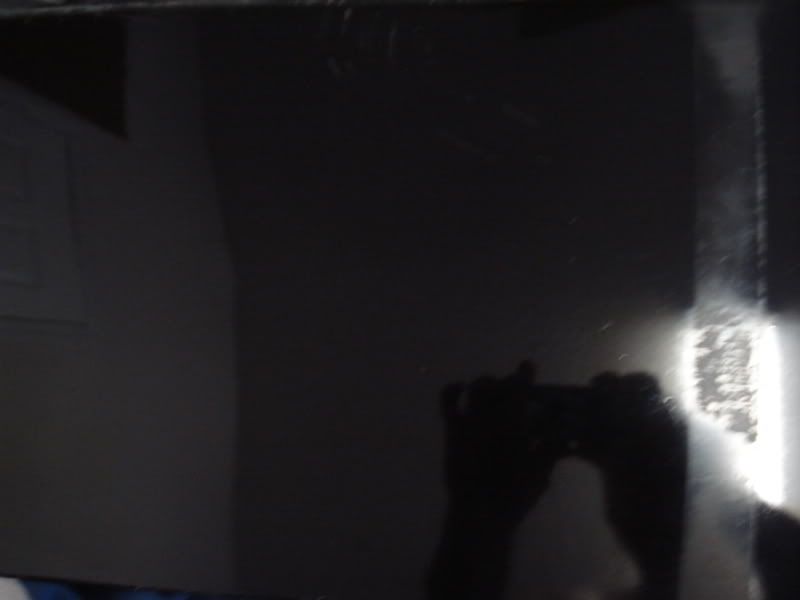
Sample of swirl marks under the direct sun light.
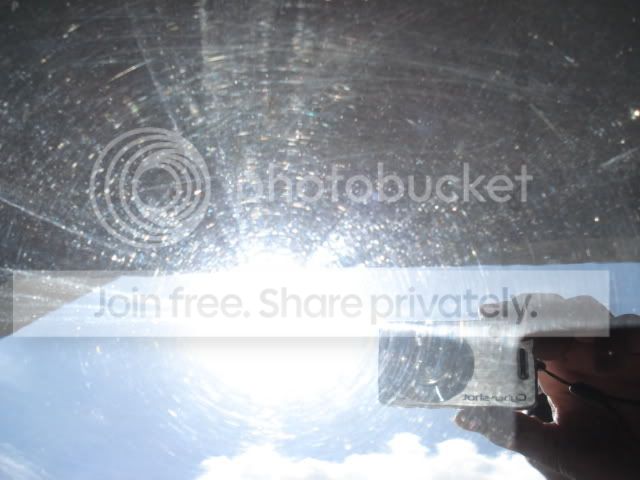
Sample under the lights

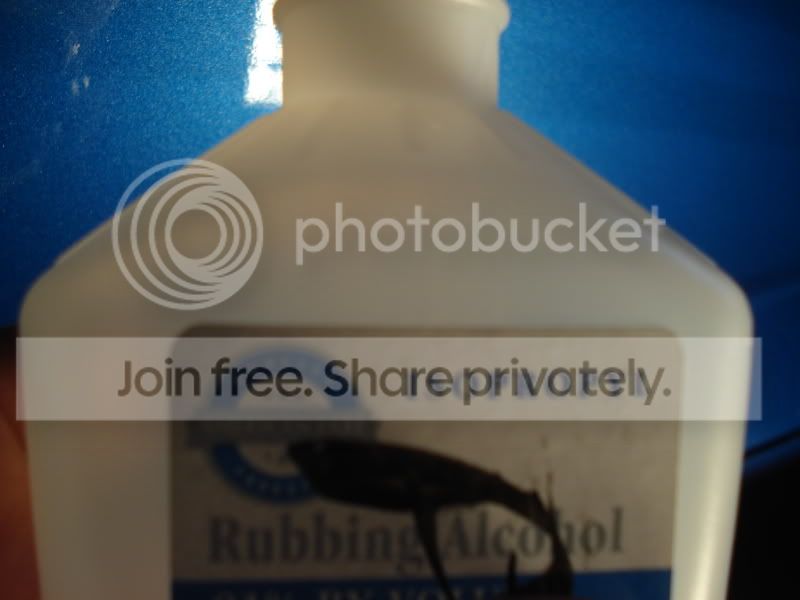
Next step will be to wipe the entire surface with Isopropyl alcohol (IPA) a mix of 50/50 alcohol/water mixture to remove waxes and oils prior to start or work.
Next we want to tape delicate areas, things like emblems, plastic trim etc, the purpose for doing this is to avoid any contact between the pad and that surface which can damage the pad the surface or both. I like to use 1 inch and 2 inch painters blue tape.
Sample of taping.

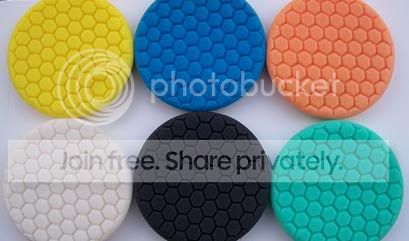
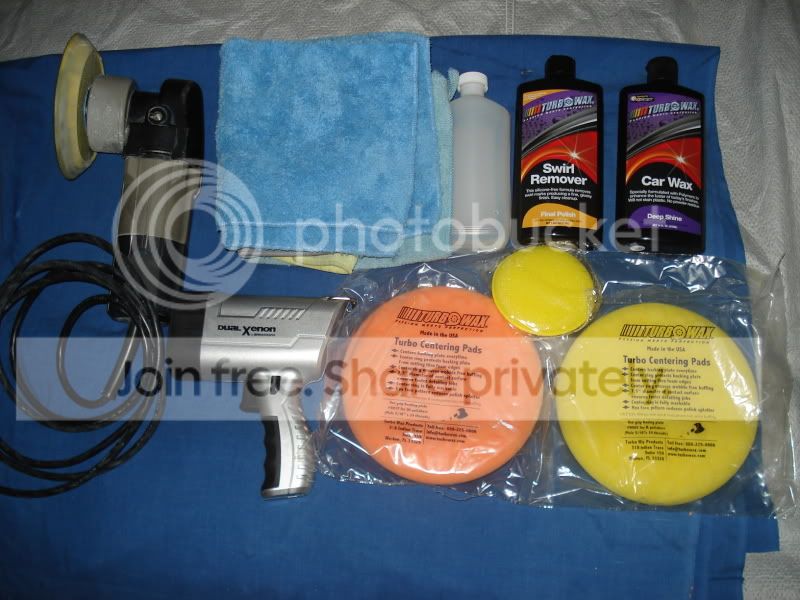
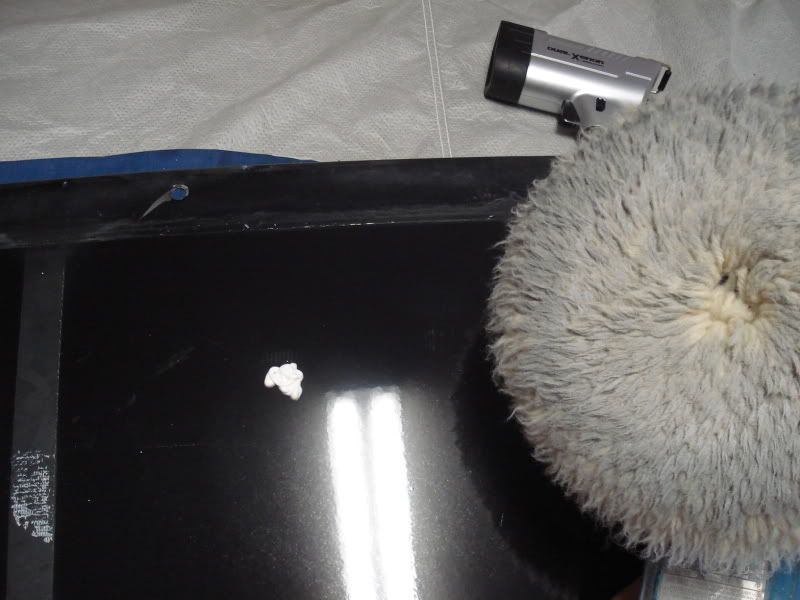
Next we need to figure out what pad (s) we will use. Since we will be working with the Porter Cable the most suitable pads will be foam pads.
The most common colors in the industry are;
Yellow Foam Pad- Use for Heavy duty Compound
Orange Foam Pad- Use for Light duty compound
White Foam Pad- Use for Polish
Green Foam Pad- Use for Compound/Polish
Black Foam Pad- Use for machine Glaze
Blue Foam Pad- Use for Polish/Sealant
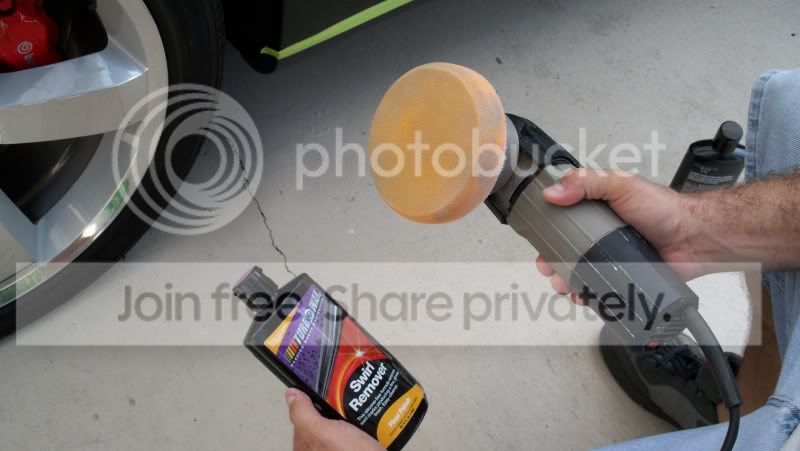
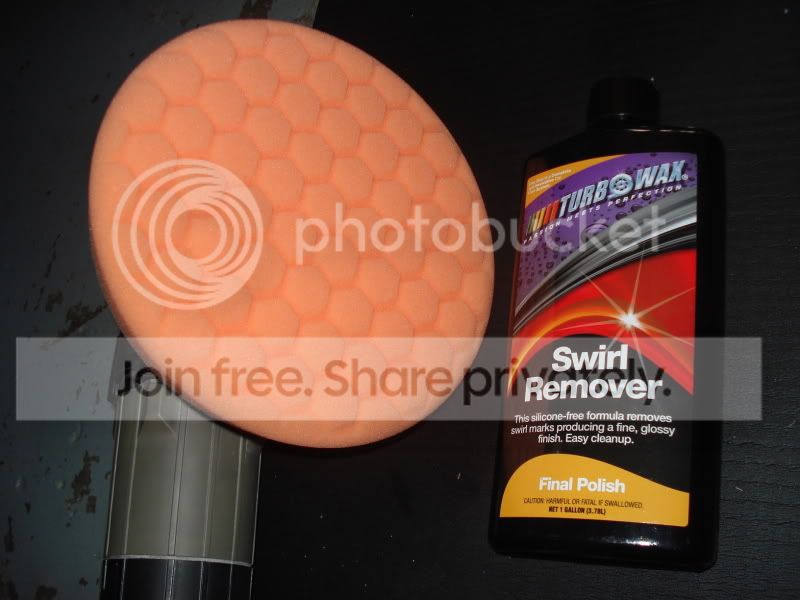
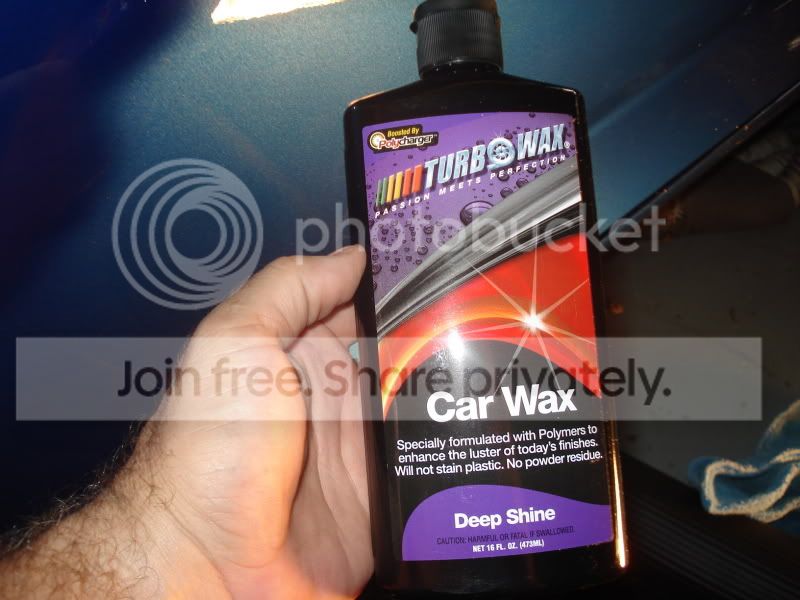
Next we will need the product of your choice, depending on the condition and severity of the swirl marks more than one product may be needed, most of the time you can start with a good quality Swirl Remover and from there step up to a compound if needed.
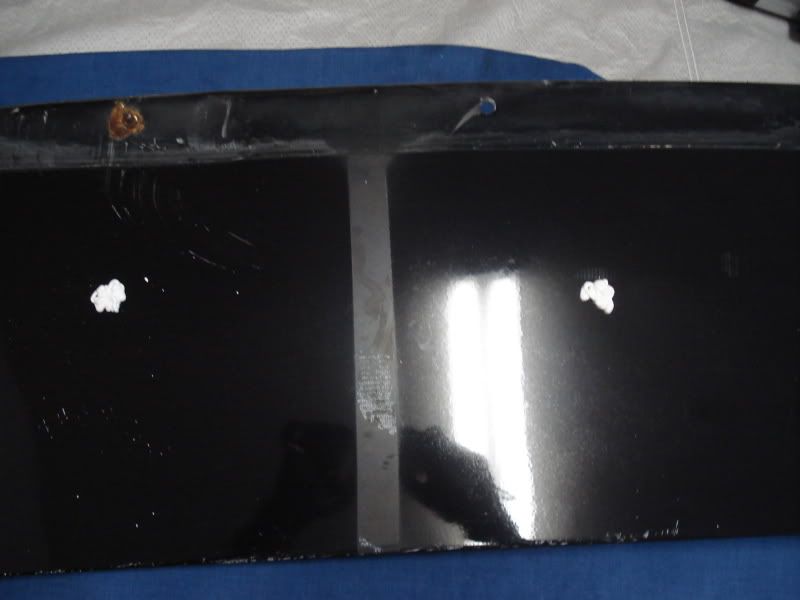
Few samples of what I have been able to accomplish with foam pads and Swirl remover, one of the most important steps is the pad selection, as an example if you start with an orange foam pad and you don’t see good results then try with a yellow foam pad, it may take you a few steps to find the correct combination but don’t get frustrated.
Before

After

Before

After

From here we can start the process

Swirl Remover works best when applied with a polisher. Polish with a light cutting pad on your Porter Cable 7424 dual action polisher. Start at a speed of 5 and use moderate pressure to go over a 2 x 2 sq. ft. area. Work up and down, then side to side to ensure optimum coverage. Buff using a Microfiber Towel.
Some general guideless
Prior to turning the polisher on, ensure that the buffing pad is in contact with the surface and Before lifting the machine from the surface make sure the machine is off.
With new pads I like to spray a mist of detailer into the pad
Choose your product to be in use.
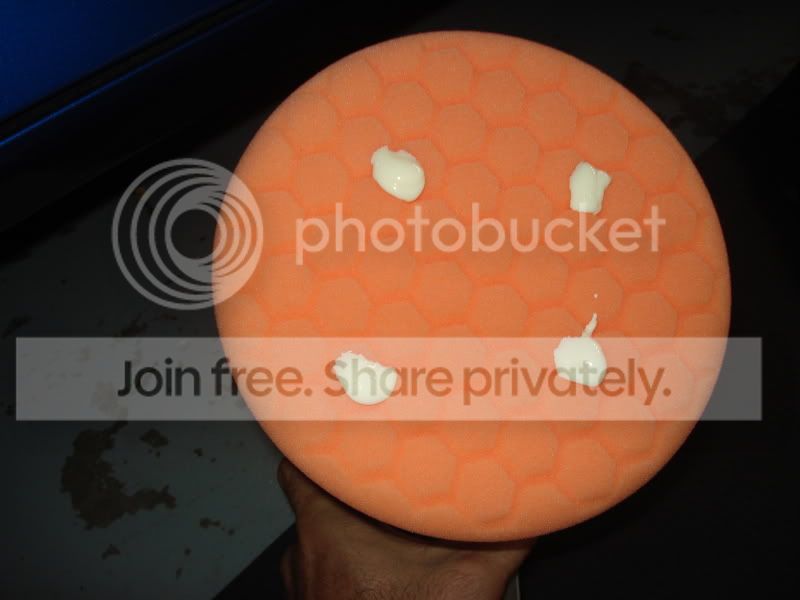
Apply 3 dime size dots to the pad surface (In this case I was working with larger areas so I used 3 quarter size dots.)
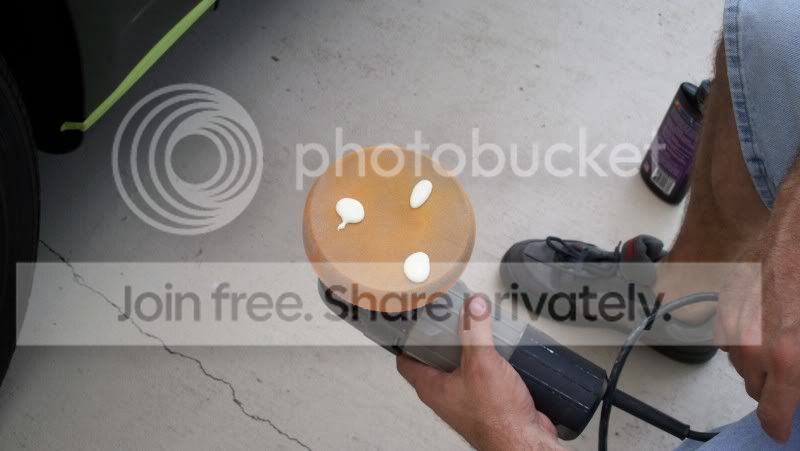
Work on small sections at a time. We like to work on 2x2 areas
Overlap the passes you can use the product as a guideline
Move the machine across surface slow
Settings, I like to start at 4.0 and eventually get to 6.0, usually between 5.0 and 6.0 you will get good results, I work a lot with the setting at 5.0 and at times at 4.0 moving very slow.
You may want to run the electrical cord through your shoulder if you are standing up to avoid any contact with the surface.
Have plenty of quality micro fiber towels available.
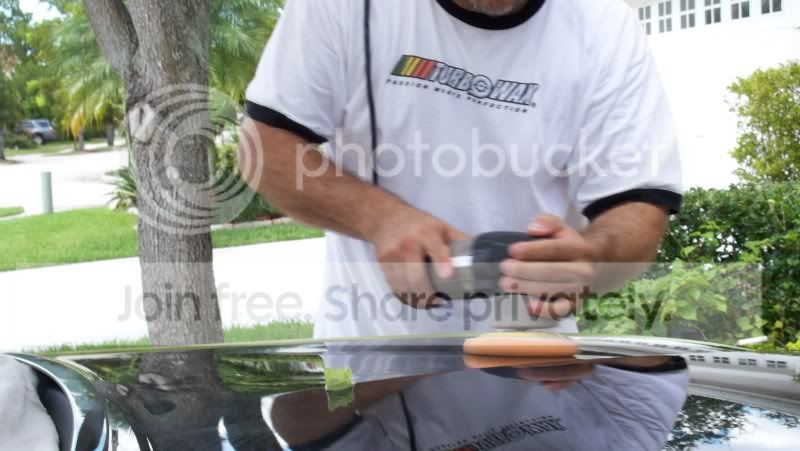
Place one hand on the top of the machine and hold the pad flat to the surface and apply firm downward pressure 15 to 20 pounds of pressure.
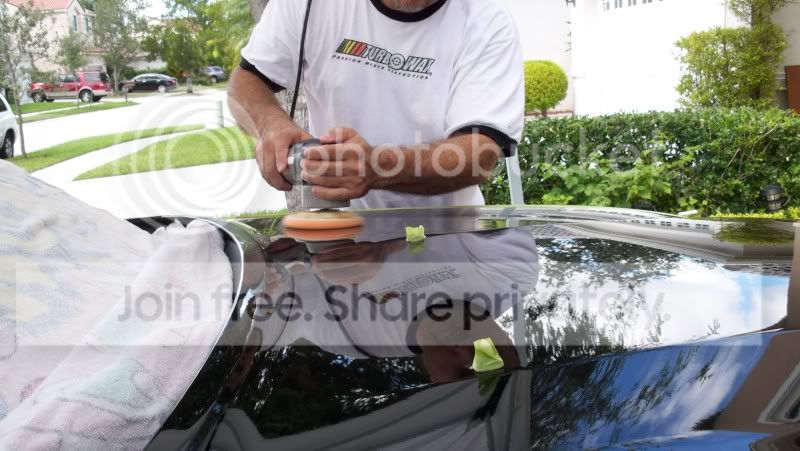
Wipe product residue with a Microfiber towel. Fold the towel in 4-ways with aims to always have a clean side.
Clean you pad as you go, I like to clean mine after each panel. Depending on the product you have, to do it more often as some products produce more dust build up than others.
You may need to repeat the steps depending on the condition of the surface, if all that fails then there’s a need to step to a more aggressive compound.
As the book said,”Theres many ways to skin a cat” so I’m taking the liberty to provide some input and steps that have worked for me in the past.
Some of the most common ways to induce swirl marks onto your surface:
1- Automatic Car washes
2- Wrong type of Microfiber towel
3- Wrong type of wax product.
4- Wrong type of pads
5- Wrong type of machine
6- Harsh polishing compounds
7- Not keeping your wash mitt or sponge properly rinsed.
8- Wiping down a dusty or dirty car with a dry towel.
9- Towels and applicators containing polyester threads.
10- A dirty chamois or a chamois that has not been properly maintained
11- Using a car cover when the car or the cover is not clean.
12- Wrong type of shampoo
The first thing will be to wash the car, since this is going to be a project, I suggest we start from ground zero, removing all of the previous wax from the surface. It’s extremely important to do this since there’s many ways to do so, via clay bar or similar product, there are companies that sell a product just to remove the car wax or the conventional way that so many people praise, which the product manufacture is against doing so the dishwashing wonder soap product.
Once we have dried the vehicle our next step is to evaluate the condition of the surface we are going to work with. If the vehicle is outside with direct sun light you should be able to see that some areas are worse than others and if the vehicle is inside the garage you may need the aid of additional lights to pinpoint the more severe areas. In either way, once you have located them, take a small piece of “painters tape” cut a small piece and place on the affected area, this will help as a guide of the areas that will need more attention.
Sample of swirl marks under the direct sun light.
Sample under the lights
Next step will be to wipe the entire surface with Isopropyl alcohol (IPA) a mix of 50/50 alcohol/water mixture to remove waxes and oils prior to start or work.
Next we want to tape delicate areas, things like emblems, plastic trim etc, the purpose for doing this is to avoid any contact between the pad and that surface which can damage the pad the surface or both. I like to use 1 inch and 2 inch painters blue tape.
Sample of taping.
Next we need to figure out what pad (s) we will use. Since we will be working with the Porter Cable the most suitable pads will be foam pads.
The most common colors in the industry are;
Yellow Foam Pad- Use for Heavy duty Compound
Orange Foam Pad- Use for Light duty compound
White Foam Pad- Use for Polish
Green Foam Pad- Use for Compound/Polish
Black Foam Pad- Use for machine Glaze
Blue Foam Pad- Use for Polish/Sealant
Next we will need the product of your choice, depending on the condition and severity of the swirl marks more than one product may be needed, most of the time you can start with a good quality Swirl Remover and from there step up to a compound if needed.
Few samples of what I have been able to accomplish with foam pads and Swirl remover, one of the most important steps is the pad selection, as an example if you start with an orange foam pad and you don’t see good results then try with a yellow foam pad, it may take you a few steps to find the correct combination but don’t get frustrated.
Before
After
Before
After
From here we can start the process
Swirl Remover works best when applied with a polisher. Polish with a light cutting pad on your Porter Cable 7424 dual action polisher. Start at a speed of 5 and use moderate pressure to go over a 2 x 2 sq. ft. area. Work up and down, then side to side to ensure optimum coverage. Buff using a Microfiber Towel.
Some general guideless
Prior to turning the polisher on, ensure that the buffing pad is in contact with the surface and Before lifting the machine from the surface make sure the machine is off.
With new pads I like to spray a mist of detailer into the pad
Choose your product to be in use.
Apply 3 dime size dots to the pad surface (In this case I was working with larger areas so I used 3 quarter size dots.)
Work on small sections at a time. We like to work on 2x2 areas
Overlap the passes you can use the product as a guideline
Move the machine across surface slow
Settings, I like to start at 4.0 and eventually get to 6.0, usually between 5.0 and 6.0 you will get good results, I work a lot with the setting at 5.0 and at times at 4.0 moving very slow.
You may want to run the electrical cord through your shoulder if you are standing up to avoid any contact with the surface.
Have plenty of quality micro fiber towels available.
Place one hand on the top of the machine and hold the pad flat to the surface and apply firm downward pressure 15 to 20 pounds of pressure.
Wipe product residue with a Microfiber towel. Fold the towel in 4-ways with aims to always have a clean side.
Clean you pad as you go, I like to clean mine after each panel. Depending on the product you have, to do it more often as some products produce more dust build up than others.
You may need to repeat the steps depending on the condition of the surface, if all that fails then there’s a need to step to a more aggressive compound.
Last edited by Turbo Wax; Nov 23, 2009 at 07:48 PM.
Thread Starter
Former Vendor
Joined: 12-14-05
Posts: 976
Likes: 0
From: Florida
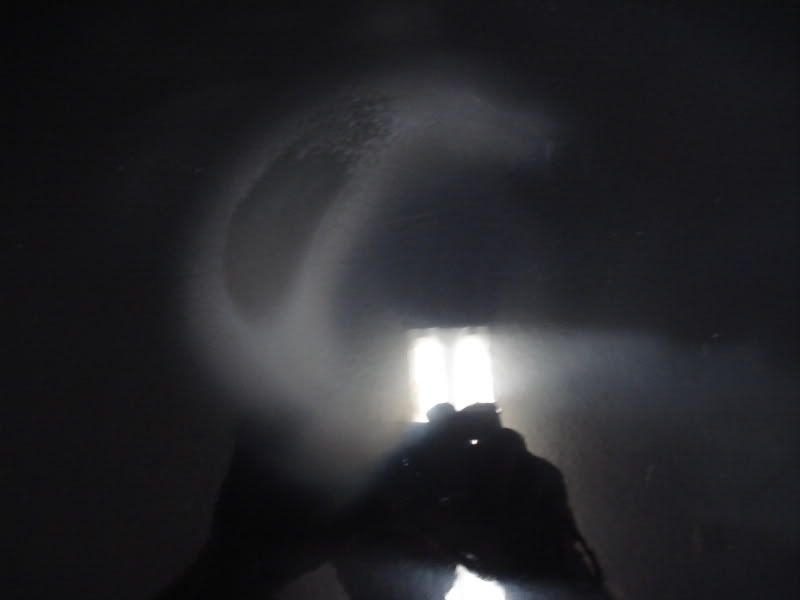
Sample of the procedure
Tools for the job
Our vehicle 2005 self made swirls marks that�s correct we made them
The result of the self made swirls


50/50 wipe down
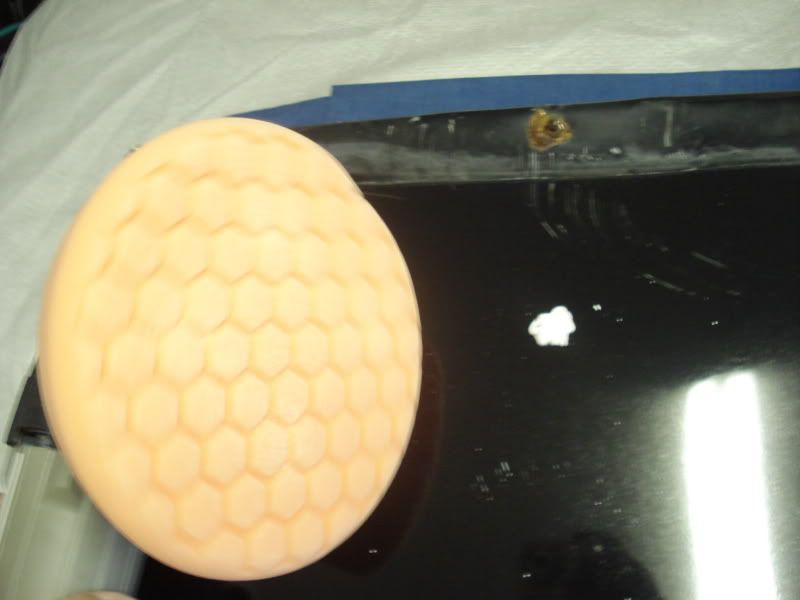
Orange Pad and Product
4 small dots of product
Speed setting at 6.0

During operation
Some Car Wax applied by hand
End Result just with the Swirl remover and orange pad


I hope this helps, and remember, it�s NOT the Arrow, it�s the Indian that makes the successful catch.
Tools for the job
Our vehicle 2005 self made swirls marks that�s correct we made them
The result of the self made swirls
50/50 wipe down
Orange Pad and Product
4 small dots of product
Speed setting at 6.0
During operation
Some Car Wax applied by hand
End Result just with the Swirl remover and orange pad
I hope this helps, and remember, it�s NOT the Arrow, it�s the Indian that makes the successful catch.


Wow someone else that uses a spotlight to detect scratches. Another thing to add would be to use two buckets to wash the car. One with your soapy water and one with clear water to rinse the wash mitt or boars hair brush. I dont like sponges for washing dirt stays in pores of the sponge.
Thread Starter
Former Vendor
Joined: 12-14-05
Posts: 976
Likes: 0
From: Florida
I was trying to concentrate on the �Swirl Removing part�. Sometime back some one failed to remove the swirls from the vehicle surface and was blaming our products, as you can see I induced damage to the surface and I was able to remove them.
Don�t blame the products blame the tool operator.


Don�t blame the products blame the tool operator.

Senior Member
Joined: 05-17-08
Posts: 2,554
Likes: 1
From: MI SCS
I was trying to concentrate on the �Swirl Removing part�. Sometime back some one failed to remove the swirls from the vehicle surface and was blaming our products, as you can see I induced damage to the surface and I was able to remove them.
Don�t blame the products blame the tool operator.
Don�t blame the products blame the tool operator.

Thread Starter
Former Vendor
Joined: 12-14-05
Posts: 976
Likes: 0
From: Florida
From another forum we got into the depate that a Porter Cable will burn the paint so.........................
Maybe we should take the time to clear this up
Neutral panel, same amount of product, LEFT side will be Porter Cable- Right side Rotary tool
Porter Cable -orange pad speed setting 6.00 2 minutes
Rotary Speed setting 6.0 2 minutes
I hope this helps.:drive:
Maybe we should take the time to clear this up
Neutral panel, same amount of product, LEFT side will be Porter Cable- Right side Rotary tool
Porter Cable -orange pad speed setting 6.00 2 minutes
Rotary Speed setting 6.0 2 minutes
I hope this helps.
:drive:


i would sooo do this if i had a garage.. but not only do i not have a garage, but i dont even have a hose to wash my car.. i have to use detailing spray and a cotton towel so you can imagine the swirl marks i have on my car : (
lol k, well I don't use a sponge never have I use a sheepskin wash mitt, I was just pointing out it sounded funny the way he said it, like he wanted dirt to stay on the surface and scratch the clear. I'm not a newb to paint correction lol


