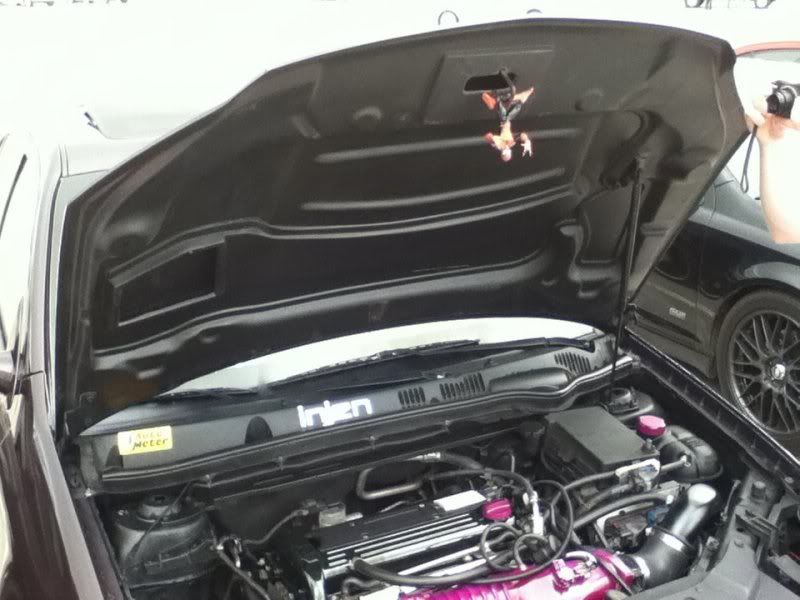
Lets see your engine bay!


New Member
Joined: 03-31-09
Posts: 50
Likes: 0
From: Highland
Soo I'm not very familiar with taking off engine pieces, however I wana paint my engine cover and I was curious to know if anyone can tell me what precedure needs to be done in order to remove the engine cover. Sparkplugs have to be removed? Someone let me no!


if it fisheyed then its prob oily. i took mine off, sprayed it with engine brite let it sit for a while then spraped it w some brake clean. i hit it w a scotch brite pad and then brake clean again. after i had it how i liked it w the scotchbrite pad i cleaned it w soap and water, had to use a toothbrush to get down into the corners and tight spots. then i gave it to my buddy and i think he even cleaned it again b4 he shot it.


Senior Member
Joined: 10-05-10
Posts: 805
Likes: 1
From: A.B.E. PA & Jacksonville FL
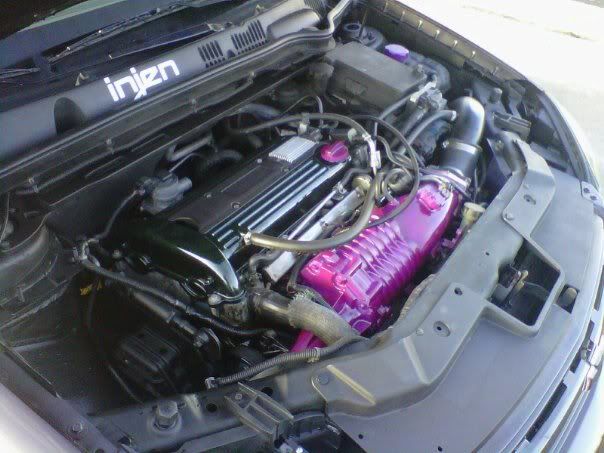
Still alot more to do.. especially the Intake Mani/ Fuse box/ ECM/ Coolant tank/ Oil Catch can.. Custom ordered Samco Sport hoses and lines, just waiting for them to clear customs at JFK..
Last edited by gone_in_10_sec; May 5, 2011 at 11:47 AM.

Senior Member
Joined: 10-05-10
Posts: 805
Likes: 1
From: A.B.E. PA & Jacksonville FL
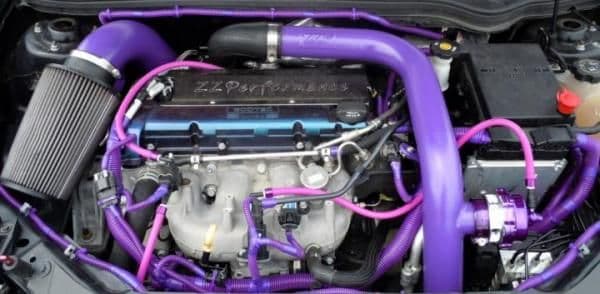
Thanks, just the wiring loom itself took me 4 hours, a 1/2 hr to pull it all out and 3.5 hours to replace all of the stock black convoluted tubing and zip ties, and then replace all of the stuff with purple [loom/ zip ties/ electrical tape] and then put it all back in place..
If anyone want me to replace or update there wiring loom, send me a PM..
Mr. Gasket # 11031P G-Sport Pro Vacuum Hose Kit - Lite Purple
Taylor # 38001 - Convoluted tubing assortment Kit - Purple
Taylor # 43012 - Cable Wire Ties; 8 in. Length; 25 Per Package - Purple
Hose Candy - Master Kit - Purple
I still have more to get ur done..
Last edited by gone_in_10_sec; May 5, 2011 at 12:00 PM.
Senior Member
Joined: 10-05-10
Posts: 805
Likes: 1
From: A.B.E. PA & Jacksonville FL
the vacuum lines are lite purple, [the picture makes it look pink] but once all of the Samco sport stuff comes in, it will match everything nicely.. i'm going for show, the black wiring looms don't win awards, color does..
Last edited by gone_in_10_sec; May 5, 2011 at 11:54 AM.

Senior Member
Joined: 12-05-10
Posts: 3,877
Likes: 3
From: newmarket
just they stand out way to much the black blands in and makes for a cleaner looking bay imo, all the bright wiring looms just makes it look messy, just my opinion thiough
Senior Member
Joined: 10-05-10
Posts: 805
Likes: 1
From: A.B.E. PA & Jacksonville FL
plus i got tired of black looms, it just looks like every other cobalt out there with the stock black looms.. just trying to standout from the sea of cobalts at shows/meets..

New Member
Joined: 03-28-11
Posts: 195
Likes: 0
From: Illinois
still alot more to do.. Especially the intake mani/ fuse box/ ecm/ coolant tank/ oil catch can.. Custom ordered samco sport hoses and lines, just waiting for them to clear customs at jfk..

Senior Member
Joined: 10-05-10
Posts: 805
Likes: 1
From: A.B.E. PA & Jacksonville FL
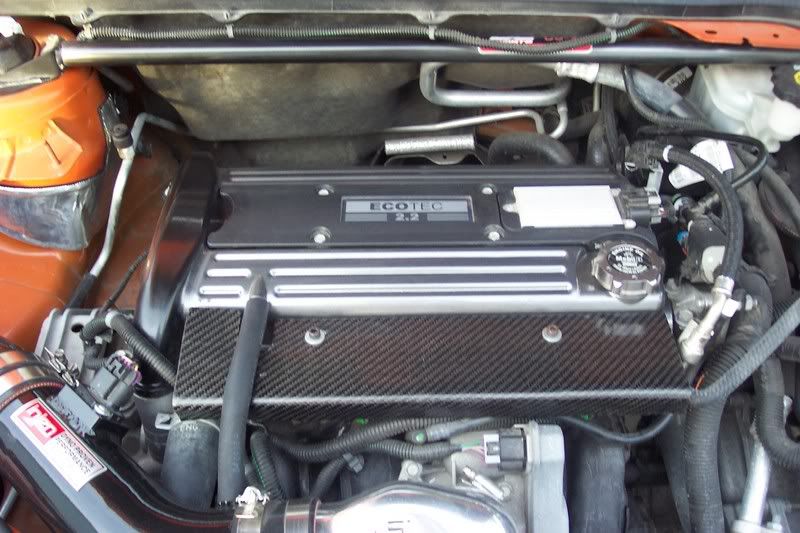
Remove the valve cover from the motor, Paint valve cover [wait atleast 2 hours to dry prior to tape], tape up the raised letters, use an exacto blade to cut out the tape with the letters under the tape, cover the remaining valve cover to paint the letters, let it dry for 2 hours, remove tape, then clear coat 3x or more to have a durable paint job, carefully replace the valve cover back to the motor and torque down the valve cover bolts to spec..
Painted "ECOTEC" valve cover with polished raised letters:
Remove the valve cover from the motor, Paint valve cover [wait atleast 2 hours to dry prior to tape], tape the letters 3x or use thick masking tape, then carefully use a 320grit orbital sander to remove the tape covering the raised letters [make sure the remaining tape between the letters isn't removed] until the tape and paint is removed from the letters on the valve cover, then use buffing/polish wheel, then buff to high shine [make sure not to remove the tape when using the buffing wheel], then clear coat 3x or more, carefully replace the valve cover back to the motor and torque down the valve cover bolts to spec....
Last edited by gone_in_10_sec; May 12, 2011 at 11:53 PM.