When you click on links to various merchants on this site and make a purchase, this can result in this site earning a commission. Affiliate programs and affiliations include, but are not limited to, the eBay Partner Network.
Made some good progress. Oil change✅ side splitters✅ fog lights installed (need to wire when I install my headlights)✅ cooling fan✅ rear sway bar✅ my stash of parts has gotten a little bit thinner. New carpet and brakes are off the list. I�m going stay on the ceramic brakes that I am on they still have good pad life left. New coilovers are off the list currently.
1. Paint and wrap rear bumper. 2. Paint and wrap hood. 3. Install OTTP shifter pivot cup. 4. Replace OTTP shifter with new OTTP Shifter 5. Replace cooling fan. 6. Install heated seat pads in LNF seats 7. Install my retrofit headlights. 8. Install custom fog lights. 9. Install OTTP rear sway bar. 10. Install OTTP front sway bar. 11. Install Velocity Aerowerks front splitter
Rear splitter Side splitters
12. Install new suspension (coilovers) 13. Install second battery with dual battery isolation kit. 14. Install and wire LNF heated seats. 15. Spark plugs. 16. Oil Change 17. Air filters, cabin/intake. 18. Give the car a bath
19. Wax, detail ect�.
20. Sunroof switch
21. Window motors
22. Driver door lock actuator.
Well after all the work I have done, I�m ready to burn this thing to the ground now. I got the front and sides of my areo kit on and look great.
While crawling around under the car I noticed the inner driver axle boot is torn. That explains why there was grease splattered on my driver control arm. So I now have to replace that.
My cooling fan problem did not go away with the new fan as I thought it would. Fan 1 still does not come on, but I do get 13.6v at the connector to the fan�.
1. Paint and wrap rear bumper. 2. Paint and wrap hood. 3. Install OTTP shifter pivot cup. 4. Replace OTTP shifter with new OTTP Shifter 5. Replace cooling fan. 6. Install heated seat pads in LNF seats 7. Install my retrofit headlights. 8. Install custom fog lights. 9. Install OTTP rear sway bar. 10. Install OTTP front sway bar. 11. Install Velocity Aerowerks Splitter kit
Front splitter
Rear splitter Side splitters
12. Install second battery with dual battery isolation kit. 13. Install and wire LNF heated seats. 14. Spark plugs. 15. Oil Change 16. Air filters, cabin/intake. 17. Give the car a bath
18. Wax, detail ect�.
19. Sunroof switch
20. Window motors
21. Driver door lock actuator.
22. Replace driver alxe
23. Figure out cooling fan problem.
Well after all the work I have done, I’m ready to burn this thing to the ground now. I got the front and sides of my areo kit on and look great.
While crawling around under the car I noticed the inner driver axle boot is torn. That explains why there was grease splattered on my driver control arm. So I now have to replace that.
My cooling fan problem did not go away with the new fan as I thought it would. Fan 1 still does not come on, but I do get 13.6v at the connector to the fan….
1. Paint and wrap rear bumper. 2. Paint and wrap hood. 3. Install OTTP shifter pivot cup. 4. Replace OTTP shifter with new OTTP Shifter 5. Replace cooling fan. 6. Install heated seat pads in LNF seats 7. Install my retrofit headlights. 8. Install custom fog lights. 9. Install OTTP rear sway bar. 10. Install OTTP front sway bar. 11. Install Velocity Aerowerks Splitter kit
Front splitter
Rear splitter Side splitters
12. Install second battery with dual battery isolation kit. 13. Install and wire LNF heated seats. 14. Spark plugs. 15. Oil Change 16. Air filters, cabin/intake. 17. Give the car a bath
18. Wax, detail ect….
19. Sunroof switch
20. Window motors
21. Driver door lock actuator.
22. Replace driver alxe
23. Figure out cooling fan problem.
Did you check continuity with the relays that control the fans? There's 2 in the fuse box under the hood: one "low" and one "high" speed. You can run just low, since the high speed is really damn loud when idling (I know I can tune this but can't be bothered at the moment).
Did you check continuity with the relays that control the fans? There's 2 in the fuse box under the hood: one "low" and one "high" speed. You can run just low, since the high speed is really damn loud when idling (I know I can tune this but can't be bothered at the moment).
I read out a bunch of stuff found a prong to a relay grounded that that shouldn�t be. I took the fuse box apart and sure enough prong 30 on the cool fans relay, the switched ground relay was burnt up. Which is wire A6 that runs to the ground side of the cooling fan 1 connector. I�m looking for a fuse box now. And oddly enough I found your post from a. While back looking for a fuse box.
I read out a bunch of stuff found a prong to a relay grounded that that shouldn’t be. I took the fuse box apart and sure enough prong 30 on the cool fans relay, the switched ground relay was burnt up. Which is wire A6 that runs to the ground side of the cooling fan 1 connector. I’m looking for a fuse box now. And oddly enough I found your post from a. While back looking for a fuse box.
I found it almost nigh impossible to get another fuse box for the TC. If you're ok with a bit of soldering and trace layouts, you can overlap these and clean off the corrosion/carbon with some acetate and that should get you back up and running, provided you were able to get the board out without ruining the box like I did. My issue was the corrosion and I was able to take some small brass "pipe cleaners" and hammer away at the connections, the fuses, and the relays. Then meticulously added dielectric grease to all used posts (and granted, I had to clean up the wiring harness grounds points, all 4 of them).
EDIT: I seen a video of a guy doing this exact thing on YouTube with an older (2003?) GM truck because GM cut a ton of corners with the electrical during the 2000's and probably up until 2015.
I got a new(used) fuse box from a friend of the book of face. Cleaned it up some cleaned some corrosion off the fuses themselves. I wish I read this post before I put the fuse block in. I was trying to think of how to clean the contacts that fuses press into, and skipped it for now. I guess I�ll be looking for the tiny brass/wire pipe cleaners now. Currently everything is working fans on @ 94 and off just below 94.
Finally sorted out the cooling fan issues. Replaced the fuse block and problem solved. One thing on the list done, and it was 2 year head hurter.
My color changing cluster started to die out before I left on deployment. The RGB LEDs on the RPM gauge lost the green color, and gas gauge LEDs died completely. I removed that cluster ordered another and got the replacement in. I�ll be replacing/upgrading the LED strips and upgrading the controller. Should be pretty easy.
Haven�t gotten much else done. Actually kinda went backwards. I installed the headlights and fog lights, they worked, but there were minor issues with some wiring and LED controllers. They worked, but some modes didn�t work properly, mainly blinker problems. I pulled them back out sent them back off, and they will be sorted out and on the car and ready to party.
My door locks are worse than ever, and the windows are annoyingly slow. So I might work on that some what soon. My temp fix on the axle boot is holding for now. Don�t expect that last long, but I have a brand new Napa axle for it. Just gotta find time to get the car on the lift and get the axle in and front sway bar in.
Forgot to add this. The other day my brake lights were acting up. They would come on while pressing the pedal. I would press the pedal and they would stay k. Let off the pedal they would go off, basically count to 5 and they would come back on again. Replaced the brake pedal position sensor. Fixed it. Oddly enough the brake pedal position sensor and the clutch pedal ignition lock switch/neutral safety switch are the same parts.
Another up. Lol haha no progress. We�ll no progress that was on the list. I finally swapped the front speakers. Didn�t know the SS has speakers installed on to a speaker bracket I thought they were all built into the bracket as one piece. Was much easier to upgrade speakers in this than it was in my base.
The wires were a little corroded, gotta clean that up. Other wise everything is the same. Headlights fog lights have been sent off for wire repair and upgrade again. There are few spots the need the wrap fixed. Maybe I�ll wash the car again this weekend.
No more progress yet in major things. But made did start working on my gauge cluster. My color changing LED gauge cluster, started having issues with burnt out LEDs, so I upgraded to a color chasing LED set up. It�s Bluetooth controlled, and I can still turn it off and use the original lighting. Still in work don�t mind the needles all out of whack. Thats all fixed now. Haven�t taken a video reinstalled yet but here is a teaser.
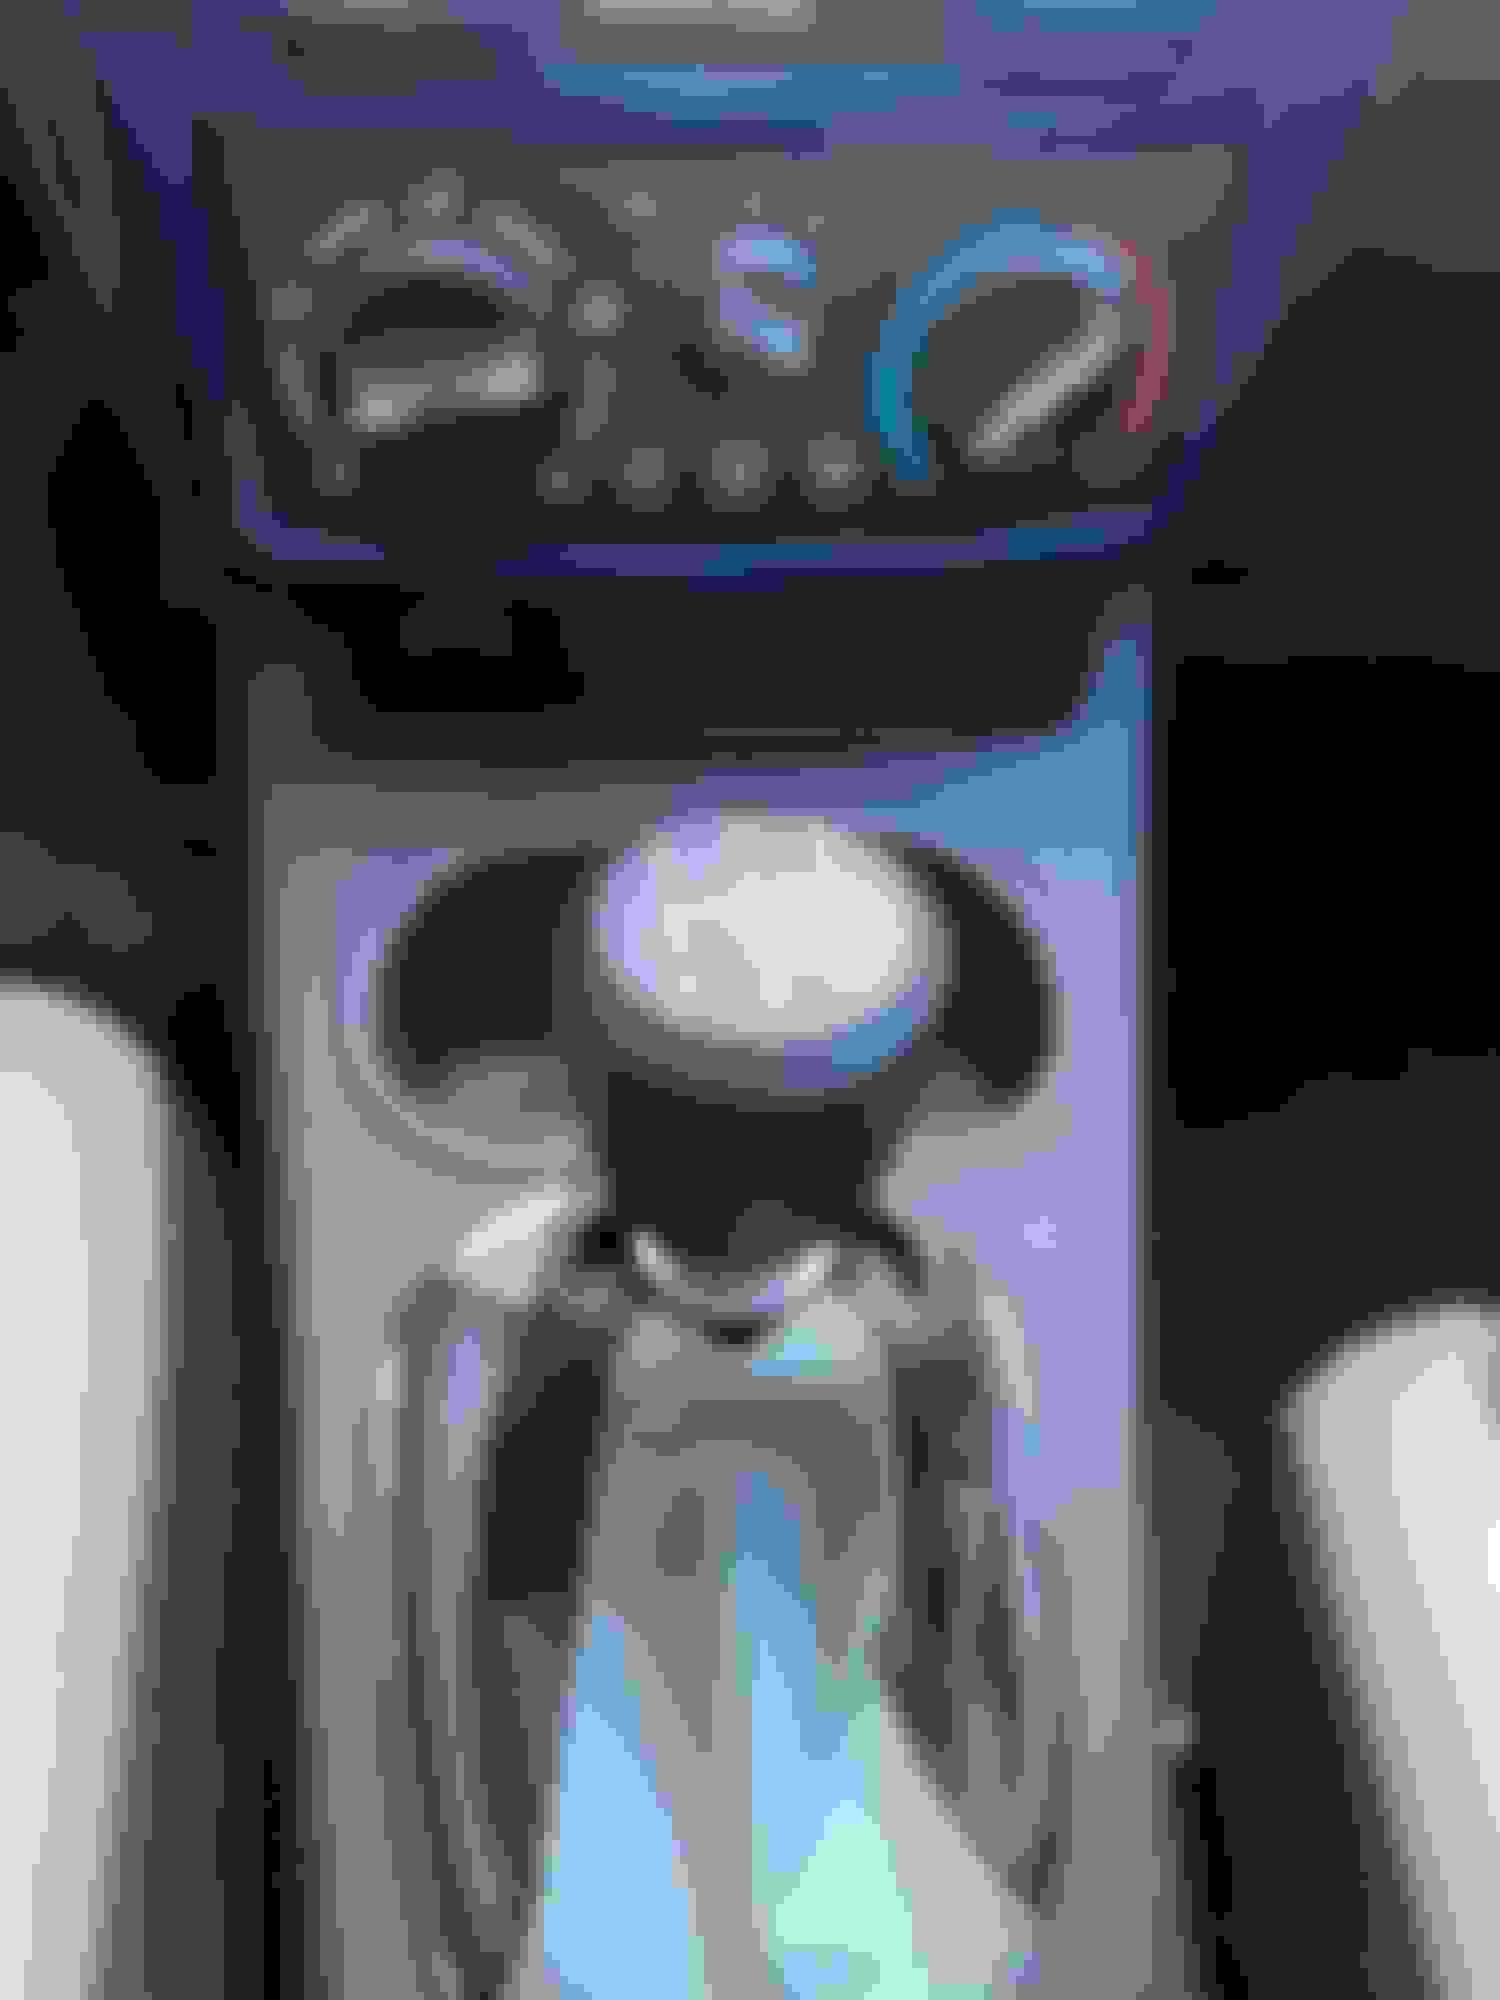
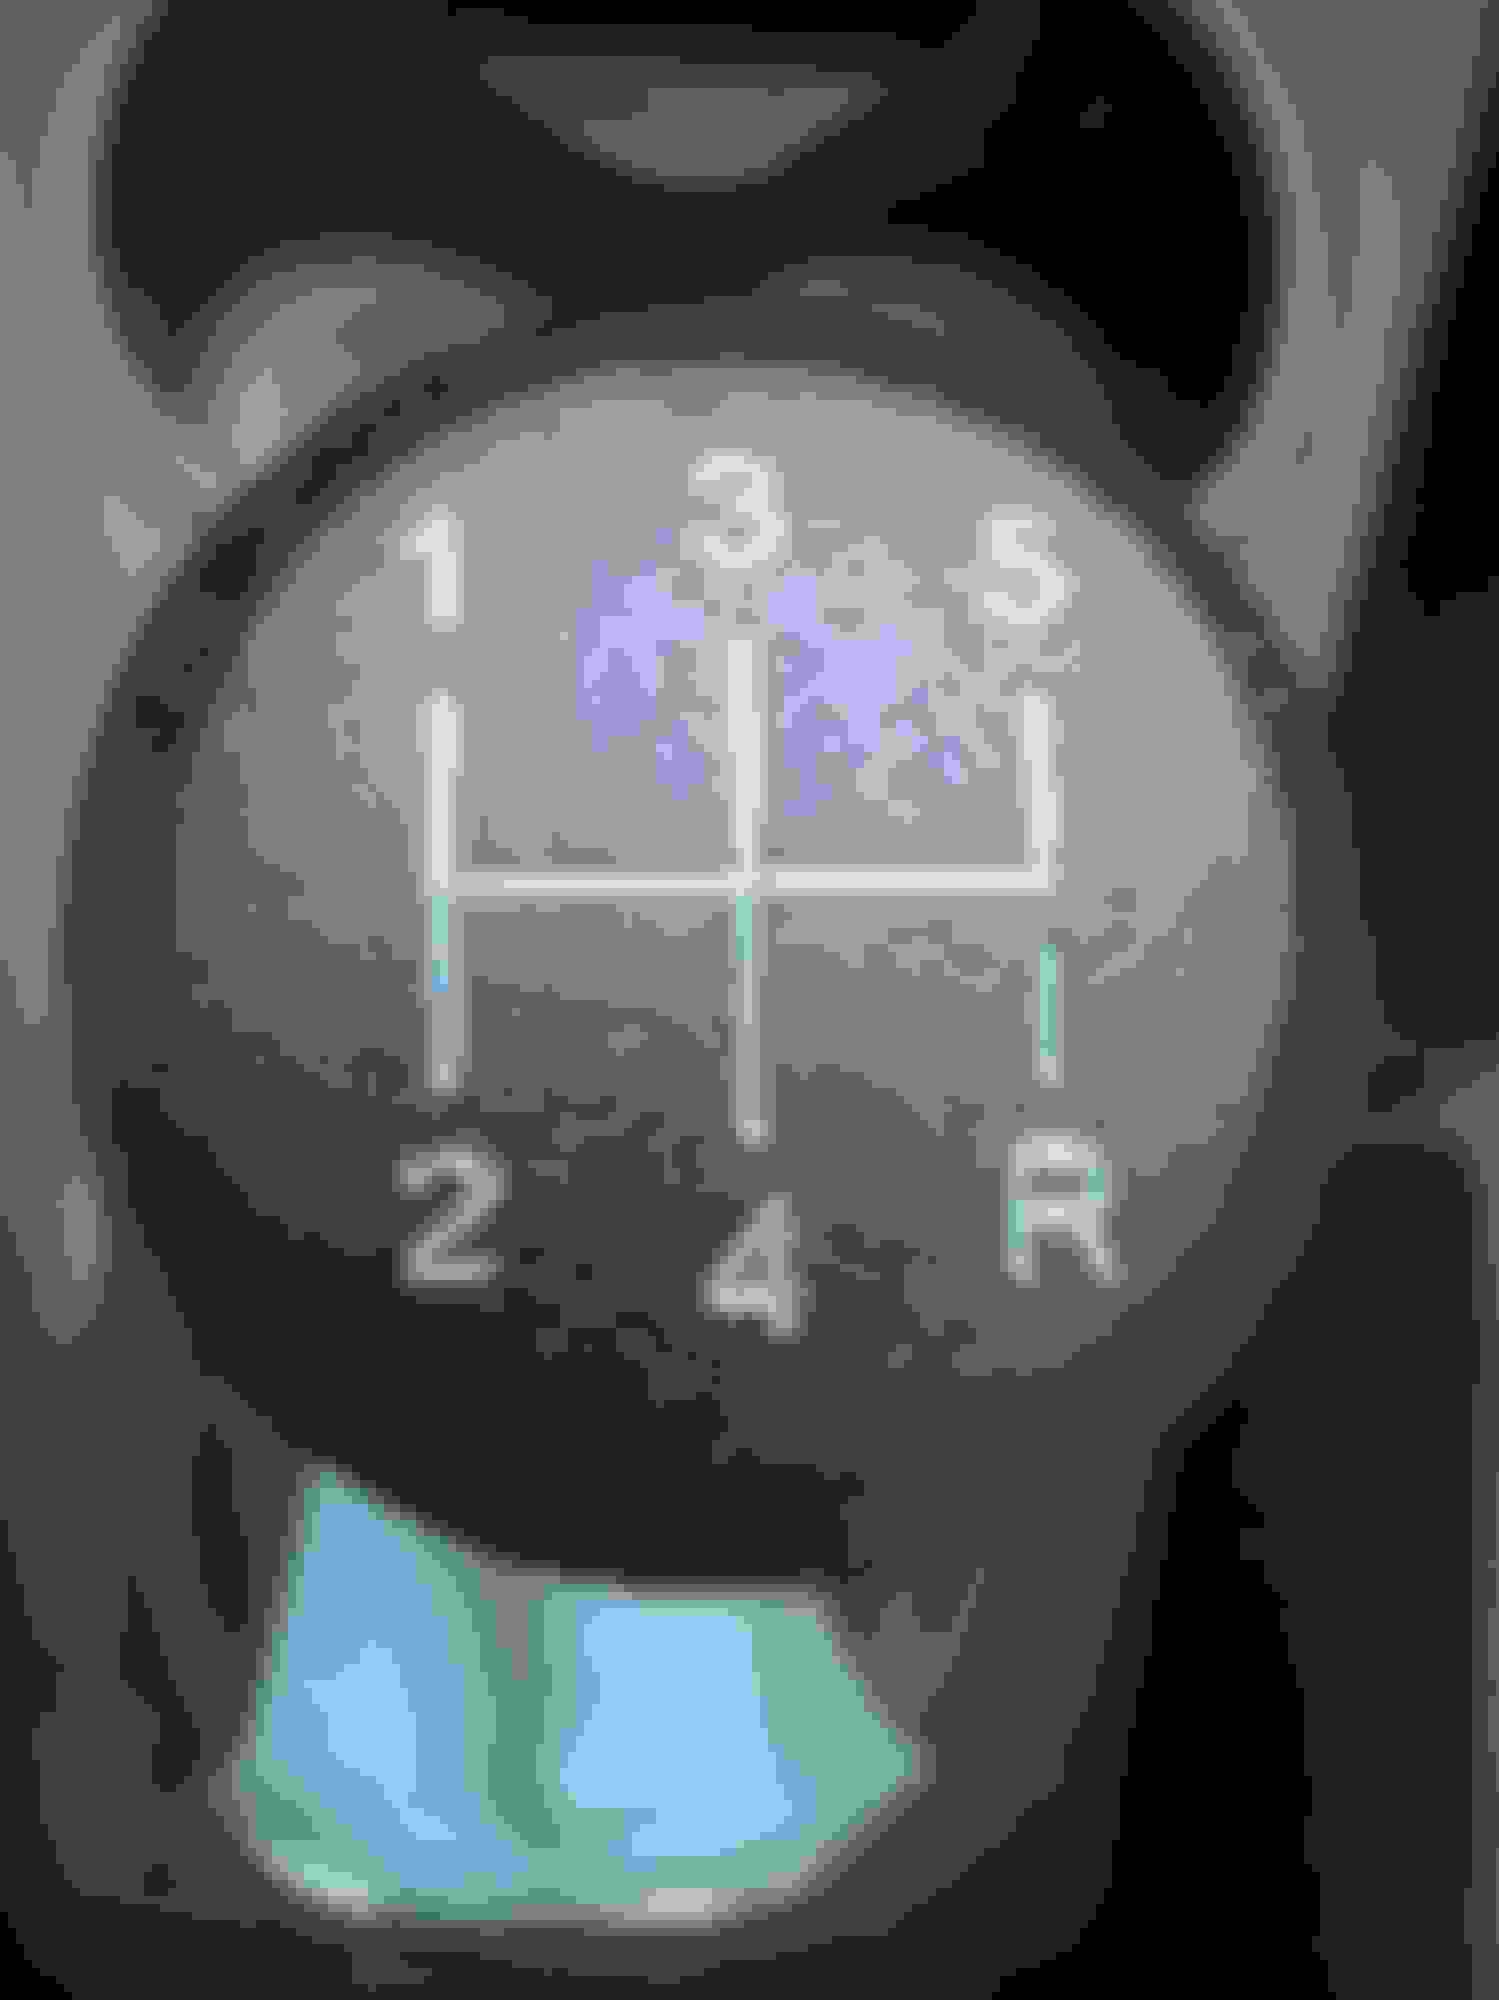
Got my new shifter in and the new pivot cup. Love the feel of it. Feels tighter and smoother. Looks a lot better with the black engraved knob. Love it. OTTP FTW again.
Had a water leak in the car. Couldn�t t have been leaking for long. I didn�t leak Monday when it was raining, or early Tuesday morning. I left work to get something to eat late Tuesday morning and there it was. The standard cobalt water leak. I drove around mad for a little bit and parked the car again as there was nothing I could do at work. Got back in later and it was worse, but it was never really bad. Got home cleaned out the sun roof drains and all was well. Water drains, no more leak.
A little bit bummed. All the people that said they could paint my bumper and hood fell through, so I couldn�t get them painted in time to let them gas out before wrapping. That won�t be done before my Tail of the Dragon trip. Lights have not come back yet from warranty and upgrades. Hopefully very soon they will be back. I miss being able to see at night. Heated seats, window motors, door locks are all on hold until I get the rest of the stuff finished up. Sway bar will go in when I do the driver axle. Hopefully this week. Rear splitter will go on the original bumper until I can get my new one painted and wrapped.
1. Paint and wrap rear bumper. 2. Paint and wrap hood. 3. Install OTTP shifter pivot cup.
4. Replace OTTP shifter with new OTTP Shifter 5. Replace cooling fan. 6. Install heated seat pads in LNF seats. 7. Install my retrofit headlights. 8. Install custom fog lights. 9. Install OTTP rear sway bar. 10. Install OTTP front sway bar. 11. Install Velocity Aerowerks Splitter kit Front splitter Rear splitter Side splitters 12. Install second battery with dual battery isolation kit. 13. Install and wire LNF heated seats. 14. Spark plugs. 15. Oil Change 16. Air filters, cabin/intake. 17. Give the car a bath
18. Wax, detail ect�.
19. Sunroof switch 20. Window motors 21. Driver door lock actuator. 22. Replace driver alxe 23. Figure out cooling fan problem.
One more reason why I refuse to park under trees if I can help it (that and the swathes of bird poop and possible tree sap).
I like the sunroof button/cover combo you have!
One more reason why I refuse to park under trees if I can help it (that and the swathes of bird poop and possible tree sap).
I like the sunroof button/cover combo you have!
One of my favorite things. The only problem is that when it�s hot out that things extremely hot. Same as my old shifter used to. The black knob isn�t as bad. Still gets hot but it�s not terrible.
Every week it seems like there is something new that is not working right. Recently my radio/headunit that I put in 2022 has started acting up. It�s Pioneer and is now starting to freeze and will display a blank white screen and some lines, other times it will work perfectly fine for a while and quit, or it won�t work and then will randomly work fine. So that needs to be changed.
Also one of my interceptor gauges is starting to malfunction. Honestly kinda surprised they have lasted as long as they have. I got them in 2017? Or maybe 2018, from Brett after his accident. I think when I replace them I�m going to get the ibankz gauges instead they look more modern.
Along with that, on my tail lights� the side markers started flickering and then I noticed the reverse lights were flickering. Easy enough to just replace them, but annoying.
After all the bad stuff here is the update of things that were done. I ended up ordering the carbon fiber C6 Steering wheel I was talking about a few months ago. Looks great feels great fits perfectly.
My headlights and fog lights are done!!! The will be on the way back home later today! So I should hopefully see them by next week.
I have an appointment to get tires put on the car. I was running BF Goodrich G-Force Sports UHP, but they have been discontinued a while back. When I got home from deployment I noticed one of the tires that was put on as replacement under the road hazard warranty was the BFG gforce All weather tire. I ended up finding an amazing deal on 4 Firestone Firehawk Indy 500s 225/40/18 for $98 each, plus an $80 discount on top of that. Paid about $340 with free shipping and road hazard. Pretty good deal we�ll see if I like these tires or not.
Also since my pair guys fell through and we missed the window to get the rear bumper, lip, and hood painted in time to wrap them. I decided to paint the rear lip as close to the same color as possibly and just install it so can I get the rear splitter installed and be done with it�.. for now�.
Rear Lip Story. From beginning to the current ending
2014 - October/November - I bought it from a friend�s brother, both rear grills included for $150. I started sanding it to prep for cutting, and then it went on the back burner because I was scared to cut it to modify it for the sedan bumper. It sat around it was on my porch, then to the back of the garage and not touched.
2015 - No progress. Other car mods and my first kid took most of my car time.
2016 - Everything from our house that we didn�t need was packed and put in storage in January. My wife stayed with her family I went to Cali and deployed. Got home in August my stiff arrived in September.
October/November. I pulled an SS/Sport sedan bumper from an LKQ lot in Anaheim, and got busy. I cut off the ends of the rear lip on each side cut out about a 1 inch section, and started cutting out slots in the bumper and a section on the lower edge to make room for the opening in the lip.
Started trying to figure out how the hell to mold the pieces back to gather to get it mounted. I tried quick epoxy, it was too brittle and cracked. Tried fiber glass over the back side and filling with fiberglass resin� failed. Eventually duct tape and JB weld for plastics was my best result. I sanded the bumper and got the lip mounted. I was ready for paint, but I was living in California and broke 😂 and other car stuff became priority again. No more progress in 2016. Pictures below of where I stared and where I left off.
2017
January- Packed up and moved. I stayed in Cali until April my family and all my stuff went back to Virginia. No real progress was made
2018
I pulled the lip and bumper out again and primed everything. At some point the duct tape and JB weld was no longer holding. I bought a plastic welder and attempted to learn how to use it. After some trial and error I thought I figured it out. I had melted together all the pieces but it was ugly. In my attempt to fix it, at some point I left the plastic welder on which was basically a soldering iron, and the lip fell and melted a hole in the center of it. Like a half dollar size hole. In my anger I patched the hole as best I could smoothed out the sides and one again I was �ready for paint�.
2019 No progress. I was ramping up for deployment #5.
2020 - Deployed most the year no progress.
2021 - No progress I was lazy and didn�t touch it, plus money was tight couldn�t get it painted. Late 21 we sold our house and moved and the bumper and lip was packed and moved again.
2022 - July - Major progress made. Pulled lip and bumper back out and pulled it all apart and redid my plastic welds. Major improvement and was very smooth. Took the sander cleaned it up. Cleaned up the patched hole and was read for paint/wrap. But I was dumb and had primed the bumper and lip and vinyl wrap does not stick to primer very well�.. being angry at my stupidity it went back in to the shed.
2023 - No progress prepping for deployment #6. Deployed October.
2024 - September - Major Progress again. Pulled it out after being stuffed in the shed, clean it up fixed the plastic welds again since it was packed in the shed and kinda beat up from moving crap around in there. Once again ready for paint. 3 painters failed me. �Screw it I�ll paint it myself�
Finally the lip is painted, and I had enough expand confidence to cut into my stock bumper and get this damn thing installed once and for all. Looks pretty good I can see the color difference but I�m ok with it for now. Here we are now installed.