
Interior: E brake Retrofit.... progress being made!

Thread Starter
Get low
Joined: 03-29-06
Posts: 3,476
Likes: 0
From: Crystal lake, IL
E brake Retrofit.... progress being made!
Ok so i finally got the ***** to hack into the ebrake and its working for the most part... heres what i got done after about 4-5 hours,,,,, it sucked but hey thats my job, i **** up my car so you guys do it right....
Step: 1 Remove the ebrake cover.....
pull off the top of the center counsol
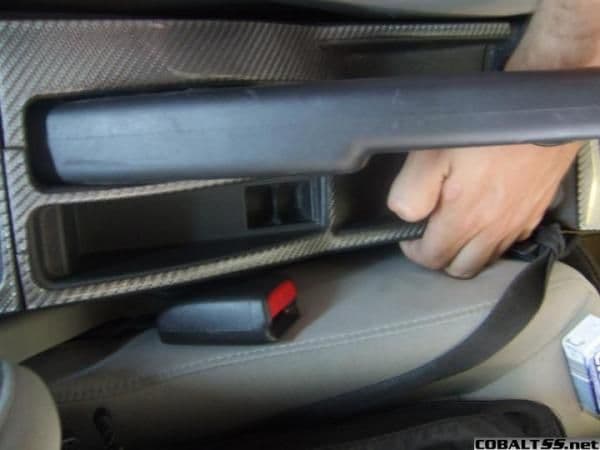
Twist the ebrake handle counter clockwise and it will click, pull it towards the radio and it will slide off
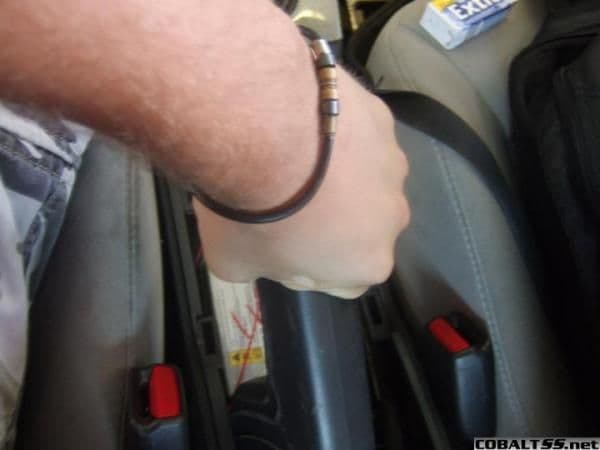
Now your stuck facing that piece i was afraid to cut....
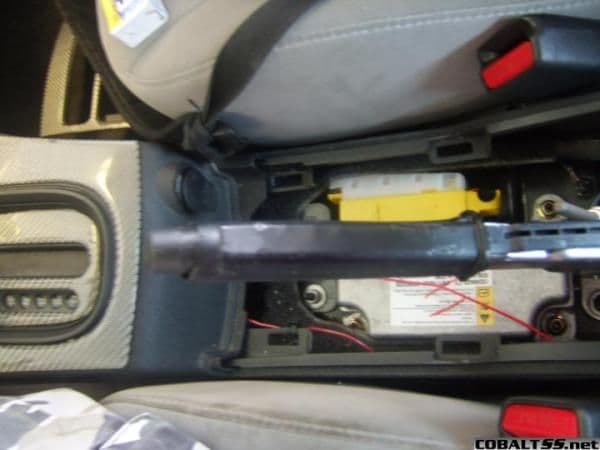
i found out its nothing just cut it straight down the middle

go unti;l you get near the button and stop.... BTW dont cut the metal plate under this yet...
once you get near the top just rip the plastic off around the button and slide off....
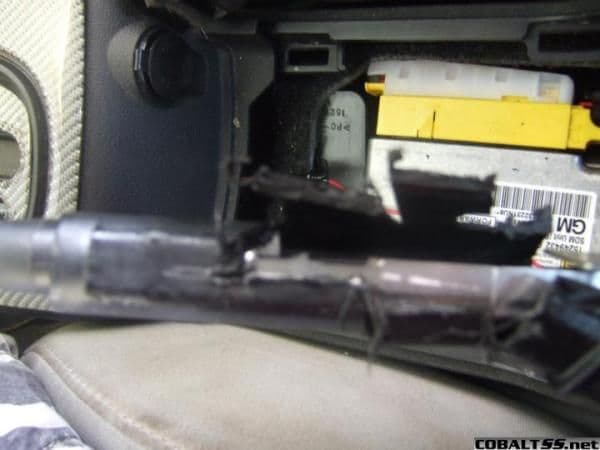
OK this next part is what took about 4 hour.... i cant realy explain it because each ebrake is diff. basically this part you just "make your new handle fit"....My handle was alittle small, so i had to bore it out, amnd then cut the top and bottem rail thingys off the metal part shown above.... then i bent the rest of the metal part to make it srtonger and make the profile even lower to get the handle on...

thats just me bending it with some pliers
next i had to cut the handle down because it was too long... its just shoved on there right now is on good... i need a boot to put behind the handle and have to bore out the cap to fit over the button it looks kick ass though


Step: 1 Remove the ebrake cover.....
pull off the top of the center counsol
Twist the ebrake handle counter clockwise and it will click, pull it towards the radio and it will slide off
Now your stuck facing that piece i was afraid to cut....
i found out its nothing just cut it straight down the middle
go unti;l you get near the button and stop.... BTW dont cut the metal plate under this yet...
once you get near the top just rip the plastic off around the button and slide off....
OK this next part is what took about 4 hour.... i cant realy explain it because each ebrake is diff. basically this part you just "make your new handle fit"....My handle was alittle small, so i had to bore it out, amnd then cut the top and bottem rail thingys off the metal part shown above.... then i bent the rest of the metal part to make it srtonger and make the profile even lower to get the handle on...
thats just me bending it with some pliers
next i had to cut the handle down because it was too long... its just shoved on there right now is on good... i need a boot to put behind the handle and have to bore out the cap to fit over the button it looks kick ass though

Thread Starter
Get low
Joined: 03-29-06
Posts: 3,476
Likes: 0
From: Crystal lake, IL
just relized in the last pics it looks lake the handle is rlly close to the front more middle counsel... its not its just the angle..... also does anyone know where i can get an ebrake boot?
Thread Starter
Get low
Joined: 03-29-06
Posts: 3,476
Likes: 0
From: Crystal lake, IL
ill check ebay.... iyou do this just a warening... its rlly fking hard.... when you buy your new ebrake handle, get the biggest inside diameter one you can find.... would make this 10X easier
Thread Starter
Get low
Joined: 03-29-06
Posts: 3,476
Likes: 0
From: Crystal lake, IL
Originally Posted by 2006BlackSS/SC
hey bio how far are you from st.louis man i need to speak with you about helping with a few mods
Thread Starter
Get low
Joined: 03-29-06
Posts: 3,476
Likes: 0
From: Crystal lake, IL
Originally Posted by g5mike
I guess the boot should put the finishing touch on it? look foward to the final pic

