
How To: Install PowerGrid Inc. adjustable swaybar endlinks from OTTP

Thread Starter
Haz l33t wheelz.

Joined: 09-14-07
Posts: 18,883
Likes: 3
From: Costa Mesa CA
How To: Install PowerGrid Inc. adjustable swaybar endlinks from OTTP
Start by jacking up the car and removing both front wheels.
Never support the weight of the car using just the jack, always use jackstands.
Tools Needed
19mm wrench
18mm wrench
No. 6 Allen Key
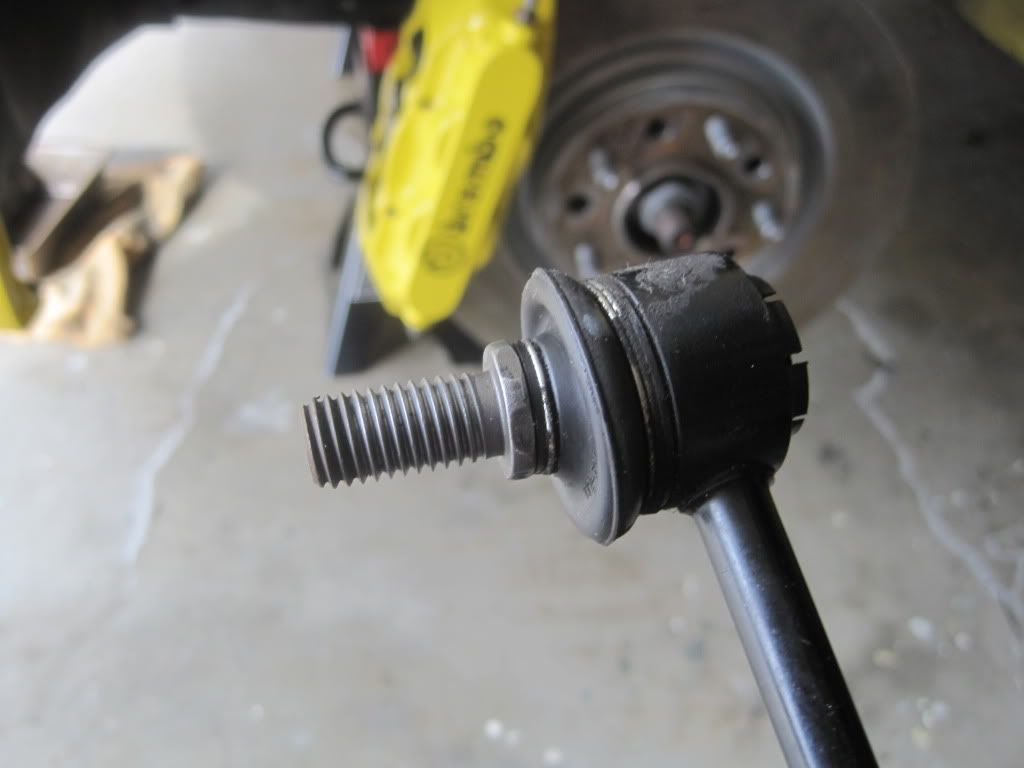
Removal of Stock Endlinks
The stock enlinks use an 18mm nut to secure them to the strut and swaybar. Remove both left and right side top nuts first. Your sway bar will slowly fall downward, this is fine. Now remove both lower nuts, and remove the stock endlinks. I didn't have any problems removing them, but there are flat spots on the back side of the ball joint where you could use a thin 16mm wrench or needle nose vice grips if you have an issue with the threaded shaft spinning.
Setting up your Powergrid Adjustable Links
The length at which you set your endlinks is not super critical on a street driven car as long as both sides are set to equal lengths. I found it easiest to just make them as short as possible. After adjustments and tightening down the jamb nuts, mine are 9.5" from the center of each ball joint. The exposed bronze colored rod is 5.5"
Installing Powergrid Endlinks
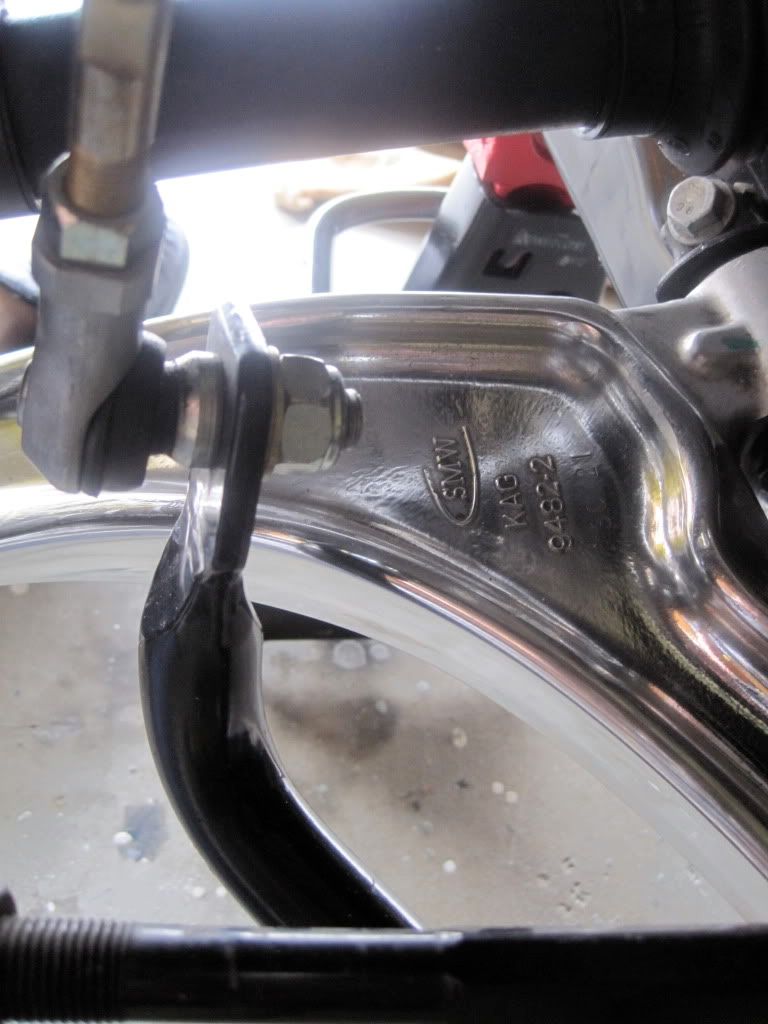
Start by installing the lower end of both left and right links first. I slipped a 19mm box end wrench over the nut, then inserted the no. 6 allen key into the threaded shaft of the ball joint to keep it from spinning. After it is tightened, it will look like this:
Make sure that the washer is between the nut and the swaybar.
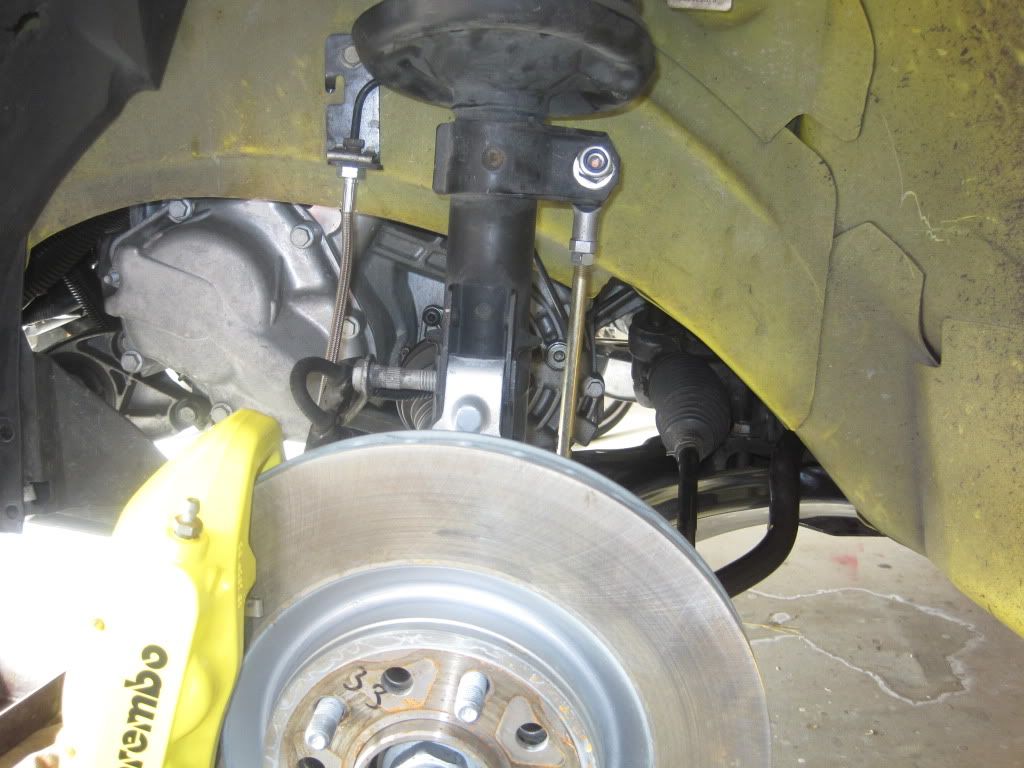
Next, install the top nut of the swaybar link.
I only hand tightened each side to make sure the lengths matched and allowed the swaybar to be installed without a pre-load.
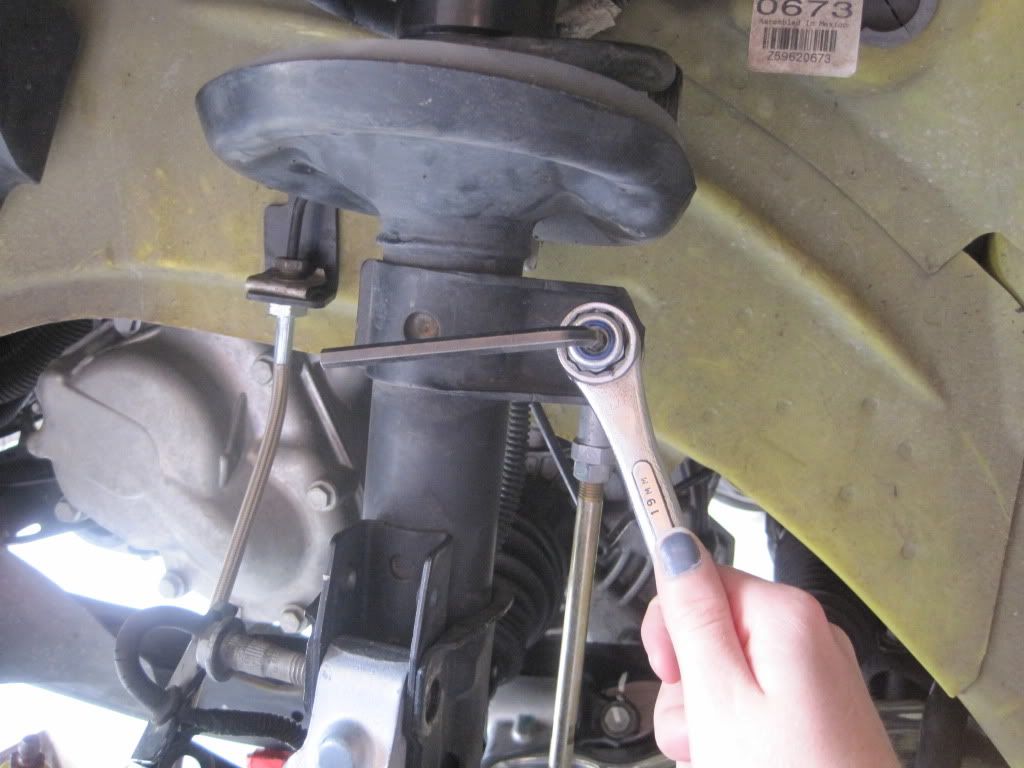
Next I tightened the top bolt using the same no. 6 allen key and 19mm box wrench.
I started on the drivers side, but it really doesn't make much of a difference.
Make a second pass over all of the nuts to ensure they are tight, and now you are done.

Replace the wheels, lower the car down off the jackstands, and enjoy your clunk-free front end
Never support the weight of the car using just the jack, always use jackstands.
Tools Needed
19mm wrench
18mm wrench
No. 6 Allen Key
Removal of Stock Endlinks
The stock enlinks use an 18mm nut to secure them to the strut and swaybar. Remove both left and right side top nuts first. Your sway bar will slowly fall downward, this is fine. Now remove both lower nuts, and remove the stock endlinks. I didn't have any problems removing them, but there are flat spots on the back side of the ball joint where you could use a thin 16mm wrench or needle nose vice grips if you have an issue with the threaded shaft spinning.
Setting up your Powergrid Adjustable Links
The length at which you set your endlinks is not super critical on a street driven car as long as both sides are set to equal lengths. I found it easiest to just make them as short as possible. After adjustments and tightening down the jamb nuts, mine are 9.5" from the center of each ball joint. The exposed bronze colored rod is 5.5"
Installing Powergrid Endlinks
Start by installing the lower end of both left and right links first. I slipped a 19mm box end wrench over the nut, then inserted the no. 6 allen key into the threaded shaft of the ball joint to keep it from spinning. After it is tightened, it will look like this:
Make sure that the washer is between the nut and the swaybar.
Next, install the top nut of the swaybar link.
I only hand tightened each side to make sure the lengths matched and allowed the swaybar to be installed without a pre-load.
Next I tightened the top bolt using the same no. 6 allen key and 19mm box wrench.
I started on the drivers side, but it really doesn't make much of a difference.
Make a second pass over all of the nuts to ensure they are tight, and now you are done.
Replace the wheels, lower the car down off the jackstands, and enjoy your clunk-free front end

Thread Starter
Haz l33t wheelz.
Joined: 09-14-07
Posts: 18,883
Likes: 3
From: Costa Mesa CA
Also, these are adjustable, so at any point down the line should you decide you want to drive on a n oval track, you can optimize the preload.
Just come over. I'm sure as **** not driving out to you
Last edited by ls1fbody; Feb 1, 2010 at 03:35 PM. Reason: Automerged Doublepost

New Member
Joined: 07-26-06
Posts: 85
Likes: 0
From: PA
so there really isnt a benefit aside from adjustability and setting preload? Just trying to decide if making my own is worth it.

Senior Member
Joined: 03-12-07
Posts: 1,585
Likes: 1
From: Columbus, Ohio
it should be noted that the stock endlinks are very easily bent, even by hand. these are made with high quality grade 8 material, i believe. no flex to them at all. very very much stronger than stock. and yes you will feel a difference, but only if you are in tune with your car.
i think it should be noted that these are different length for the redlines. a bit longer IIRC
i think it should be noted that these are different length for the redlines. a bit longer IIRC

Thread Starter
Haz l33t wheelz.
Joined: 09-14-07
Posts: 18,883
Likes: 3
From: Costa Mesa CA
*sigh of relief*
I cant believe im the 1st to post about it. It was definitly the elephant in the room in all those pics. Just kinda lingering there and every1 pretended not to notice. Like when you have company over and your dog is laying in the middle of the room licking his *****.
Good How To though
I cant believe im the 1st to post about it. It was definitly the elephant in the room in all those pics. Just kinda lingering there and every1 pretended not to notice. Like when you have company over and your dog is laying in the middle of the room licking his *****.
Good How To though

Senior Member
Joined: 12-23-08
Posts: 6,083
Likes: 0
From: Long Island
*sigh of relief*
I cant believe im the 1st to post about it. It was definitly the elephant in the room in all those pics. Just kinda lingering there and every1 pretended not to notice. Like when you have company over and your dog is laying in the middle of the room licking his *****.
Good How To though
I cant believe im the 1st to post about it. It was definitly the elephant in the room in all those pics. Just kinda lingering there and every1 pretended not to notice. Like when you have company over and your dog is laying in the middle of the room licking his *****.
Good How To though
i made fun of him about it.
but not in this thread.
and whats this i hear about you moving back up to LI?


Senior Member
Joined: 12-23-08
Posts: 6,083
Likes: 0
From: Long Island
summer is find, fall is eh, once winter hits, man its like the man on the moon mission to get us al together again.