
2.0 LSJ Engine: HOW TO: OTTP Longtube Header

Thread Starter
Haz l33t wheelz.

Joined: 09-14-07
Posts: 18,883
Likes: 3
From: Costa Mesa CA
HOW TO: OTTP Longtube Header
Tools Needed:
Jack
Stands
3/8 Drive ratchet
-6" extension
-3" extension
-1/2 or 13mm deep socket
-1/2 or 13mm normal socket
-15mm sockets
-10mm socket
1/2 Drive Ratchet
-3" extension
-15mm socket
Cordless drill with 10mm driver.
Pliers.
1/2" ratchet wrenches. I have a standard size, and a stubby. If you do not have these, i highly recommend them, it will make your life so much easier.
1. Remove excessive packing materials...
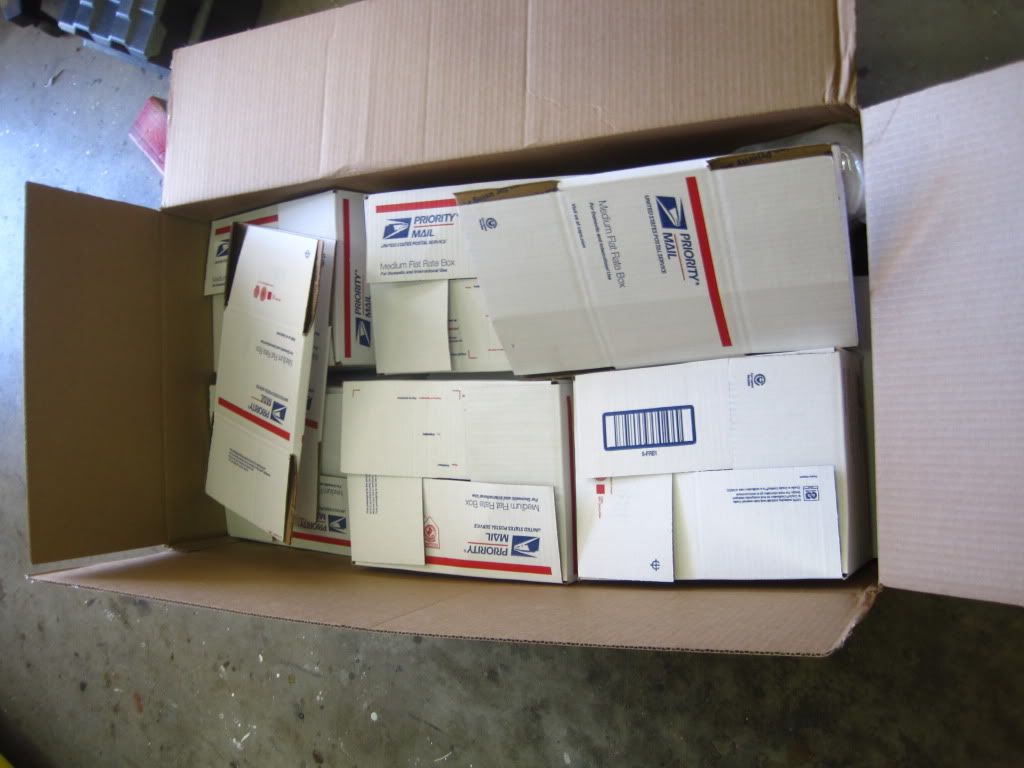
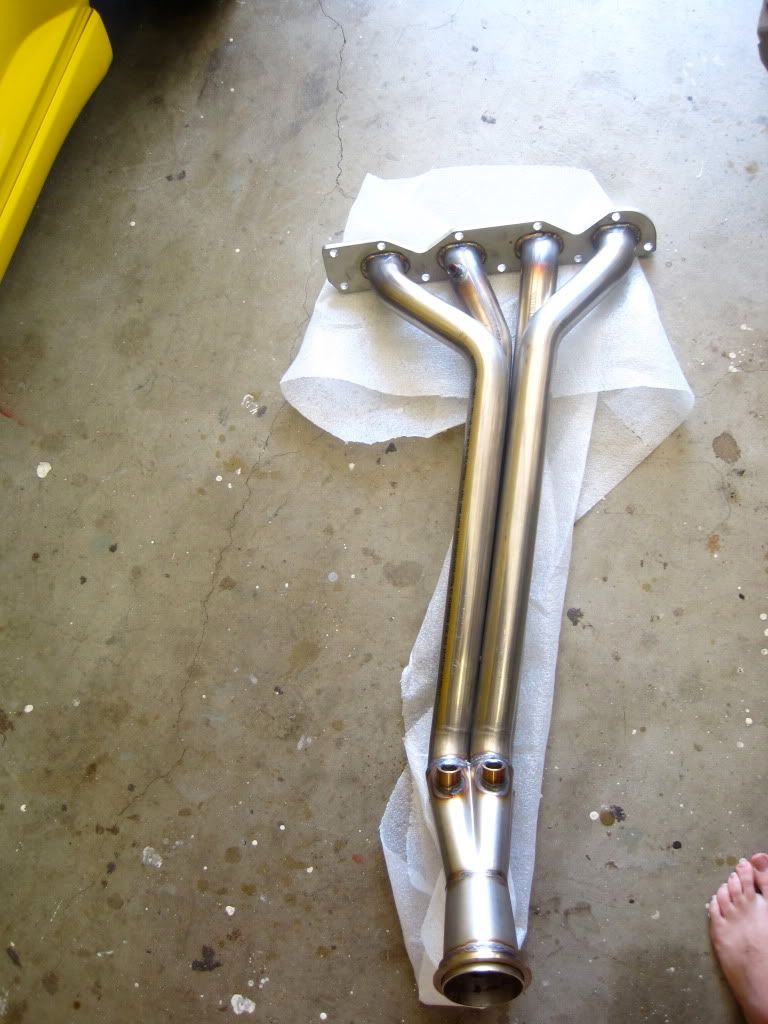
2. Oggle at the majesty...
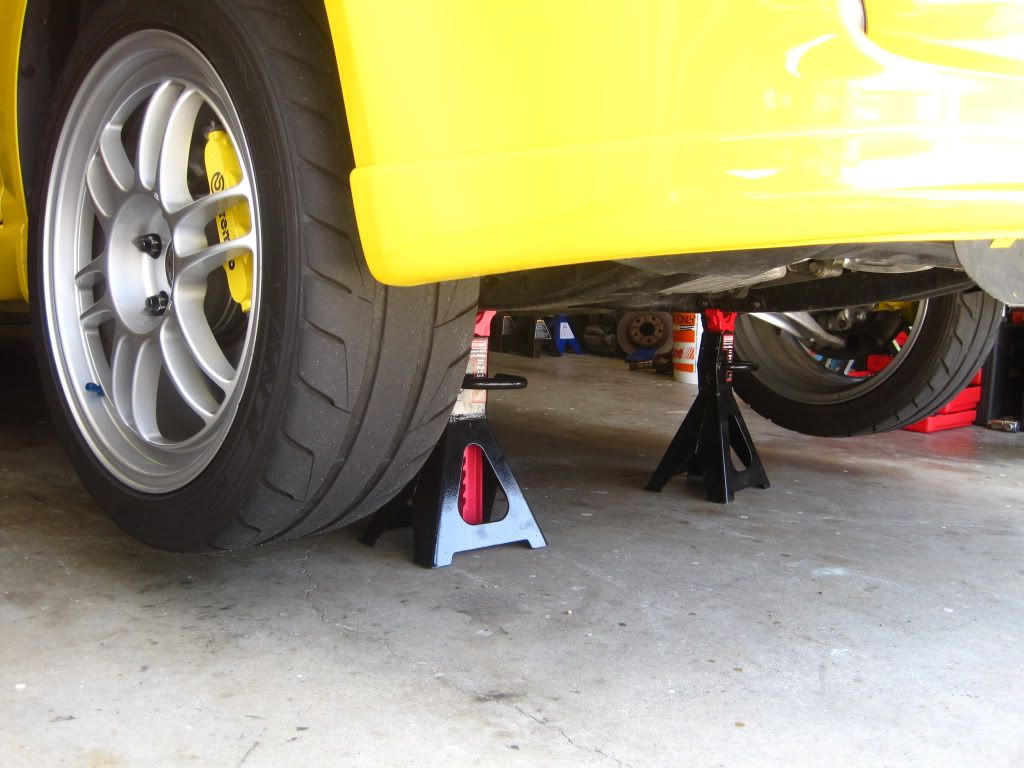
3. Jack up the car.
4. Remove Useless Strut Bar.
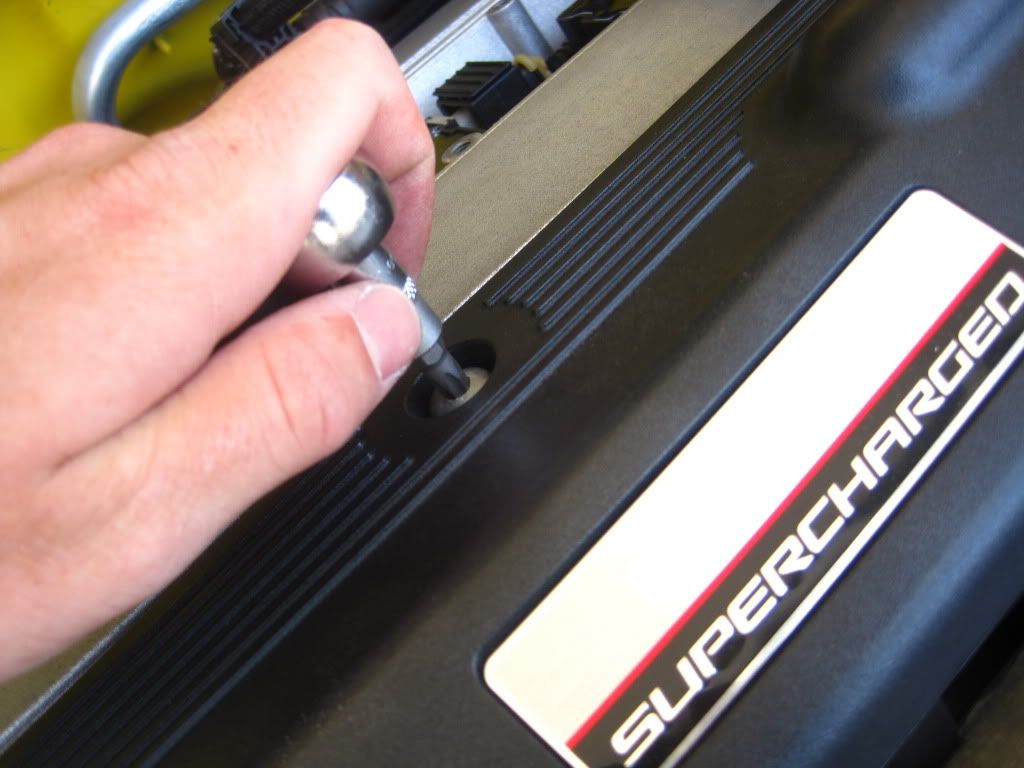
5. Remove Factory Heat Shield.
- I used a 1/2" deep socket, 3/8ths drive. 13mm would probably work just as well.
- There is one bolt on the manifold, and 3 that attach it, and some brackets to the cylinder head.
- Put it off to the side.
6. Remove Fuel Rail Cover
- This takes a T30 Torx bit.
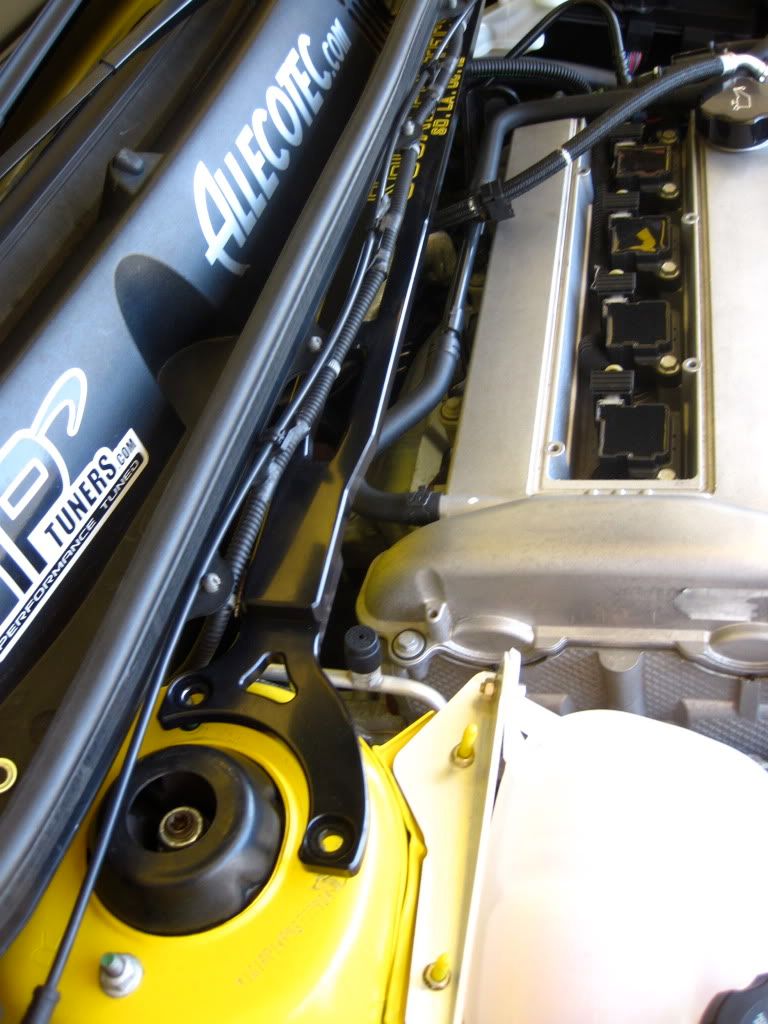
Remove the Valve Cover.
- There are 14 10mm bolts that hold the calve cover on. I used a cordless to make the process faster.
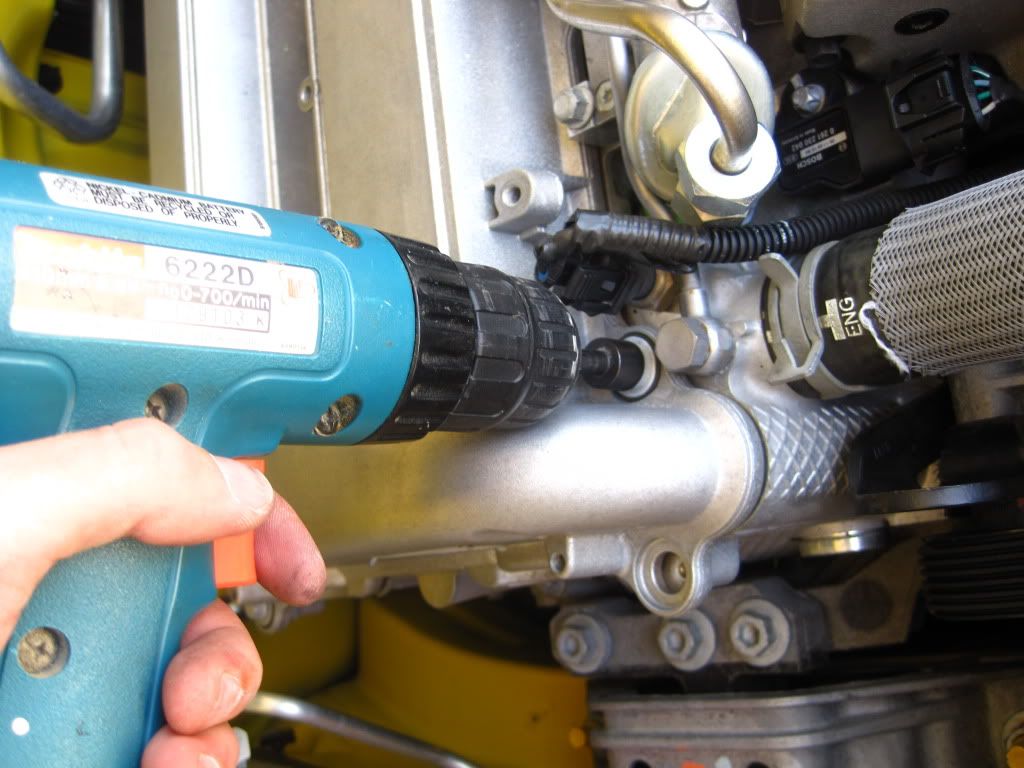
- there is a single ground on the drivers side, the top nut is 10mm, stud is 13mm
- Don't forget the fuel line bracket, this is also 10mm.

- My valve cover was a little stuck on, so some gentle prying on the tab on the far passenger side, front of the cover, and it popped right off.
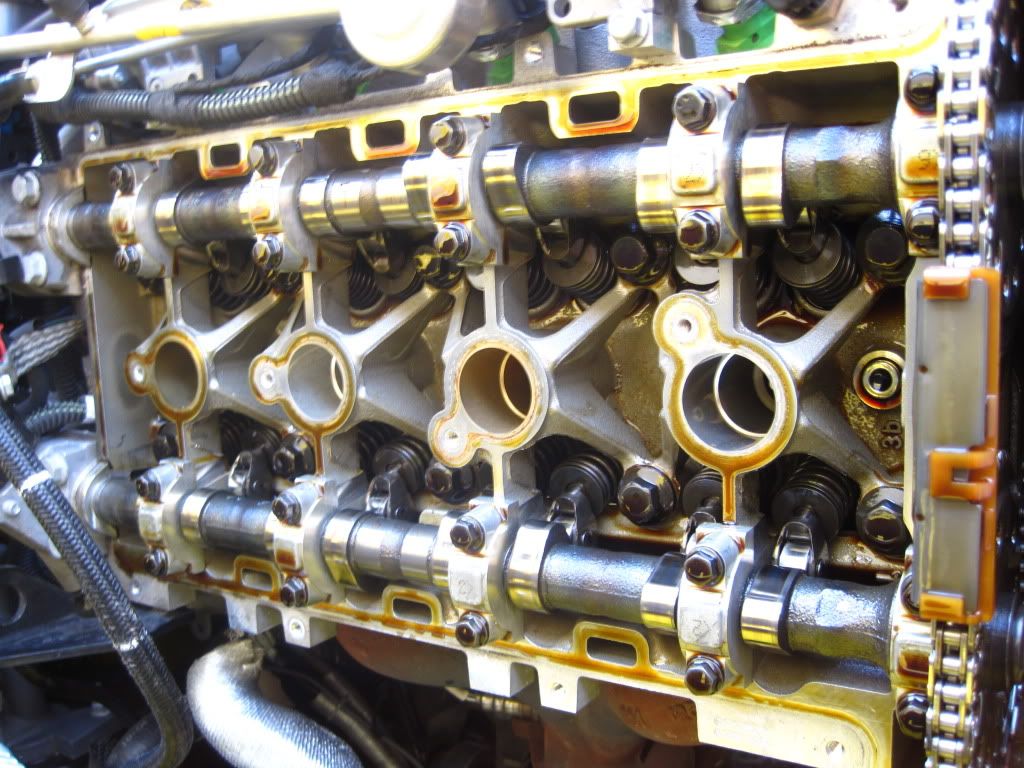
Not sure what I should be looking for, but it seemed to be in pretty good shape for 37,500 miles.
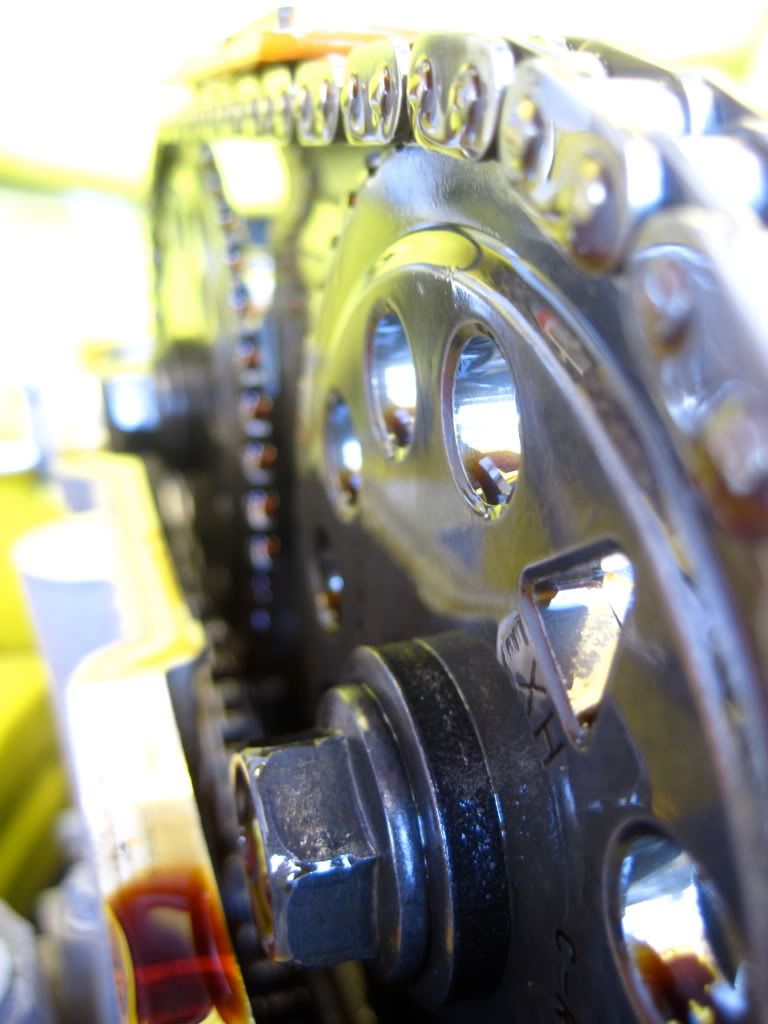
Hello Cam gears...
7. Remove Stock Manifold and Downpipe.
- Crawl under the car, and remove the two 15mm nuts connecting the downpipe to the catback exhaust system. Mine both happen to be stock. :beat:
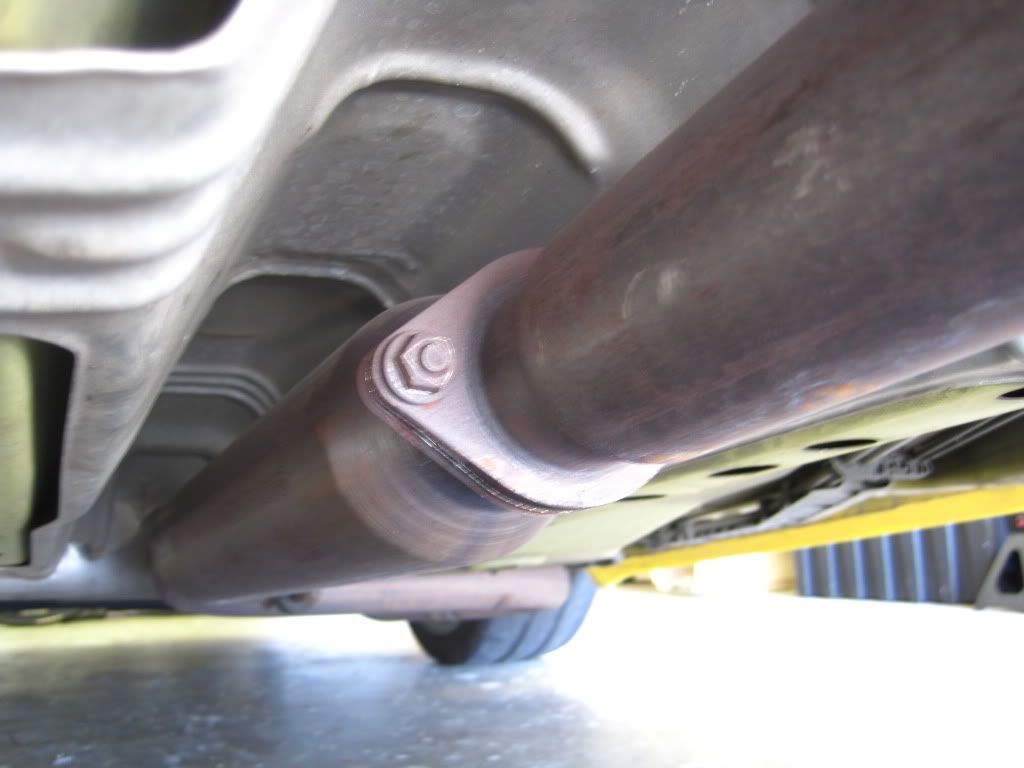
- Then remove the two bottom 15mm nuts from the mainfold to downpipe studs. The third is easier to gat to from the top.
(this one was also a bitch and a half for no apparent reason)
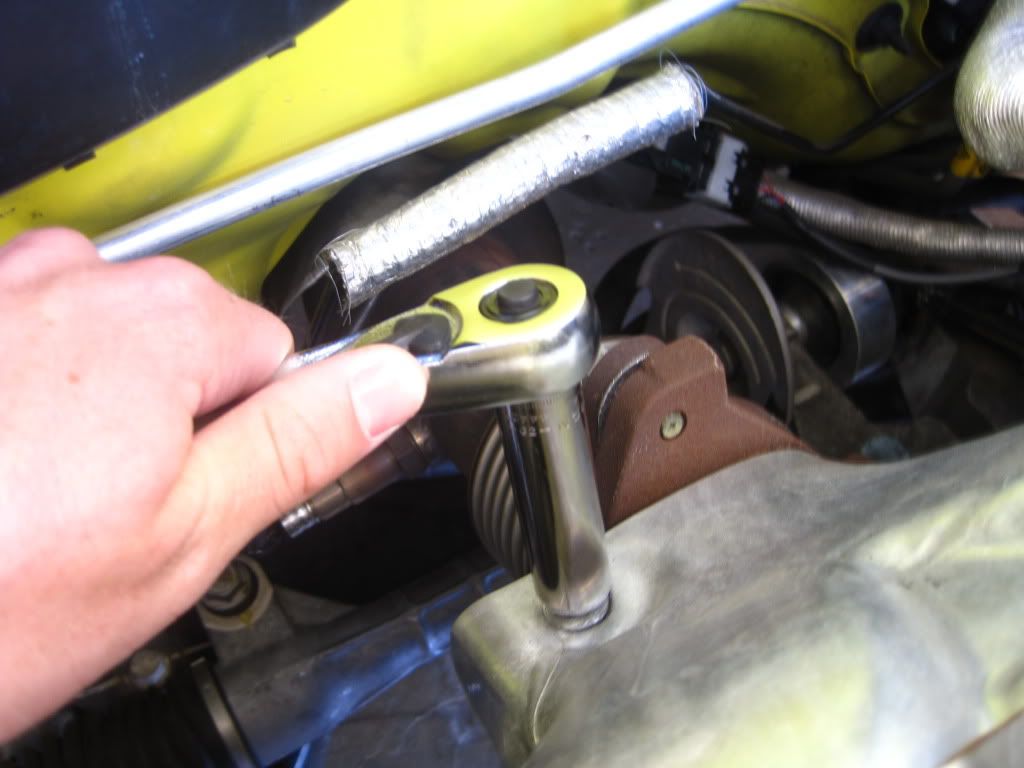
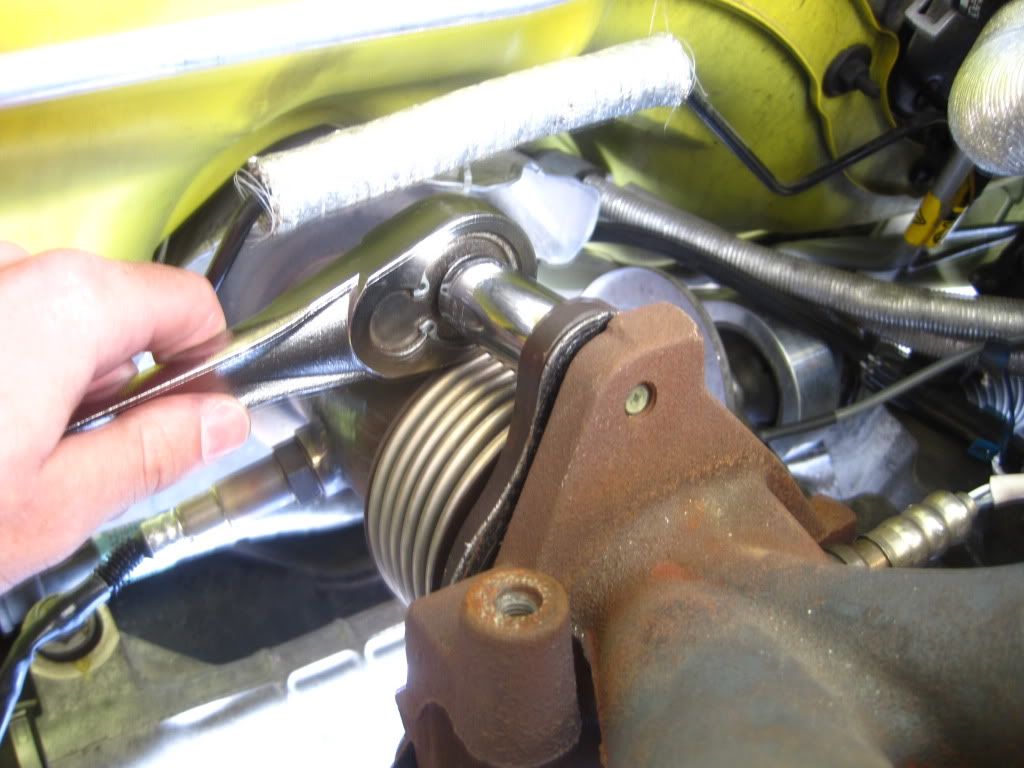
Now, remove all 10 of the stock nuts/studs that hold the manifold on. I suggest grabbing a deep 13mm or 1/2" socket, a 6" extension, and 1/2 ratchet wrenches if you have them. Nearly all of them are accessible from the top.
- Some nuts will come off and leave the stud behind, some will pull the stud out with them. I had about 4 nuts and 6 studs when mine was apart. I like leaving at least 3 studs in to make locating the new header easier.
Make sure to remove both o2 sensors before you attempt to take the downpipe and manifold from under the car. I find it easiest to unclip them from their harnesses, and use an o2 socket to remove them once i'm out from under the car.
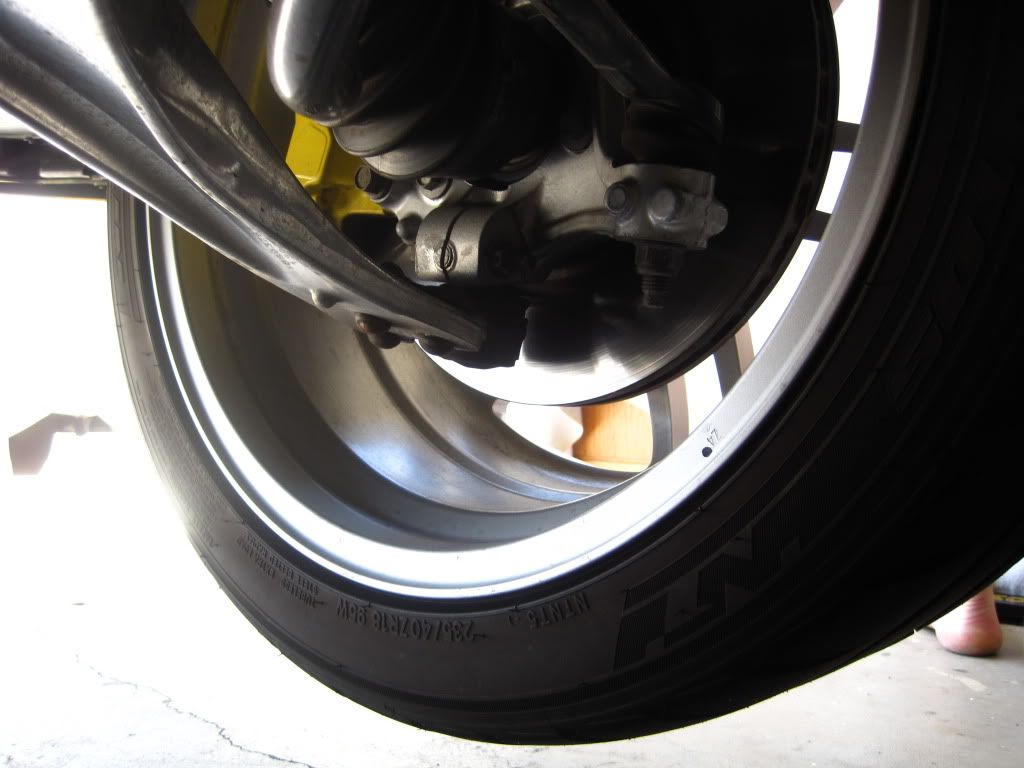
I laid there to admire my RPF1's and the polished but filthy control arm for a moment...
8. Remove Rear engine Lift Bracket.
- This was not in any of the recommended install procedures, but it sure made slipping the header down there easier. Before, i just didn't quite have the room to slip the header down and in. It caught some protrusions from the head by maybe 1/8th of an inch, and would not budge. It's a single 1/2 or 13mm bolt.
9. Install Header.
- This is easiest if you hold the header as if it were already in the car.
- Turn it 90* and feed it in until the collector reaches the steering rack, and them rotate it back 90* until it feeds in.
- If you did not remove the lift bracket, you will now realize you should have.
- Install is pretty much the reverse of removal of the stock manifold. All of the bolts are easily accessible from the top. I start in the middle, and work my way to the outside. Back and forth, back and forth.
At this point we decided to start the car and listen. It's loud. It also started rattling tools, and other things off the pegboard on the wall.
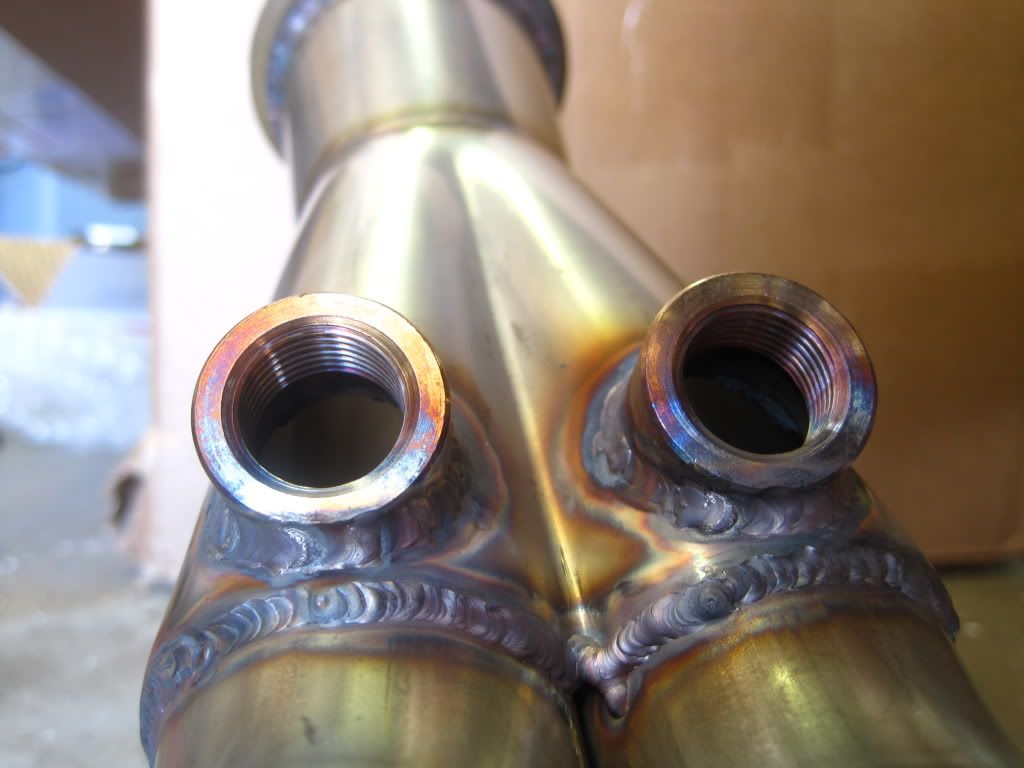
- NOTE! I did not place the o2 sensors back into the header before i installed it, but i wish i would have, it is extremely tight in there, and will be impossible to do with the header tightened down.
10. Re-install valve cover.
- Reverse of removal.
11. Install "Downpipe"
-Mine is essentially a Cat with a two bolt flange on one end, a flex coupler, and a v-band flange on the other end.
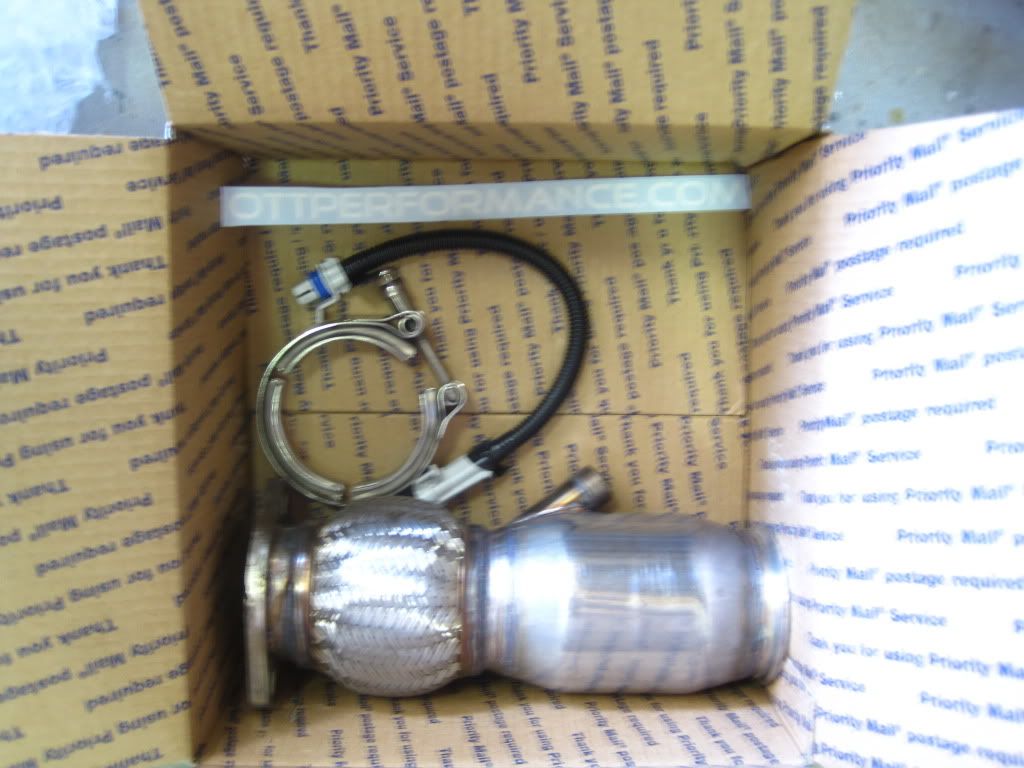
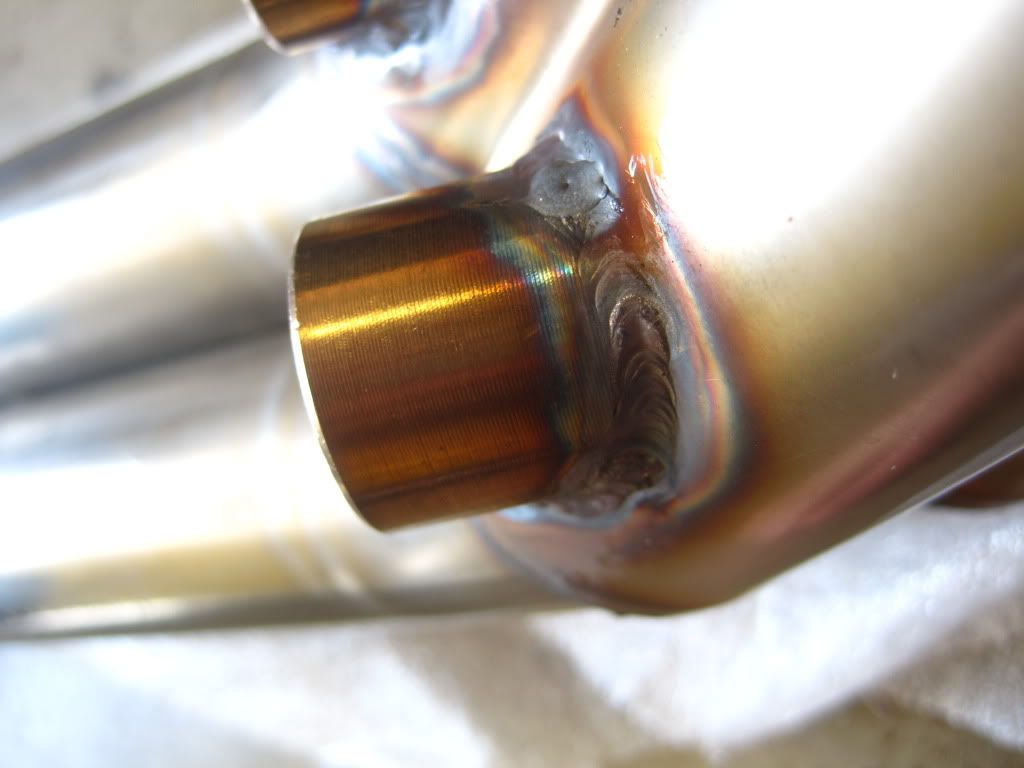
This is where i ran into issues. Either because of the flared nature of the merge collector, or possible warping from the heat during welding, the downpipe would not slip onto the header.
I had to put it on crooked, install the v-band clamp, but leave it loose enough to be able to rotate the downpipe. Then, using quite a bit of force, rotate the downpipe so that the two-bolt flange lined up.
Install and tighten the two 15mm nuts onto the catback studs. This is also an extremely tight space, and took some choice language.
I then tightened the V-band camp down.
Check to make sure all o2, and/or wideband sensors are installed, and plugged in.
12. Start the Car.
- This step is to check for exhaust leaks.
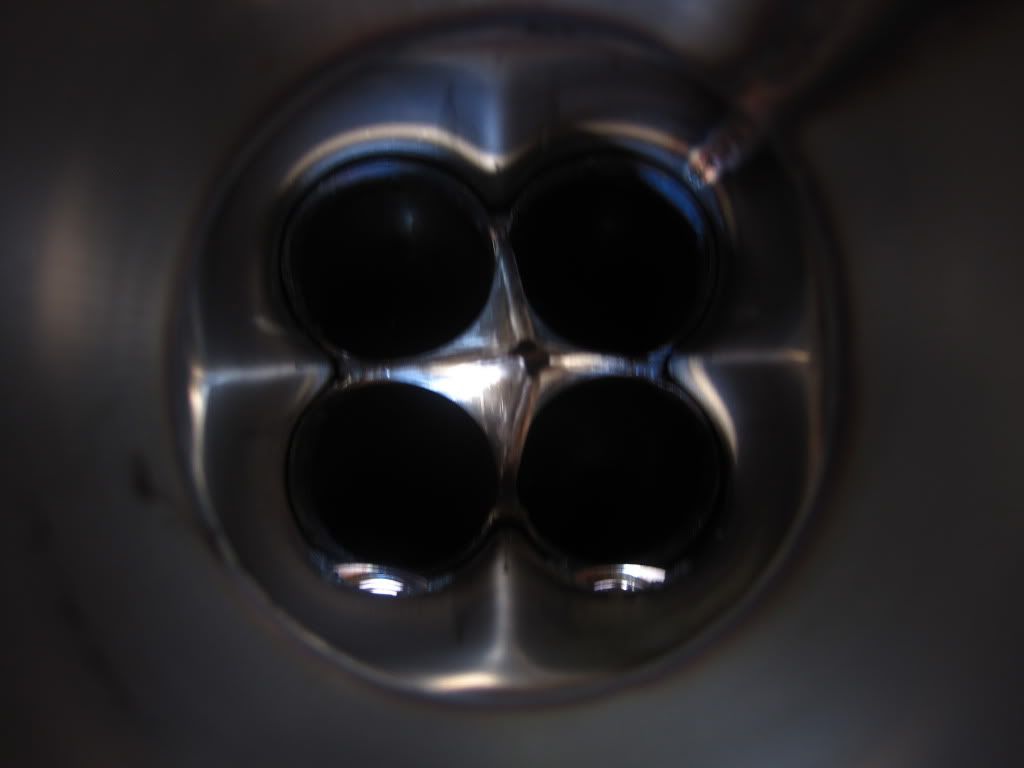
The car sounds amazing, even on the stock catback you it got quite a bit deeper, and has a more throaty growl.
Jack
Stands
3/8 Drive ratchet
-6" extension
-3" extension
-1/2 or 13mm deep socket
-1/2 or 13mm normal socket
-15mm sockets
-10mm socket
1/2 Drive Ratchet
-3" extension
-15mm socket
Cordless drill with 10mm driver.
Pliers.
1/2" ratchet wrenches. I have a standard size, and a stubby. If you do not have these, i highly recommend them, it will make your life so much easier.
1. Remove excessive packing materials...
2. Oggle at the majesty...
3. Jack up the car.
4. Remove Useless Strut Bar.
5. Remove Factory Heat Shield.
- I used a 1/2" deep socket, 3/8ths drive. 13mm would probably work just as well.
- There is one bolt on the manifold, and 3 that attach it, and some brackets to the cylinder head.
- Put it off to the side.
6. Remove Fuel Rail Cover
- This takes a T30 Torx bit.
Remove the Valve Cover.
- There are 14 10mm bolts that hold the calve cover on. I used a cordless to make the process faster.
- there is a single ground on the drivers side, the top nut is 10mm, stud is 13mm
- Don't forget the fuel line bracket, this is also 10mm.
- My valve cover was a little stuck on, so some gentle prying on the tab on the far passenger side, front of the cover, and it popped right off.
Not sure what I should be looking for, but it seemed to be in pretty good shape for 37,500 miles.
Hello Cam gears...
7. Remove Stock Manifold and Downpipe.
- Crawl under the car, and remove the two 15mm nuts connecting the downpipe to the catback exhaust system. Mine both happen to be stock. :beat:
- Then remove the two bottom 15mm nuts from the mainfold to downpipe studs. The third is easier to gat to from the top.
(this one was also a bitch and a half for no apparent reason)
Now, remove all 10 of the stock nuts/studs that hold the manifold on. I suggest grabbing a deep 13mm or 1/2" socket, a 6" extension, and 1/2 ratchet wrenches if you have them. Nearly all of them are accessible from the top.
- Some nuts will come off and leave the stud behind, some will pull the stud out with them. I had about 4 nuts and 6 studs when mine was apart. I like leaving at least 3 studs in to make locating the new header easier.
Make sure to remove both o2 sensors before you attempt to take the downpipe and manifold from under the car. I find it easiest to unclip them from their harnesses, and use an o2 socket to remove them once i'm out from under the car.
I laid there to admire my RPF1's and the polished but filthy control arm for a moment...
8. Remove Rear engine Lift Bracket.
- This was not in any of the recommended install procedures, but it sure made slipping the header down there easier. Before, i just didn't quite have the room to slip the header down and in. It caught some protrusions from the head by maybe 1/8th of an inch, and would not budge. It's a single 1/2 or 13mm bolt.
9. Install Header.
- This is easiest if you hold the header as if it were already in the car.
- Turn it 90* and feed it in until the collector reaches the steering rack, and them rotate it back 90* until it feeds in.
- If you did not remove the lift bracket, you will now realize you should have.
- Install is pretty much the reverse of removal of the stock manifold. All of the bolts are easily accessible from the top. I start in the middle, and work my way to the outside. Back and forth, back and forth.
At this point we decided to start the car and listen. It's loud. It also started rattling tools, and other things off the pegboard on the wall.
- NOTE! I did not place the o2 sensors back into the header before i installed it, but i wish i would have, it is extremely tight in there, and will be impossible to do with the header tightened down.
10. Re-install valve cover.
- Reverse of removal.
11. Install "Downpipe"
-Mine is essentially a Cat with a two bolt flange on one end, a flex coupler, and a v-band flange on the other end.
This is where i ran into issues. Either because of the flared nature of the merge collector, or possible warping from the heat during welding, the downpipe would not slip onto the header.
I had to put it on crooked, install the v-band clamp, but leave it loose enough to be able to rotate the downpipe. Then, using quite a bit of force, rotate the downpipe so that the two-bolt flange lined up.
Install and tighten the two 15mm nuts onto the catback studs. This is also an extremely tight space, and took some choice language.
I then tightened the V-band camp down.
Check to make sure all o2, and/or wideband sensors are installed, and plugged in.
12. Start the Car.
- This step is to check for exhaust leaks.
The car sounds amazing, even on the stock catback you it got quite a bit deeper, and has a more throaty growl.


it doesnt sound very deep from the video, i wonder if its because the engine is cold?


Thread
Thread Starter
Forum
Replies
Last Post