
Drivetrain: How To: Replace Axle Boot

Thread Starter

Joined: 05-04-08
Posts: 36,934
Likes: 2
From: The 405
Replaced a boot on my DSS stage 2s. but this process is the same for all axles.
Tools needed:
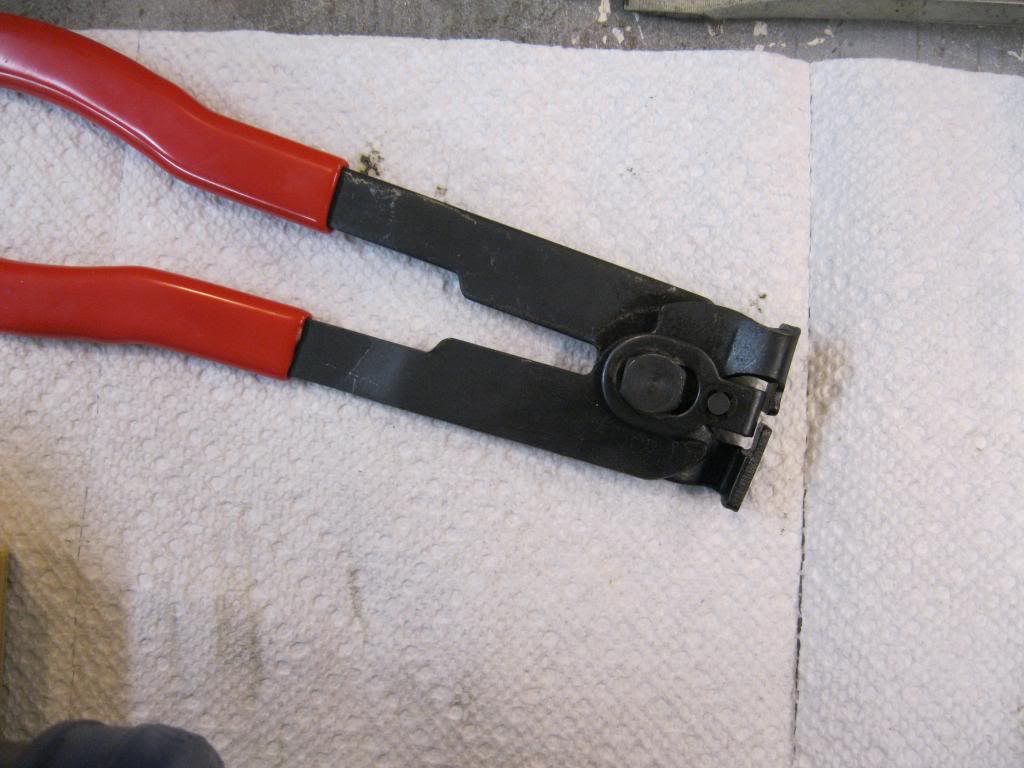
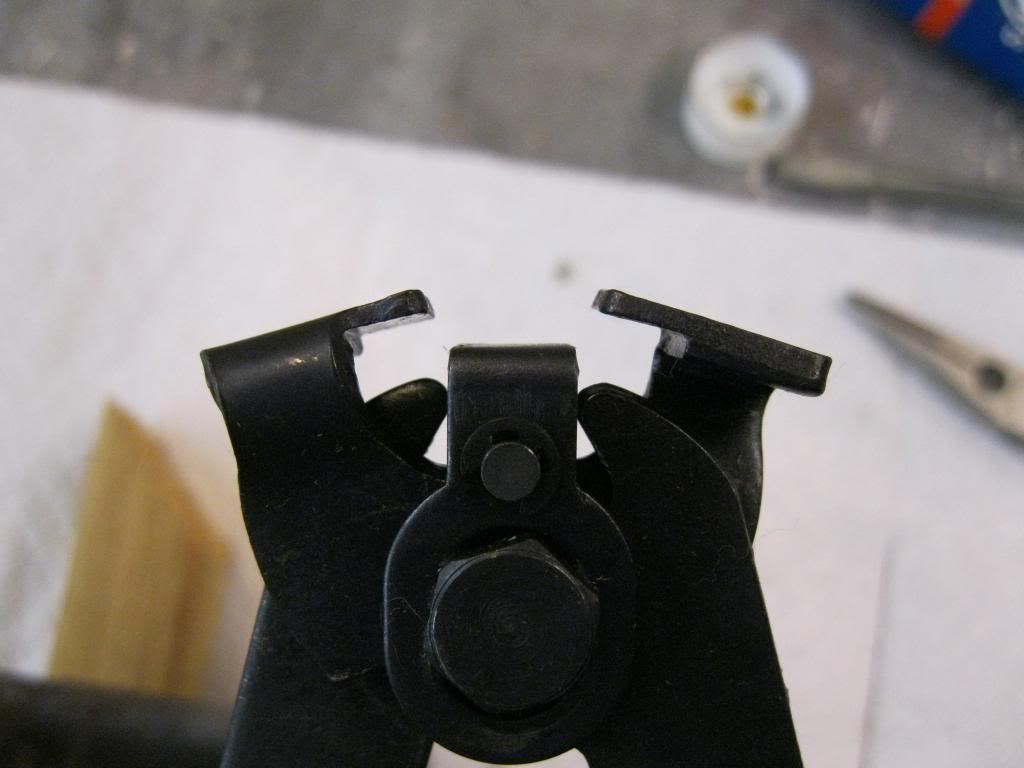
CV boot clamp pliers for Ear Type clamps. can get at oreilly's for like $12
CV grease. i just used the Interparts CV Grease
small/medium sized flat head screw driver
a Vise if you have one. helps keep parts debris free after cleaning.
some blocks of wood. used them to keep the axle off the table after being greased so it doesn't pick up debris.
and gloves, if you're like Powell and don't like getting your man hands dirty
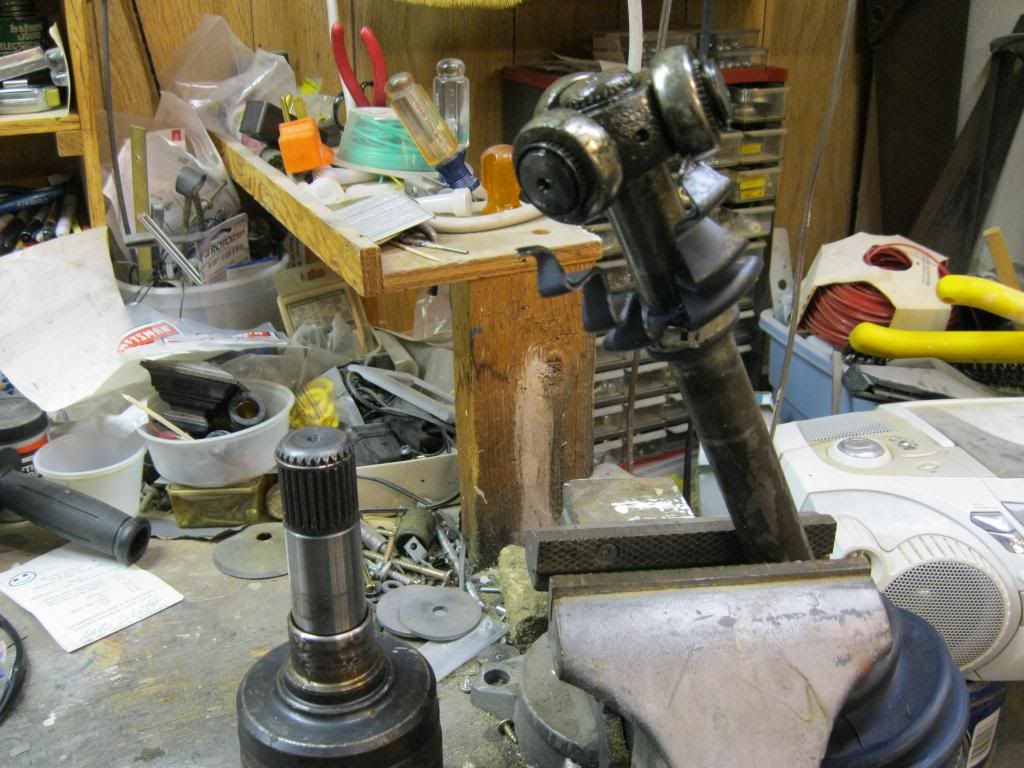
clamp the axle into the vise and start tearing down. if you're like me the tear down is almost already done for you...


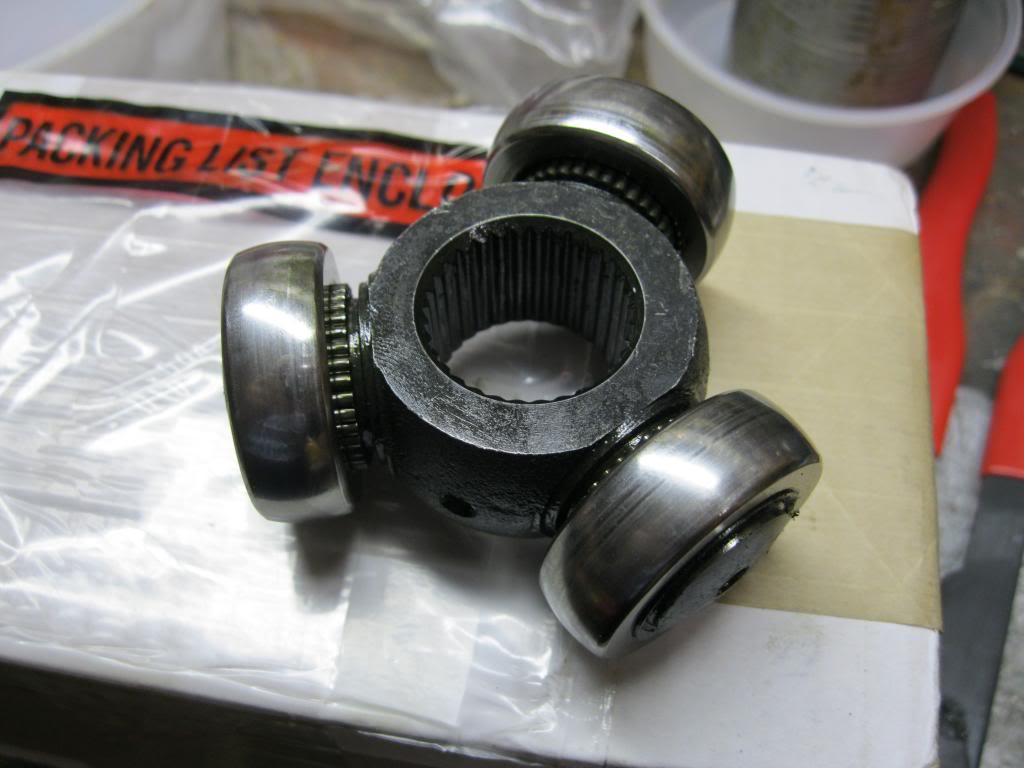
first remove the retaining clip holding the bearings on. slide them off and clean them up along with the shaft. (and the cv case if it is still attached)
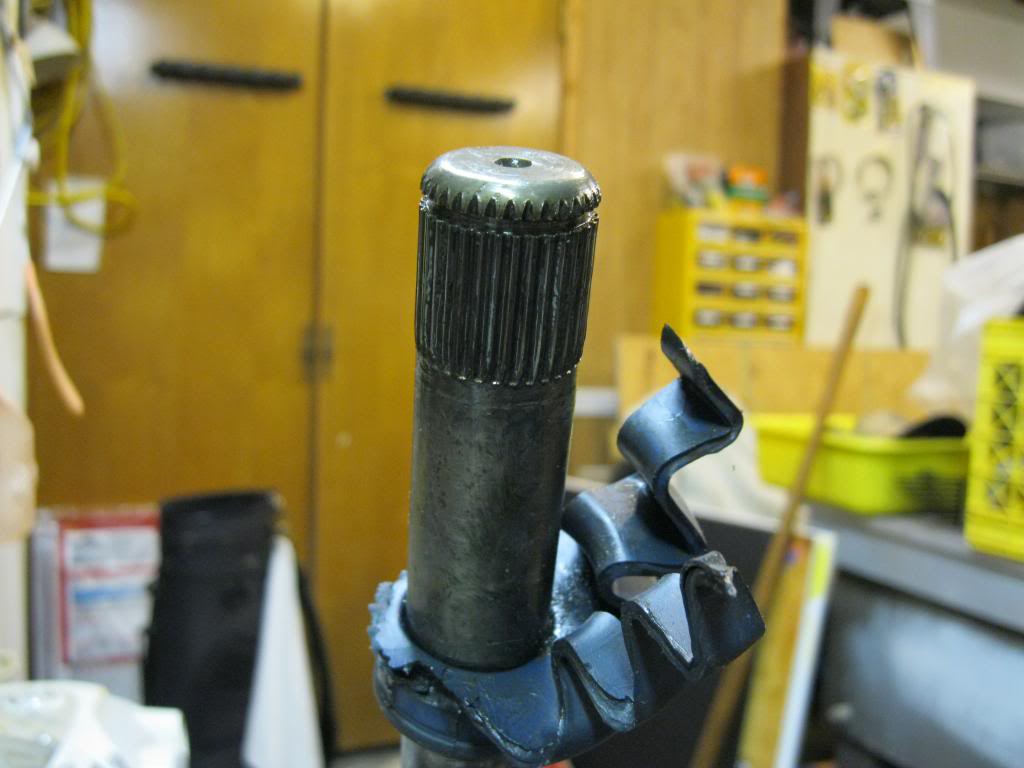
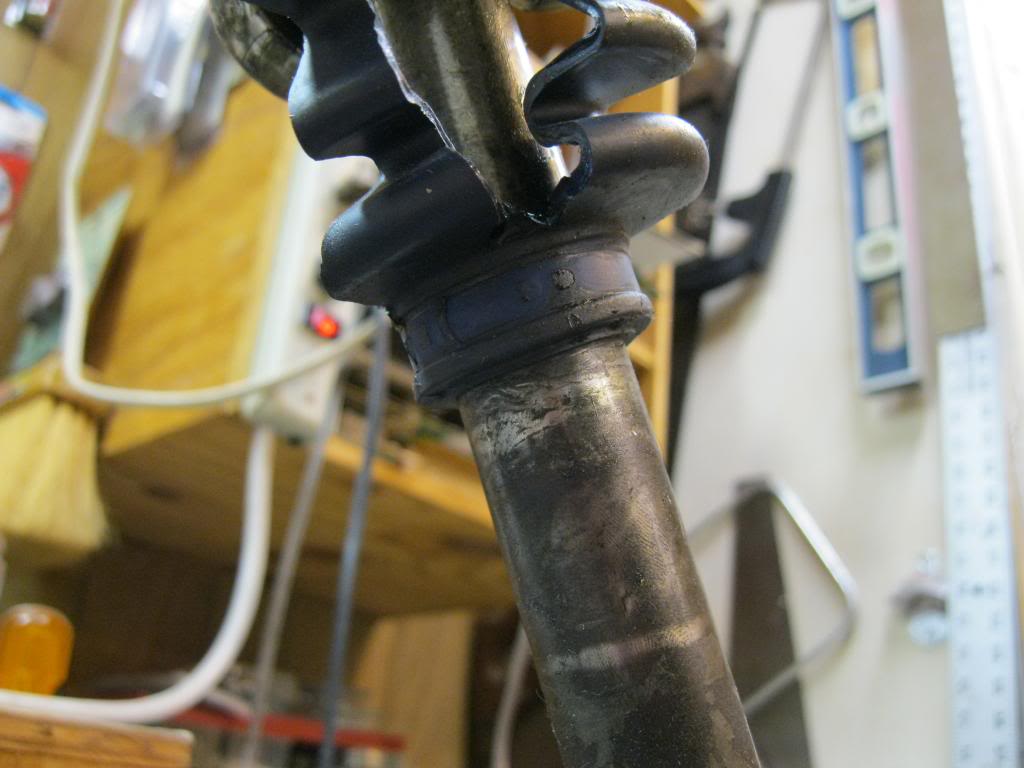
next remove the small clamp from the boot, or whats left of it. i did this by using a flathead to bend the tabs vertical and used pliers to pull it off.
IF YOUR CV CASE IS STILL ATTACHED the large outer clamp is removed the same way, just a little more difficult because the tabs are facing the boot instead of out towards you. pliers and some patience and it'll come off just the same and the case will slide out of the boot and off the bearings.
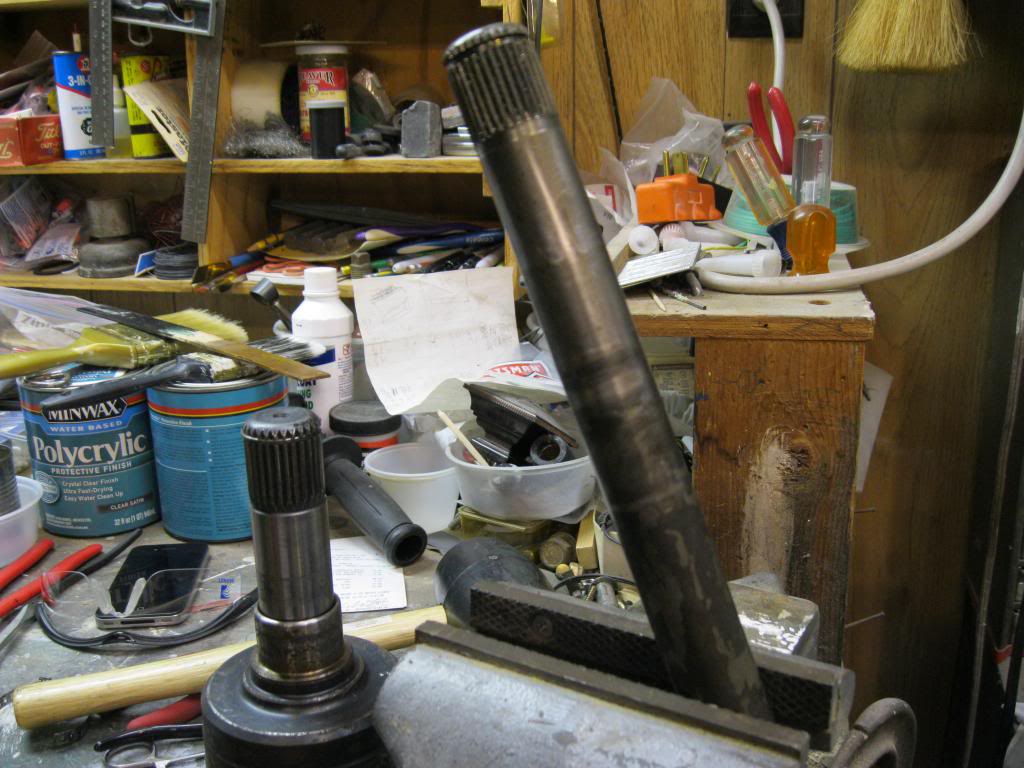
after you've removed all the old parts. install the new boot and slide it a good amount on to the shaft. reinstall the bearings and the retaining clip.

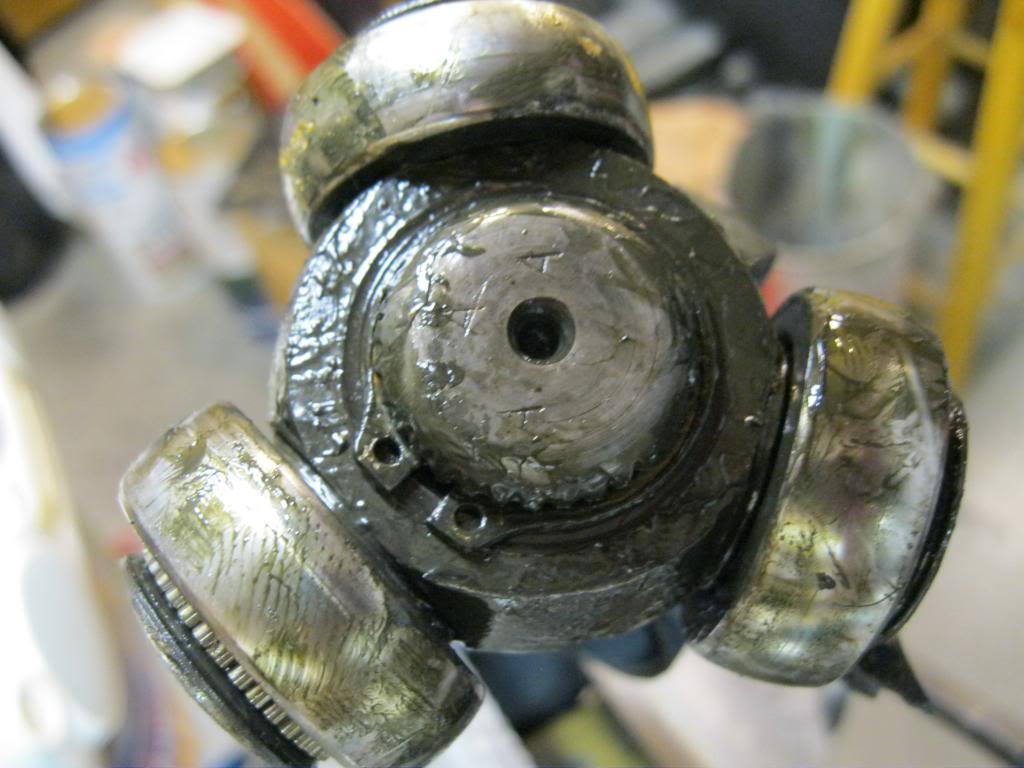
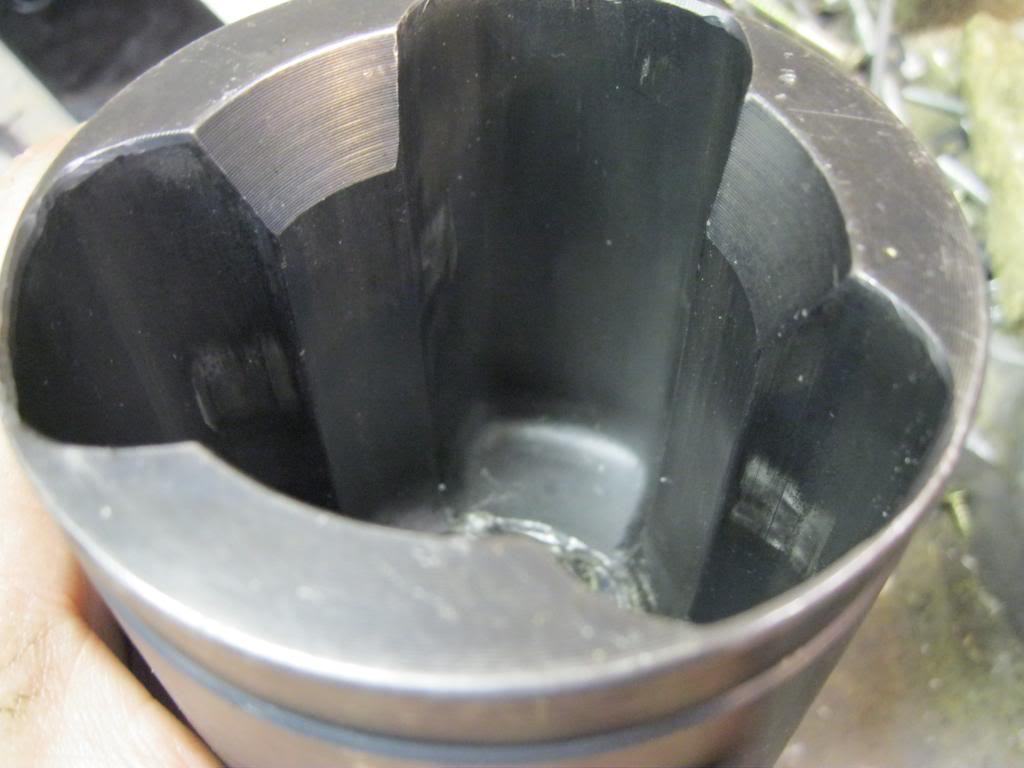
looking inside the case, you will see wear marks where the bearings spent most of their time. the reason for putting the boot on so low is so you can put the case on to the bearings and make a mark on the shaft that marks where the edge will sit when the bearings are at those spots. because once you grease up these won't be visible.
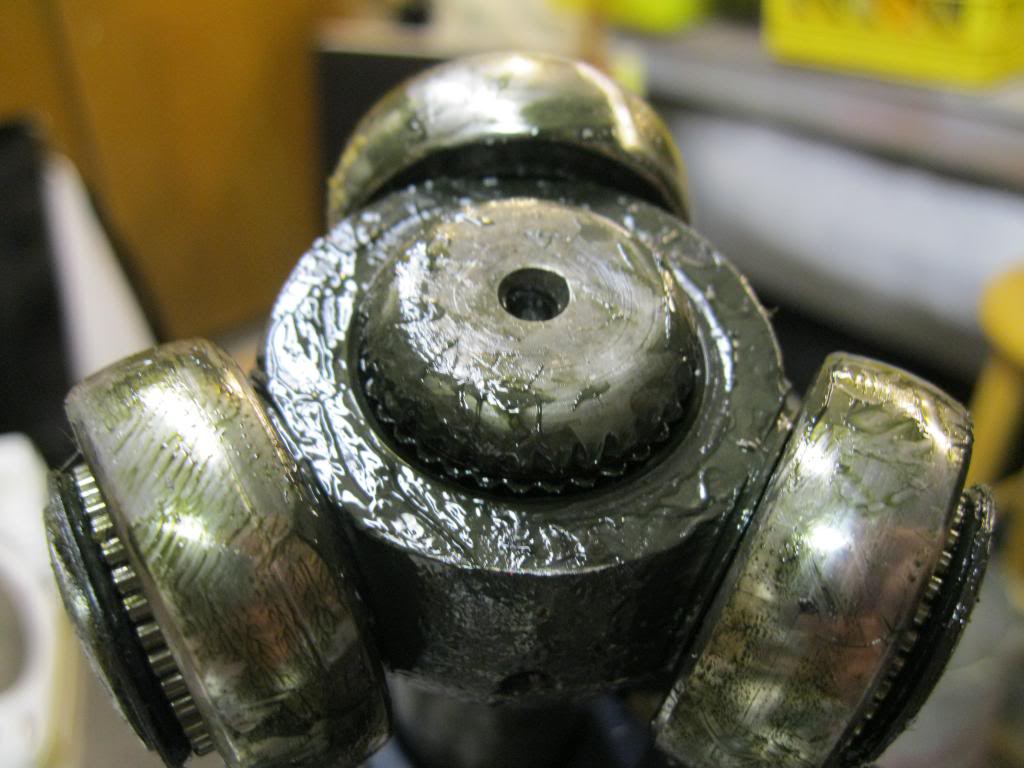
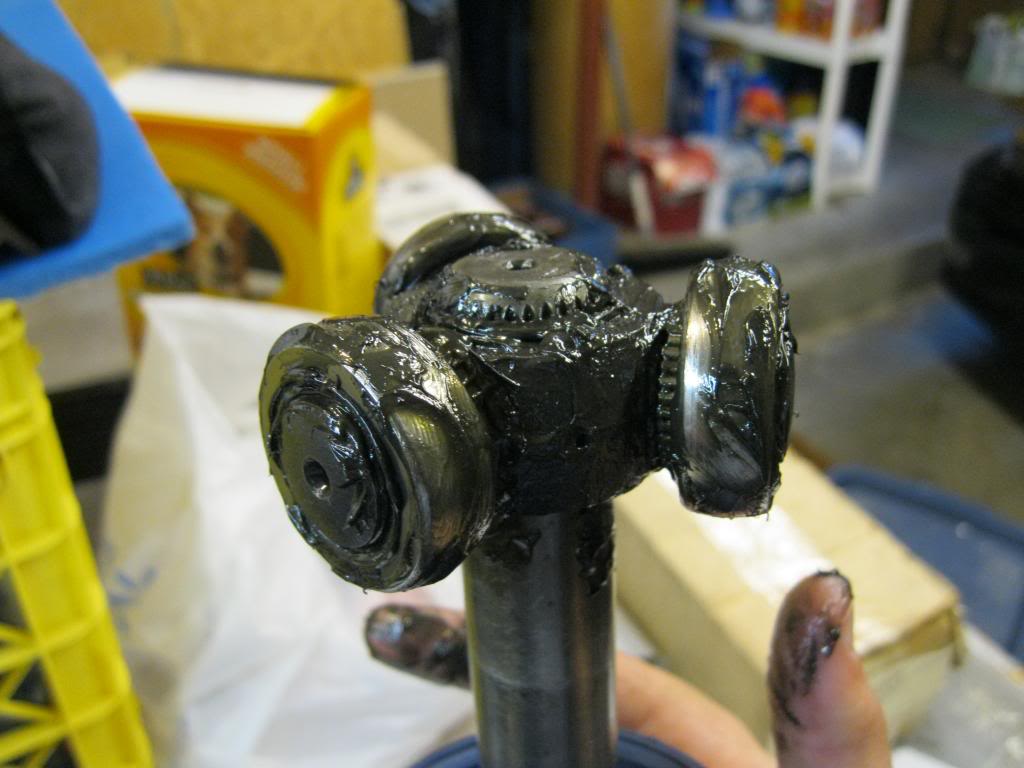
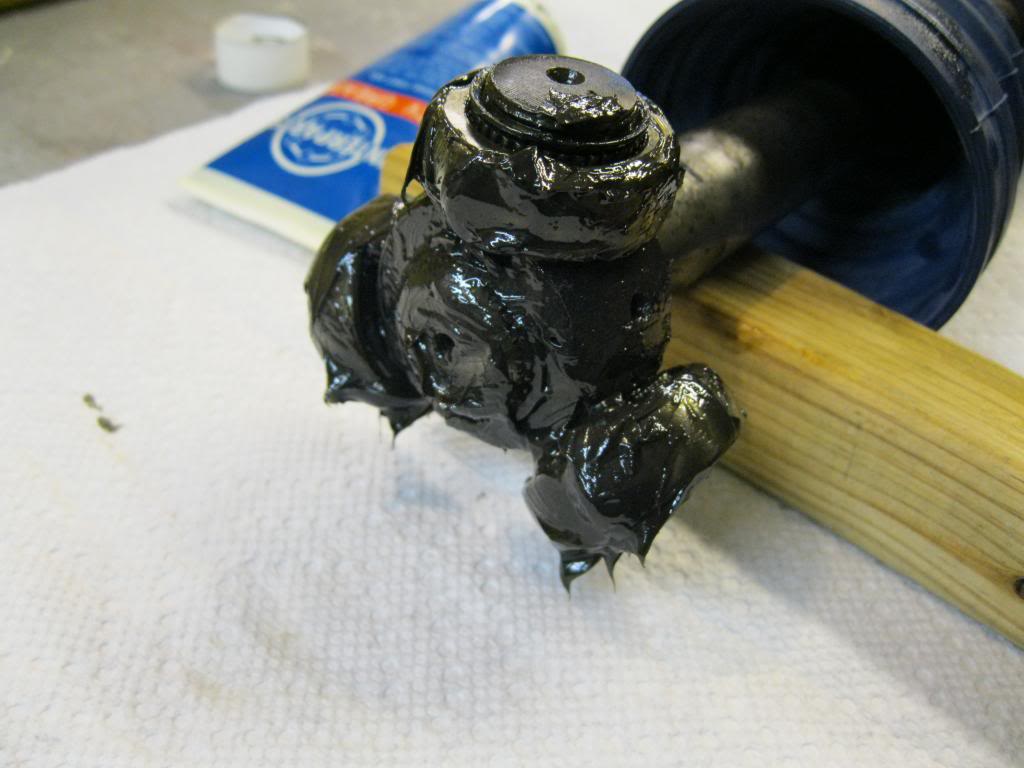
Now grab the grease and have it it. i started with the bearings going one by one making sure to pack it in between the needles and the roller and then packing down in to the splines
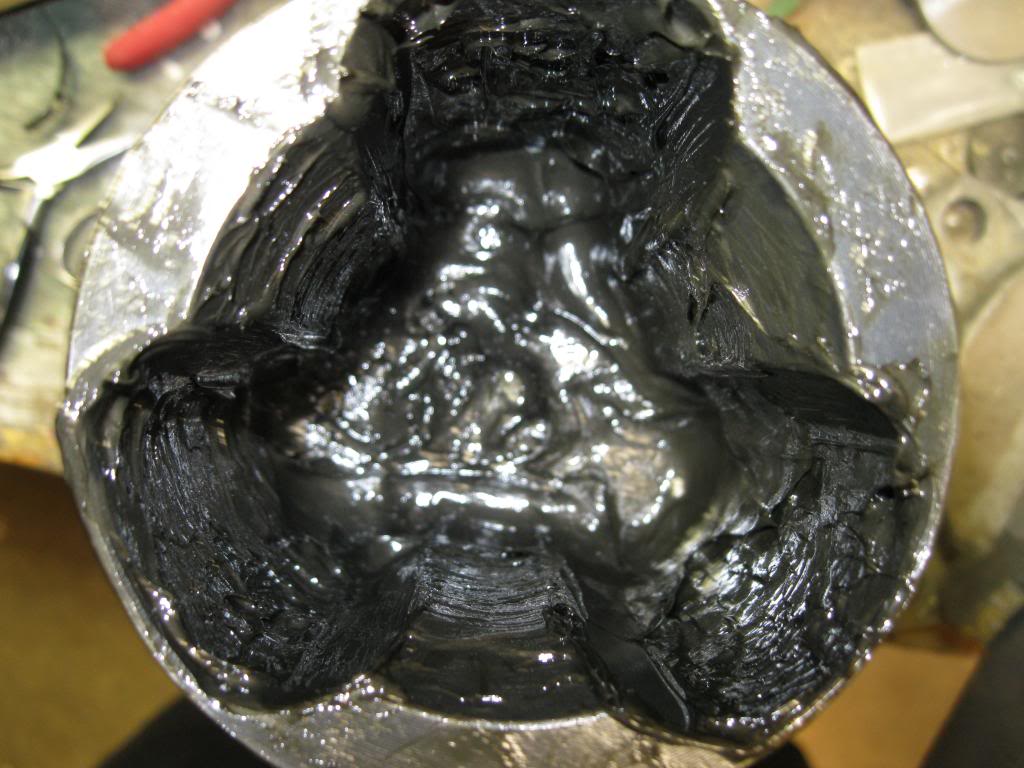
Using your finger coat the bottom and the inner channels of the casing wall. this is where the most friction will occur. friction=heat=fatigue=failure
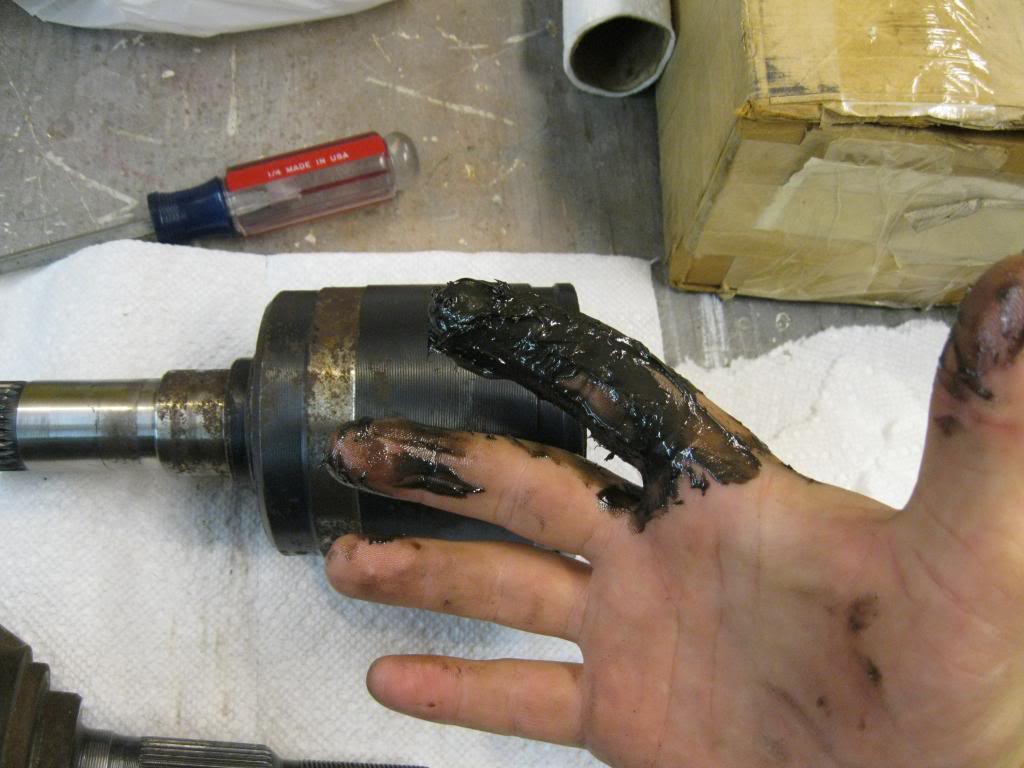
Now here is where the blocks of wood come in to play. you don't want any debris in the grease so keep them off ANY surface
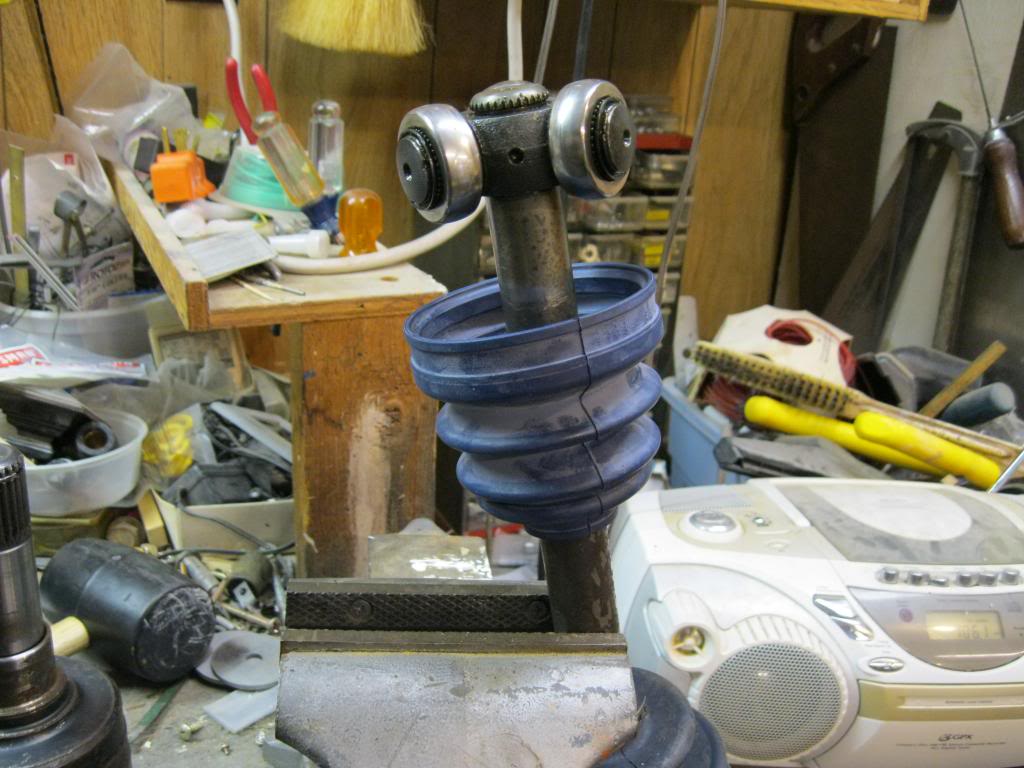
slide the case over the bearings forward and backwards a few times. along with rotating it through its motions to work the grease around. then place it on the blocks like so. here you can see the mark i was talking about on the shaft. the reason for the wood under the outboard case is becuase if its not level it wants to pull the inboard off of its block.

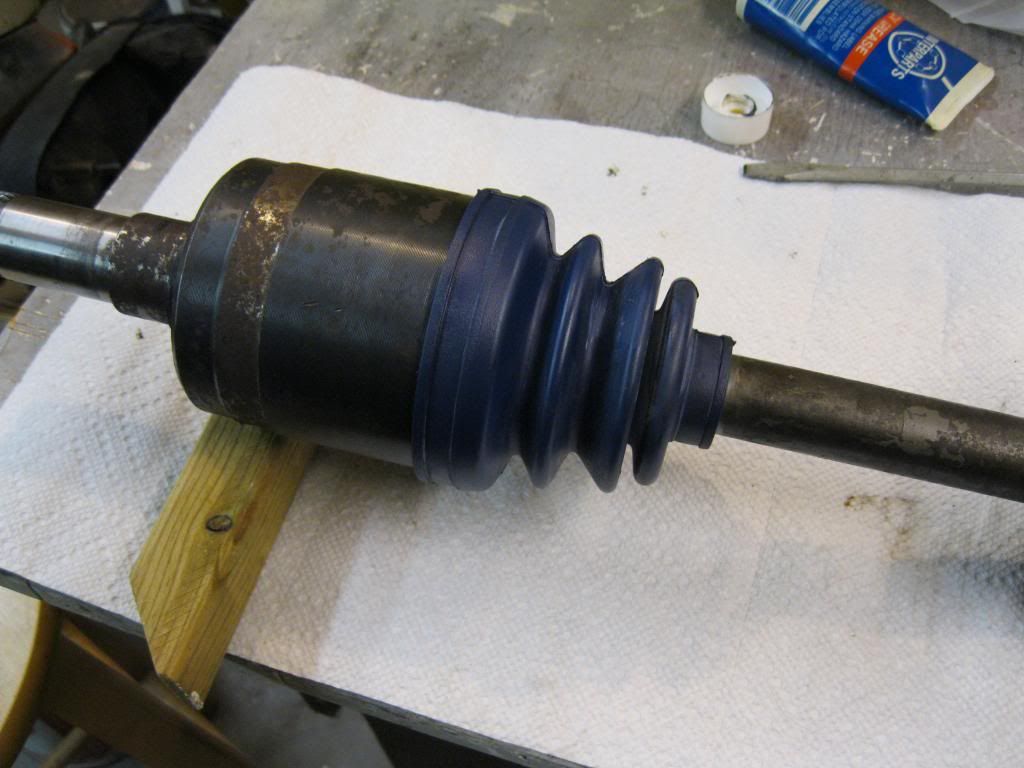
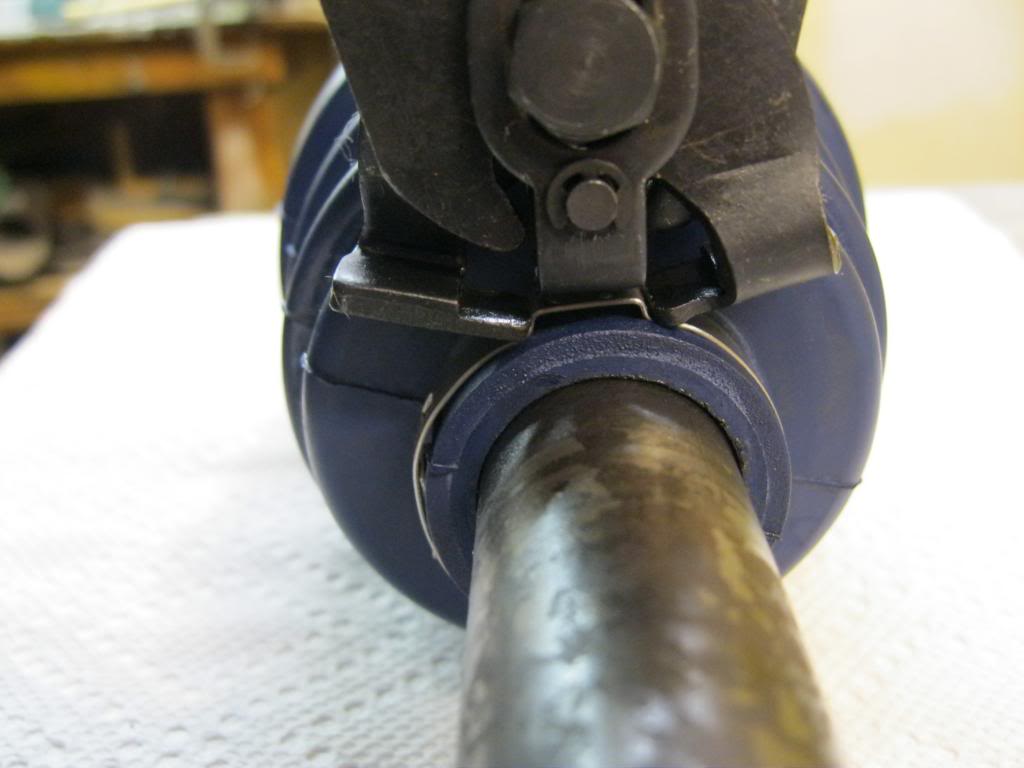
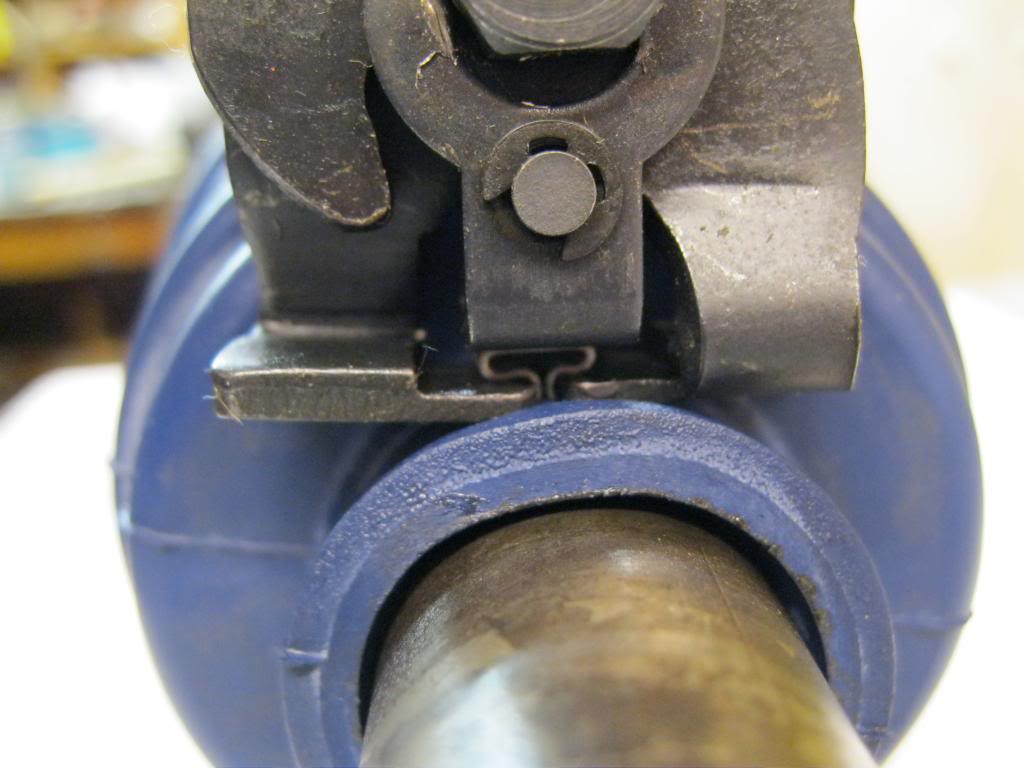
now keeping the case in place, slide the boot back towards it to a position where the boot isn't fully compressed nor fully extended. you want it to be able to move with the joint if it needs to compress or extended. once you have the small end of the boot where you want it, before sliding the large end over the case. fill the case and boot with the rest of the grease to ensure everything is covered. then pull the boot over the case in to the notch.
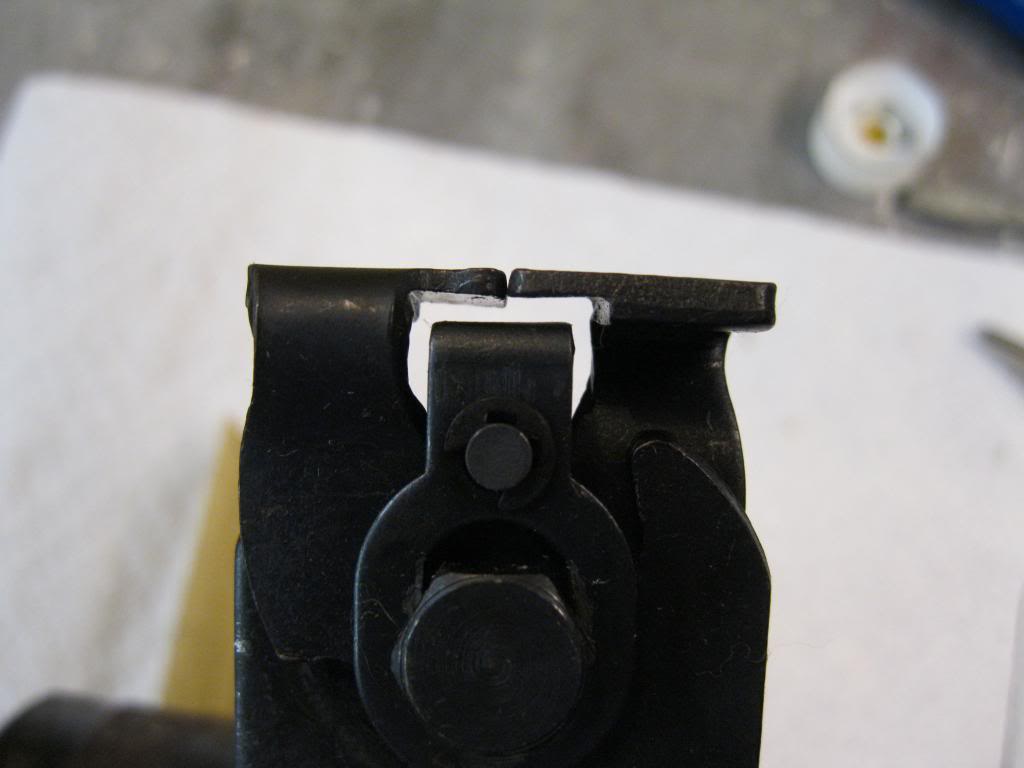
mount the clamp on to the boot by hand locking the two tabs in their slots. don't try and make them too tight, the pliers will take care of that. but you want them as far as possible without trying to stretch the clamp. then take your pliers and adjust them like so. you want the flattening surface in the middle raised up a bit from the two crimps so the ear has a place to go. then centering the flattening surface between the crimps, place it over your clamp...and clamp it. you want a good amount of downward force as well, a bigger amount than you'd think. or else when you squeeze they'll just pop off. also be careful when doing the larger clamp. with the way its designed, you might need another hand to hold down the excess to keep it from pulling up. if you're not careful it will raise up and bend the two tabs back and come undone and then you're stuck bending tabs and trying to get the ear back to where it was.
Tools needed:
CV boot clamp pliers for Ear Type clamps. can get at oreilly's for like $12
CV grease. i just used the Interparts CV Grease
small/medium sized flat head screw driver
a Vise if you have one. helps keep parts debris free after cleaning.
some blocks of wood. used them to keep the axle off the table after being greased so it doesn't pick up debris.
and gloves, if you're like Powell and don't like getting your man hands dirty
clamp the axle into the vise and start tearing down. if you're like me the tear down is almost already done for you...
first remove the retaining clip holding the bearings on. slide them off and clean them up along with the shaft. (and the cv case if it is still attached)
next remove the small clamp from the boot, or whats left of it. i did this by using a flathead to bend the tabs vertical and used pliers to pull it off.
IF YOUR CV CASE IS STILL ATTACHED the large outer clamp is removed the same way, just a little more difficult because the tabs are facing the boot instead of out towards you. pliers and some patience and it'll come off just the same and the case will slide out of the boot and off the bearings.
after you've removed all the old parts. install the new boot and slide it a good amount on to the shaft. reinstall the bearings and the retaining clip.
looking inside the case, you will see wear marks where the bearings spent most of their time. the reason for putting the boot on so low is so you can put the case on to the bearings and make a mark on the shaft that marks where the edge will sit when the bearings are at those spots. because once you grease up these won't be visible.
Now grab the grease and have it it. i started with the bearings going one by one making sure to pack it in between the needles and the roller and then packing down in to the splines
Using your finger coat the bottom and the inner channels of the casing wall. this is where the most friction will occur. friction=heat=fatigue=failure
Now here is where the blocks of wood come in to play. you don't want any debris in the grease so keep them off ANY surface
slide the case over the bearings forward and backwards a few times. along with rotating it through its motions to work the grease around. then place it on the blocks like so. here you can see the mark i was talking about on the shaft. the reason for the wood under the outboard case is becuase if its not level it wants to pull the inboard off of its block.
now keeping the case in place, slide the boot back towards it to a position where the boot isn't fully compressed nor fully extended. you want it to be able to move with the joint if it needs to compress or extended. once you have the small end of the boot where you want it, before sliding the large end over the case. fill the case and boot with the rest of the grease to ensure everything is covered. then pull the boot over the case in to the notch.
mount the clamp on to the boot by hand locking the two tabs in their slots. don't try and make them too tight, the pliers will take care of that. but you want them as far as possible without trying to stretch the clamp. then take your pliers and adjust them like so. you want the flattening surface in the middle raised up a bit from the two crimps so the ear has a place to go. then centering the flattening surface between the crimps, place it over your clamp...and clamp it. you want a good amount of downward force as well, a bigger amount than you'd think. or else when you squeeze they'll just pop off. also be careful when doing the larger clamp. with the way its designed, you might need another hand to hold down the excess to keep it from pulling up. if you're not careful it will raise up and bend the two tabs back and come undone and then you're stuck bending tabs and trying to get the ear back to where it was.
Thread Starter
Joined: 05-04-08
Posts: 36,934
Likes: 2
From: The 405
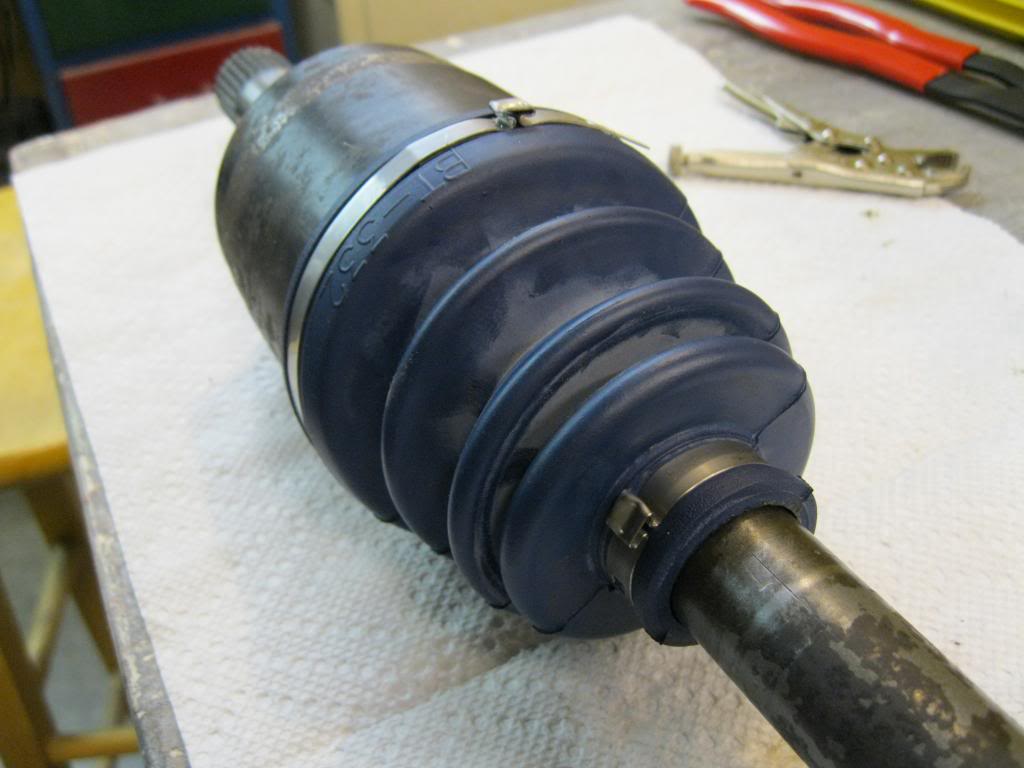
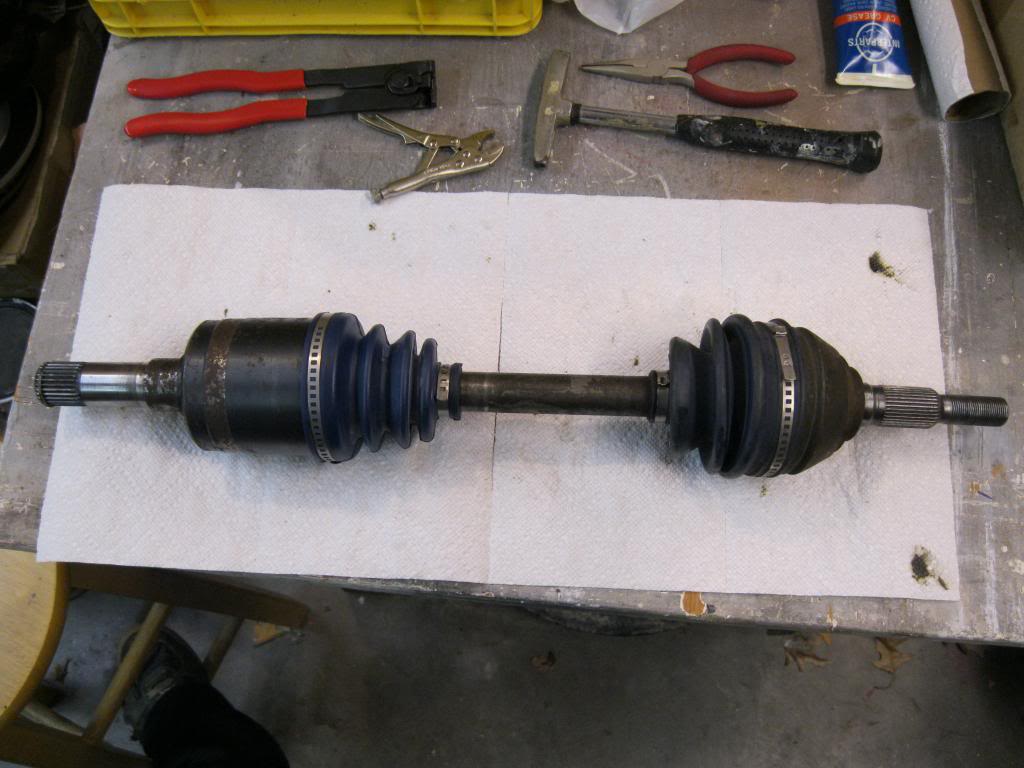
and then voila, you have a fresh new axle ready to be put back in!! (yes i know in the picture above it looks like the large clamp isn't tight. it is, that's just the excess of the other end underneath the top of the clamp.)
also. DO NOT try and hammer the ears flat. you will not flatten them, you will just end up pushing them in to the boot and possibly cause a cut and failure later down the road.


Thread Starter
Joined: 05-04-08
Posts: 36,934
Likes: 2
From: The 405


Moog makes replacement ball joints. If you have the stock ball joints then you'll need to grind the head off the 3 rivets and heat them up ( cherry red if you have oxy-cetalene ) and drive them out with a punch and the Moog ball joints come with 3 bolts and nuts and just bolt on the new one. You can get them at oreilys for $30-40
Definitely cheaper.. its sometimes some work to get the rivets out but well worth it. Plus you'll get grease zerks with the Moog bj

I’ve tried to do this before. I could not separate the axel to get the boot off/on. I was hitting that thing with a hammer so hard the steel was getting damaged. I ended up just buying a whole new axel.
Joined: 12-23-09
Posts: 12,643
Likes: 7
From: Mt. Pleasant S.C.
Snap ring pliers make the retainer clips easy to get on and off. Flat blade screw driver works but is frustrating as hell. At harbor tools a snap ring set is cheap.
Thread Starter
Joined: 05-04-08
Posts: 36,934
Likes: 2
From: The 405
what do you mean separate the axle? you mean the shaft from the case? just take the larger clamp off the boot and the case comes right off.
Thread Starter
Joined: 05-04-08
Posts: 36,934
Likes: 2
From: The 405
i don't see a problem running zzp stage 1s. but replacing the boot is not hard at all. and only costs like $20-$35 idk what a stock boot costs, plus the tool. don't forget to get some transmission fluid. won't be an easier time to change it then when you have everything apart.
i don't see a problem running zzp stage 1s. but replacing the boot is not hard at all. and only costs like $20-$35 idk what a stock boot costs, plus the tool. don't forget to get some transmission fluid. won't be an easier time to change it then when you have everything apart.

New Member
Joined: 08-05-05
Posts: 38
Likes: 0
From: Oxnard, CA
I'm replacing my cv boot but had a question. I, stuck with the axle off trying to get the bearings out of the case so I can slide the new boot in. In your write up you said remove the retaining pin. I don't see a retaining pin hold the bearings in the case.? Is that where you meant the pin was? Any info is great thanks.
Figured it out thanks��
Figured it out thanks��
Last edited by Dre Day; Dec 29, 2015 at 10:18 PM. Reason: Got it.

Thread
Thread Starter
Forum
Replies
Last Post
DANRICKARD
Problems/Service/Maintenance
8
Oct 1, 2015 12:08 AM