
Interior: How to replace the Ebrake assembly in a SS/SC


How to replace the Ebrake assembly in a SS/SC
Here's a how to on replacing the ebrake assembly. Its not too complicated and took me just over an hour total. The locking mechanism on mine broke so that's why i had to change it out. You can get the new assembly from the dealer for just under 80 bucks, gmpartsdirect.com i think has it for 36+shipping and of course your local junk yard.
Tools needed:
14mm socket
10mm socket
7mm socket
3/8 drive ratchet
3/8 drive 3 in extension
1/4 drive ratchet
recommended but not required:
flat head screwdriver
pliers
Step 1. remove the plastic where the change is held then the rear cup holders.
Step 2. remove the boot off the ebrake handle.
Step 3. remove the rest of the plastic center console pieces except for the piece on the bottom that has screws holding it down.
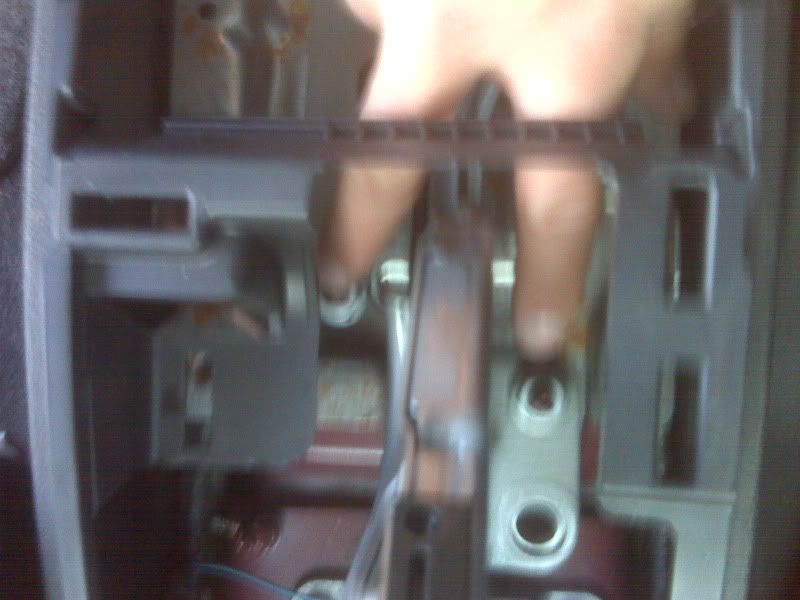
Step 4. There are 4 7mm screws that need to be removed in order to be able to lift up the plastic and remove the ebrake. pics below.
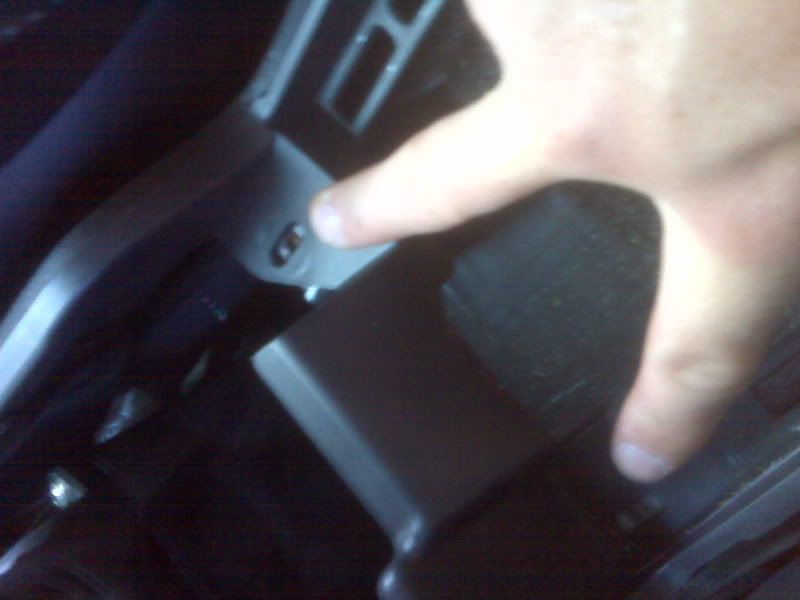
these 2 are under the piece connected to the shifter
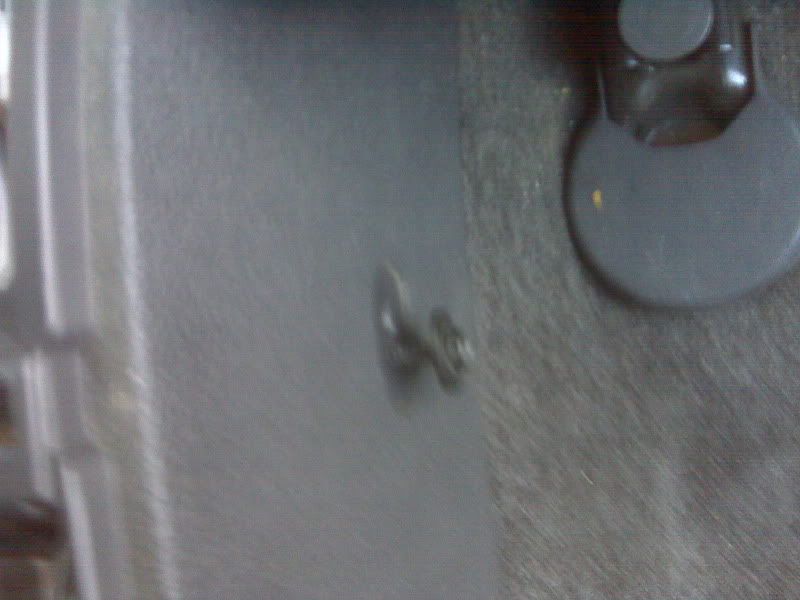
these 2 are on both side right behind the driver and passenger seats
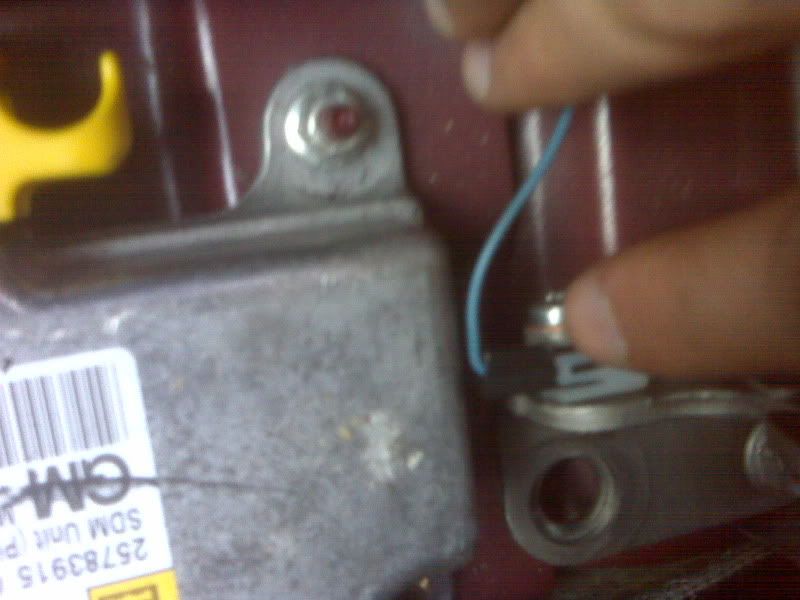
Step 5. unscrew the nut on the tension cable that connects to the brake cables and disconnect it from the brake cables.
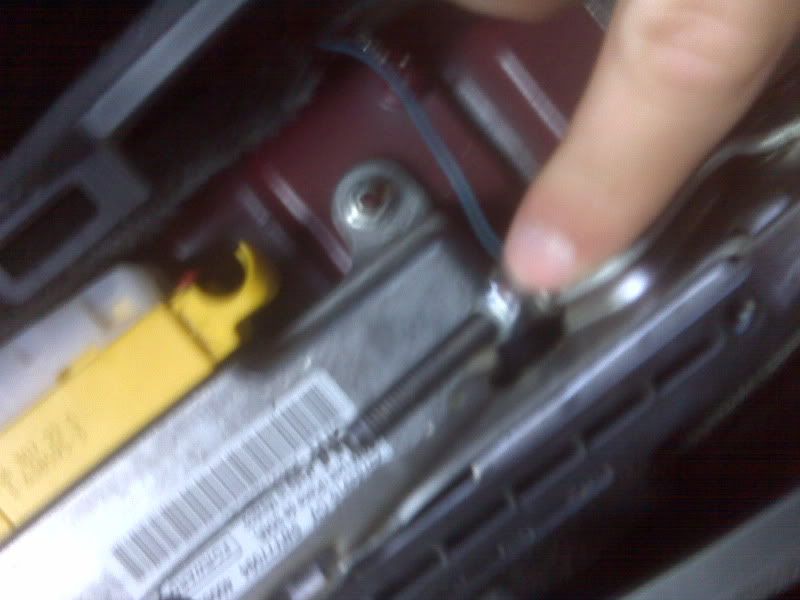
Step 6. there are 4 14mm nuts that hold down the ebrake. here
and here
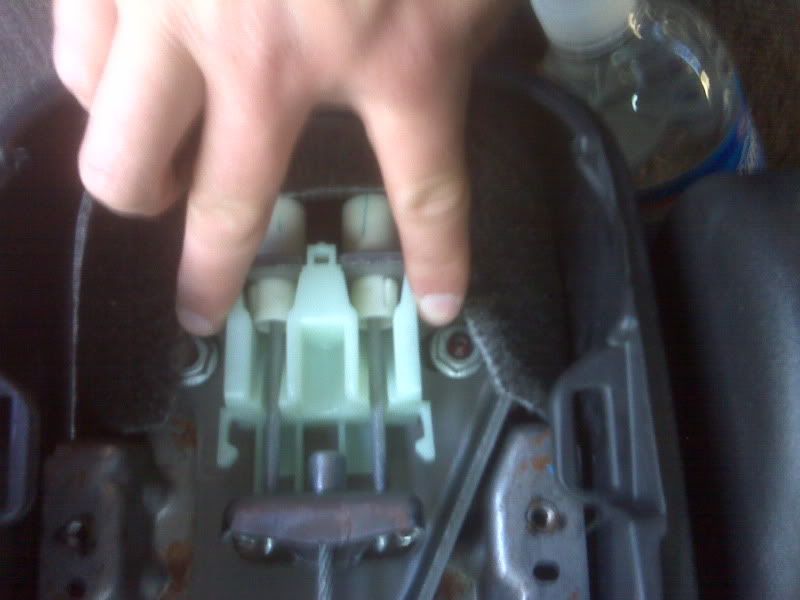
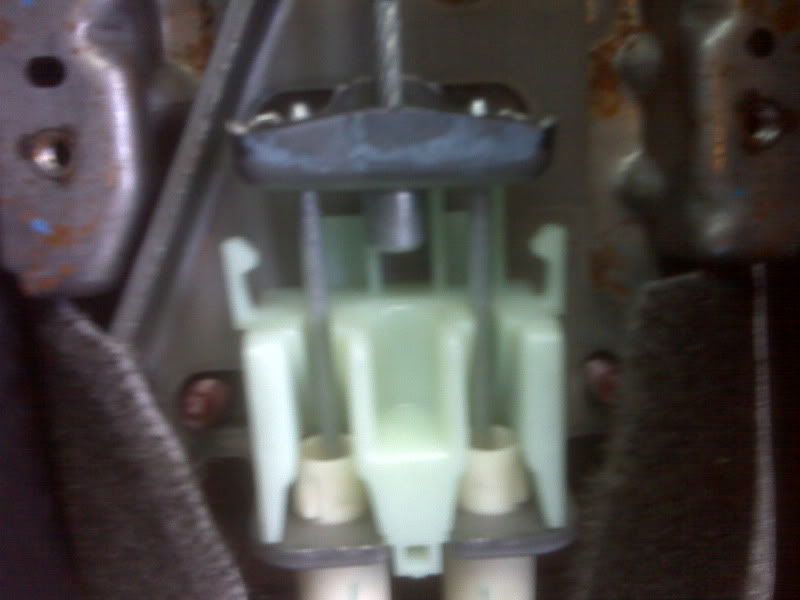
Step 7. disconnect the sensor for the ebrake
Step 8. this is why i recommend using pliers
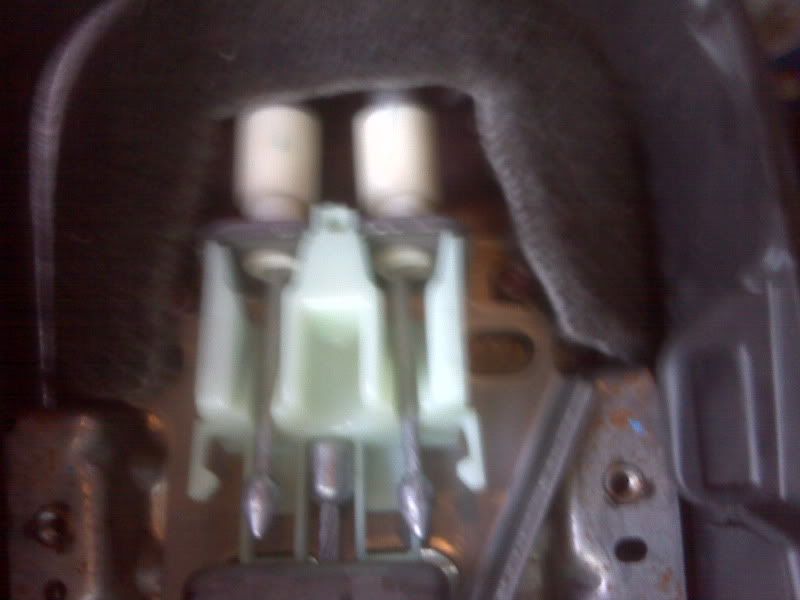
that green plastic makes it difficult to push in the tabs on the white plastic around the cables. So i just bent it out of shape with pliers and use a flathead to push in the tabs while I tried to pull it out.
Step 9. swap in the new assembly and slide the cables into the holes. You're gonna have to use a little force to get the white plastic pieces back through.
Step 10. Now you're pretty much going to work backwards from here on out.
This really isn't that hard of a job to do and I was able to figure it out with out any instructions so this may not be the proper way its done but its how I did it. If your ebrake goes out like mine did and you're still under warranty then just take it in cause its covered under the initial 36k/3yr warranty.
Good luck and don't blame me if you break something cause like I said this is how I did mine and I am by no means a GM tech or anything of that nature.

Tools needed:
14mm socket
10mm socket
7mm socket
3/8 drive ratchet
3/8 drive 3 in extension
1/4 drive ratchet
recommended but not required:
flat head screwdriver
pliers
Step 1. remove the plastic where the change is held then the rear cup holders.
Step 2. remove the boot off the ebrake handle.
Step 3. remove the rest of the plastic center console pieces except for the piece on the bottom that has screws holding it down.
Step 4. There are 4 7mm screws that need to be removed in order to be able to lift up the plastic and remove the ebrake. pics below.
these 2 are under the piece connected to the shifter
these 2 are on both side right behind the driver and passenger seats
Step 5. unscrew the nut on the tension cable that connects to the brake cables and disconnect it from the brake cables.
Step 6. there are 4 14mm nuts that hold down the ebrake. here
and here
Step 7. disconnect the sensor for the ebrake
Step 8. this is why i recommend using pliers
that green plastic makes it difficult to push in the tabs on the white plastic around the cables. So i just bent it out of shape with pliers and use a flathead to push in the tabs while I tried to pull it out.
Step 9. swap in the new assembly and slide the cables into the holes. You're gonna have to use a little force to get the white plastic pieces back through.
Step 10. Now you're pretty much going to work backwards from here on out.
This really isn't that hard of a job to do and I was able to figure it out with out any instructions so this may not be the proper way its done but its how I did it. If your ebrake goes out like mine did and you're still under warranty then just take it in cause its covered under the initial 36k/3yr warranty.
Good luck and don't blame me if you break something cause like I said this is how I did mine and I am by no means a GM tech or anything of that nature.
Last edited by TommyP; Oct 3, 2012 at 12:38 PM.

Thread
Thread Starter
Forum
Replies
Last Post