
2.0 LSJ Engine: how to-timing chain tensioner


New Member
Joined: 05-23-11
Posts: 94
Likes: 0
From: Canada
ya i jsut did it yesterday.... most nerve racking **** after reading the guy who's engine blew up... I took the valve cover off and noticed the timing chain tense up a little bit when putting the new one in. However, i couldnt tell if i jumped any teeth or not... the green link was not even close to the exhaust arrow (is that even how you check?).
There should still be a tiny bit of play on the chain..aka it shouldnt be completely taught. Line up the grooves when you put it in so that the groove line is vertical. I'm not sure if that matters though cuz wouldnt it just spin as you put it in? It's apparently supposed to be 55 ft lb or 75 N M torque but I couldnt even fit in the torque wrench (or whatever its called) so I just ballparked it.
I kneeled down and bowed in prayer and started the car, crapping my pants as I did so since i couldnt even tell if it was timed or not (for curiousity can someone explain how to check?). Basically there was no point in taking off the valve cover other than to see if the chain tensed up a bit (Probably worth it). It's a lot more time consuming though. The sound is now gone so It did the trick... the original one was stuck in position so I guess its stopped tensioning.
Cobaltguy989 it looks exactly like that, thats the one.


Back side of the head, passenger side, right above the water pump housing. Its the only Giant ass bolt head back there. Roughly the same size as the Oil Filter Housing Nut.
sorry did a little cleaning on photobucket. here are the pics
hey guys i just chaned my stock timing chain tensioner today.
tools.
10mm socket
13mm socket
saftey clip remover tool
flat head
long flat head
new timing chain tensioner http://www.crateenginedepot.com/stor...P2216C133.aspx
lets start shall we
ok first off go to the trunk and disconnect your battery the postive is a 8mm. now head to the engine bay.remove the plastice ecotec supercharge thing a mow bob. then there's a hose that connect to the back of the valve cover, grab some pliers squeeze it and move it back. letting you remove the hose from the valve cover. now if u follow the hose there a metal thing that holds the hose up above the engine. its a 13mm bolt on the first one and the seconde one is 13mm nut. so make sure u hang on to them so they dont drop. next there is a bolt that holds your fuel line down. it's on the right side of the engine if your looking right at your engine. that's a 10mm. the resone why u have to remove this is beacuse there are 2 valve cover bolts that are under that, so if u remove this bolt it will let u move the fuel rail out of the way. next step is to remove the middle metal piece that hides your spark plugs. i have no idea what kind of a tool that things it called but it looks like a star fitting. once you remove that frame there 1 10mm bolt on each plug u have remove. so remove those and you should be able to remove the plugs. then there four 10mm bolts that are connect to the head that you have to remove. now strectch out your back and start removing the valve cover bolts. they are 10mm and i beilve theres 10 of them. heres a pic of all the holes.
now remove the valve cover, its a little stiff i used a flat head to remove it. now it should look like this.

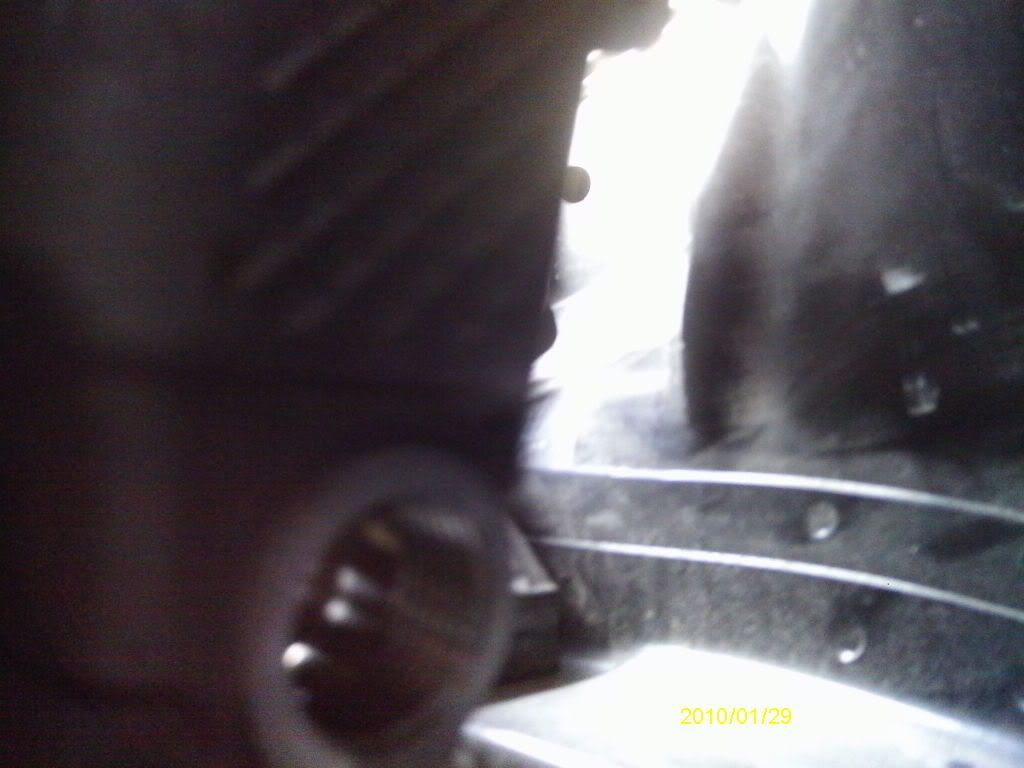
now there a 32mm hex bolt on the very back.if u stand on the passenger side, put your hand on the backside of the engine go about half way down and u will feel a big bolt. this is what it looks like with it removed, the big hole. sorry no flash battery was low.
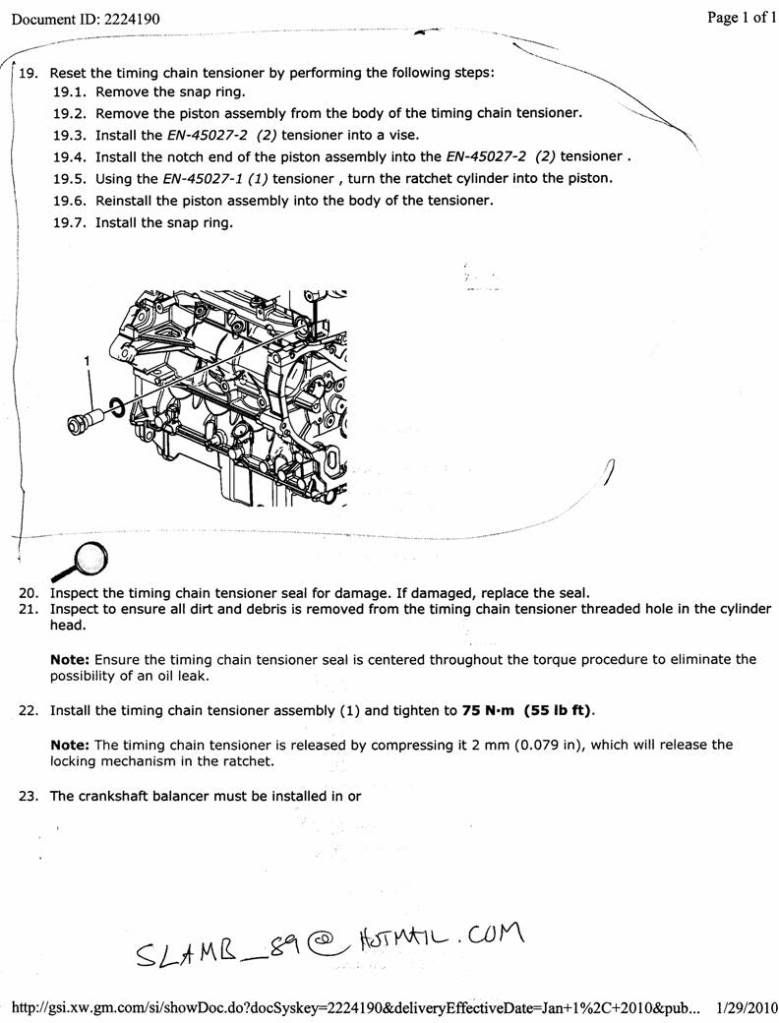
this picture was sent from a dealership. it shows a better picture of where the holes is. but this mostly explains how to rest the piston. no special tool os required, i used a flat head a the tool to remove the snap ring pretty easy!
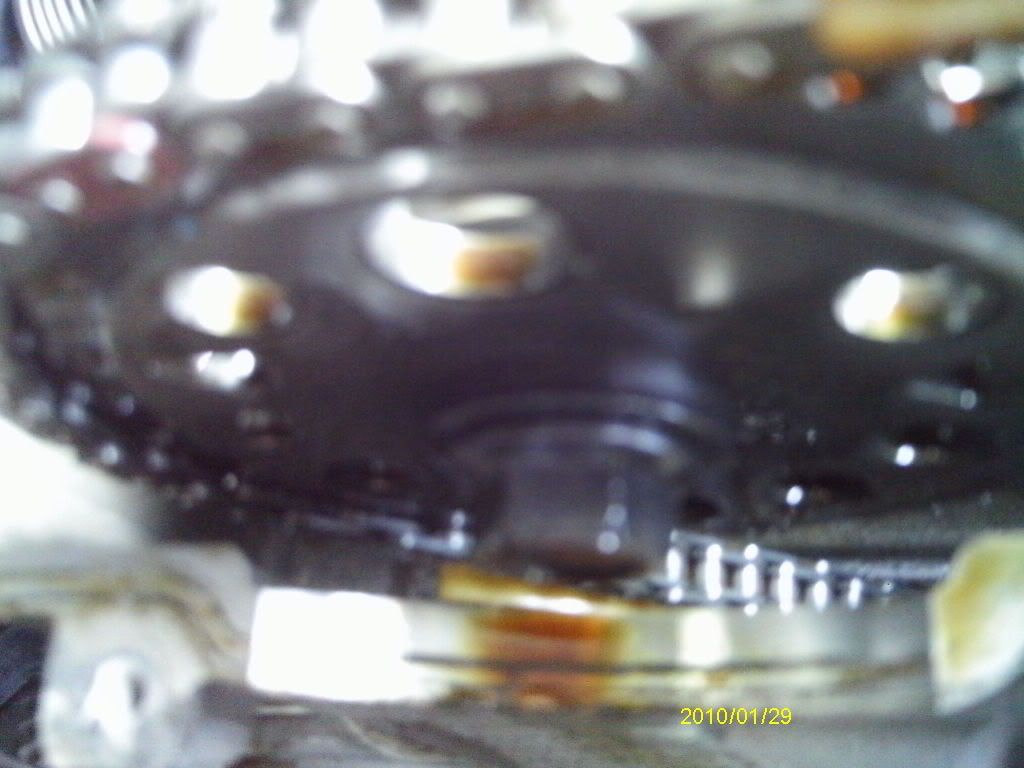
k now grab the new chain tensior. and this is a tricky part for me. i ended up resting the piston 3 times. here the trick grab the tesioner and place it in the hole. then you put the 32mm socket on it.....NOW put as much pressure as u can pushing to the engine and start ratchiting. now if u fell it spring it out just keep going, this means it just set in its normal way to put tension on the chain. so when u think you have gotten it. stop putting pressure to it and if its stays congrats you just replaced it. if not im pretty sure it just sprung out so reload it. how u reload it is. there a snap ring on the other side of the threads. snap that out and then pull it apart. then u will see a grove that a flat head will fit in. turn it clockwise and then it will begin to be compressed and then lock. now tighten it all the way up and if u look at this picture u will see a yellow looking thing.below the sprocket. hard to see!!!!
i grabed a long flat head and gave it a little smack to set it. i really dont think it matters if ya hit it or not cause when i was messen around with this part i could let it spring out with out hitting it, by just sqeezing the prong low enough. so thats pretty much it. o for safety you can put RTV sealent on the valve cover but i didnt, i just wiped the gasket and then sprayed a little brake fluid on a rag and just put it on the head. so now just start putting everything back together. i beleve its 74lb tourqed. but i just tightened it enough to where i thought it was good.look for leaks after start up............. if anyone else has something to add please do so!!!!and if u find words or sentenses that sound wierd....ya i suck at spelling lol sorry.....:boohoo:
hey guys i just chaned my stock timing chain tensioner today.
tools.
10mm socket
13mm socket
saftey clip remover tool
flat head
long flat head
new timing chain tensioner http://www.crateenginedepot.com/stor...P2216C133.aspx
lets start shall we
ok first off go to the trunk and disconnect your battery the postive is a 8mm. now head to the engine bay.remove the plastice ecotec supercharge thing a mow bob. then there's a hose that connect to the back of the valve cover, grab some pliers squeeze it and move it back. letting you remove the hose from the valve cover. now if u follow the hose there a metal thing that holds the hose up above the engine. its a 13mm bolt on the first one and the seconde one is 13mm nut. so make sure u hang on to them so they dont drop. next there is a bolt that holds your fuel line down. it's on the right side of the engine if your looking right at your engine. that's a 10mm. the resone why u have to remove this is beacuse there are 2 valve cover bolts that are under that, so if u remove this bolt it will let u move the fuel rail out of the way. next step is to remove the middle metal piece that hides your spark plugs. i have no idea what kind of a tool that things it called but it looks like a star fitting. once you remove that frame there 1 10mm bolt on each plug u have remove. so remove those and you should be able to remove the plugs. then there four 10mm bolts that are connect to the head that you have to remove. now strectch out your back and start removing the valve cover bolts. they are 10mm and i beilve theres 10 of them. heres a pic of all the holes.
now remove the valve cover, its a little stiff i used a flat head to remove it. now it should look like this.
now there a 32mm hex bolt on the very back.if u stand on the passenger side, put your hand on the backside of the engine go about half way down and u will feel a big bolt. this is what it looks like with it removed, the big hole. sorry no flash battery was low.
this picture was sent from a dealership. it shows a better picture of where the holes is. but this mostly explains how to rest the piston. no special tool os required, i used a flat head a the tool to remove the snap ring pretty easy!
k now grab the new chain tensior. and this is a tricky part for me. i ended up resting the piston 3 times. here the trick grab the tesioner and place it in the hole. then you put the 32mm socket on it.....NOW put as much pressure as u can pushing to the engine and start ratchiting. now if u fell it spring it out just keep going, this means it just set in its normal way to put tension on the chain. so when u think you have gotten it. stop putting pressure to it and if its stays congrats you just replaced it. if not im pretty sure it just sprung out so reload it. how u reload it is. there a snap ring on the other side of the threads. snap that out and then pull it apart. then u will see a grove that a flat head will fit in. turn it clockwise and then it will begin to be compressed and then lock. now tighten it all the way up and if u look at this picture u will see a yellow looking thing.below the sprocket. hard to see!!!!
i grabed a long flat head and gave it a little smack to set it. i really dont think it matters if ya hit it or not cause when i was messen around with this part i could let it spring out with out hitting it, by just sqeezing the prong low enough. so thats pretty much it. o for safety you can put RTV sealent on the valve cover but i didnt, i just wiped the gasket and then sprayed a little brake fluid on a rag and just put it on the head. so now just start putting everything back together. i beleve its 74lb tourqed. but i just tightened it enough to where i thought it was good.look for leaks after start up............. if anyone else has something to add please do so!!!!and if u find words or sentenses that sound wierd....ya i suck at spelling lol sorry.....:boohoo:

YAY! i just did this, Removed the valve cover then the old tensioner then installed the new one. reinstalled the valve cover and coils, started up to try it. and......
****!!!!!!!!!!!!
ticking worse than before.... so i removed the tensioner again and sure enough its loaded and it was pushing. So i reinstalled it while it was extended out. and tried to start it and it started for like 4 seconds ran like **** , shut off threw a code now it just sounds like it freewheels the starter when i try and start it.
now here's the catch, I'm a 3rd year automotive tech by trade. I was just doing this in my spare time on my own car so i feel like a complete idiot. I currently have no time to check what the problem is I am going on vacation for 10 days. But i assume it has something to do with retiming the car -.-
Opinions?

New Member
Joined: 09-26-11
Posts: 15
Likes: 0
From: Canada
i have problem with my tensionner too is this this model of tensionner i need ????? http://www.crateenginedepot.com/stor...P2216C133.aspx
New Member
Joined: 09-26-11
Posts: 15
Likes: 0
From: Canada
sorry Ecotec Timing Chain Tensioner 12608580 - Crate Engine Depot i have a 2005 ss sc

^ Yes.
And when I did mine and "started" my car, I held my foot on the gas (it will not allow the car to start and is used for diagnosing) and I did that and just hit (KEY WORD - HIT, not continually crank), the key to the "on" position a few times to assure it set.. Instead of just firing the car up..
If that makes any sense.. I'm sure someone knows what I'm talking about.
 , just didn't know how people would percieve that.. Might have people under their car hitting the starter with a hammer..
I'm not sure if it even would make a difference vs just starting the car... But I just bumped it 4 times I think it was.. In reality I think bumping it would set it easier because you are allowing the crank and cams to come to a stop and then produce another revolution in case it didn't set the first time.. Very quick bumps.. About as fast as you can click it to "on" and let go.. Milliseconds probably 
I think the reason people are jumping timing is because they thought it was set, and nope, it probably didn't set until the cams rolled over "x" amount of times like people say - The ticking was still there then it got worse and then BOOM.........
I think the reason people are jumping timing is because they thought it was set, and nope, it probably didn't set until the cams rolled over "x" amount of times like people say - The ticking was still there then it got worse and then BOOM.........

Not really sure how to go about it, since what - two guys, messed up just taking it out and putting a new one in.

