
Electrical: oil pressure gauge


 I hate those things...


New Member
Joined: 09-04-12
Posts: 20
Likes: 0
From: Pasadena,MD
ok this a lil bit of a twist from all the other how-to's out there for the oil pressure gauge.
NOTE THIS MAY NOT WORK WITH THE FACTORY EXHAUST MANIFOLD IN PLACE.
first off here is a parts list
oil pressure gauge of your choice, i went with the autometer cobalt series full sweep electric
autometer metric adapter 2278
1/8 npt pipe nipple 2" longs
1/8 npt pipe coupling
1/8 npt male to -4an male 90
autometer braided stainless 3' hose -4an
-4an male to 1/8 npt female coupling (comes with the braided stainless hose)
tools needed
6mm allen wrench or the 6mm allen socket
3/8'' drive ratchet
3/4" socket
couple of small cresent wrenches
small pipe wrench
teflon tape
now the few pics i do have arent that great cuz i used my phone but lets get started.
on the back side of the engine (side closest to the firewall) just below the header there will be 3 oil galleys goin from one end of the block to the other. i used the one closest to the front of the block ( closest to the passenger fender). you'll want to start by takin out the the plug thats in that galley with the 6mm allen or allen socket. its in there pretty tight so you'll have to use some force, i used a cheater pipe on the ratchet.
now you can start puttin the autometer metric adapter in the place where the plug was. this is where you will need the 3/4 socket. the adapter has a crush ring that comes with it so the adapter doesnt have to be tightened down extremely tight, you just get it tight enough that the crush ring flattens out. once you have the adapter in you can put the 2" pipe nipple, make sure to put teflon tape on the threads of the nipple to prevent leakage. you'll have to use the pipe wrench to tighten the nipple down. next you'll need to put the pipe coupling on the end of the nipple and use the pipe wrench to tighten it down.
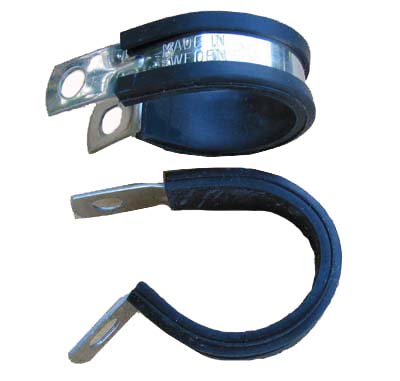
put teflon tape on the 90 then put it in the coupling and use a small cresent wrench to tighten the 90 up. you'll want the 90 to be pointin to the driver side of the car. now you can put the hose on. tight it with a cresent wrench or an end wrench that fits. run the hose around the block and over the transmission but under all the wires that are there. use a zip tie anywhere you are worried bout the hose movin around or rubbin on stuff. use a zip tie to hold the end of the hose to the hard ac line thats just in front of the transmission.
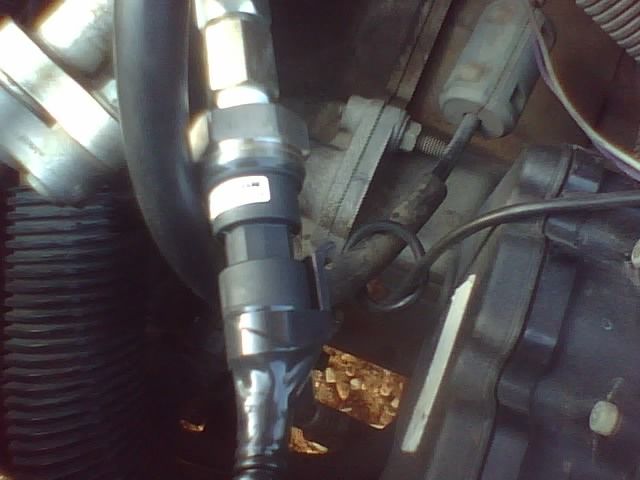
now you will need the 1/8 npt to -4an couplin that came with the hose. use two wrenchs or cresent wrenches to tight these up. now you're ready to install the sendin unit. use teflon tape on the threads to prevent leakage on the sendin unit. from here its time to run the wiring harness for the sendin unit to the guage. this part im not goin into detail on because its the same as wiring up any other gauge and there is many how-to's on doin that.
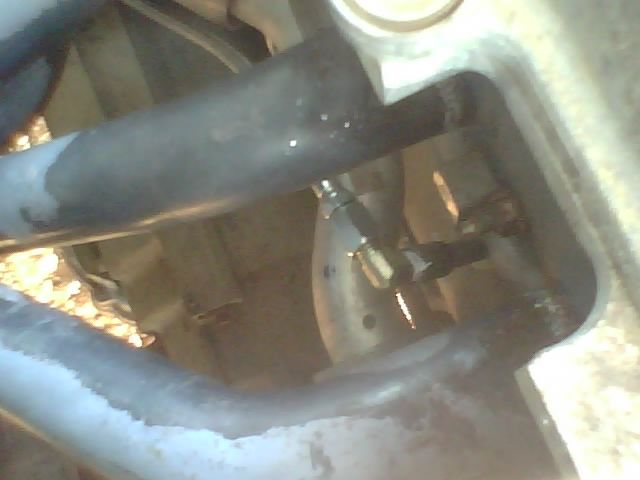
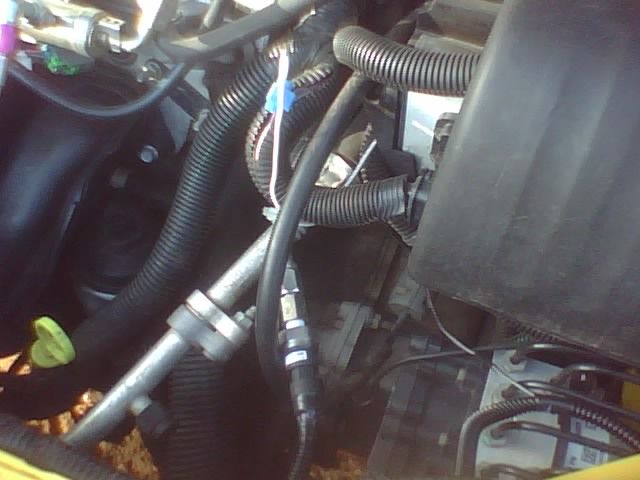
here is a few pics to give you an idea of what all this will look like when finished.
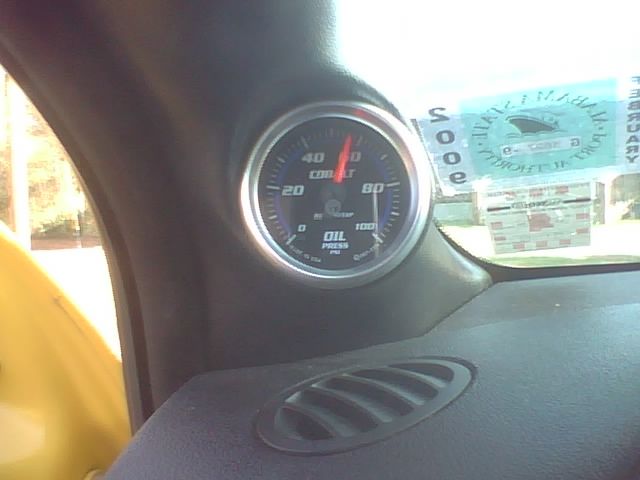
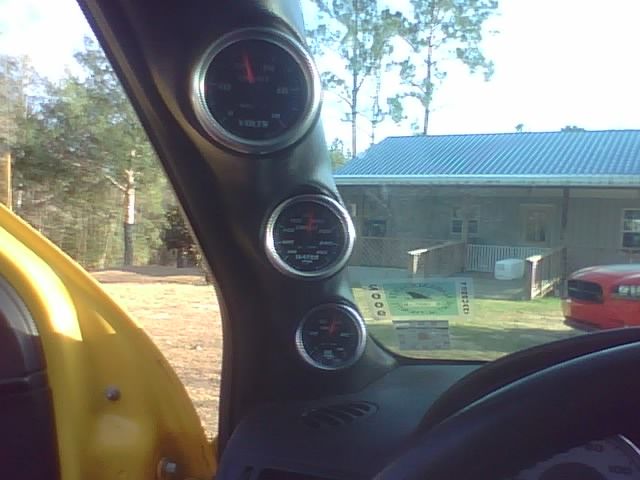
any questions feel free to ask. i thought this would be good for the guys runnin the 2.4 intake mani or just not wantin to remove the factory oil pressure sendin unit but still wanted the block oil pressure instead of the low pressure from the head.
NOTE THIS MAY NOT WORK WITH THE FACTORY EXHAUST MANIFOLD IN PLACE.
first off here is a parts list
oil pressure gauge of your choice, i went with the autometer cobalt series full sweep electric
autometer metric adapter 2278
1/8 npt pipe nipple 2" longs
1/8 npt pipe coupling
1/8 npt male to -4an male 90
autometer braided stainless 3' hose -4an
-4an male to 1/8 npt female coupling (comes with the braided stainless hose)
tools needed
6mm allen wrench or the 6mm allen socket
3/8'' drive ratchet
3/4" socket
couple of small cresent wrenches
small pipe wrench
teflon tape
now the few pics i do have arent that great cuz i used my phone but lets get started.
on the back side of the engine (side closest to the firewall) just below the header there will be 3 oil galleys goin from one end of the block to the other. i used the one closest to the front of the block ( closest to the passenger fender). you'll want to start by takin out the the plug thats in that galley with the 6mm allen or allen socket. its in there pretty tight so you'll have to use some force, i used a cheater pipe on the ratchet.
now you can start puttin the autometer metric adapter in the place where the plug was. this is where you will need the 3/4 socket. the adapter has a crush ring that comes with it so the adapter doesnt have to be tightened down extremely tight, you just get it tight enough that the crush ring flattens out. once you have the adapter in you can put the 2" pipe nipple, make sure to put teflon tape on the threads of the nipple to prevent leakage. you'll have to use the pipe wrench to tighten the nipple down. next you'll need to put the pipe coupling on the end of the nipple and use the pipe wrench to tighten it down.
put teflon tape on the 90 then put it in the coupling and use a small cresent wrench to tighten the 90 up. you'll want the 90 to be pointin to the driver side of the car. now you can put the hose on. tight it with a cresent wrench or an end wrench that fits. run the hose around the block and over the transmission but under all the wires that are there. use a zip tie anywhere you are worried bout the hose movin around or rubbin on stuff. use a zip tie to hold the end of the hose to the hard ac line thats just in front of the transmission.
now you will need the 1/8 npt to -4an couplin that came with the hose. use two wrenchs or cresent wrenches to tight these up. now you're ready to install the sendin unit. use teflon tape on the threads to prevent leakage on the sendin unit. from here its time to run the wiring harness for the sendin unit to the guage. this part im not goin into detail on because its the same as wiring up any other gauge and there is many how-to's on doin that.
here is a few pics to give you an idea of what all this will look like when finished.
any questions feel free to ask. i thought this would be good for the guys runnin the 2.4 intake mani or just not wantin to remove the factory oil pressure sendin unit but still wanted the block oil pressure instead of the low pressure from the head.
The braided line will eat that A/C copper in no time man. Never lay steel on copper or any type of A/C line. A/C lines are thin to dissipate heat or "transfer" heat

Thread
Thread Starter
Forum
Replies
Last Post
Sl0wbaltSS
2.0L LNF Performance Tech
18
Nov 21, 2018 11:11 PM