When you click on links to various merchants on this site and make a purchase, this can result in this site earning a commission. Affiliate programs and affiliations include, but are not limited to, the eBay Partner Network.
I definitely would not use them on the drag strip. Casually driving around town or driving to the strip, sure... just have to always keep in mind that they're not what they once were.
They'll likely wear about 50% faster, as well.
Only thing I would use them for is if you're working on your 60' times. Just getting the hit and then letting out, I wouldn't count on them to direct the car at high speeds or high loads.
I'd wait till the car is track ready to buy tires, most don't take to long to get and mounting is pretty fast.
I thought about doing something like that... but my second thought was that knowing my luck, the tire would explode mid burnout and the flapping rubber would destroy my fenders.
There were, and still are, some issues that been in the way to moving forward. Mostly, the issues are from either poor planning or improper execution of steps needed to move forward on behalf of one shop. I find it really annoying that people focus on only one aspect of the build at a time, even though that causes more issues down the line. I�m trying do limit what has to be done at the fabricator�s shop because of my disappointment and annoyance of past dealings.
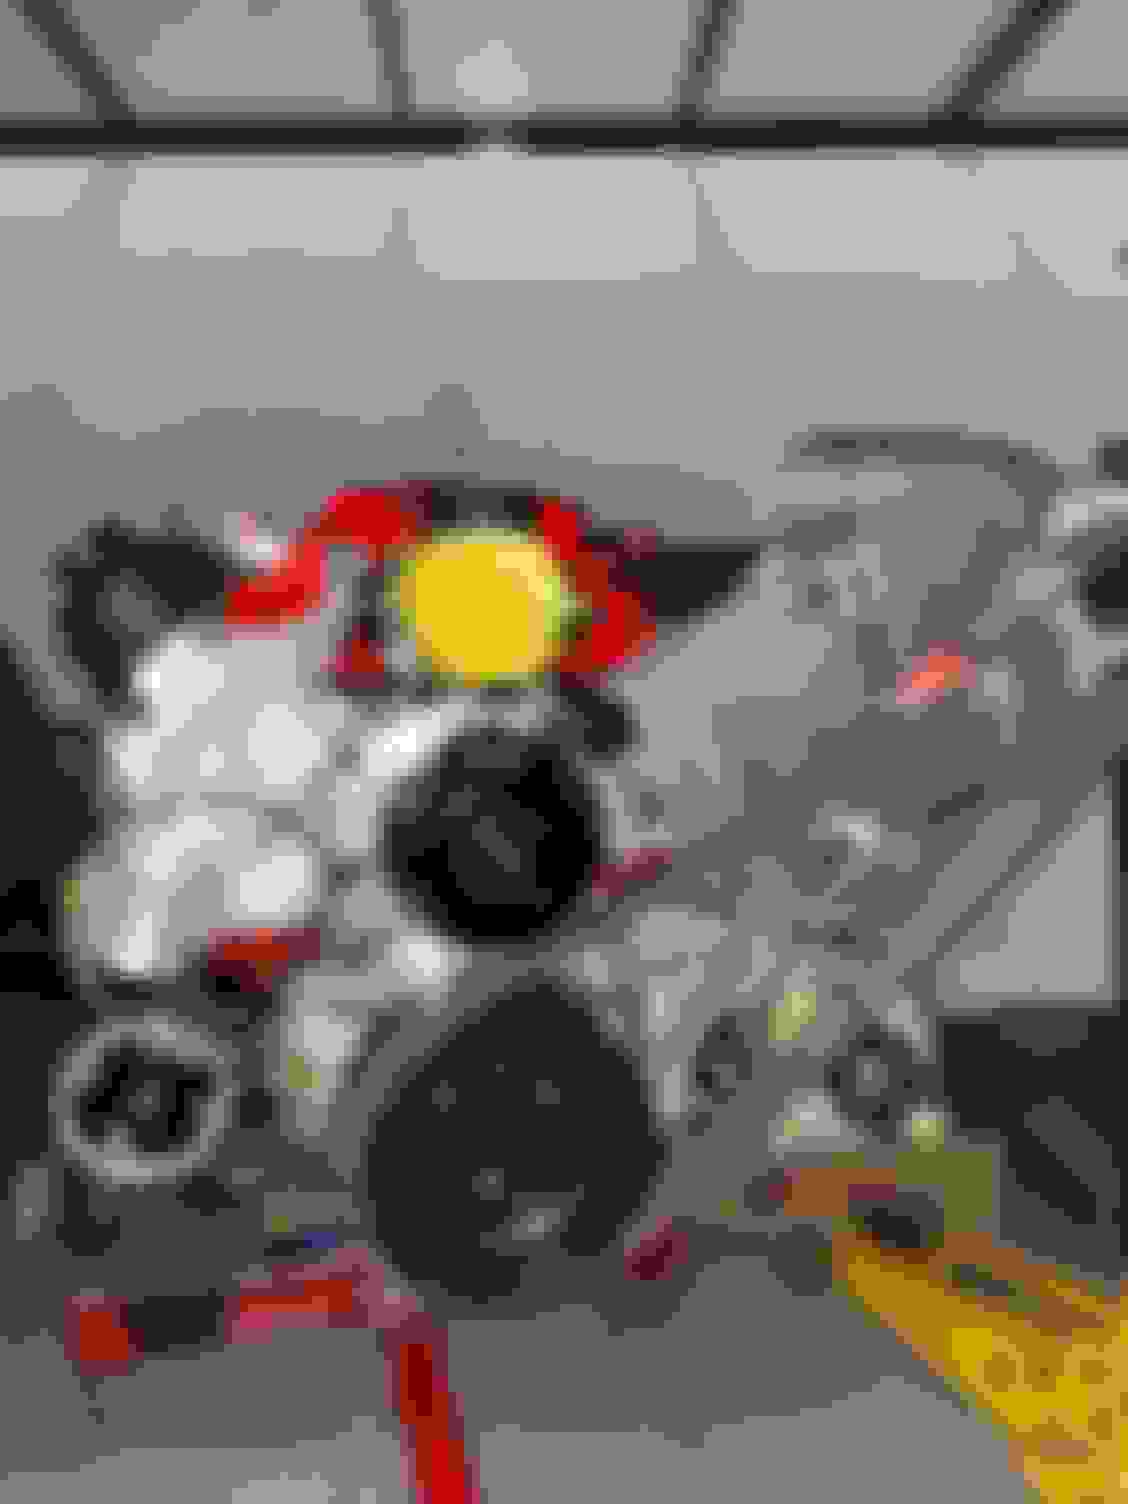
It was finally time to install the engine but first I had to strip down the engine to fit it into the engine bay. The supercharger and brackets had to come off. The intake manifold needed to be removed because the engine sits back so far under the cowl and the only way to lower the engine was to use the lifting plate mounted where the valley cover normally sits. Lifting straps were not an option. That also meant that the crossover steam lines for an LS had to be removed then remove the valley cover. I did take the time to tape over the intake ports of the cylinder heads so there was no chance of anything dropping into the ports. Then the alternator and bracket needed to come off and because I really did not want to remove the heads, I worked on finding a to install the engine with the heads on. Part of this learning process was to help me with any future work that I need to do.
I tried to lower the engine with the custom engine mount still bolted to the engine, but the fit of the engine mount was so tight that that attempt didn�t work. I removed the mount and lowered the engine but I was fighting to get the engine to sit on the mount so I could bolt it up. Then I removed the mount altogether and positioned the engine to where it needed to be so it could be lowered into place. I soon discovered that the oil lines on the drysump pump were in the way, so it was time to drop the pump and the lines. I successfully managed to lower the engine and bolt up the mount, both to the frame and to the engine. This wasn�t without other hassles, like the search for missing bolts. The car has been in a couple of shops and things were removed and reinstalled and for whatever logic someone had, not every bolt was replaced, and some were replaced with other bolts altogether. I have made at least 6 different trips to a parts store that actually sells loose bolts/washers/nuts. Whenever I buy bolts/washers/nuts I always buy extra because I don�t need that hassle again. It�s better to have them and not need them than to need them and not have them.
Once I had the engine bolted into place, I removed the engine hoist and started the process of putting things back together. In went the valley cover, the cross-over steam lines and then I got ready to install the intake manifold. I was concerned about the placement of the boost pressure sensor at the rear of intake manifold, and I was right to be concerned. There is not enough room between the firewall and the sensor. That issue was exacerbated by the realization that my 5 bar MAP sensor, which was already wired in, was nowhere to be found. In fact, it joined a long list of parts that have disappeared over the course of the project. I do have a 3.5 bar sensor that I�m now going to use. After talking with a tuner that I am going to use, he suggested using a remote mount to solve the space issue. This works for me because in my research I discovered that sensors could crack and fail when hard mounted in extreme conditions. I did put the fitting and braided line in the back of the intake manifold. When I went to bolt down the intake manifold, I discovered that the fuel rails needed to be removed to access some of the bolts.
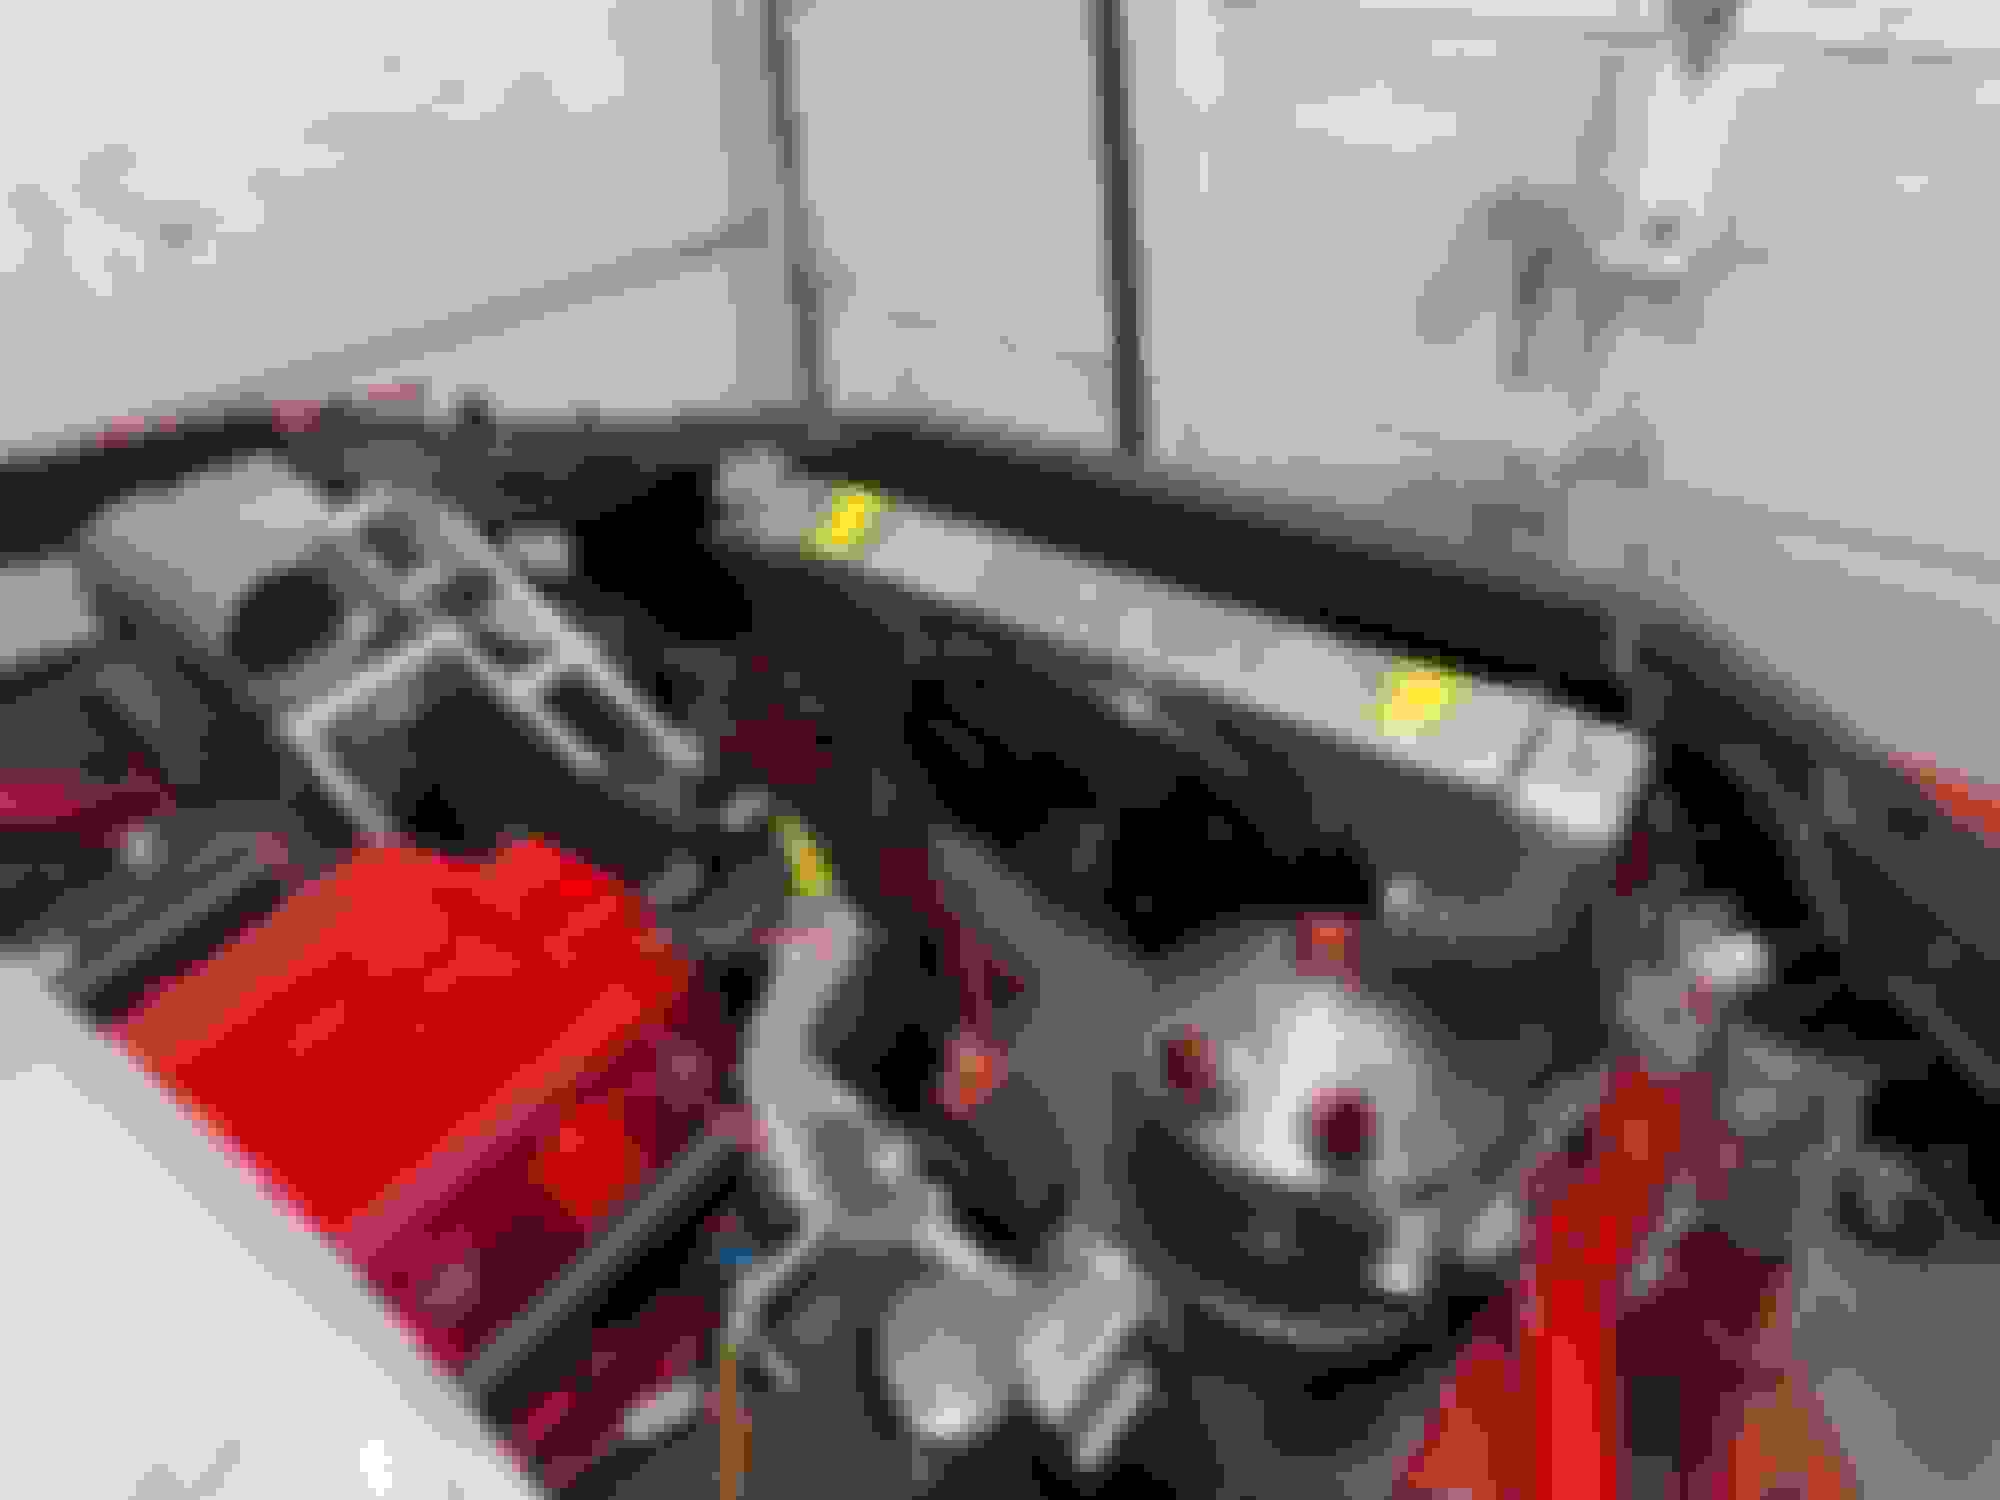
Then, I went to install the remotely mounted coil pack brackets, from CBM Motorsports, and they could no longer mount in place. When they were originally fabricated, I was using a low style valve cover but those had to be changed because of the Crower rockers used in the build. The taller valve covers now made space much tighter. To get the driver�s side mounted, the valve cover had to be removed and I had to fight to make the brackets fit. The passenger side required me to redrill holes and use rivets to re-mount the bracket. This wasn�t fun but as I have been doing all along, I am discovering how this car goes together and comes apart for future reference. I have spent more time than I wanted learning all of these nuances of my car but seeing as I�m the race crew, I am better off learning it now than when I need to work on something at the dragstrip.
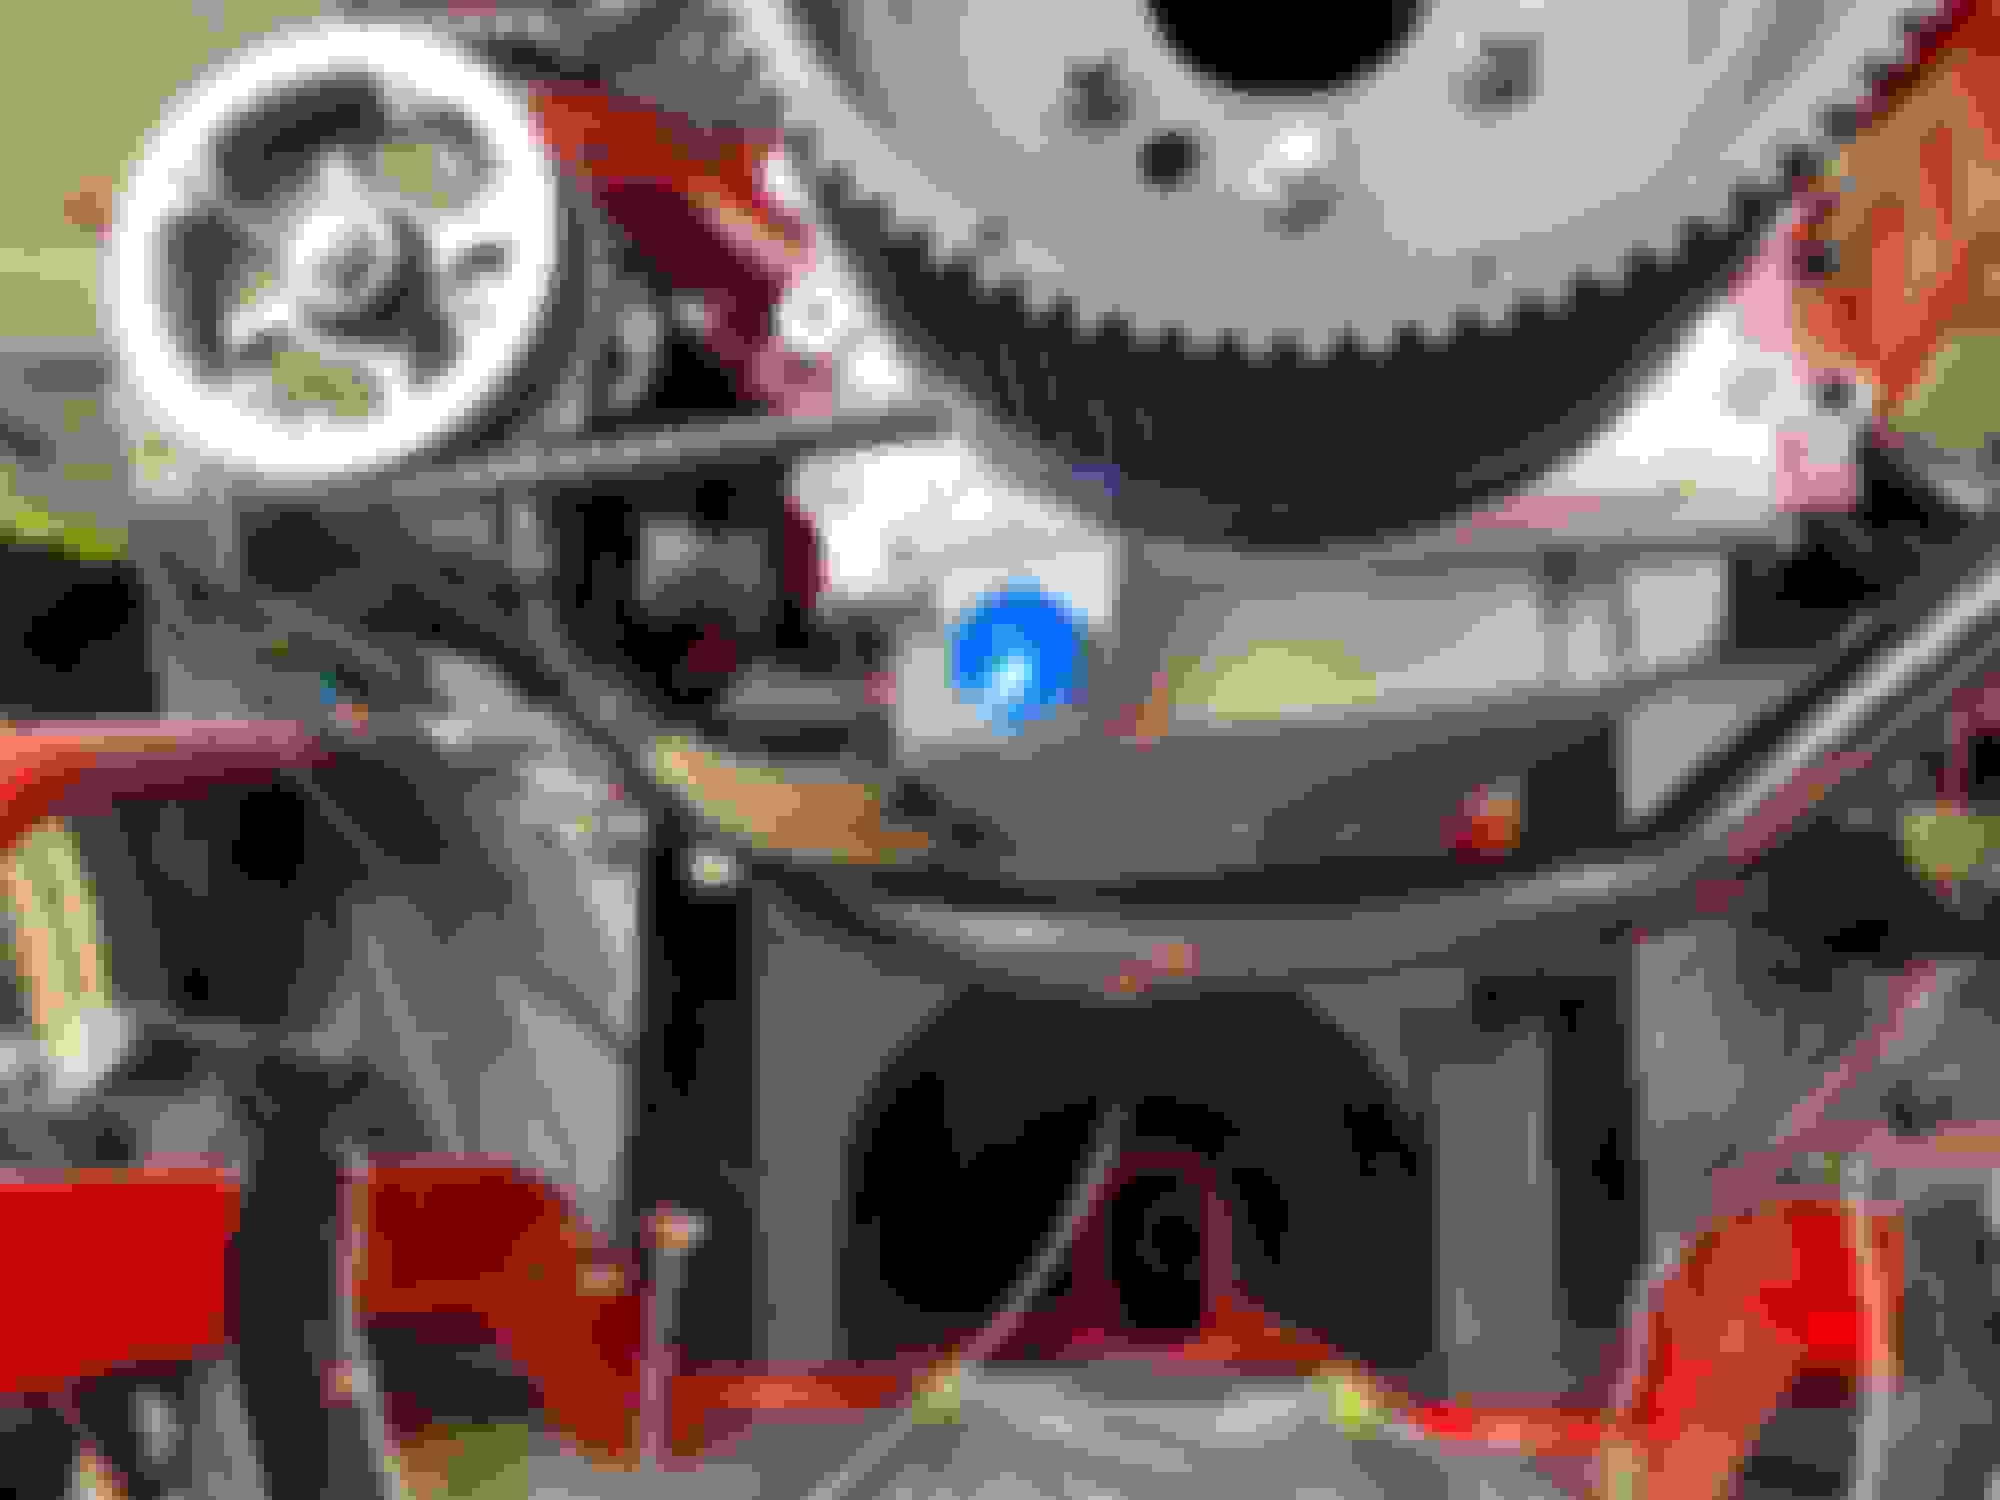
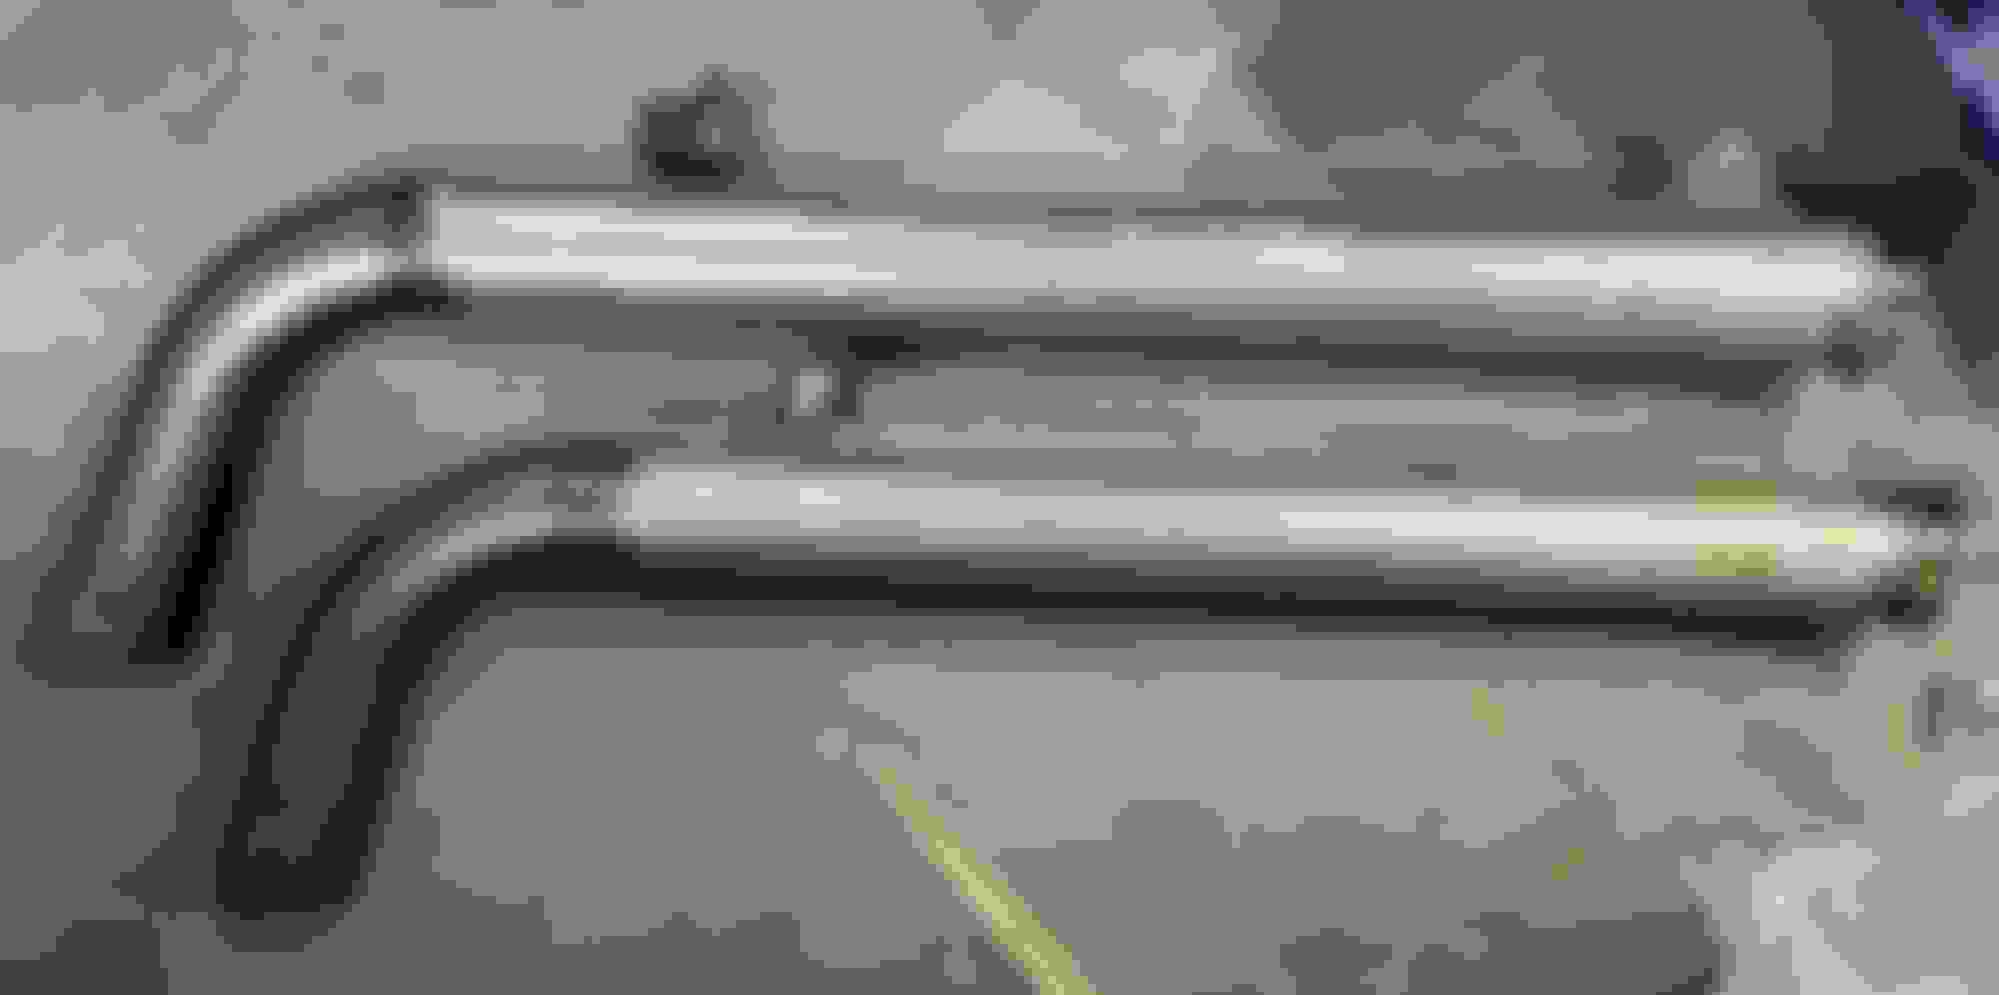
I then went to re-install the drysump pump and I had to learn the best practice for re & re�ing the oil lines. No real fast solution here as the lines are in a tight space. Next it was time to mount the exhaust headers, or was it? I started with the passenger side, and everything seemed to be going okay, but as I went to finish tightening the bolts, I discovered that the last one wasn�t in straight. I tried a few times to re-align the bolt and then I concluded that the header had to come back off. I need to clean-up the threads and fortunately it was only the first 2 or 3 threads. Cleaned that up and mounted the header with success. I really wanted to see how my straight pipes were going to mount up, clearance wise, because of the extra bars under the car for the NHRA certification. The v-flange doesn�t fit in the space and then the real problem presented itself. The driver side header doesn�t mount up at all. The tubing under the car blocks the header in 3 different spots.
Because I wasn�t getting anywhere with the exhaust, I decided to start assembling the bracketry for the S/C. There were lots of bolts/washers and spacers to figure what went where. This was a big jigsaw puzzle. Things were going okay but I still couldn�t see where or how to attach the tensioner for the cog belt system. I finally started looking at different things on the Vortech website and I found the installation manual for the COG drive modification. I already had the parts, so I started the install. The arbor seemed a little rough on both ends where the adjustment screw goes in/out. It was a bit tight turning it, but it did start to thread thru. The instructions did say to apply a liberal amount of anti-seize to the adjustment screw, but the anti-seize that I had was dried out. I figured that I was okay for the initial install, but to my dismay, the adjustment screw ended up seized and when I tried to back it off, it snapped. At 4:30 am I really didn�t need that hassle. I copied down the part numbers and called Vortech and ordered my replacement parts, which shipped out the same day. Seeing that I needed to test out crossing the Canada-US border, the parts were shipped to the US shipping address that I use.
I picked up the parts on Friday as well as a serpentine belt that I need to spin the alternator. Seeing that I am not running any other accessories I needed to find the right belt for my car. The first measurement turned out to be shorter than I needed but now I know that belts have 2 measurements, and the effective length is the one I needed to use. I exchanged the first belt for a longer one and bought some anti-seize while I was there. When I went to put the serpentine belt on it was perfect. I then installed the COG belt, using anti-seize on the tightening screw, and tightened up the tensioner. For the first time in the history of my project, I finally have all 3 belts on and functional. That was a good feeling, finally, I reached another milestone.
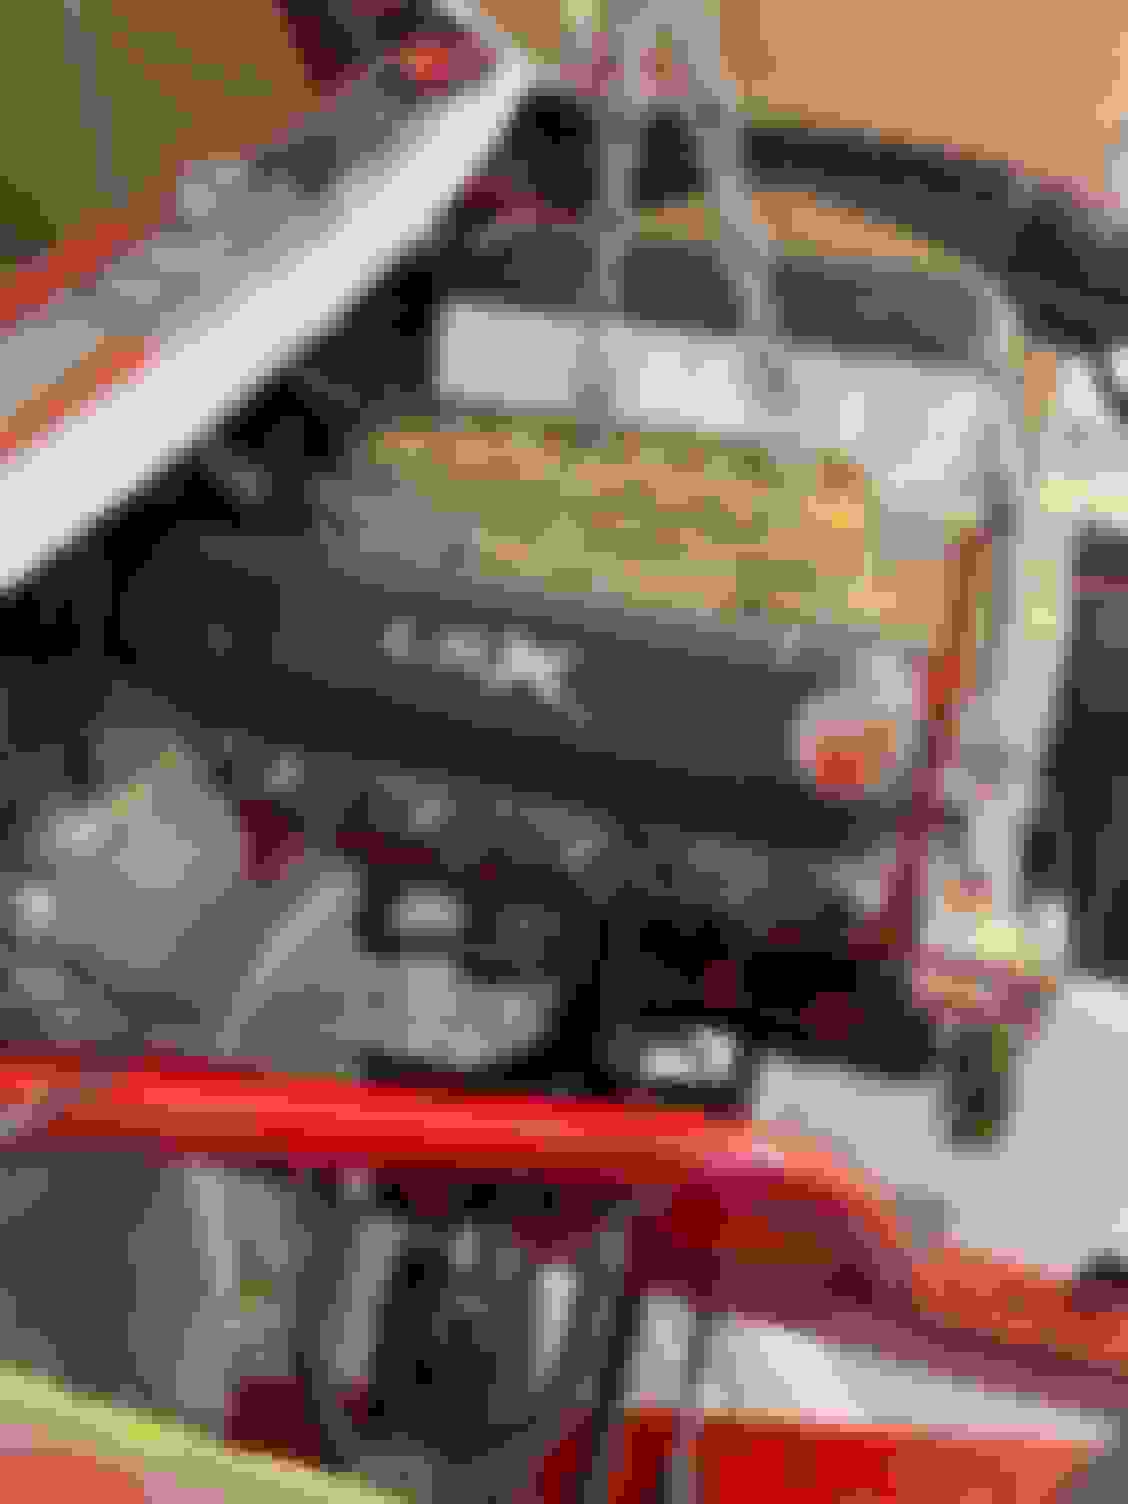
Now, I have to turn my attention to the electrical system of the car. The person who did the wiring did a great and clean job BUT he only labeled a few of the connections that are on the engine side of the firewall. I was hoping that when I got to this part of the engine install that there would only be unique plugs for all connections. That is not the case and in one example, there are 3 plugs that have the same connector, and the wires are also about the same length. In addition to that problem, some of the wires appear to be too short to route around moving parts, such as pullies and belts. I�m really at a loss when it comes the electrical system and I�m very aware that plugging things into the wrong connections can wreck my ECU, I can�t afford to do. The guy who wired the car was supposed to give me the electrical schematics but that didn�t happen, and he no longer works for the fabricator. I�m not getting the fabricator�s new wiring guy to do the work because I paid the fabricator�s markup for the electrical but he's taking zero responsibility for what was done in his shop. I still have a $2100. Credit with the fabricator which will be used to have the fuel system plumbed in. After that I�m not planning on having him do the other odds and ends. There is a co-worker at the company that I�m working at now, who has the skills needed to troubleshoot the electrical and hopefully his schedule allows him to come over soon. I can't do anymore assembling inside or outside as I need to finish all the wiring before I put stuff in the way of the plug connections.
Now for pictures. 😊
Time to remove accessories. Ready for install Engine install
CBM Motorsports shout out for Sean Coil packs no longer fit in space. Drysump oil tank installed. Oil filter/pressure sensor installed. VORTECH S/C brackets VORTECH S/C brackets Belt, belts, and all belts are on
A co-worker came by this afternoon so we could discuss the finishing of the electrical in the car. He wanted a printed copy of the Holley ECU so he could read it and be ready for doing the work. I like the fact that he wanted to prepare by learning the electrical system as Holley designed it. The downside is that I need to pay for him to do what I already paid to have done. While talking to him, he said to go ahead and keep installing everything. He's not concerned about access to plug in connections, so after he left I mounted the radiator and the intercooler.
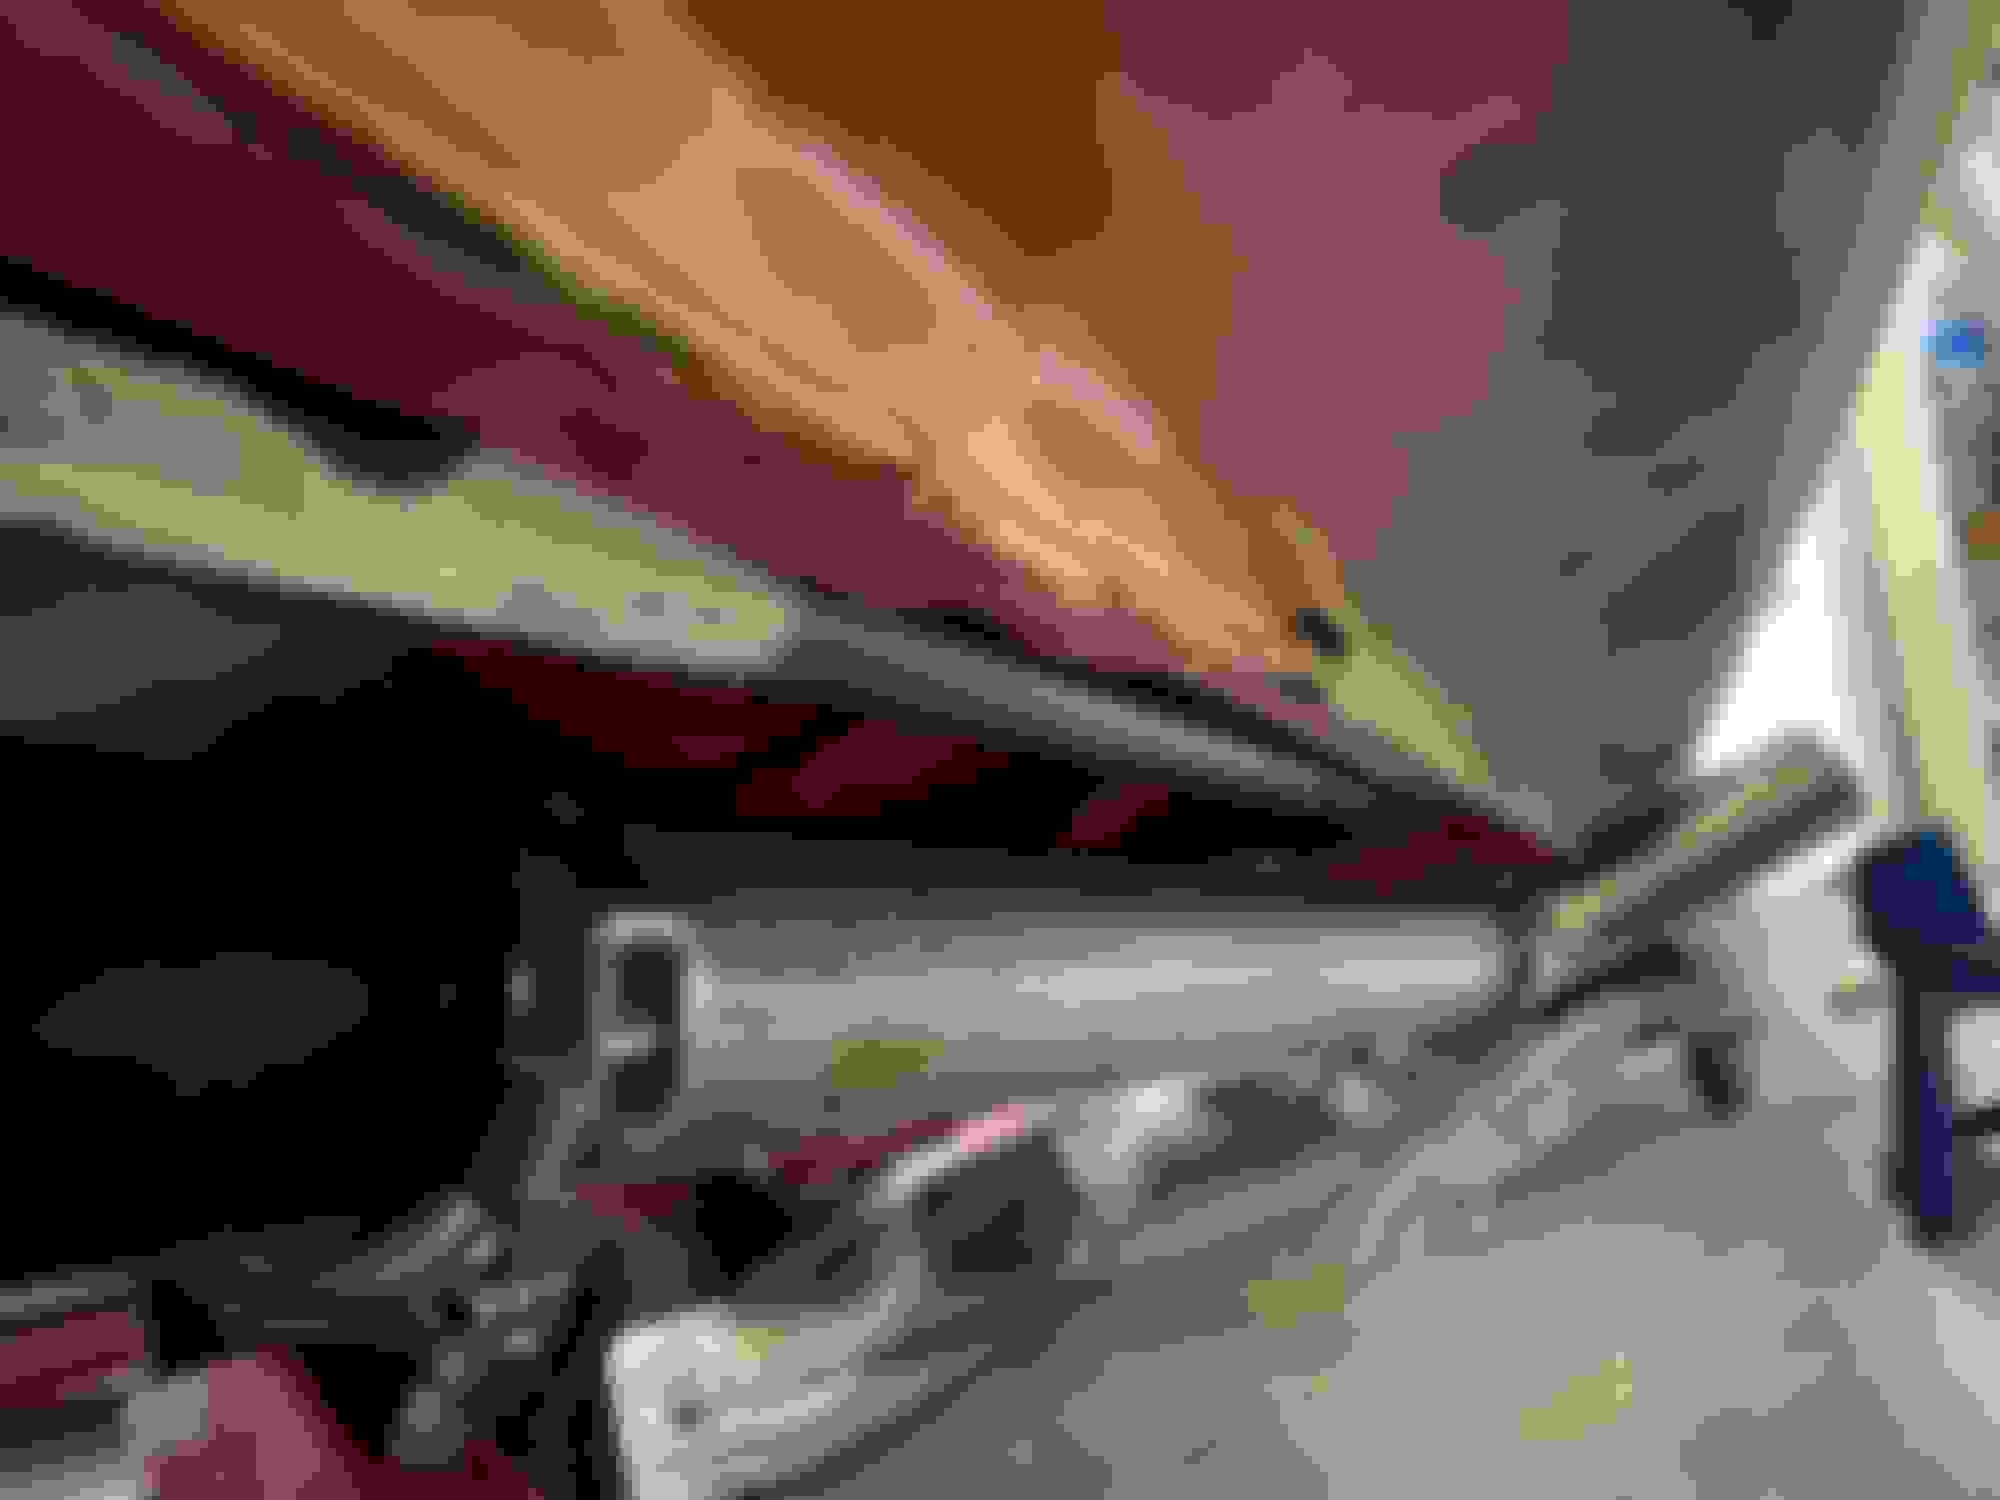
I was just starting to install the charge piping and the first piece was at the S/C outlet. It looked like there was going to be a clearance issue between a spacer for the S/C rubber charge tube section BUT when I tried to attach it, the S/C snout moved What the #*+!. The S/C had been re-clocked by the fabricator so that I could close the hood without modifying it. I am absolutely dumbfounded that this adjustment didn't end with all of the allen bolts being re-tightened. Why would anyone do that, let alone a 'professional'??? The fabricator has worked on a lot of the car including swapping all of the rear-end internals, into a new case. How many other things are not torqued/fastened down properly? I'm really choked about that.
I'm going to be double checking everything that I can, but the rear-end is beyond my capabilities. In the morning I will take off the S/C so I can tighten those bolts. Then I will continue to connect all of the charging pipes.
radiator support bolted in radiator bolted on radiator and intercooler bolted on
It's starting to come together and look more like a car than it has for a very long time. I am glad however, that I never painted the car yet. Way too much work being done that would have just wrecked the paint job.
I'm glad to see progress, but bummer to hear about the last fabricator not torqueing down the pro-charger bolts. I'm going to say it was likely as last minute oversight, if it was a last min request to be able to close the hood I can see how it would slip ones mind (not justifying the action).
I'm glad to see progress, but bummer to hear about the last fabricator not torqueing down the pro-charger bolts. I'm going to say it was likely as last minute oversight, if it was a last min request to be able to close the hood I can see how it would slip ones mind (not justifying the action).
Sadly it wasn't an oversite as after he clocked the S/C, he fabricated and ran the charge piping for the same S/C. That is why I am concerned about what else he might have missed. I'm concerned that age and or back problem pain (his back is a constant source of problems for him) causes him to have oversites such as this one. He has done a lot of great work on the project but 1 un-torqued bolt in the wrong place can be catastrophic at maximum power.
Charge piping is almost complete. Charge piping passenger side. Charge piping driver side. Charge piping from intercooler. Charge piping to intercooler. Tight clearance for a turned wheel. Tight clearance on this wheel too.
NICE! I've always found this part of the project the most fun - when things are getting buttoned up and you've got that anticipation of knowing you're almost there.
I'm happy to be checking off the items completed and the list of things to do is getting smaller. I'm mostly in a holding pattern until the wiring is done. I can't install the transmission because the wiring comes through the firewall just over it and I need to finish routing things first. I can install the dashboard because the ECU still needs to be accessible to add in the remaining items. I was hoping the co-worker would have come over this past weekend but that didn't happen and with it being so close to Christmas and New Years, I'm thinking that nothing is going to happen with the wiring before 2022. There are a few small things that I can do in the meantime and there's always working on the house which makes my wife happy. I really want to put in the transmission and the driveshaft and make sure it all fits properly because that is another huge step forward. I did get my case of AMSOIL Super Shift synthetic racing transmission oil a couple of weeks ago so I'm ready to go once he wiring is done.
I'd put a blanket or wrap of some kind of the pipes around the wheel area to prevent road damage.
I agree with that. I'm going to put some rubber where ever the charge pipes can rub on the frame rails and also use metal ties to keep the piping away from the wheels. I have access to some 1/4" rubber conveyor belt at work to place anywhere that may need it for making wide turns.
This is more of a 'venting' than an update. Two months ago, the owner of the company that I'm working for, came over to look at the exhaust pipes that weren't clearing the roll cage tubes under the car. He made it seem like a very simple fix that he was going to take care of for me. I was pleased that this issue wasn't a larger issue and after taking some measurements and making some small pie cuts, the boss loaded up the pipes so the rest of the work could be done at his shop. Besides those adjustments, I have also bought some baffles that go inside my 3.5" pipes to quieten down the exhaust which is needed to be able to participate at street legal drag racing. The plan is to cut the pipes just before the bend, weld in t-bolt clamps and then install/remove the baffles as needed. The boss figured that I would have everything back in a week. Well that clearly hasn't happened even though I keep hearing "just a few more days".
Besides that huge delay, I had to get the transmission re-certified before I can race with it. I was given the name of a person familiar with racing transmission so I arranged to drop of the transmission. That was a month ago and at the time I was told that when the case was emptied, they would call so I could make payment to the only place in Canada, that does SFI re-certification. I have yet to hear back from the first shop, meaning the case still hasn't made the 5,000 km trip to Ontario. These two things have really held up moving things forward and I am very frustrated. Obviously, I don't want to get on the bad side of my boss, when he was helping out but I'm thinking that it's time to get my stuff back and pay someone else to do the welding. Then I need to talk to the transmission shop and try to nudge them forward BUT, if there is one thing that I have found out , 'the hard way' if I bug people I just end up waiting even longer. It's a no win situation for me.
After I finally get those things done, I need to arrange for oil and fuel lines to be installed. I also need to be able to have the transmission installed to check the fitting of the custom driveshaft. Sadly, my wanting to get to the tuner and then the drag strip doesn't necessarily constitute an immediacy on the shops who still have jobs to do.
Pictures of the baffles, there are 4 so that I can use either 1 or both per side depending on the noise. 3.5" diameter baffles
I was told by my wife, "no killing people because I'm not waiting for you to get out of prison" so what do I do?
I don't understand how I have always been able to find the companies/people, who were going to just blatantly lie and drag their feet getting the work done.
While I'm choked, for the next few days I'm just going to go with the mantra - 'we're going to Hawaii, as I booked next year's holiday thru our timeshares.
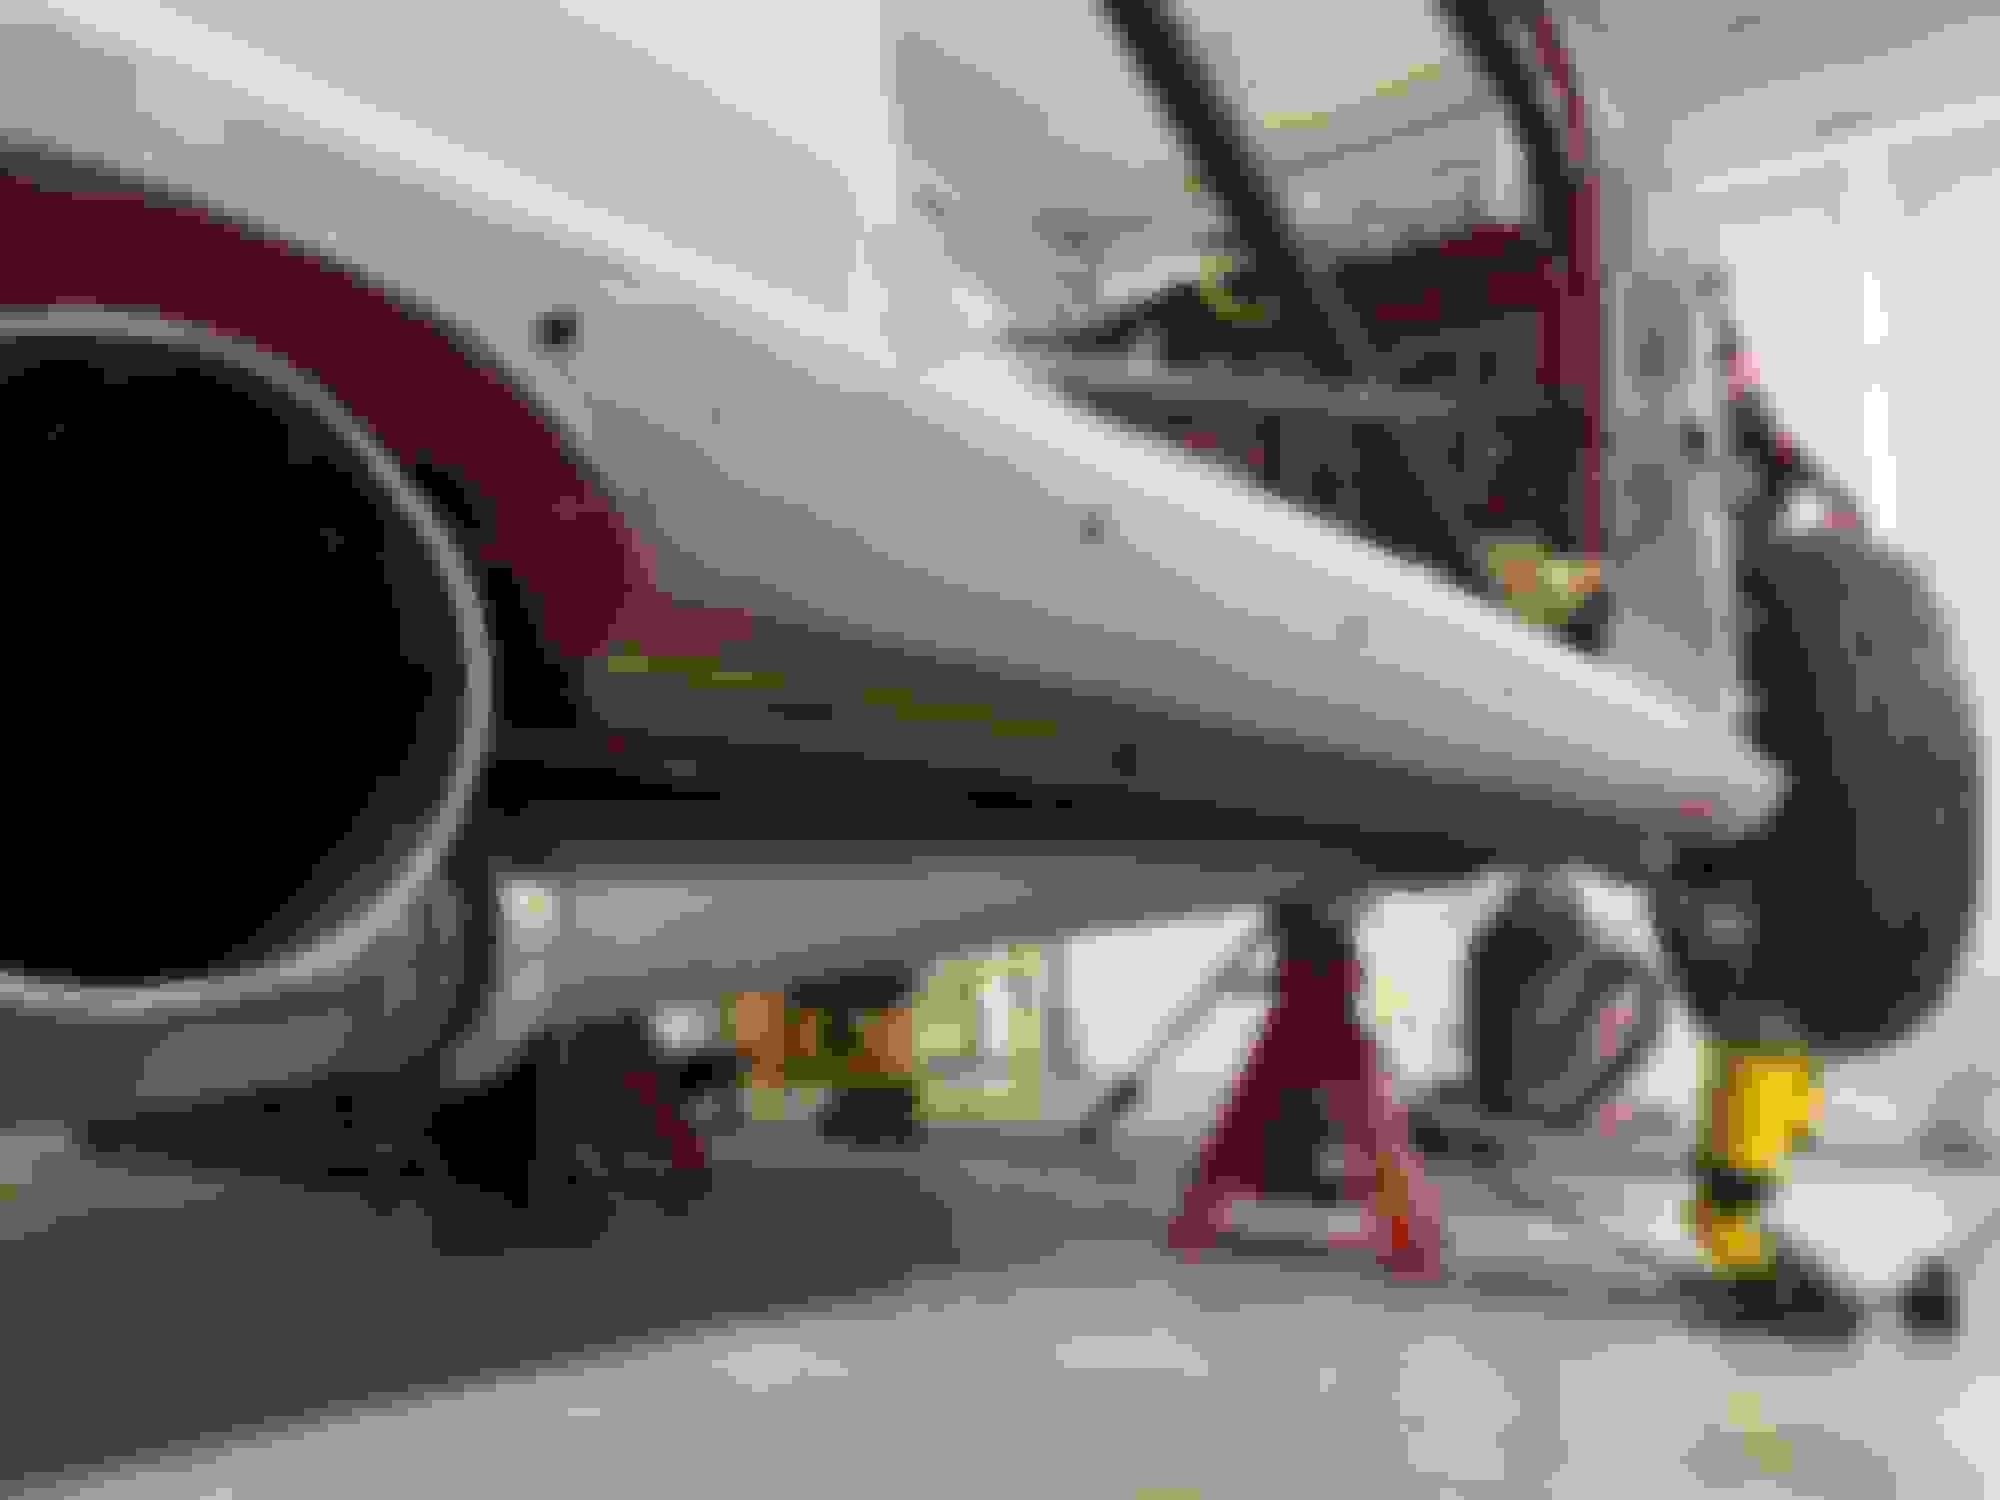
I finally got a little bit of movement on the car. The exhaust pipes have finally been modified to clear some of the obstructions underneath the car where the roll cage tubes go. I cleaned up the welds inside the pipes where the t-bolt clamps were welded on so that I can install/remove the baffles. The baffles will be required for street legal drag racing night, while no baffles are required for the weekend racing. When the flanges were welded on no one bothered to orient the pipes so that the hangers pointed up. That means cutting off the hangers and getting them welded back into place. Nothing like doing the job over because no one thought through the process to begin with. I bolted the pipes on after making a few cuts to remove the small diameter roll cage pipes under the car to allow clearance for the exhaust pipes and clamps. The driver's side pipe sits about right but the passenger side pipe will need to be adjusted up a touch when the hangers are re-done. Once the pipes are finished, the small diameter tubes will be replaced, this time allowing for the exhaust to be removed and reinstalled.
On top of getting the exhaust pipes done, the transmission came back from being recertified and it's now home. The next thing to do before installing the transmission is to find the correct mates for the different plugs on my engine harness in the engine bay. The hole through the firewall is almost dead center above the transmission bellhousing. It would be a nightmare trying to fish/trace/identify the different wires and plugs with the transmission installed. That job is going to be a real hassle because, as I mentioned before, the plugs are not labeled and there are more than one plugs that look identical. I have already paid to have the wiring done, three different times. Every time something needs to be fixed/changed/added/removed, the wiring people want to start form scratch and that's no different with the guy who said he can help me finish the wiring. This time, I am not letting that happen. There are a half dozen things that need to be added and most of those are plug'n'play. I'll see soon if I can finally make progress with the identification of all of the plugs. Like many people, electrical systems are really not my strong suite.
Exhaust pipes before modifications Exhaust pipes after modifications plus baffles Driver's side exhaust pipe installed Passenger side exhaust pipe installed One tight fit, An even tighter fit. This pipe was in the way of the t-bolt flange. This end of the pipe was in the way of the t-bolt flange. This pipe will be rewelded on but turn slightly to allow the clearance needed at the flange. Recertified decal 1 Recertified decal 2
Was checking in to see time slips and videos, but see you are still progressing. Feels like my honey do projects at home, never ending. Keep pushing forward, and good luck.
Was checking in to see time slips and videos, but see you are still progressing. Feels like my honey do projects at home, never ending. Keep pushing forward, and good luck.
Thanks for checking in and like you say, it's a seemingly never ending list. No matter how many things you get done, the list doesn't seem to get any shorter.
Yesterday was full of frustrations as I tried to deal with all of the electrical plugs that seemingly had no where to go. I started off plugging in the ones I knew had a place and those were my 2 wideband sensors. The transbrake was also easy to identify because it was the only one labeled other than the injectors and coil packs. I figured out which of the plugs were camshaft and crankshaft sensors. The Spal fan and the Meziere water pump connections were a couple that were easy to figure out simply because of the length of the cables. The power to my alternator seems like a no brainer but the eyelet on the positive power is too small to mount. It has a plug on the backside so I'm researching to see what this plug is for on the alternator. The starter is another no brainer as the cables only go to it specifically. The horn is another plug that been attached although, I am thinking about upgrading my horn to something much louder but I'm too cheap to spend too much to do it. If I find an electric air horn that accepts the GM plug then I'm willing to do that upgrade.
I do have to figure out which plug goes to my AIT and which one goes to my coolant sensor. I am also going to have to tap holes for both of those sensors so I'm researching the best options for both of them. After all of those plugs I still have 4 unused plugs that seem to have no home to go to. The why is a big question to which I'm never going to get an answer to. I'm at the point now where I have identified everything inside the engine bay that needs a plug. This has been a huge stumbling block for me because the one electrical guy who came to look at the car, wanted to tear open all of the loom to trace the wires one by one. I've paid to much, too many times, to start going backwards again. As long as I have enough inputs in the ECU I'm just going to ignore the plugs with no home. As long as everything that needs a plug has that plug, it's time to move on. While working on re-attaching the steering arm I noticed one line to my brakes proportioning valve was not only disconnected, it was pushed behind the valve itself. I'm glad I saw it because it would have been a big mess when the brake fluid gets put in. As for the steering arm, it's another hassle. The arm itself goes between the header pipes and getting it oriented and installed isn't very easy and while it's almost on, I still have to fight to get it on far enough to tighten the set screws.
This week I'm going to tap the holes for the sensors and I'm also going to try to start routing the oil lines so that I can put together a list of fittings still needed to install the remaining lines. I also need to mount an oil cooler and a catch can for the transmission and a pressure sensor block for the MAP sensor. The main problem is that there isn't many places to mount these items. My Griffin radiator has the built in cooler to connect my transmission fluid lines to but I was told in the past that I shouldn't use them. I am now researching if this option would work for me when the car is just doing track runs.
After everything that has been done, there are enough other things being added to the list to keep me busy for a bit. My main objective is to do everything that I can do so that I'm not paying shop rates to get those things done. I'm tired of spending money so I'm learning to do things that I was prepared to do in the past. There's plenty of things I need to get done by the shops involved that I want to make there list much shorter.
After looking at the alternator earlier this morning I have come to the conclusion that the electrical guy messed up. Looking over all of the plugs that can reach the alternator none of them plug into female side. I tried finding a part number online and I�m having no luck and I�m trying every name for it that I can think of.
That�s where I need help. The alternator is from a 2013 Camaro, part # 13597233. If anyone has access to the part number for the male end connector please let me know what it is. My last resort is to call a dealership but we all know that�s a really expensive phone call.
You might try contacting Ballinger Motorsports, they carry a lot of electrical connectors and may have something that would work for the plug. This might be the plug you need https://www.summitracing.com/parts/a...make/chevrolet just going from pictures and estimations based on the gen4 LS3 alternators
I did a quick search of the pull-n-pays near me and none had that generation of Camaro.
From that picture it�s definitely the right shape and the holes for the prongs are big enough to fit. The custom order, ship June 27 doesn�t work as I want to get the electrical guy working soon because I�m itching to button up the last few things that need to be done so we can fire up the car.
I�ll look at Ballinger to see if they have it. The wreckers is an option that I didn�t think of but now I�ll scope them out too. Thanks for the help and ideas.
 12-09-2021, 04:15 PM