When you click on links to various merchants on this site and make a purchase, this can result in this site earning a commission. Affiliate programs and affiliations include, but are not limited to, the eBay Partner Network.
I figured I should start a separate thread for this so I can find it when I need to ask questions.
After adopting my sons 1 owner Sport I purchased for him when he turned 16, I started driving it more and even though I have done all the maintenance on it, I didn't realize how much fun these are. With that said and not being able to leave much stock, especially at 6200' ASL, it's time to do something about it.
Always liking SC's over TC's I found a good start off of ebay.
lley and heat exchanger so i can get a baseline SC'd then start to make some improvements to that.
Last edited by Henry3959; May 16, 2017 at 02:26 AM.
Just in case you need a full parts list, this is everything you need. Plus wideband, boost gauge and pillar.
Supercharger+gasket
4x supercharger bolts(can get them from crateenginedepot.com)
Intake manifold+gasket
Intake manifold bracket
Heat exchanger
Ic pump+plug
Ic pump bracket
Lsj idler pulley
Lsj tensioner(zzp adjustable optional for smaller pulley)
Lsj belt or stage 2 belt for smaller pulley
Intake
Lsj throttle body
Lsj throttle body adapter harness from zzp
Maf extension harness from zzp
Ev6 injectors or ev1 injectors+ev1 adapter harness
Spark plugs
2x 60mm shoulder bolts part#0154419
5x 10mm shoulder bolts part#0154418
7 washers for bolts
Those are for the intake manifold. Ordered from fastenal. Can't use lsj bolts. We need m6
Lsj map sensor(will need to be rewired to work) or your stock map sensor will work but you won't be able to read iat2
Lsj windshield washer tank(yours will have to be deleted)
Hoses for heat exchanger
Coolant hose
Random clamps
There are a few lists I worked with and went with 60lb injectors for a little room for growth. Already have pillar and gauges installed... Wideband using my Innovate LC-1 and vac / boost using Glow Shift but think i will change out for one I can zero as it is showing my current AP as a small vac.
Everything looks really fresh in that kit. Nice work
Thanks... It had better. I have a lot of hours into it. The donor engine wasn't using a catch can and must have been blowing oil. The Laminova cores were plugged. They are spotless now with new o-rings. Makes me wonder how many people throw these on without going through them first
Also, you don't need a few of those parts in your pictures.
Besides the lift hook and map on the SC, what do you see? Or are you talking about the Ebay pic?
The MAP is my current plug for now. I'm going to do the headgasket, Water pump, chains and guides first.
The donor looked like it was on the east coast. A lot of that white corrosion. Started disassembling then powder coating in wrinkle black so that doesn't happen again.
You made sure to take the rubber rings out of the blower before you powder coated it right?
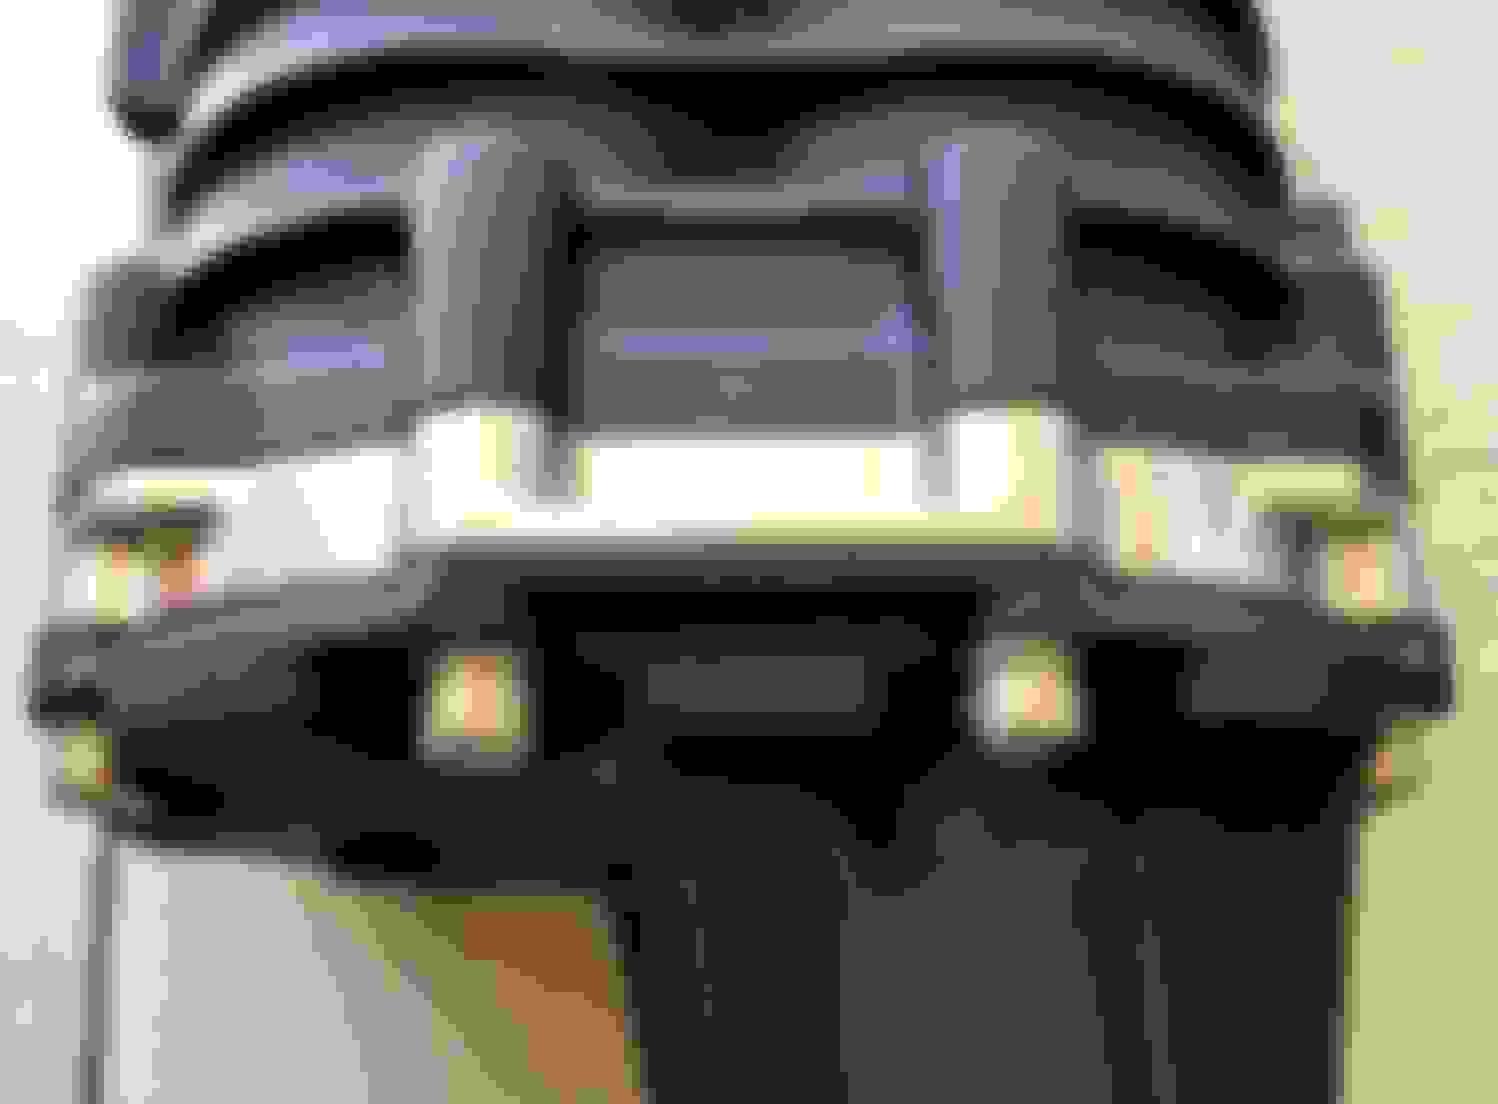
Yeah... Everything was gutted. Snout bearings and seal still needs to go in after the rotor needle bearings come in. Also replacing the bypass shaft bearings below. The OEM pulley came out nice after stripping the black powder coat off. I'm polishing the rotor support before it all goes together for good.
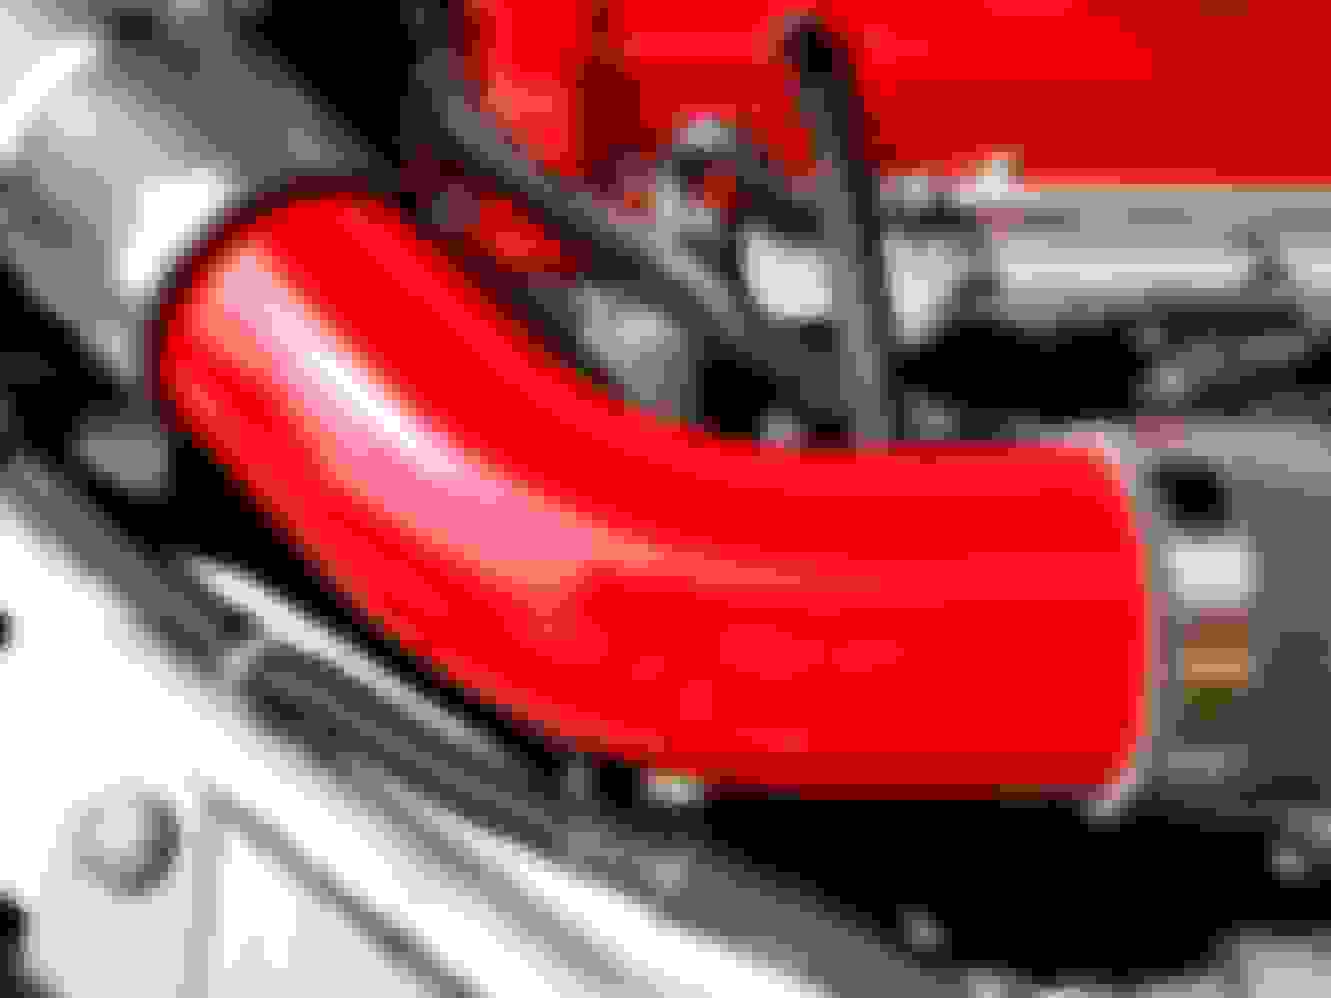
That's a nice color for the Tint coat Red Cobalt. I started in the same Mirror red as my calipers, Valve cover and CAI but it just wasn't working for me so back in the stripper it went. Too many casting imperfections.
Yeah, only been doing it for 2 years myself. Got tired of the cost and delays. I can now bead blast, powder coat and bake a part faster than I could paint it.
The front roller bearings must have recently been replaced as well as the drive so I polished that piece rather than painting it to match the powder coat.
Polishing is really a PITA but looks great.
I started with an air file to take off the casting imperfections
5 grits of wet dry paper, buffing compound then finally a wipe of mothers mag polish.
Now some nice shinny snout bolts to top it off.
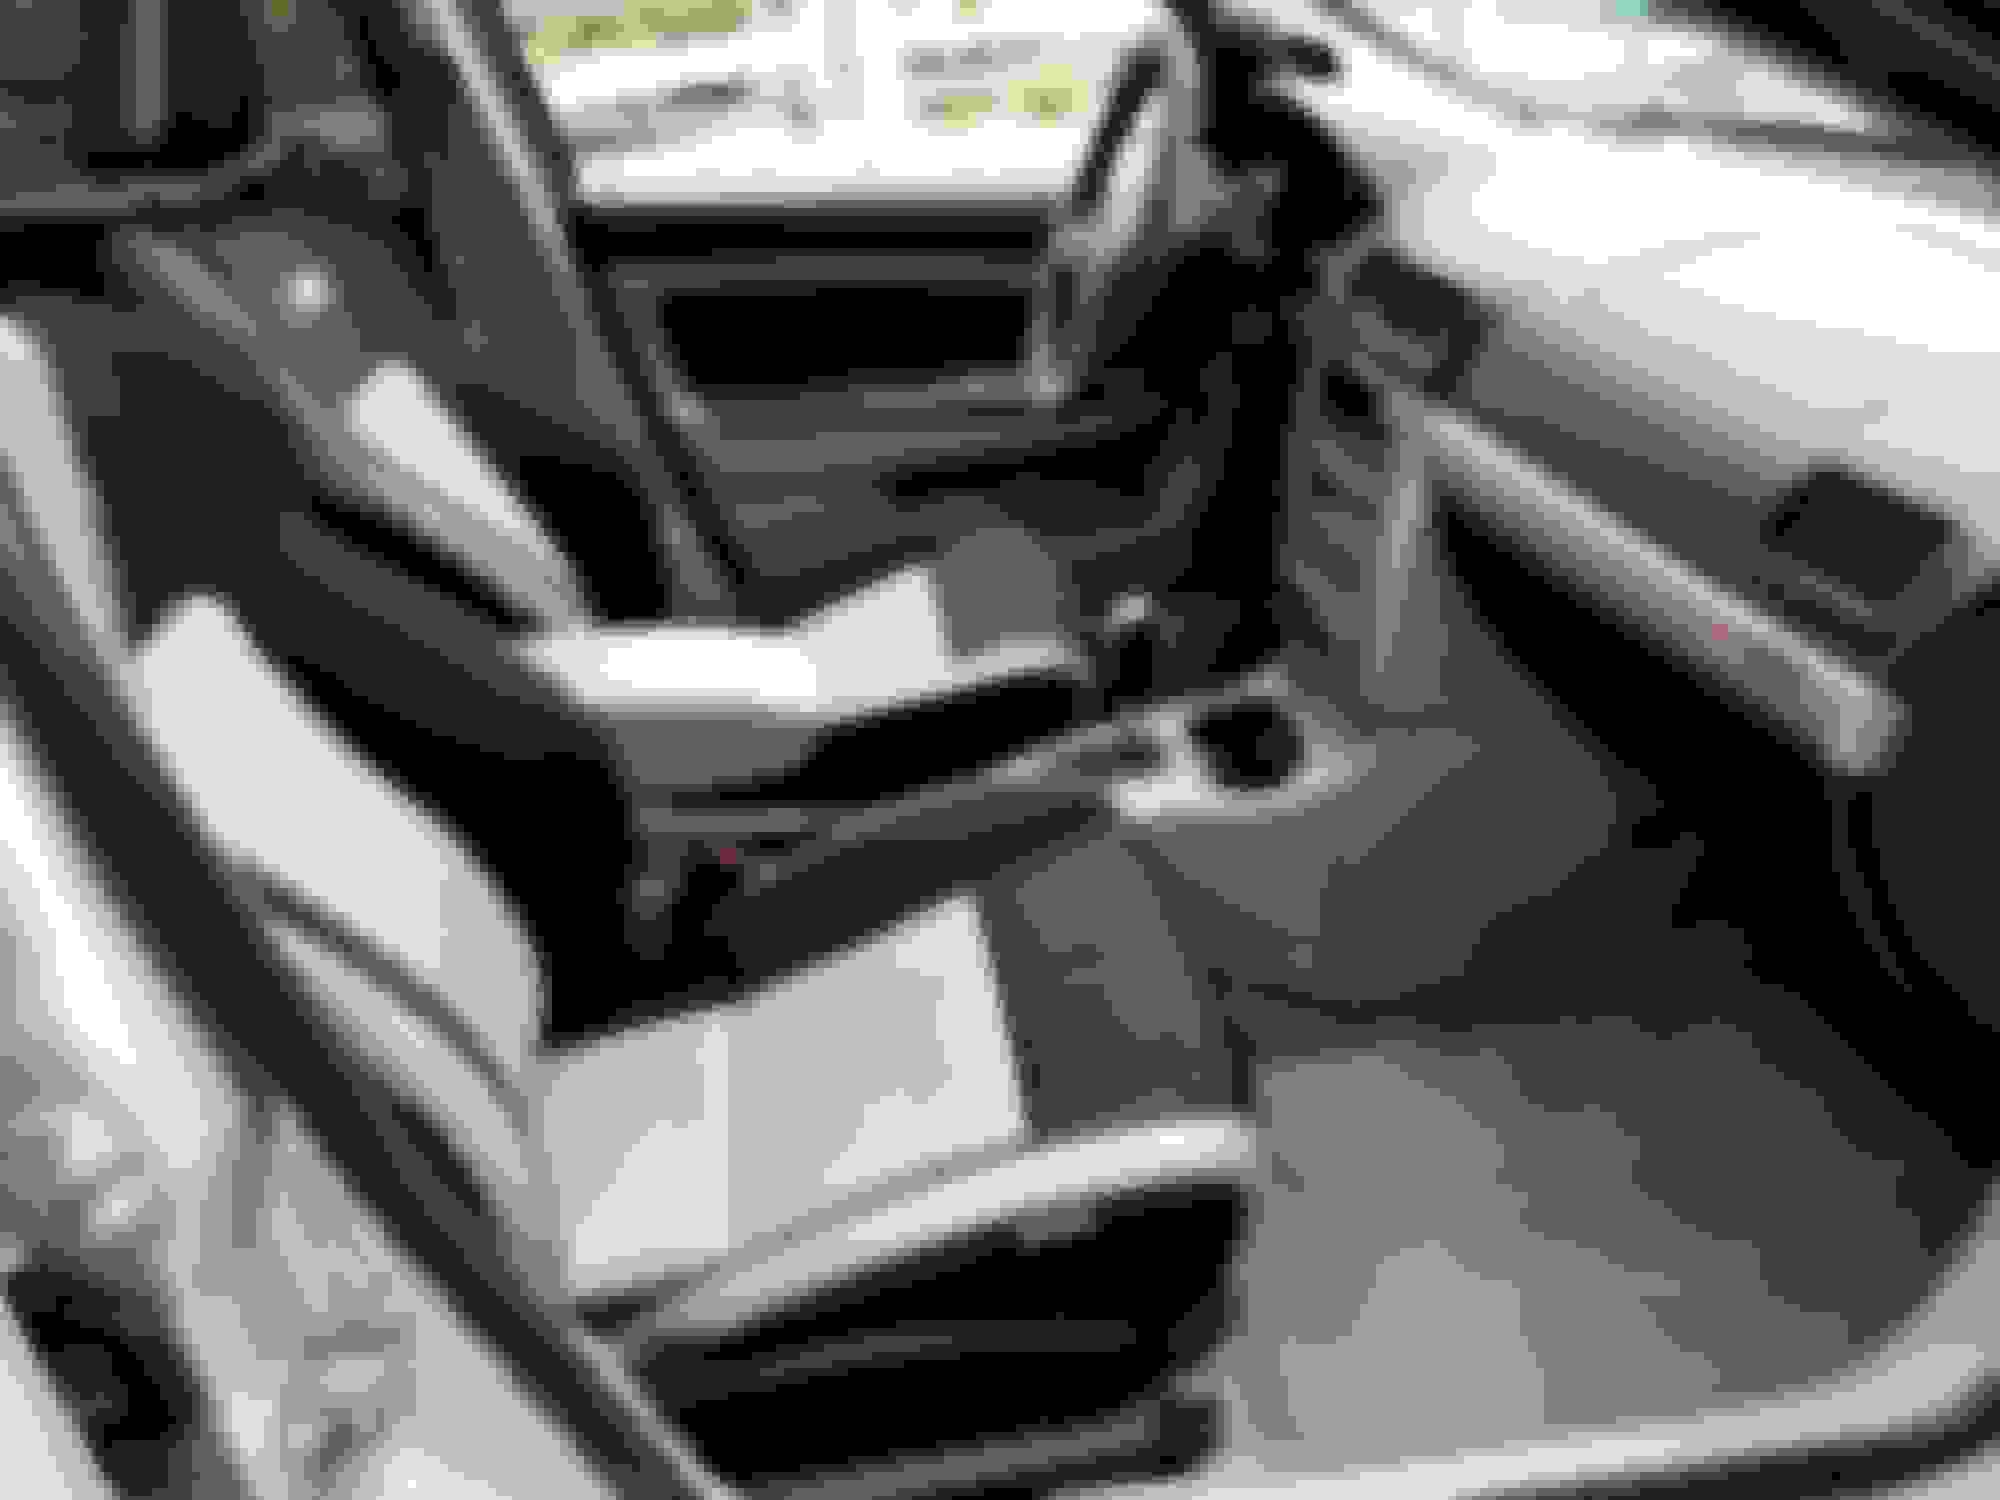
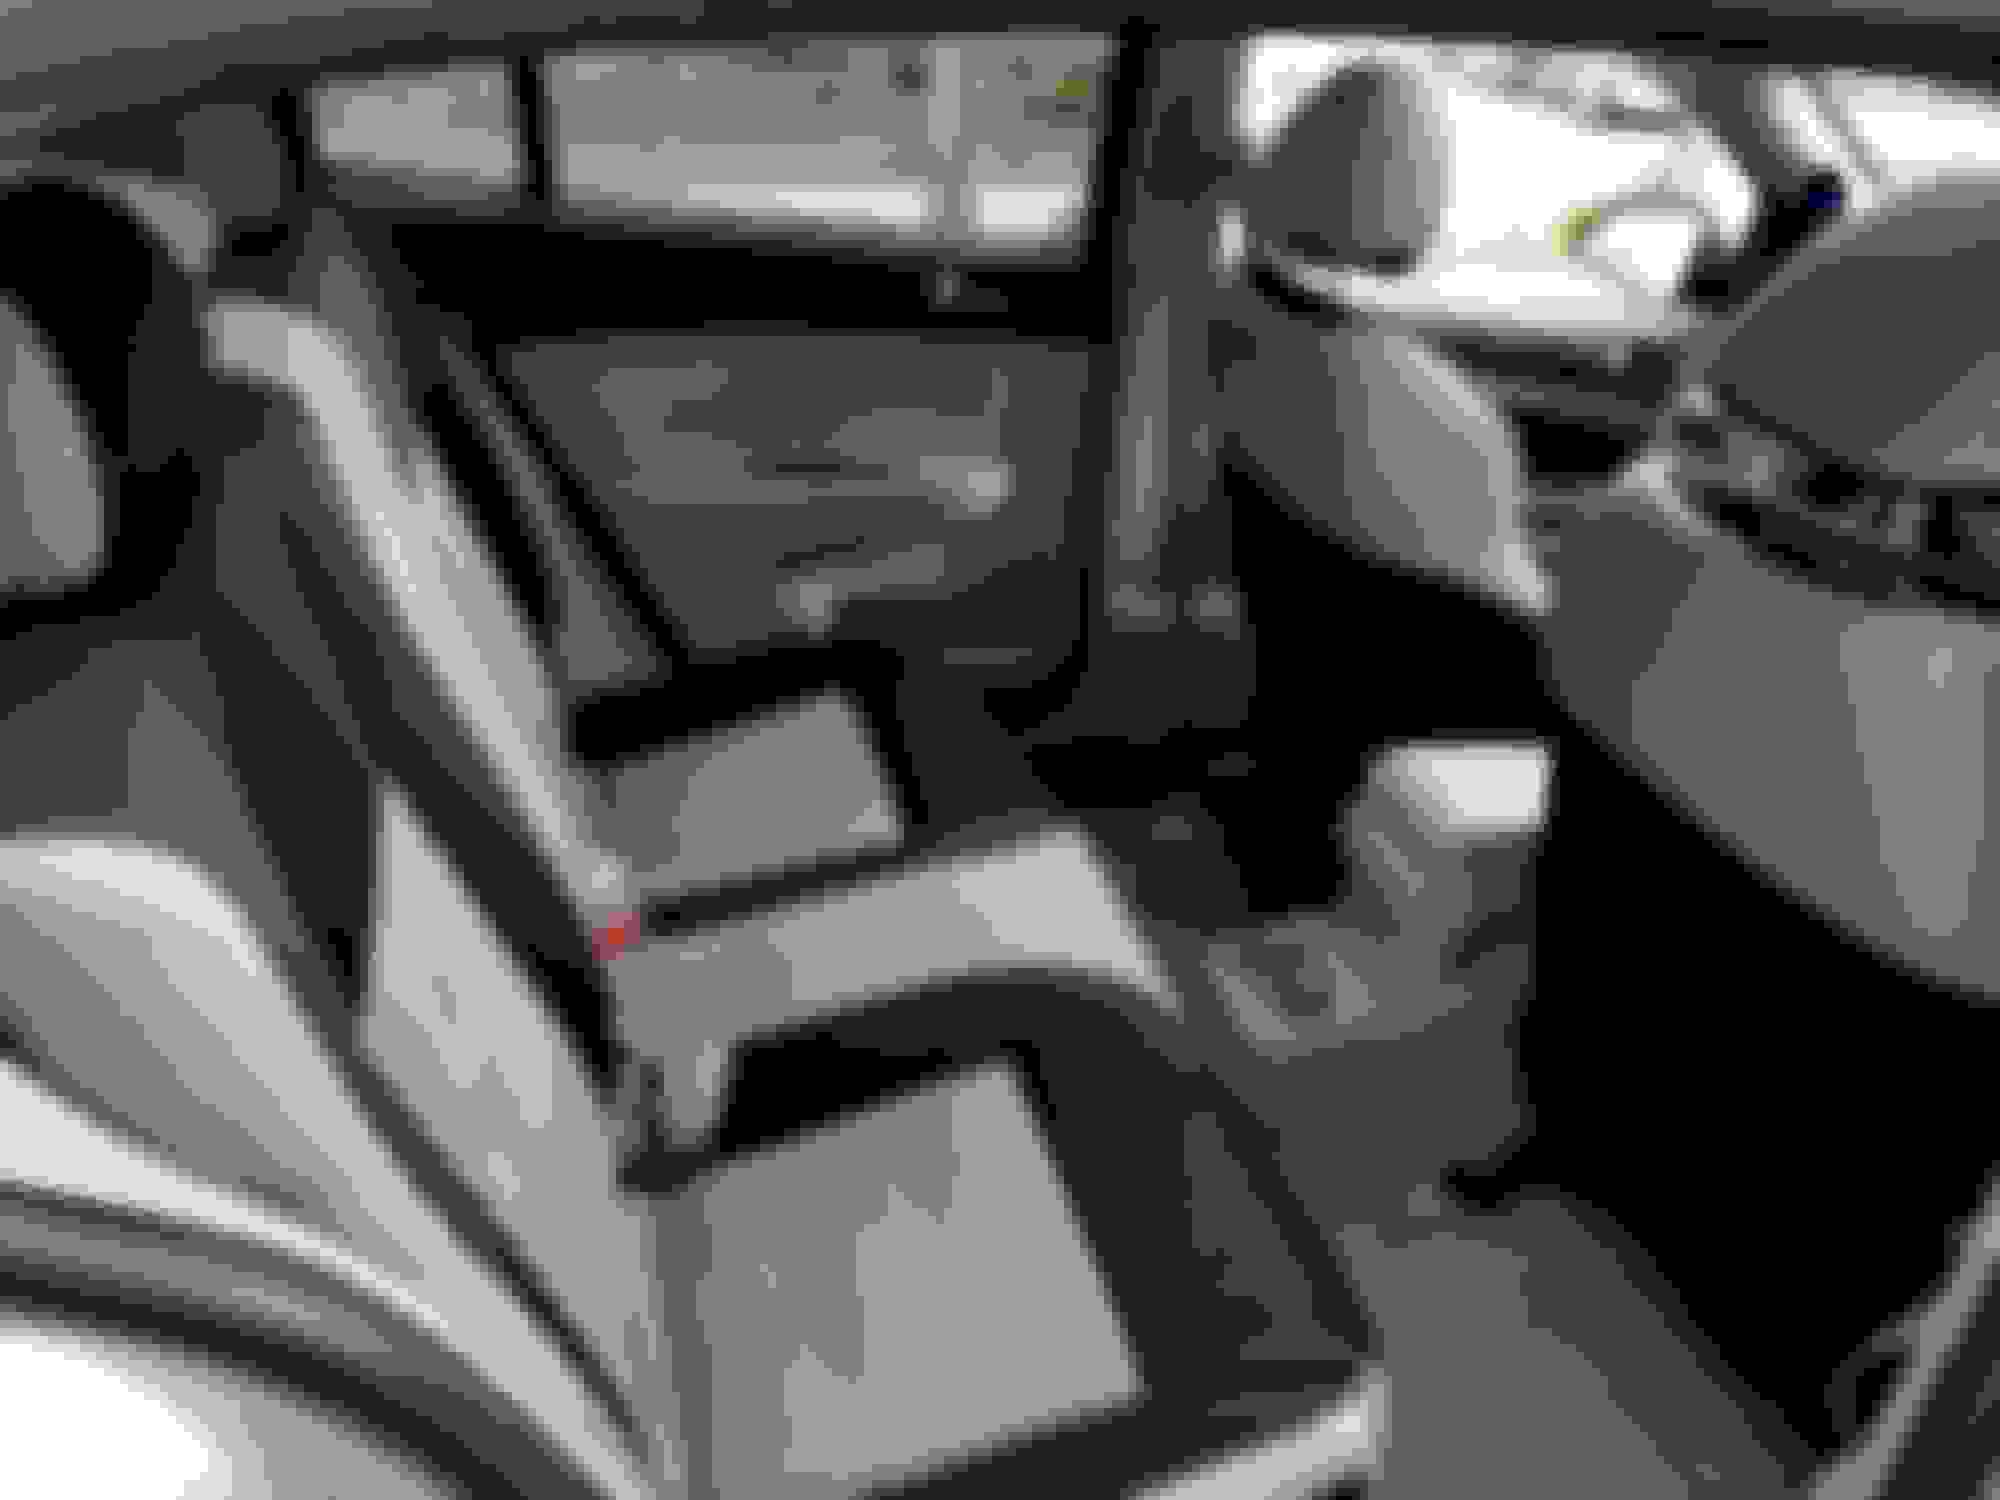
Before I got to the engine, I gutted the entire interior. New sound deadening, carpet, mats, redid all trim in oem colors and found SS Seats, front and back from a 30K total.
Last edited by Henry3959; May 22, 2017 at 04:00 PM.
Recently removed the mostly burned out dash bulbs and replaced with High Intensity blue and red for the needles SMC LED's to match the gauges.
Running an Innovate LC1 wide band.