


Help with how to sand center console and paint


Thread Starter
New Member
Joined: 12-12-12
Posts: 198
Likes: 0
From: Toronto
Help with how to sand center console and paint
Hey guys haven't posted in a while but figured I could post here for some help I need on a paint job I am trying to get done.
So let me explain, I put my car away for the winter and decided I'd start a project of painting the top pieces of my center console. But I didn't want it to look oem I want it to look smooth and glossy like fiberglass kits.
So I started sanding away for a few hours on my pieces, but I am just scared it won;t turn out good. My main question is, am I doing it right? Or should I be doing it another way?
Ill post pictures as you can see all the bumps are gone but its really scratched up from using a blade to remove the bumps and then I sanded.
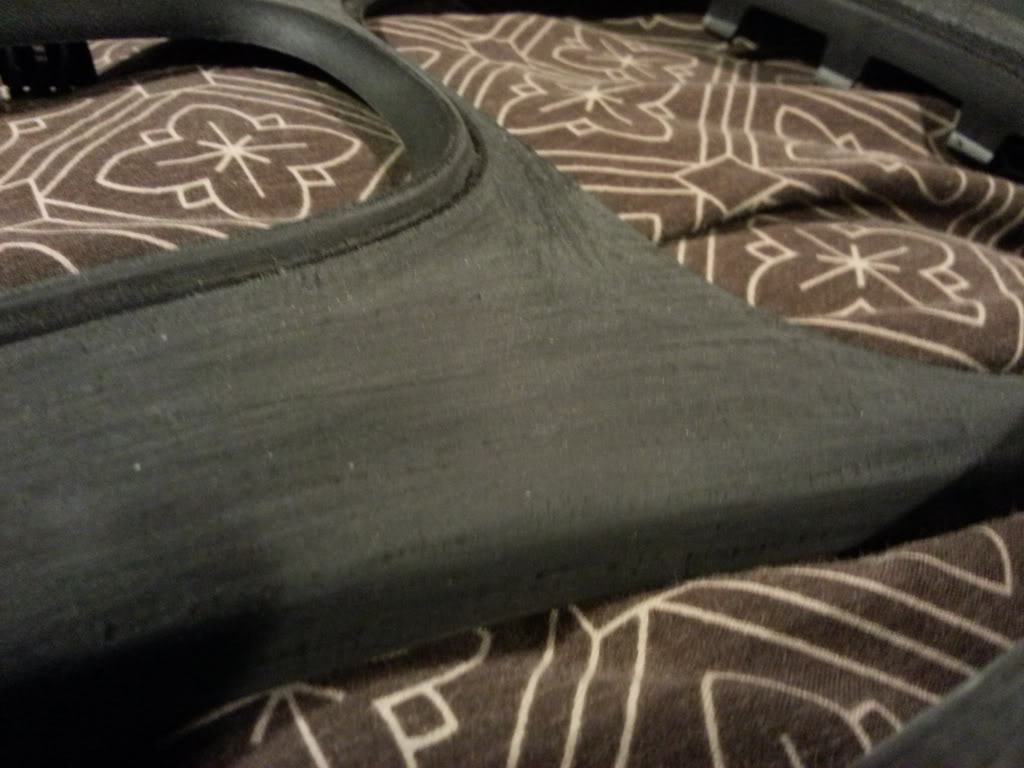
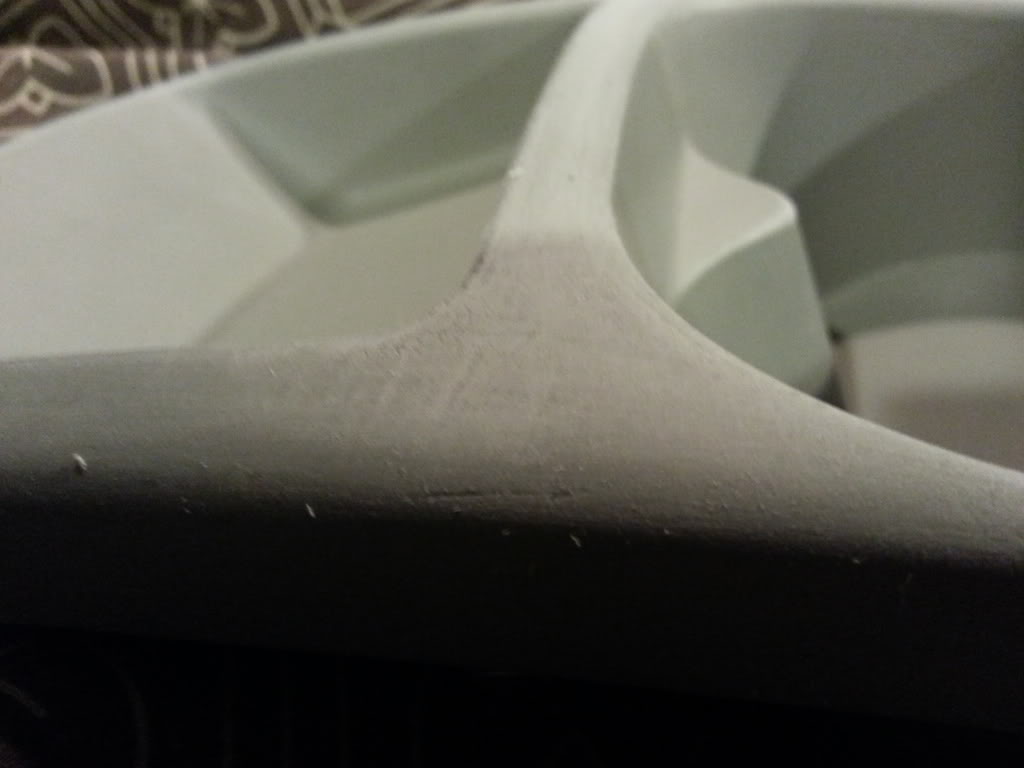
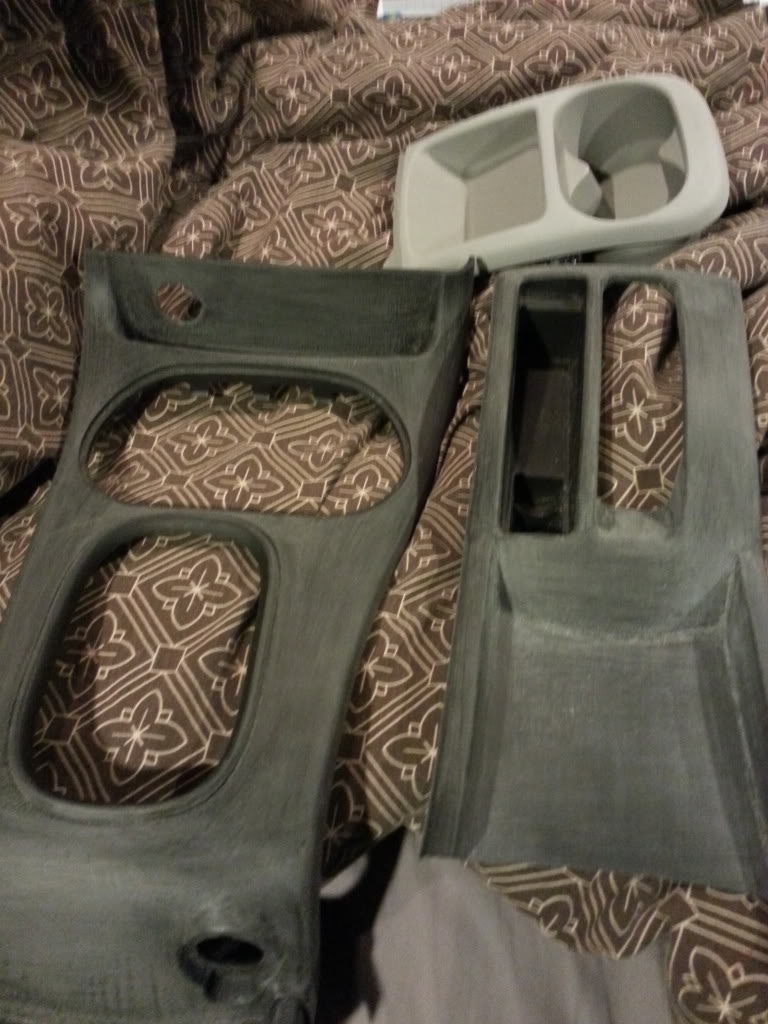
Now do I just paint now? will it turn out smooth? Do I use filler primer? Or do I keep sanding using different grit? I just want it to be perfect as I am a perfectionist. I'd hate to spend money painting it and have it all scratched or messed up.
So let me explain, I put my car away for the winter and decided I'd start a project of painting the top pieces of my center console. But I didn't want it to look oem I want it to look smooth and glossy like fiberglass kits.
So I started sanding away for a few hours on my pieces, but I am just scared it won;t turn out good. My main question is, am I doing it right? Or should I be doing it another way?
Ill post pictures as you can see all the bumps are gone but its really scratched up from using a blade to remove the bumps and then I sanded.
Now do I just paint now? will it turn out smooth? Do I use filler primer? Or do I keep sanding using different grit? I just want it to be perfect as I am a perfectionist. I'd hate to spend money painting it and have it all scratched or messed up.

I'd say smoother then filler primer multiple times with sanding in between. Really though depends on how nice you want it to come out, looks good through the window or the car or looks good 6 inches from it.


Joined: 05-18-11
Posts: 39,564
Likes: 87
From: West Chicago, IL
Seems like a neat project id like to try. Advice i have is keep sanding and yeah like guy above me said filler primer with sanding between coats. Do a gloss layer on top, then wetsand that

Thread Starter
New Member
Joined: 12-12-12
Posts: 198
Likes: 0
From: Toronto
Thank you for the advice! Definitely has to look good 3 inches from it haha. So your saying I should toss a coat of filler primer on it then sand? And then primer and sand again? Should I use finer sand paper every time?



Using the filler primer will make low and not well sanded spots stand out more, if you want perfectly smooth then you need to repeat until you think its good, and then do it one more time.
Thread Starter
New Member
Joined: 12-12-12
Posts: 198
Likes: 0
From: Toronto
For my pieces I did the following...
Primed, wet-sanded with 320 grit, primed, wet-sanded with 320 grit, applied glaze putty to any pin holes, wet-sanded with 320 grit to, primed, wet-sanded with 600, sprayed base coat + clear.
Primed, wet-sanded with 320 grit, primed, wet-sanded with 320 grit, applied glaze putty to any pin holes, wet-sanded with 320 grit to, primed, wet-sanded with 600, sprayed base coat + clear.

Thread
Thread Starter
Forum
Replies
Last Post