
Tonights the night


Thread Starter
New Member
Joined: 07-25-07
Posts: 159
Likes: 0
From: Jeromesville,OH
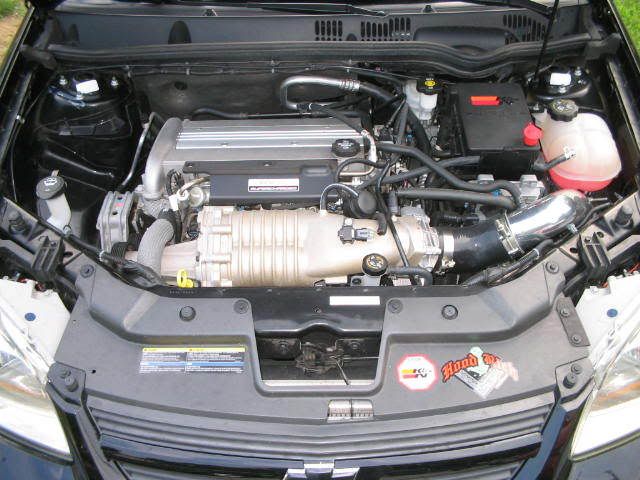
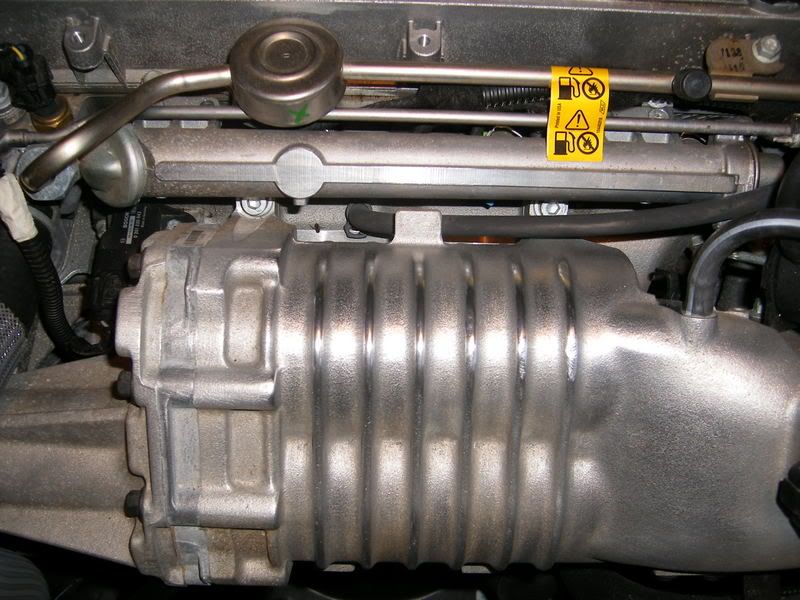
Heres the blower before

The Supplies...To start with

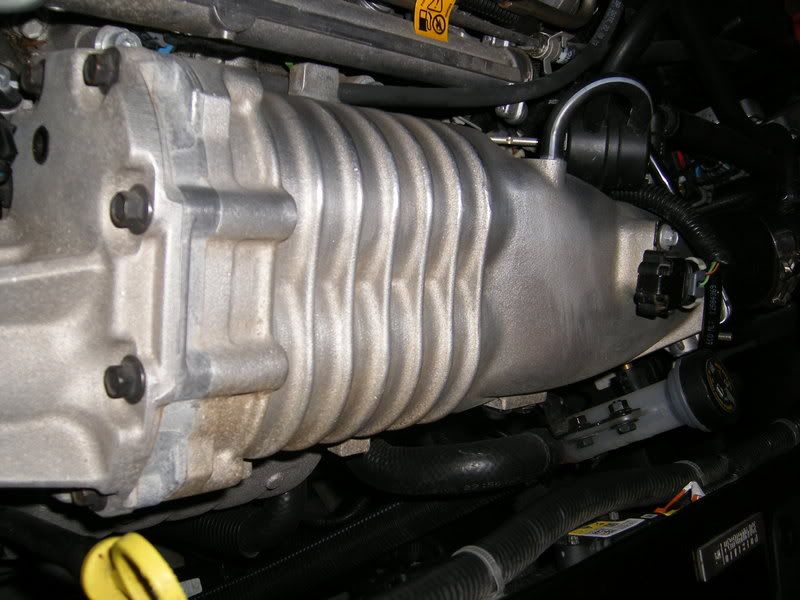
Heres the half that hasnt been touched yet

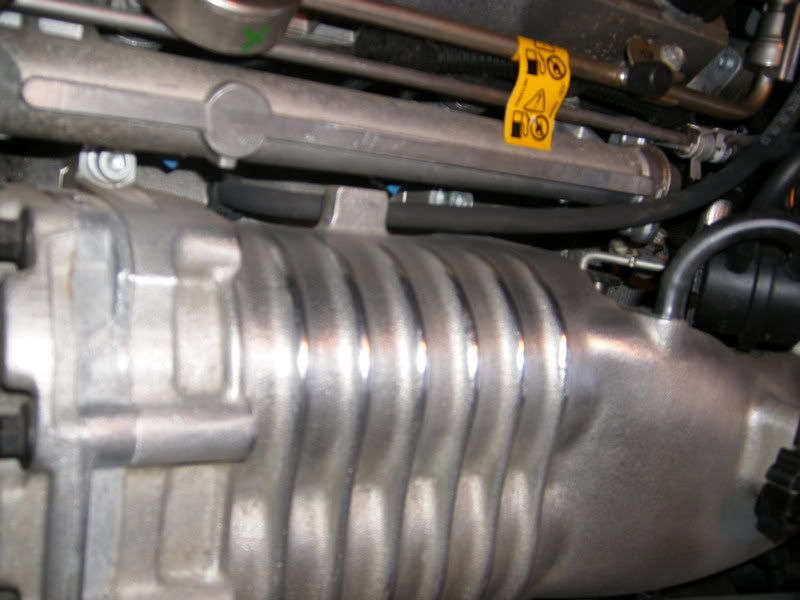
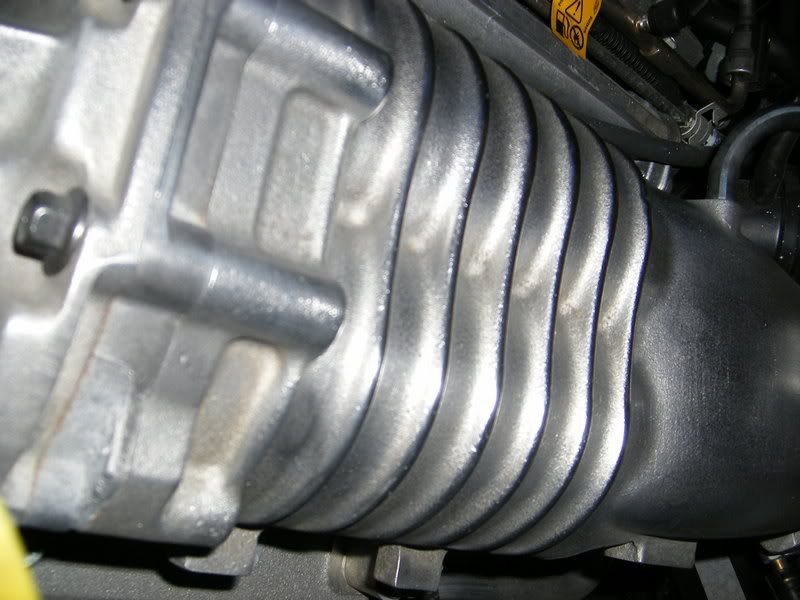
After we started getting the roughness off the blower,you can already see the difference in a couple of spots
After a little more sanding with rough then going to a smoother grit
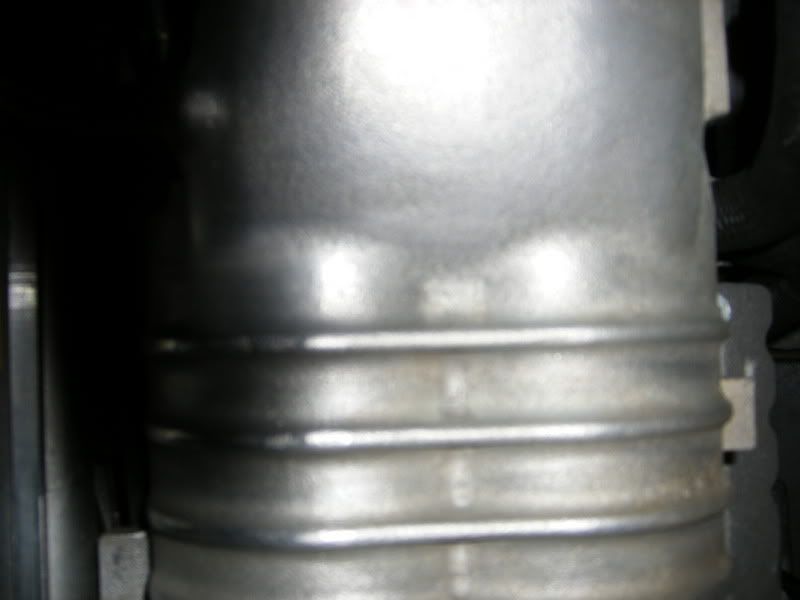
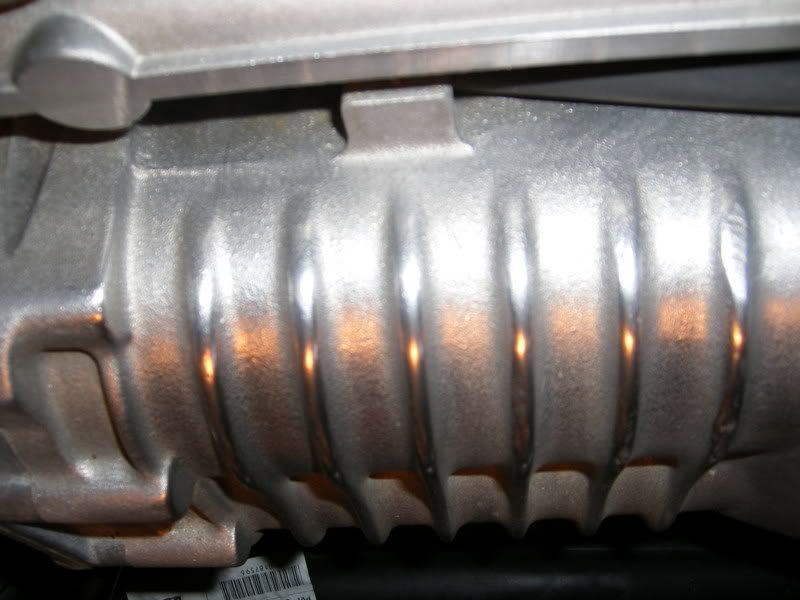
After lots of sanding and polishing with the metal gloss and sealer
And another shot
Thats the progress so far on the blower,that was only about 25 minutes of work and a smoke break
Thread Starter
New Member
Joined: 07-25-07
Posts: 159
Likes: 0
From: Jeromesville,OH
Update!!!
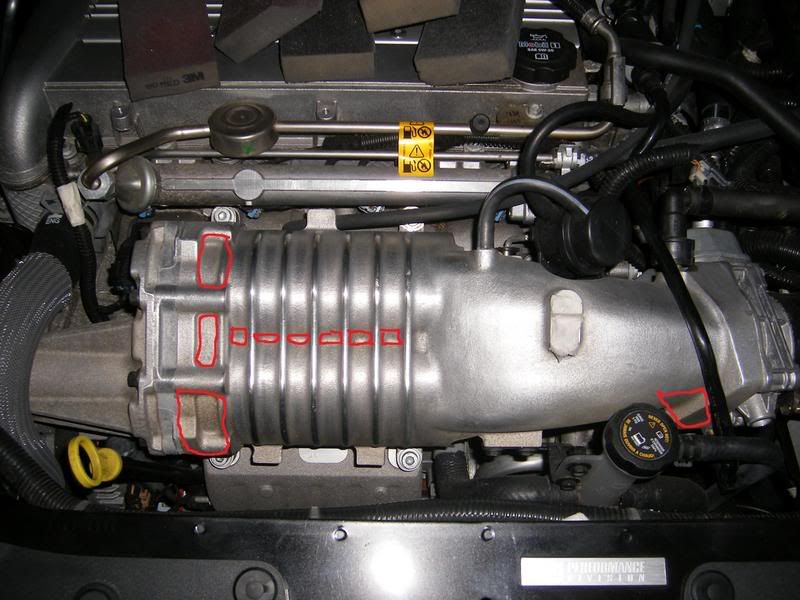
I worked on the blower some more today, got some more of the roughness off, its starting to smoot out real nice, i still have the snout to do, going to take some dremel action to it tonight, and buff the living **** out of it, im really liking the turnout of it even though i didnt take it off the car
Enjoy
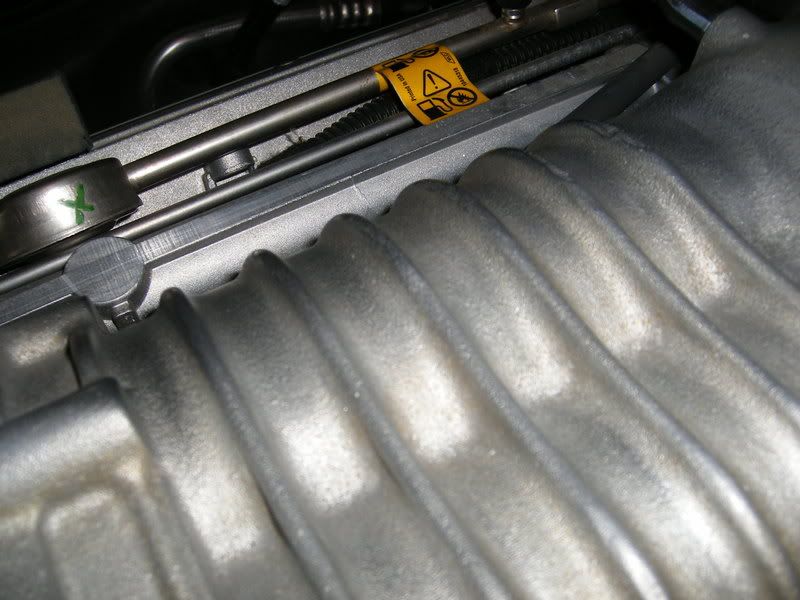
Starting to shine
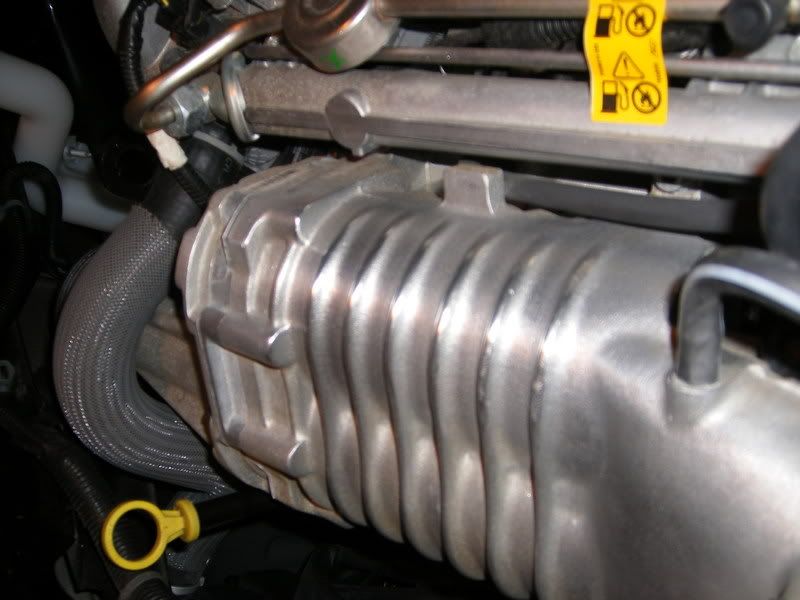
The areas circled here are the pain in the ass spots
Enjoy
Starting to shine
The areas circled here are the pain in the ass spots
Senior Member
Joined: 02-20-06
Posts: 8,913
Likes: 0
From: Ridgefield, NJ
I worked on the blower some more today, got some more of the roughness off, its starting to smoot out real nice, i still have the snout to do, going to take some dremel action to it tonight, and buff the living **** out of it, im really liking the turnout of it even though i didnt take it off the car
Enjoy
Starting to shine
The areas circled here are the pain in the ass spots
Enjoy
Starting to shine
The areas circled here are the pain in the ass spots
Yea I can see. They look like they suck. Im probably gunna polish mine up a little this weekend. Looking good so far man.
Thread Starter
New Member
Joined: 07-25-07
Posts: 159
Likes: 0
From: Jeromesville,OH
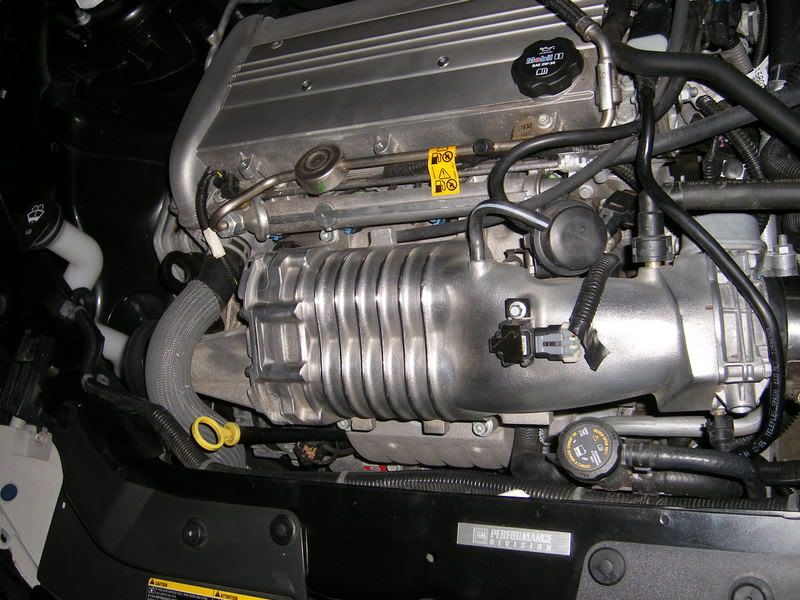
I think this is gonna do it for the actual housing, i like how looks now, not completely polished, gives it some character
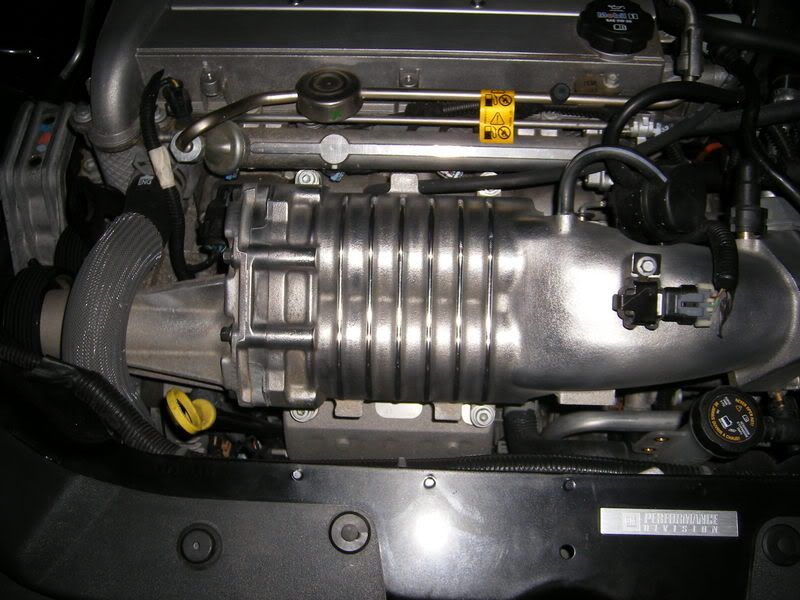
Bling!
Im very proud of how it has turned out, all thats left to do is the snout
Bling!
Im very proud of how it has turned out, all thats left to do is the snout

Are you gonna polish the pulley side of the supercharger?
nevermind i read a little and answered my own question
nevermind i read a little and answered my own question
Last edited by BlackSSNick; Aug 28, 2007 at 09:06 PM. Reason: Automerged Doublepost
Thread Starter
New Member
Joined: 07-25-07
Posts: 159
Likes: 0
From: Jeromesville,OH
hahah yes and no, i would like it to all be shiny but that would take a **** load of more work, im going to finish the snout tonight and who knows what tomorrow brings, maybe ill do the rest of the blower

Thread Starter
New Member
Joined: 07-25-07
Posts: 159
Likes: 0
From: Jeromesville,OH
in the first post of pictures is the 3m sanding blocks, they are like foam blocks with different grit sandpaper on them, and they work excellent! I also used a metal grinding wheelie to smooth it down too, to buff i used mothers power ball and polish to buff it out, and then the metal gloss and sealer gloss to finish it off

Junior Member
Joined: 03-28-07
Posts: 427
Likes: 0
From: British Columbia, Canada
in the first post of pictures is the 3m sanding blocks, they are like foam blocks with different grit sandpaper on them, and they work excellent! I also used a metal grinding wheelie to smooth it down too, to buff i used mothers power ball and polish to buff it out, and then the metal gloss and sealer gloss to finish it off
by the way, looks awsome.


Thread
Thread Starter
Forum
Replies
Last Post
Sl0wbaltSS
2.0L LNF Performance Tech
18
Nov 21, 2018 11:11 PM