
Interior: 194 Ebay LED Load Resistors.


Thread Starter
Junior Member
Joined: 08-14-07
Posts: 451
Likes: 1
From: Clovis, CA
194 Ebay LED Load Resistors.
Ok, so you have decided to purchase the 194 LEDs for your car off ebay. Sure, it seems to work fine in the trunk. Works great for the rear plate. Cool, however it does not seem to work well in your map lights inside the car. It seems to stay on all the time, but being super dim. Well I will show you how to fix this problem.
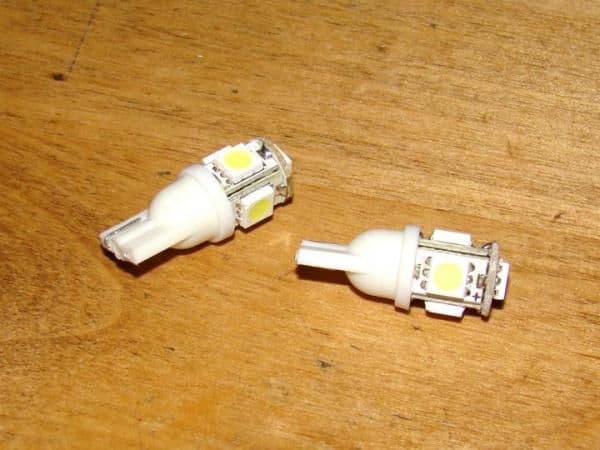
You can do this to any 194 LED light. Here are the ones that I have purchased:
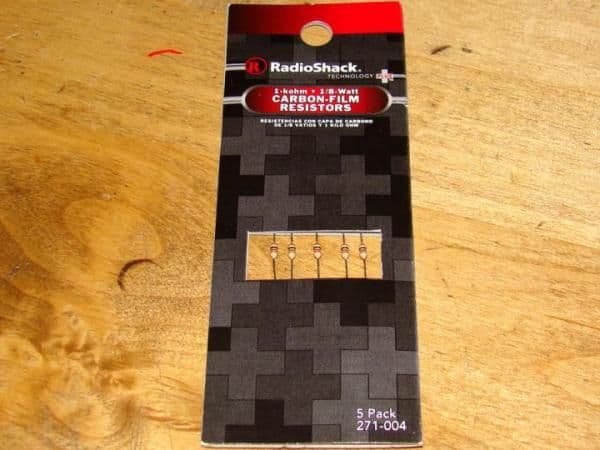
Step One: Go to your local RadioShack store and pick up a pack of 1k Ohm 1/8th Watt Resistors.
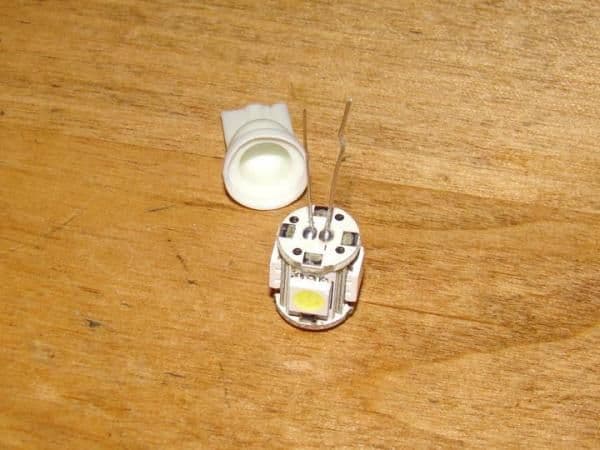
Step Two: Take the base of the LED light. Do this by prying the wires from the base. Then pulling the base straight out:
Step Three: Take one of the resistors. Bend one leg at a 90 degree angle. Cut off the leg leaving about 1/8th inch of led. The solder it to one side of the LED light board. It will not matter what side of the resistor to use, since resistors are not polarized.
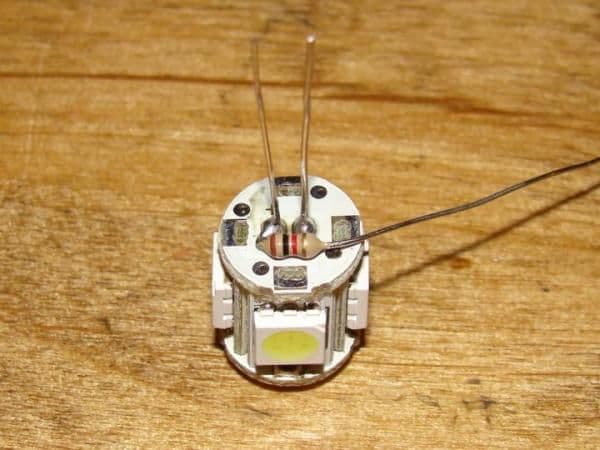
Step Four: Measure and cut the other led. Then you can bend it towards the other leg. Doing this will prepare the other side. They solder it.
Step Five: You are almost finished. Your LED board should look like this. I also took the liberty to straighten out the LED leads.
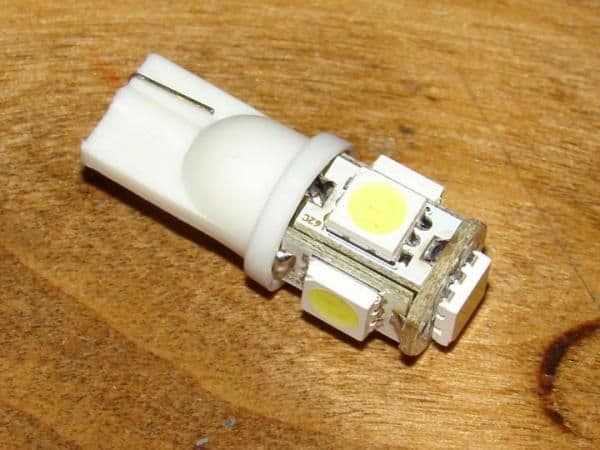
Last Step: Put the base back on the LED in reverse of how you removed it. Make sure you do this to both LEDs for the map lights. Enjoy normal operation of your map lights.
You can do this to any 194 LED light. Here are the ones that I have purchased:
Step One: Go to your local RadioShack store and pick up a pack of 1k Ohm 1/8th Watt Resistors.
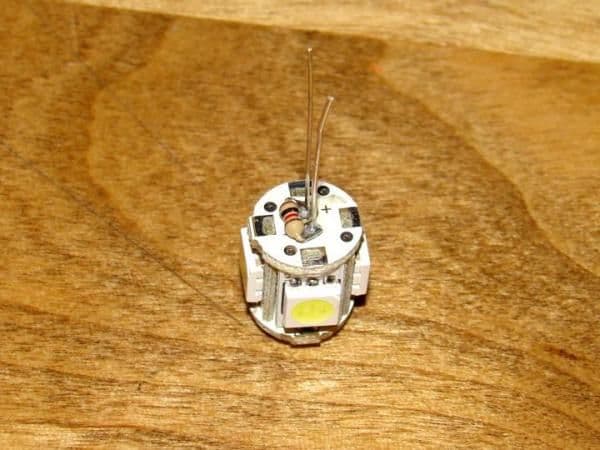
Step Two: Take the base of the LED light. Do this by prying the wires from the base. Then pulling the base straight out:
Step Three: Take one of the resistors. Bend one leg at a 90 degree angle. Cut off the leg leaving about 1/8th inch of led. The solder it to one side of the LED light board. It will not matter what side of the resistor to use, since resistors are not polarized.
Step Four: Measure and cut the other led. Then you can bend it towards the other leg. Doing this will prepare the other side. They solder it.
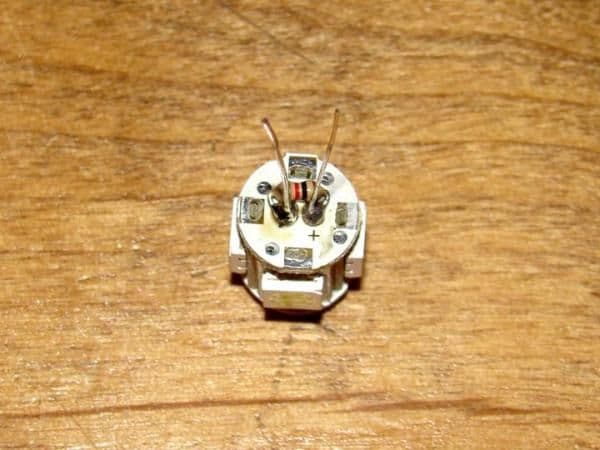
Step Five: You are almost finished. Your LED board should look like this. I also took the liberty to straighten out the LED leads.
Last Step: Put the base back on the LED in reverse of how you removed it. Make sure you do this to both LEDs for the map lights. Enjoy normal operation of your map lights.


Thread
Thread Starter
Forum
Replies
Last Post