
2.0 LNF Suspension: How-to: Changing rear brake pads on 2009 SS/TC Coupe


I'll add some pictures back to this beast. This was my first rear brake job.
After you have removed the wheel i would suggest putting two lugs back on to keep the rotor from moving while you unbolt the caliper and rotor bracket

4. Pop off the small plastic caps for the caliper bolts, it's just the small cap at the end of the bushing, DO NOT REMOVE THE ENTIRE BUSHING!!
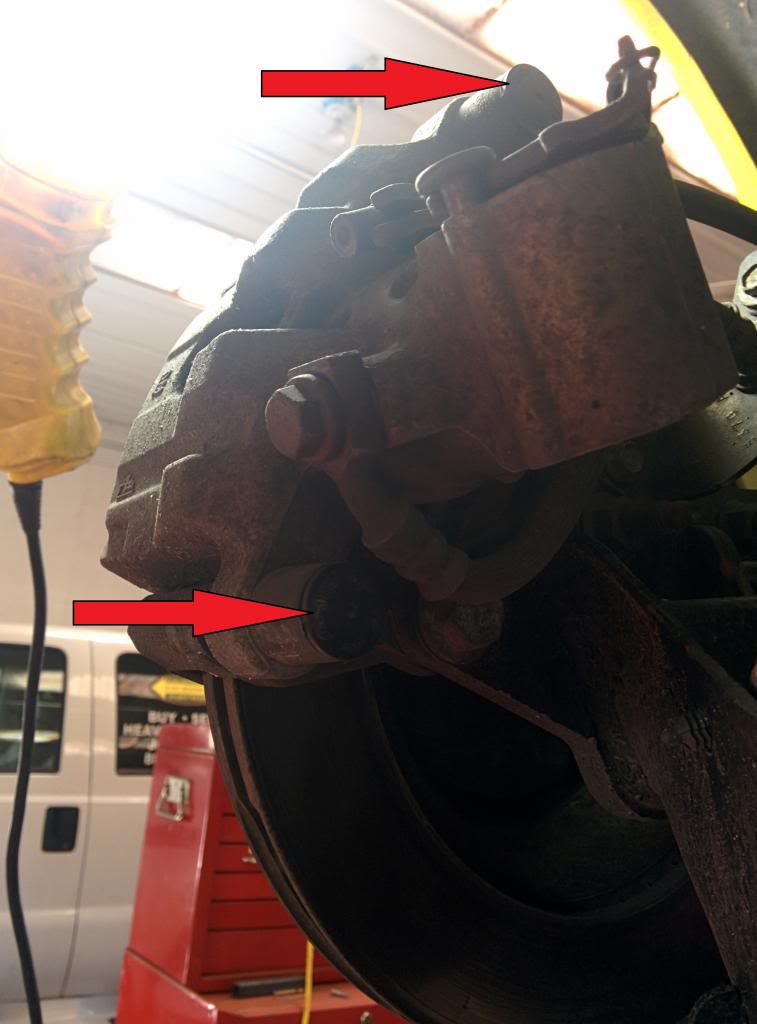
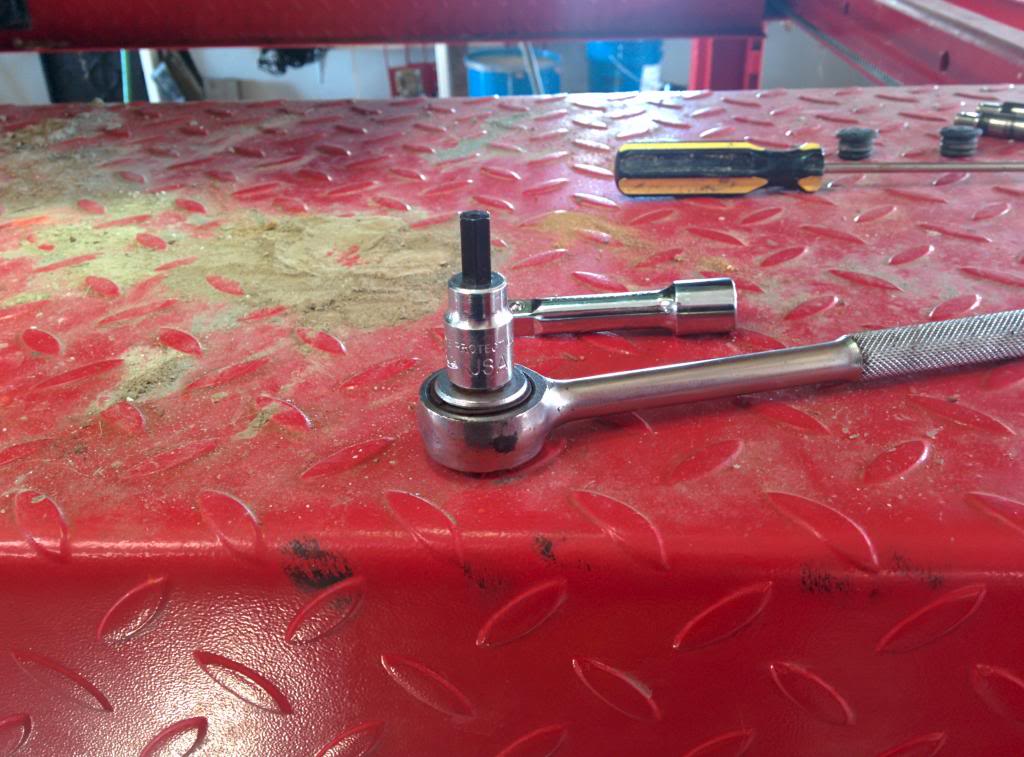
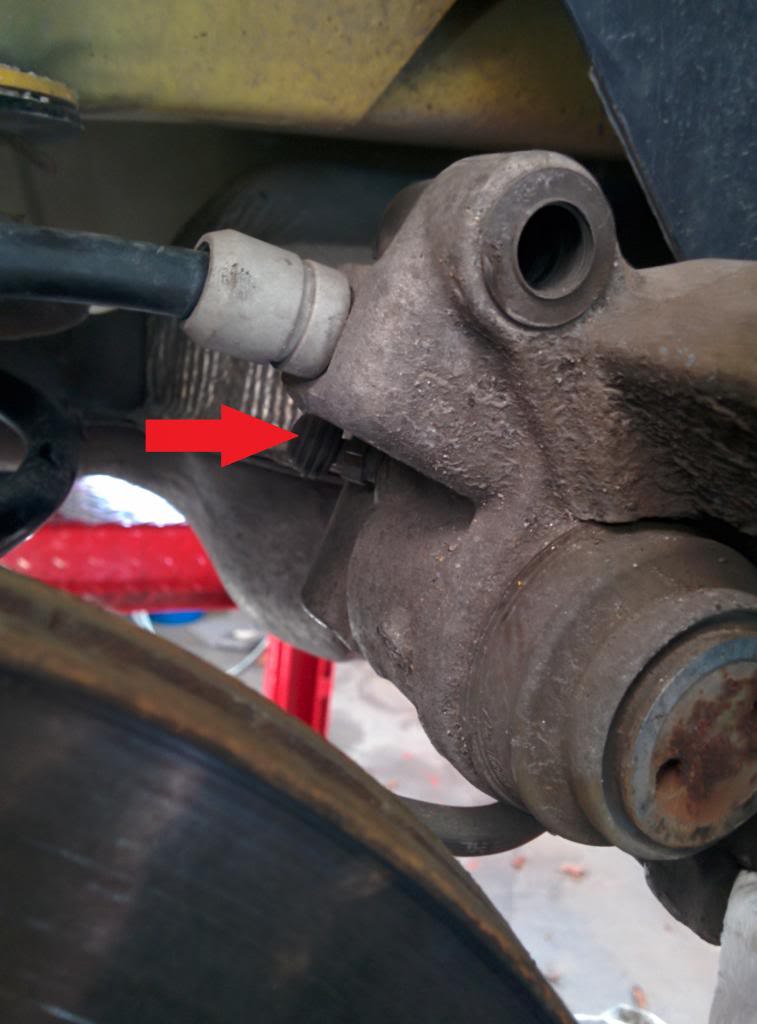
5. Insert the 7mm hex bit socket and remove the 2 bolts:

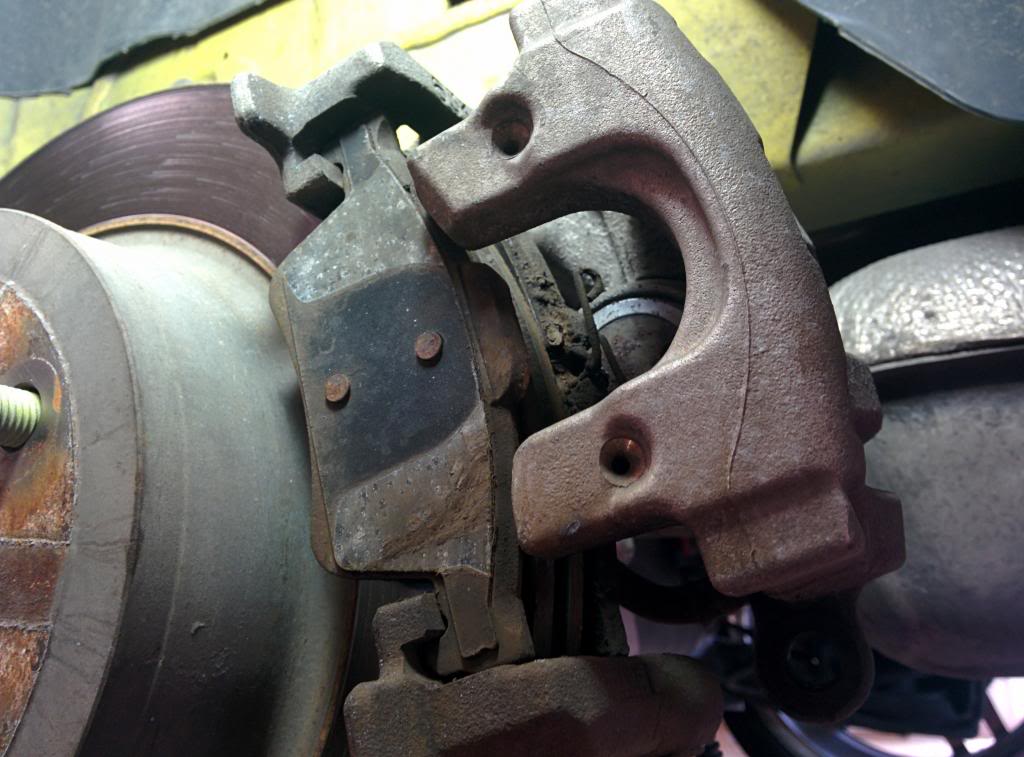
6. Using a flathead screwdriver, gently pry one of the �wings� of the front spring clip out, and remove the other part of the wing. Don�t force it out.

7. Lift up the caliper and remove both pads. They should easily come out of the anchor plate.
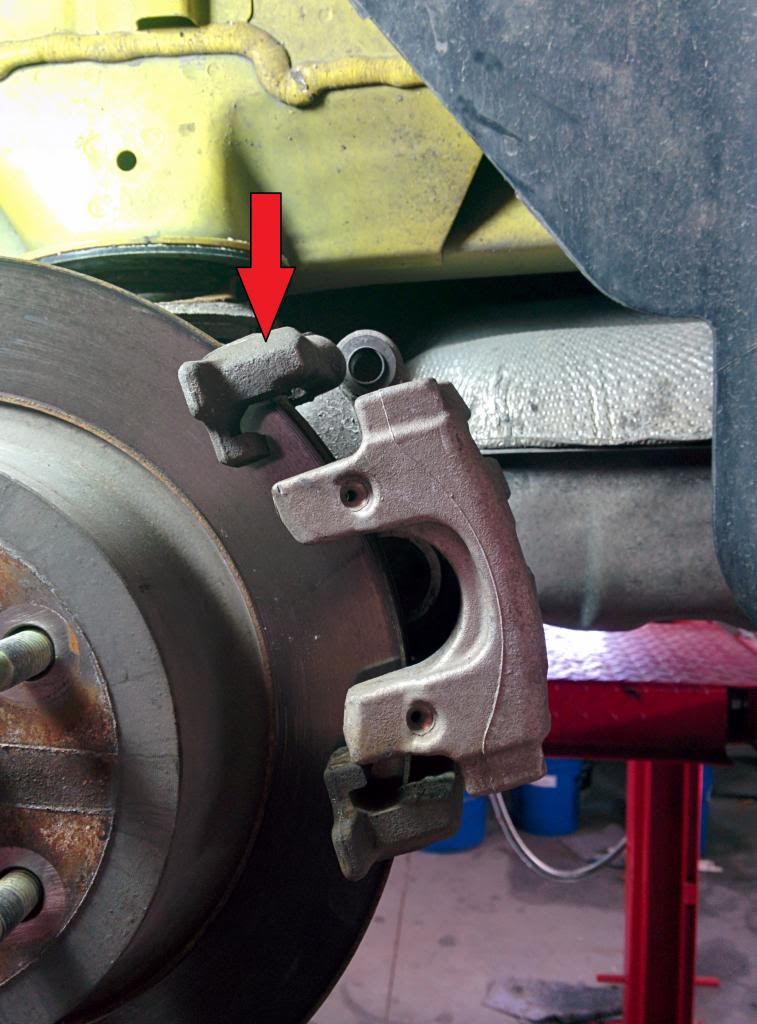
Now if you are replacing the rotor you will need to remove the rotor/pad bracket too.
8. Do the following if your pads are worn or have been used: Pull cap off bleeder screw. Loosen the bleeder screw and attach a hose to a suitable container to receive the brake fluid, rotate the piston back using the special tool (clockwise rotation) Use the "M" tool from Harbor Freight. Also, use a set of pliers to tighten the tool against the caliper as shown below . Tighten the bleeder screw. This is to push back the piston so you can install the new pads that are thicker. If you're doing a pad swap on a new car or with old pads that haven't been used, this step isn't necessary.
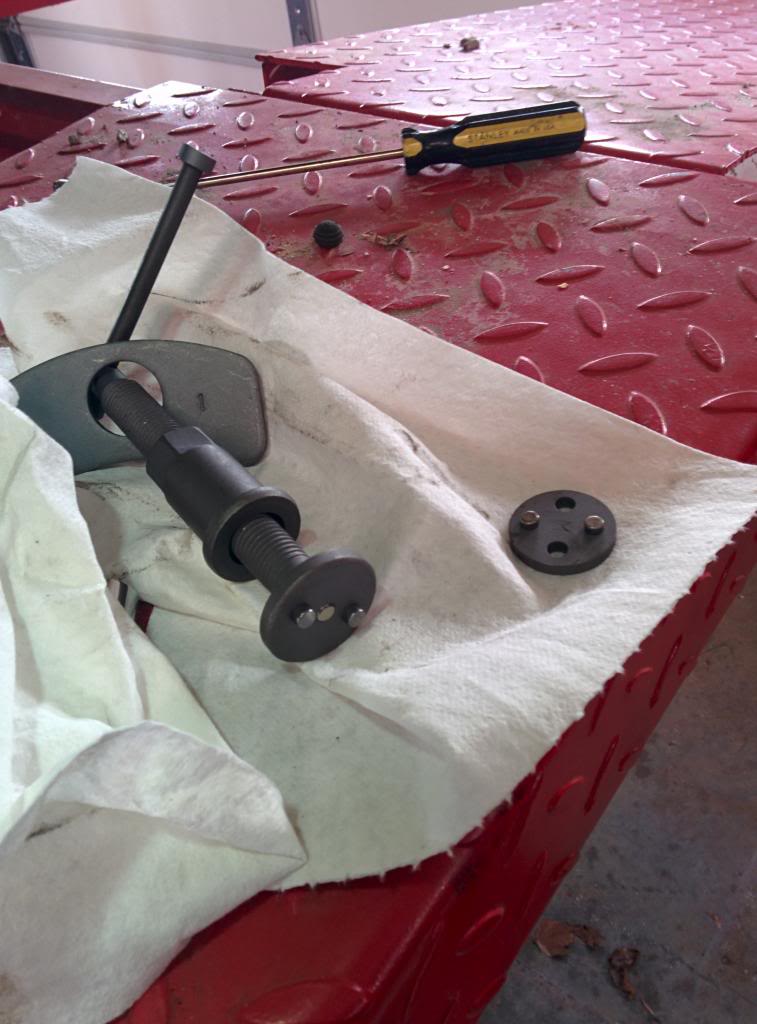


Yes the "M" tool from the Pittsburgh harbor freight set worked perfect. Make sure to tighten the tool to the caliper tight because that's what helps push in as you turn. Make sure to retighten it as you push the caliper in.
Let me know if you have anymore question. Sorry I didn't show the rest. It's pretty easy in reverse.
I also used a power bleeder at 10psi and it worked very well once i figure out how to use it.
After you have removed the wheel i would suggest putting two lugs back on to keep the rotor from moving while you unbolt the caliper and rotor bracket

4. Pop off the small plastic caps for the caliper bolts, it's just the small cap at the end of the bushing, DO NOT REMOVE THE ENTIRE BUSHING!!

5. Insert the 7mm hex bit socket and remove the 2 bolts:


6. Using a flathead screwdriver, gently pry one of the �wings� of the front spring clip out, and remove the other part of the wing. Don�t force it out.

7. Lift up the caliper and remove both pads. They should easily come out of the anchor plate.

Now if you are replacing the rotor you will need to remove the rotor/pad bracket too.

8. Do the following if your pads are worn or have been used: Pull cap off bleeder screw. Loosen the bleeder screw and attach a hose to a suitable container to receive the brake fluid, rotate the piston back using the special tool (clockwise rotation) Use the "M" tool from Harbor Freight. Also, use a set of pliers to tighten the tool against the caliper as shown below . Tighten the bleeder screw. This is to push back the piston so you can install the new pads that are thicker. If you're doing a pad swap on a new car or with old pads that haven't been used, this step isn't necessary.


Yes the "M" tool from the Pittsburgh harbor freight set worked perfect. Make sure to tighten the tool to the caliper tight because that's what helps push in as you turn. Make sure to retighten it as you push the caliper in.
Let me know if you have anymore question. Sorry I didn't show the rest. It's pretty easy in reverse.
I also used a power bleeder at 10psi and it worked very well once i figure out how to use it.
Someone asked me to post info about the power bleeder from Amazon/Summit
get power bleeder pump system. Add a good amount of fluid to the pump if you are adding new fluid. Find the correct spacer with the kit that will fit on the stock resevoir cap snugly. Pump bleeder to 10 psi or so and make sure that it holds pressure. This will insure the cap is tight and there are no leaks in the system. The seal at the cap was my main issue initially. Then you begin bleeding. I went ahead and put new fluid in. Bleed each corner until new clean fluid comes out.
LR RF(Inboard) RF(outboard) RR LF(inboard) LF (outboard)
I'm no mechanic and took my time. Was simple.
Last edited by umrdyldo; Mar 19, 2014 at 03:23 PM.

Thread
Thread Starter
Forum
Replies
Last Post