
Appearance: HOW TO: Installing HID Fog Lights


Thread Starter
Senior Member
Joined: 08-22-11
Posts: 1,594
Likes: 0
From: Montreal
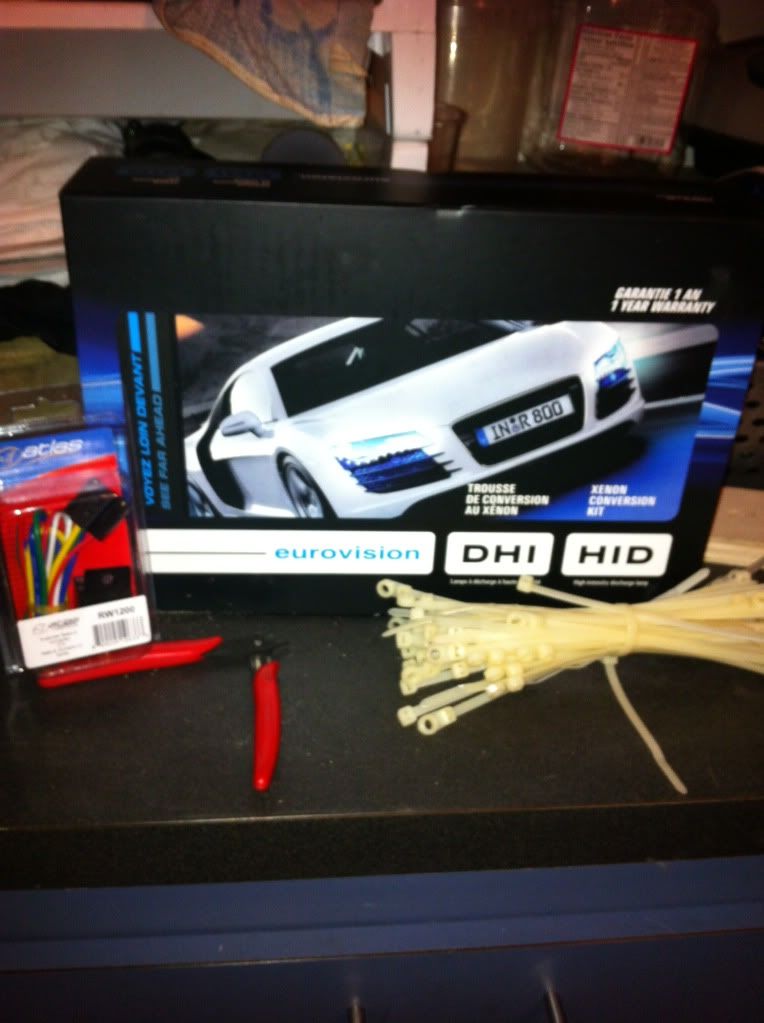
HOW TO: Installing HID Fog Lights
required tools: 10mm ratchet, 3m tape (or anything to hold up the ballasts), tie raps to minimize the wire clutter.
This is the same procedure for the base model with fogs, as it is for the SS 'balts.
I'd like to first suggest to everyone to wash their car BEFORE doing this, unlike what I did. I ended up washing it after using a bucket of water, soap, a hand washer thing and a chamois. Since we're in the middle of winter here in Montreal, the roads are very salty, and hence the dirty engine bay.
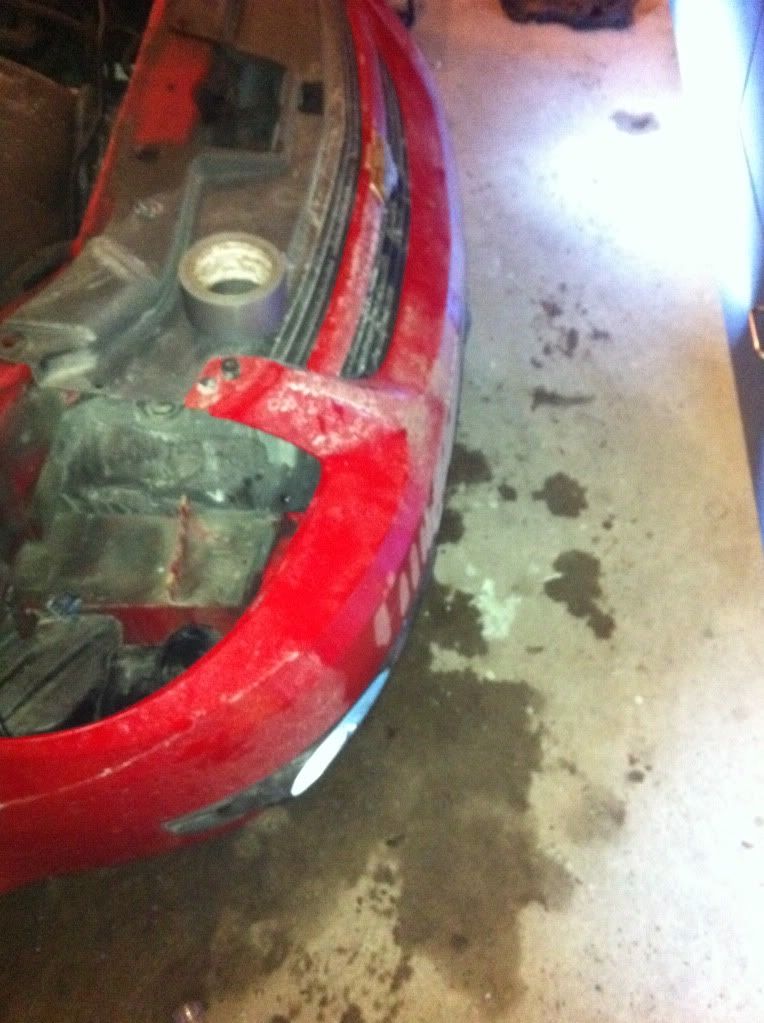
Anyway, first thing's first; remove your headlights and headlight bracket by removing these screws. The headlights have 2 screws, and the bracket has two screws on top, fitted to the frame, and two underneath the headlights facing the front of the car. All the screws are 10mm.
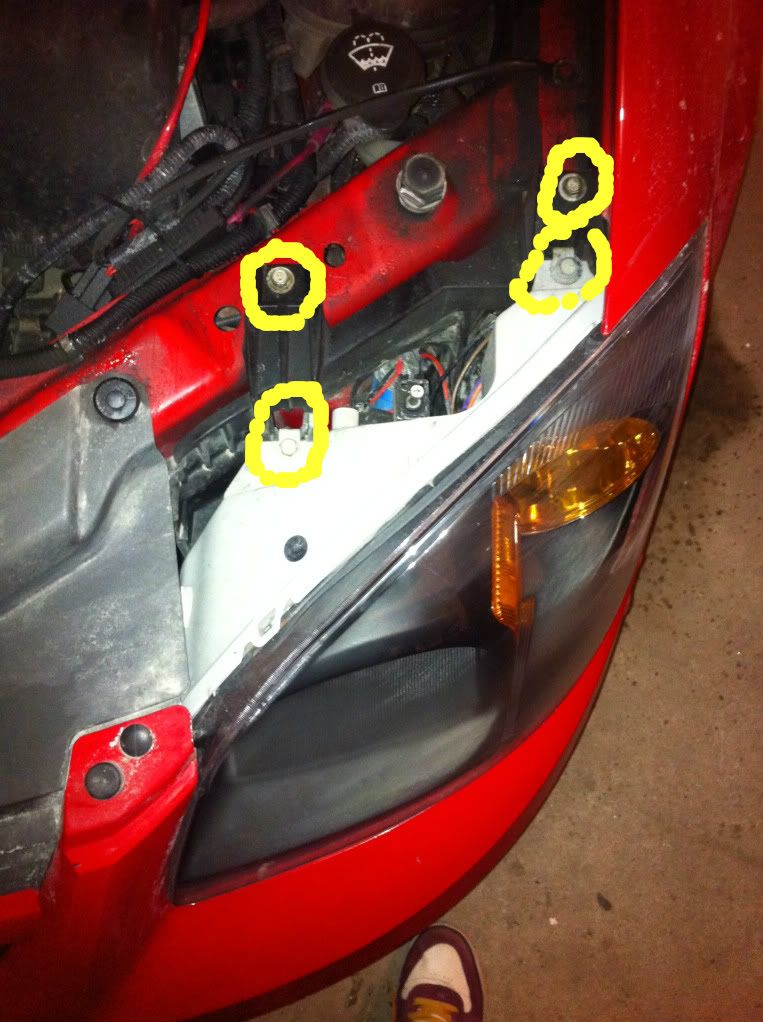
Once the screws are removed, remove the plastic nuts and bolts from the bumper cover so that the headlights can be removed easily. This isn't necessary, but it helps add clearance so that you can remove the headlights more freely. To remove the headlights, pop them out towards the front of the car, and in towards the middle of the car. Then remove the casing towards the outside.
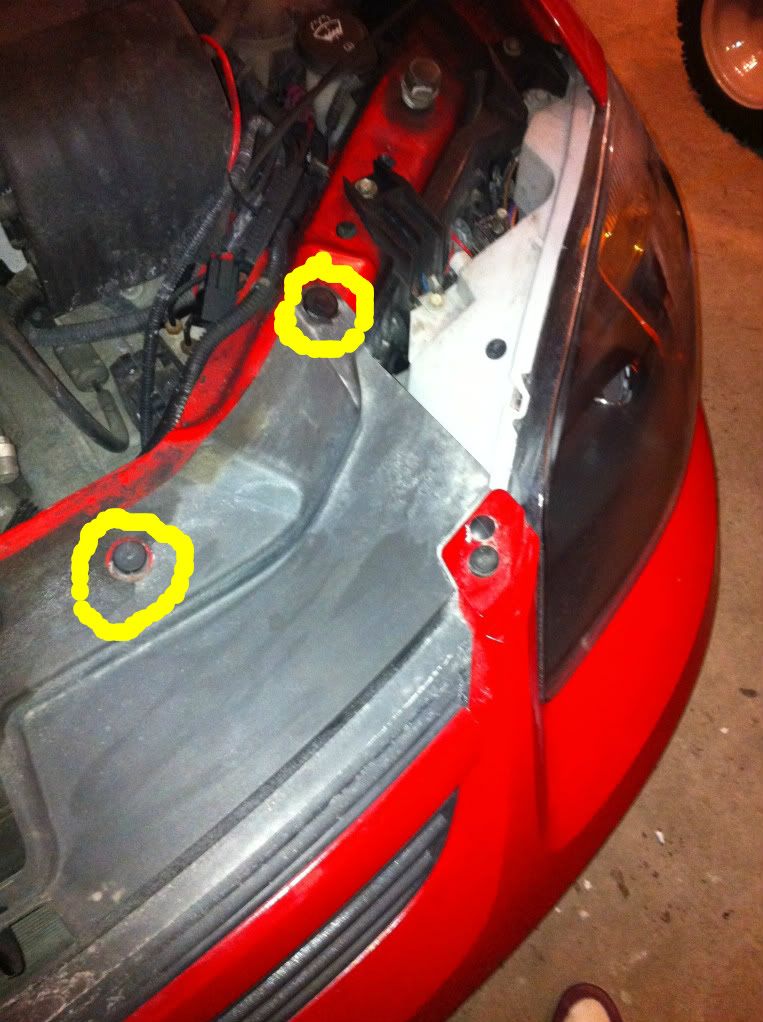
Now to remove the headlight.
These are the ''hidden'' screws of the bracket under the headlight.

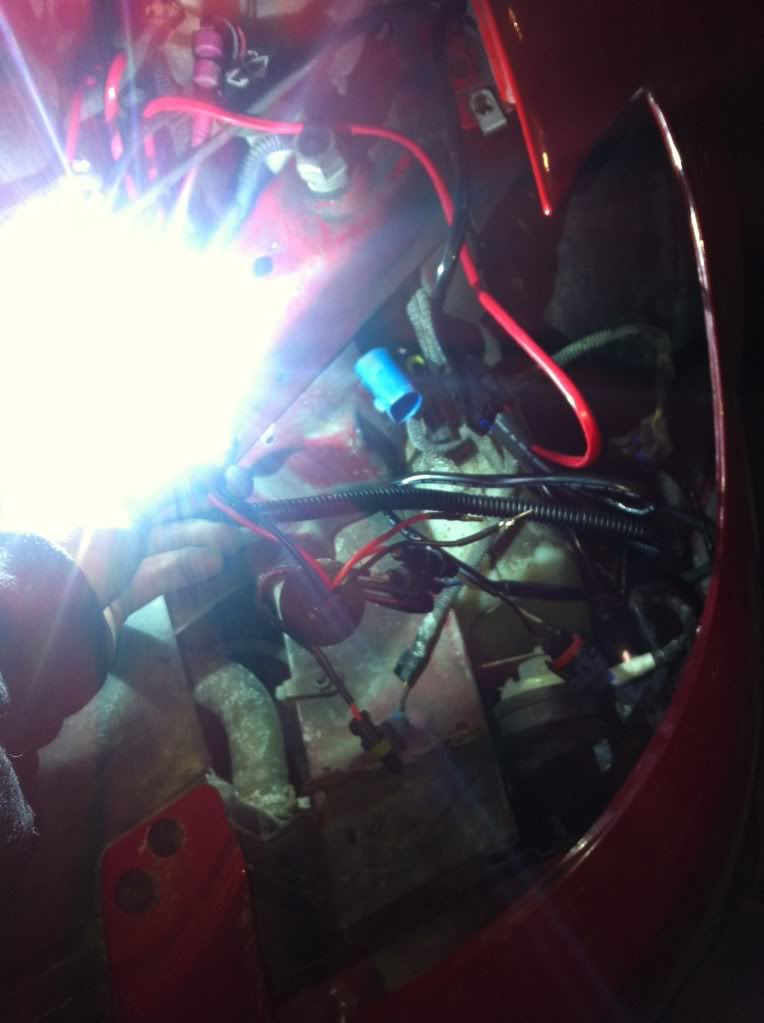
Now take your relay kit and hook it up to the fuse box terminal, making sure you ground the black wire to bare frame. Find a place to mount your ballast (I used 3M tape to the inside of my bumper and it seems to hold up fine in a nice snug place just above the fog lights inside the bumper).
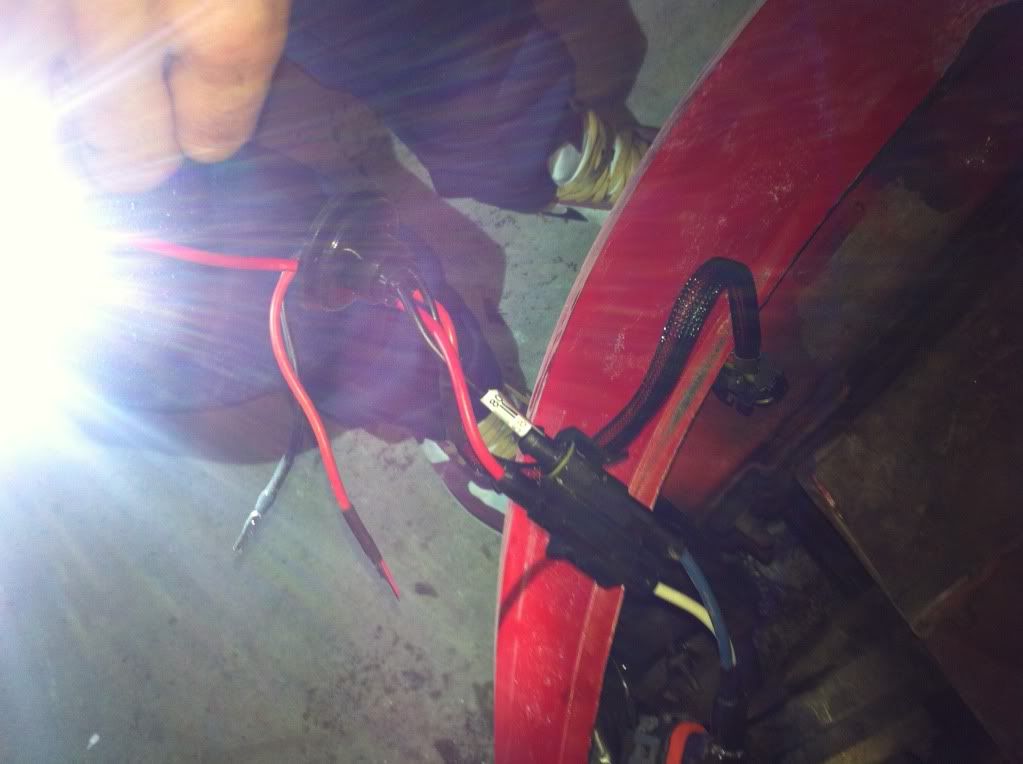
The wiring is very easily understood, it's all plug and play. Bulb to ballast to relay. The relay is also plugged to the car's regular wire. Before you start piecing your car back together, make sure that all the wiring works!
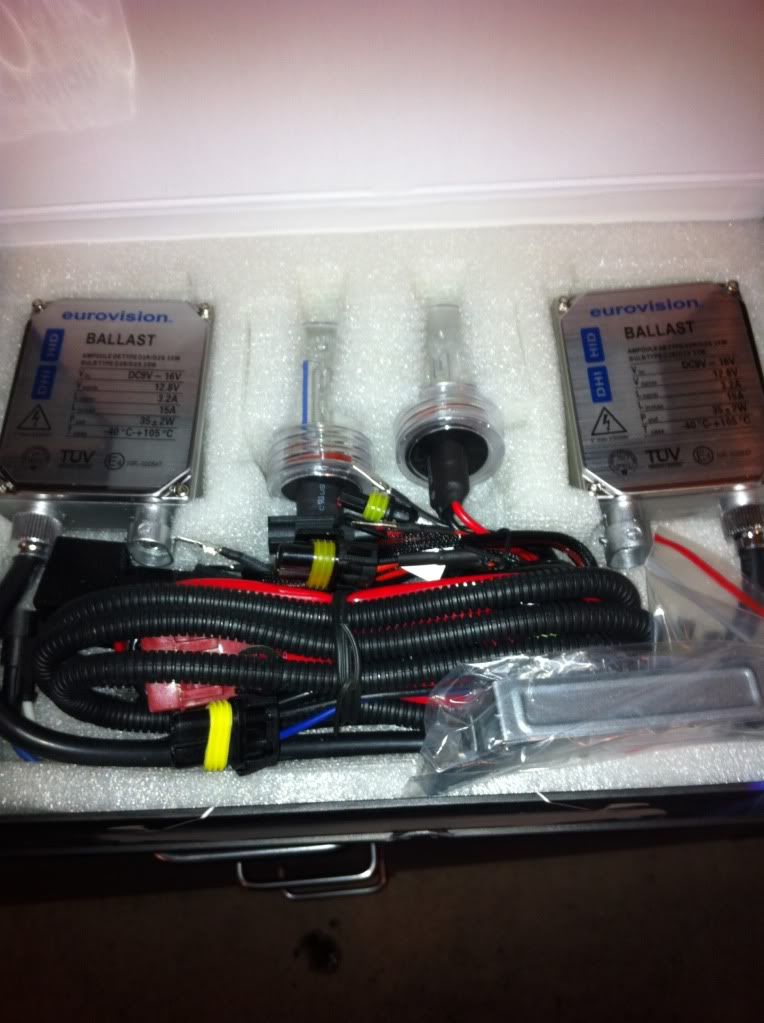
It's normal that some of your wires from the bulb aren't connected because they are being ''replaced'' by the extra wires of the relay, which in turn guarantees you have enough power getting to your lights at all times.
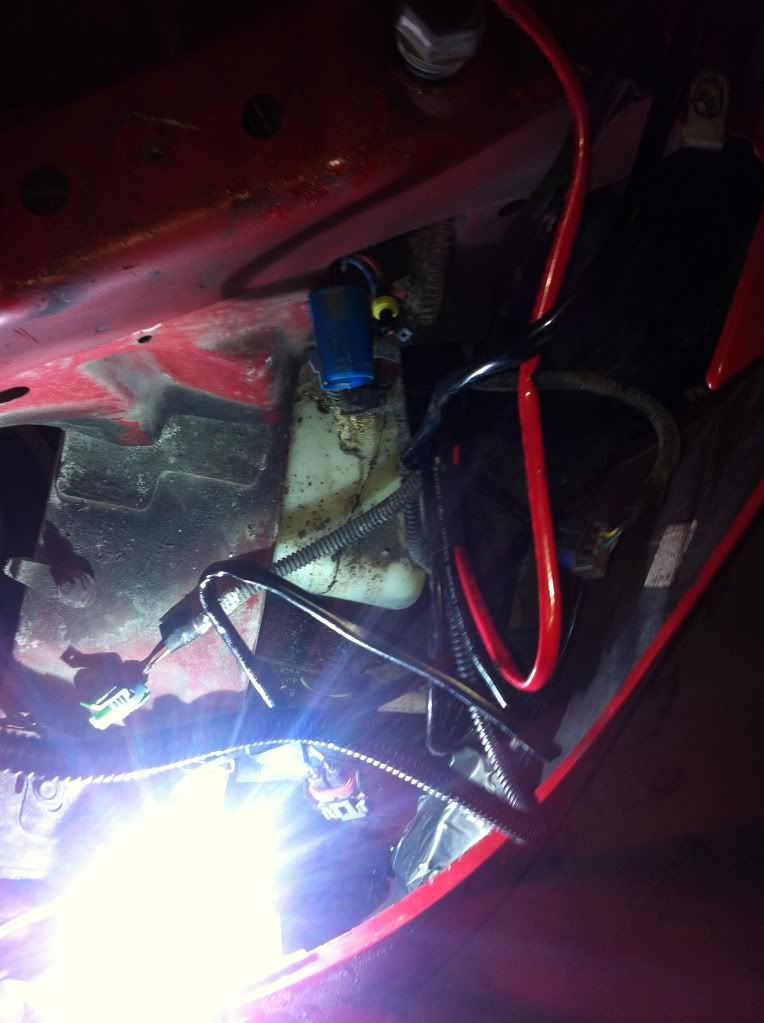
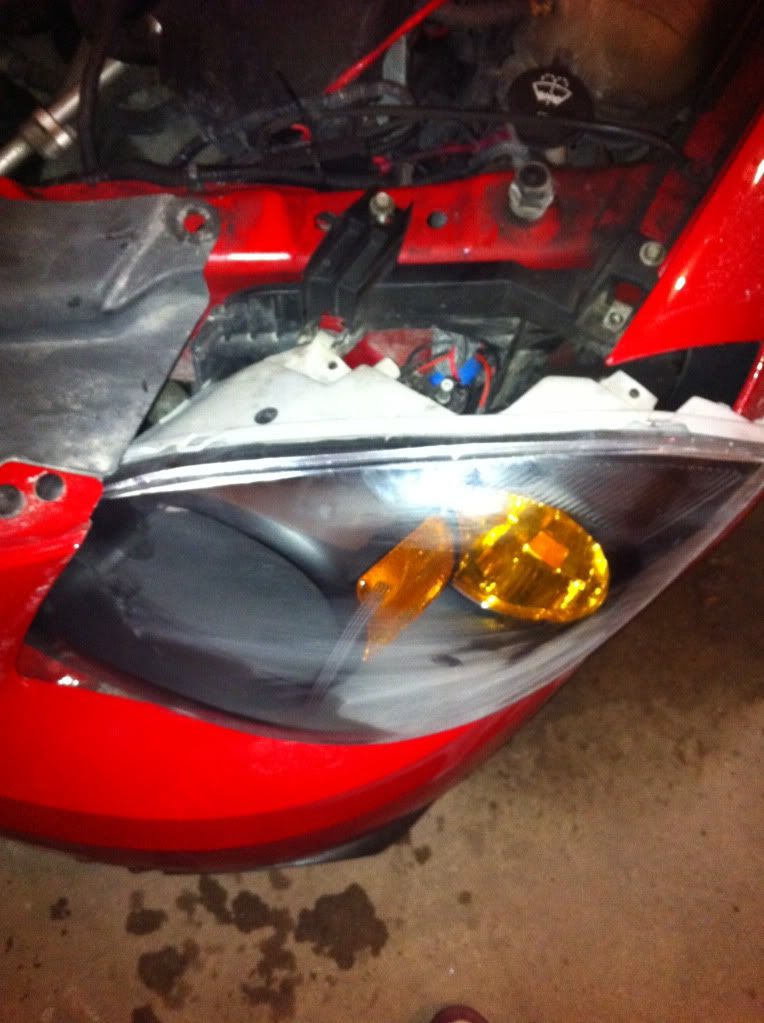
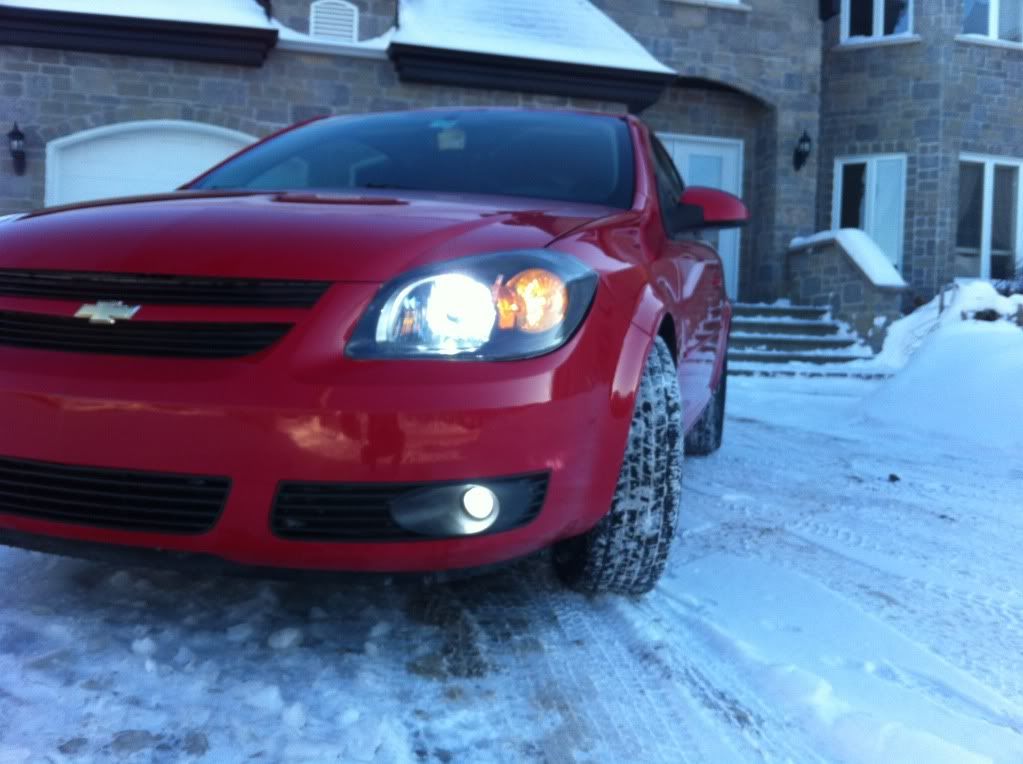
Making sure you don't touch the HID bulb, carefully insert it in the fog light hole, turn to secure.
Now, wash your car in your garage like a Canadian improv artist, and take it outside to show off your sexy new fog lights!

This is the same procedure for the base model with fogs, as it is for the SS 'balts.
I'd like to first suggest to everyone to wash their car BEFORE doing this, unlike what I did. I ended up washing it after using a bucket of water, soap, a hand washer thing and a chamois. Since we're in the middle of winter here in Montreal, the roads are very salty, and hence the dirty engine bay.
Anyway, first thing's first; remove your headlights and headlight bracket by removing these screws. The headlights have 2 screws, and the bracket has two screws on top, fitted to the frame, and two underneath the headlights facing the front of the car. All the screws are 10mm.
Once the screws are removed, remove the plastic nuts and bolts from the bumper cover so that the headlights can be removed easily. This isn't necessary, but it helps add clearance so that you can remove the headlights more freely. To remove the headlights, pop them out towards the front of the car, and in towards the middle of the car. Then remove the casing towards the outside.
Now to remove the headlight.
These are the ''hidden'' screws of the bracket under the headlight.
Now take your relay kit and hook it up to the fuse box terminal, making sure you ground the black wire to bare frame. Find a place to mount your ballast (I used 3M tape to the inside of my bumper and it seems to hold up fine in a nice snug place just above the fog lights inside the bumper).
The wiring is very easily understood, it's all plug and play. Bulb to ballast to relay. The relay is also plugged to the car's regular wire. Before you start piecing your car back together, make sure that all the wiring works!
It's normal that some of your wires from the bulb aren't connected because they are being ''replaced'' by the extra wires of the relay, which in turn guarantees you have enough power getting to your lights at all times.
Making sure you don't touch the HID bulb, carefully insert it in the fog light hole, turn to secure.
Now, wash your car in your garage like a Canadian improv artist, and take it outside to show off your sexy new fog lights!
Last edited by sergiochaotik; Jan 20, 2012 at 06:19 PM.
Let's post this in the correct section next time ok? Thanks!
Also it should be noted that all bolts here are 10mm, removing the rubber piece circled on the inner part of the grill is not necessary, and the procedure is the same for the LT fogs as it is for the SS
Also it should be noted that all bolts here are 10mm, removing the rubber piece circled on the inner part of the grill is not necessary, and the procedure is the same for the LT fogs as it is for the SS
Thread Starter
Senior Member
Joined: 08-22-11
Posts: 1,594
Likes: 0
From: Montreal


Thread Starter
Senior Member
Joined: 08-22-11
Posts: 1,594
Likes: 0
From: Montreal
you're going to have to be more specific xD But I'm assuming if you connect everything the way I just did, or at least equivalently, if you have an extra wire hanging, the lights should still work...the physics behind it is simple if you think about how lights work.

Thread
Thread Starter
Forum
Replies
Last Post