
2.0 LNF Engine: Removing Stock Airbox

Removing Stock Airbox
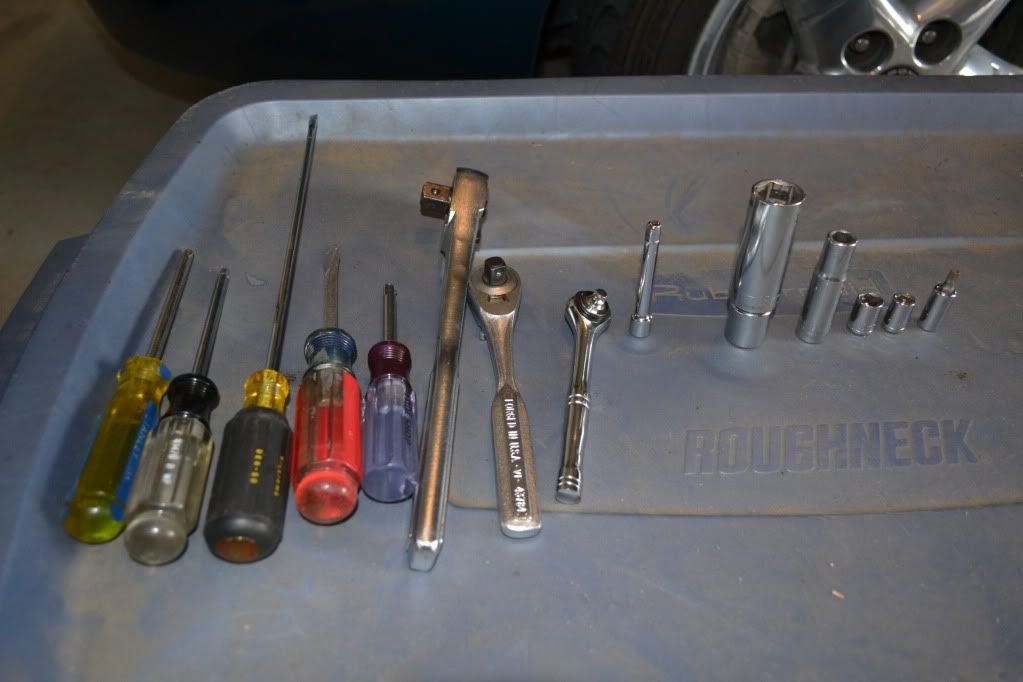
Tools Need:
• Philips Screwdriver
• Flat Head Screwdriver
• T30 Screwdriver
• �” drive socket wrench
• 3/8” drive socket wrench
• �” drive socket wrench
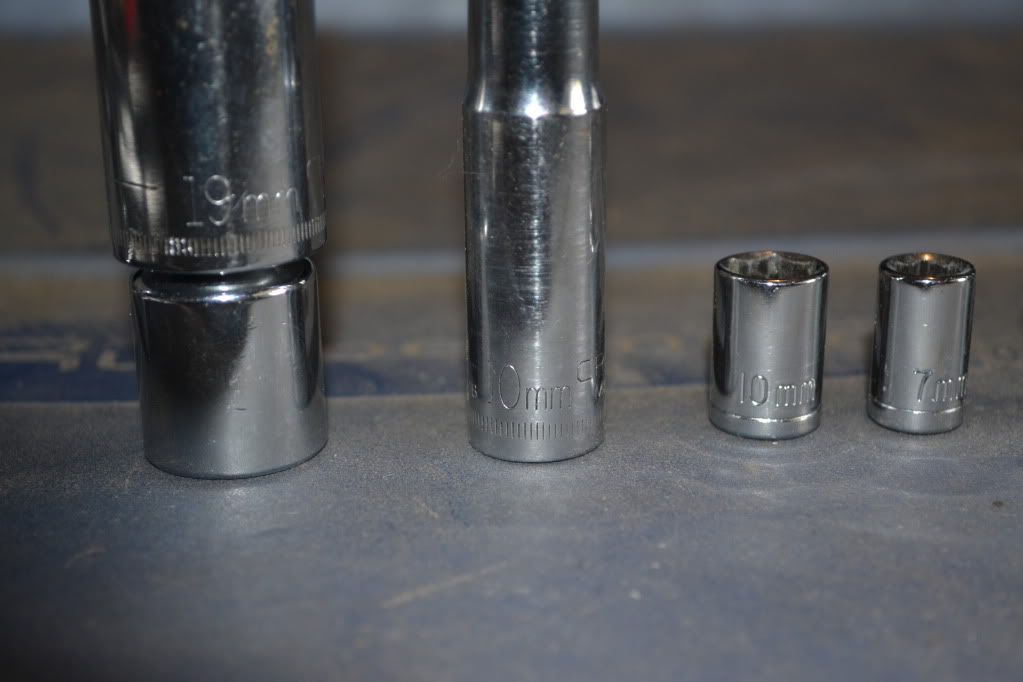
• 19mm deep socket
• 10mm deep socket
• 10mm socket
• 8mm socket(not really needed but can use for couplers)
• 7mm socket
• T30 Bit
• Jack and Jack Stand(I used the one from the trunk)
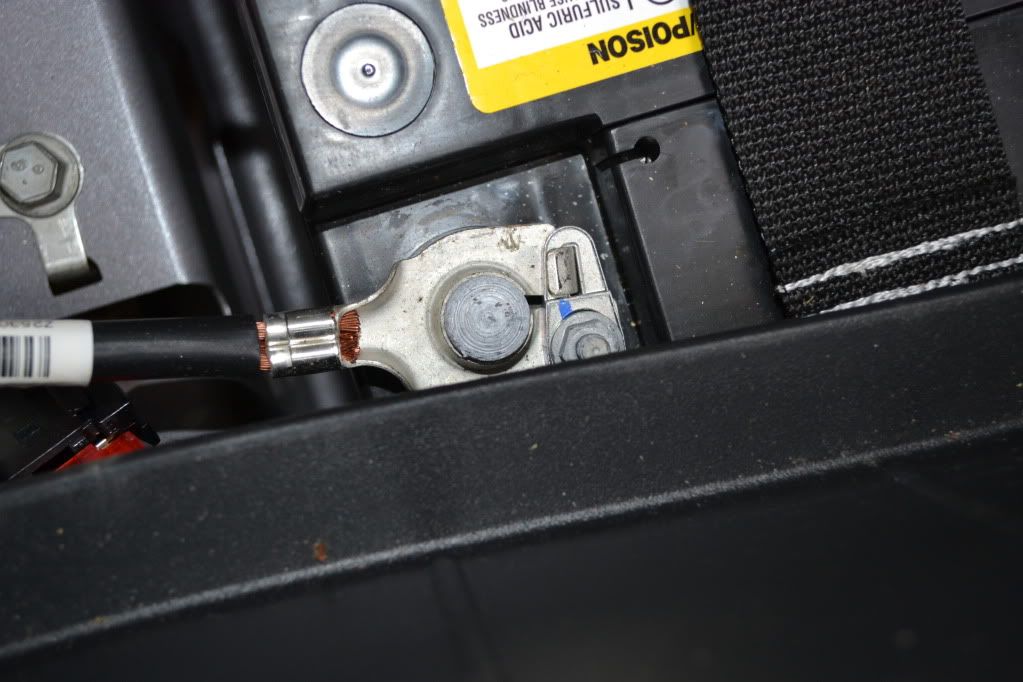
Step 1: Disconnect the battery (10mm socket � Drive)
Step 2: Open Hood
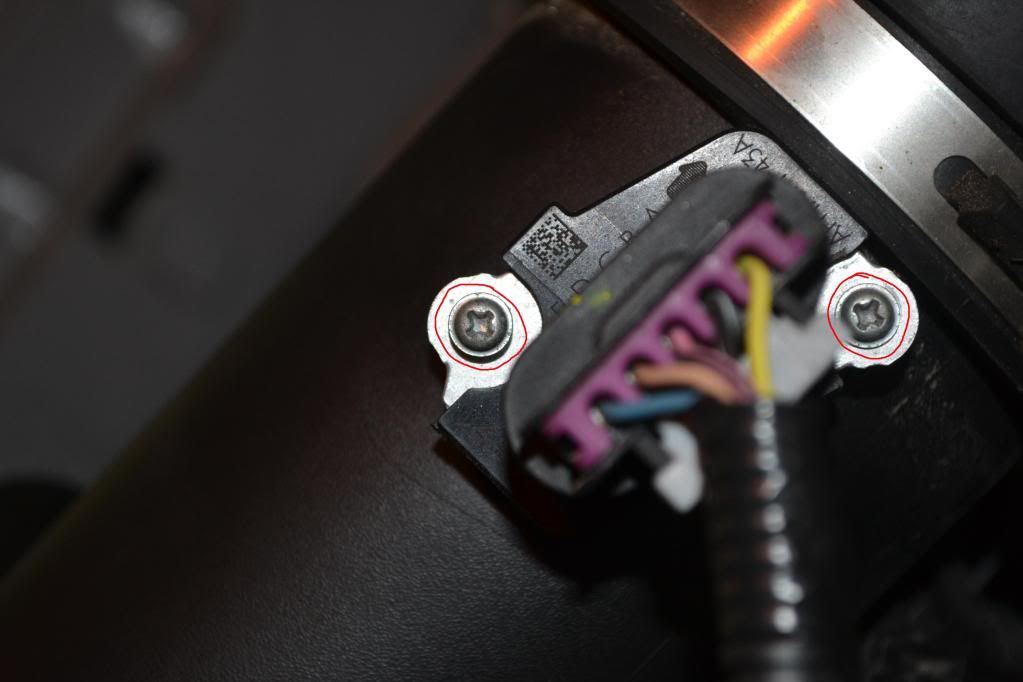
Step 3: Unscrew the 2 screws and GENTLY remove. Then disconnect Sensor from wiring harness and then reinstall sensor back into the Intake(Philips Screwdriver)
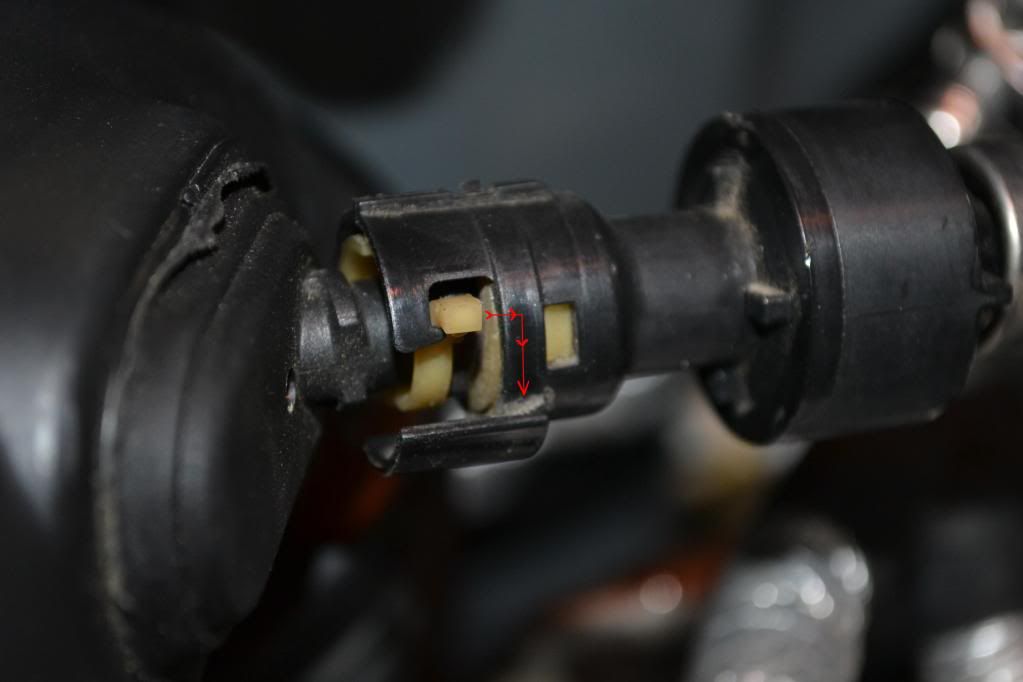
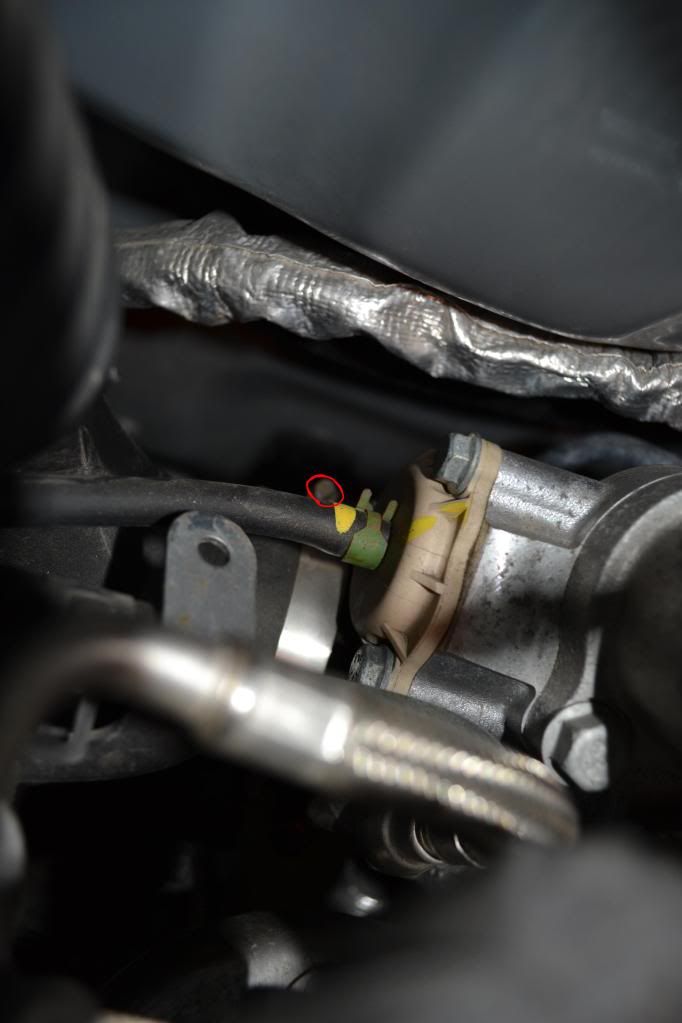
Step 4: Remove the vacuum line by moving the yellow plastic piece to the right and then down (Fingers)
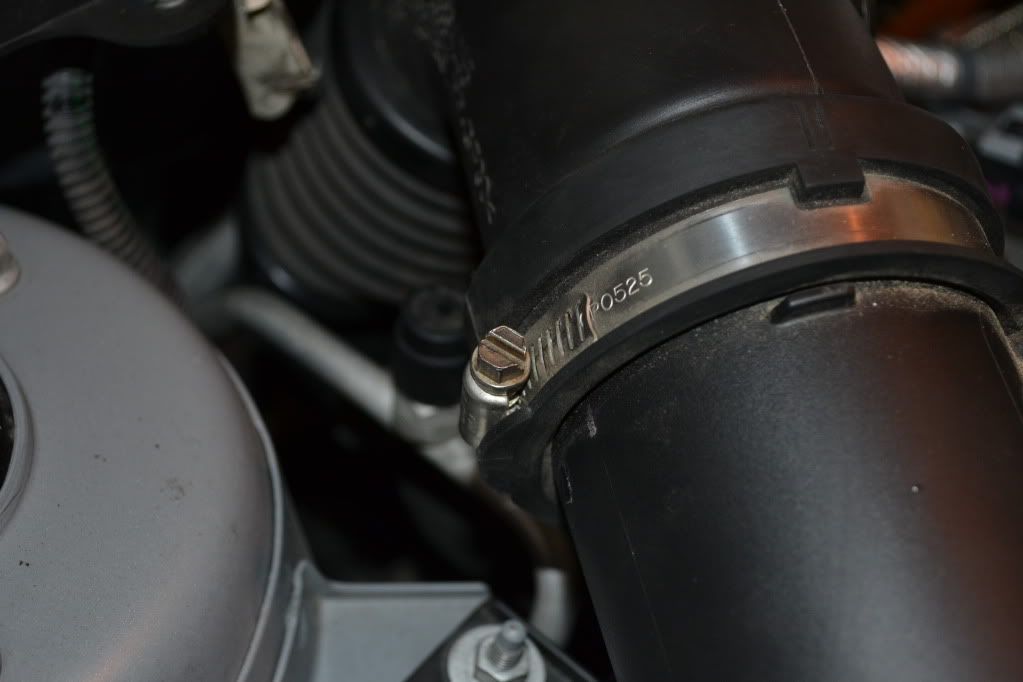
Step 5: Unscrew the Clamp for the intake cover (flat head screwdriver or 8mm socket and �” drive)
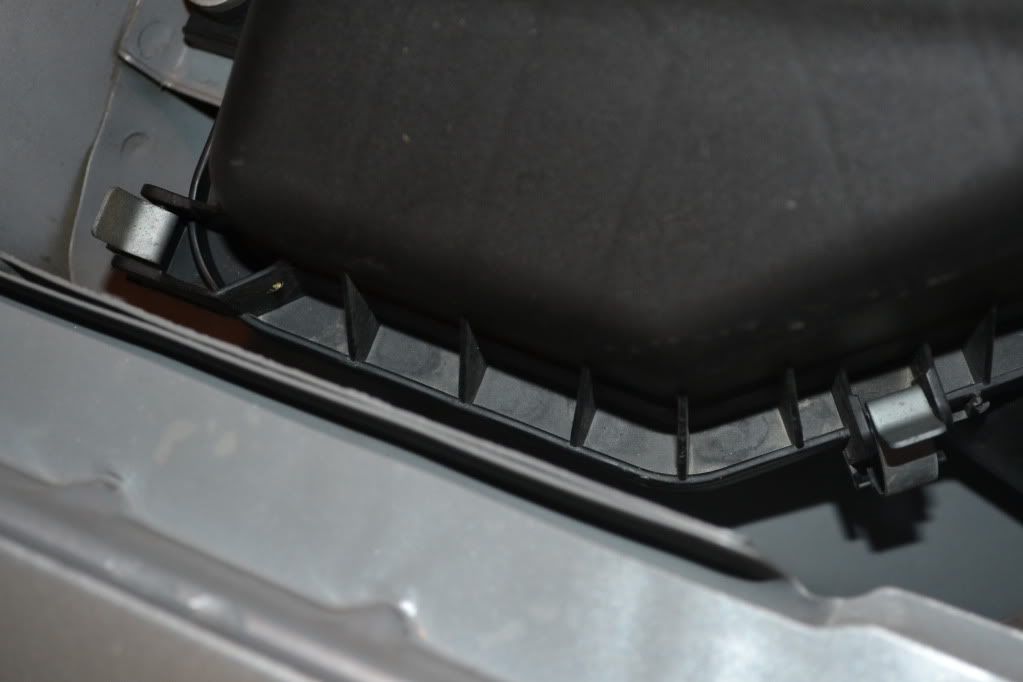
Step 6: Undo the retaining clips on the cover (Fingers)
Step7: Gently Remover the cover and Filter and set aside. (Hands)
Step 8: Unscrew the two nuts (10mm deep socket and 3/8” drive)

Step 9: Unscrew the T30 bolt at the bottom mounting for the air box. (T30 bit or T30 screwdriver)
Step 10: Unscrew the coupler on the turbo. This one is a pain to get to and unscrew (Flat Head Screwdriver)
Step 11: GENTLY remove the tubing from the turbo and set aside. (Hands)
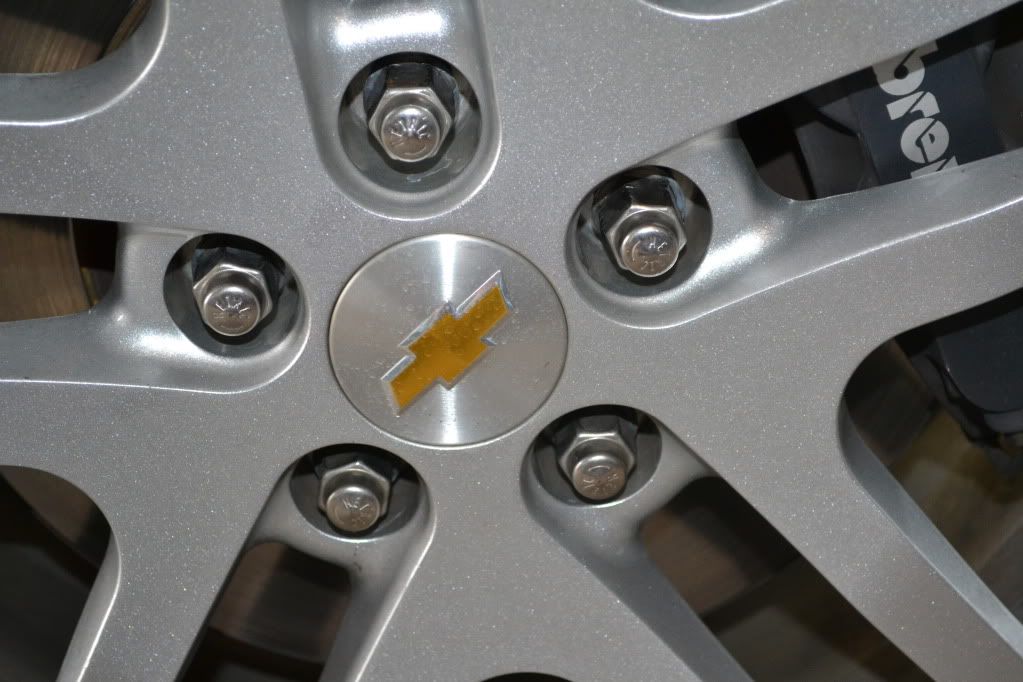
Step 12: Loosen lug nuts (but do not remove all the way) on the passenger side tire. (19mm socket and � Drive)
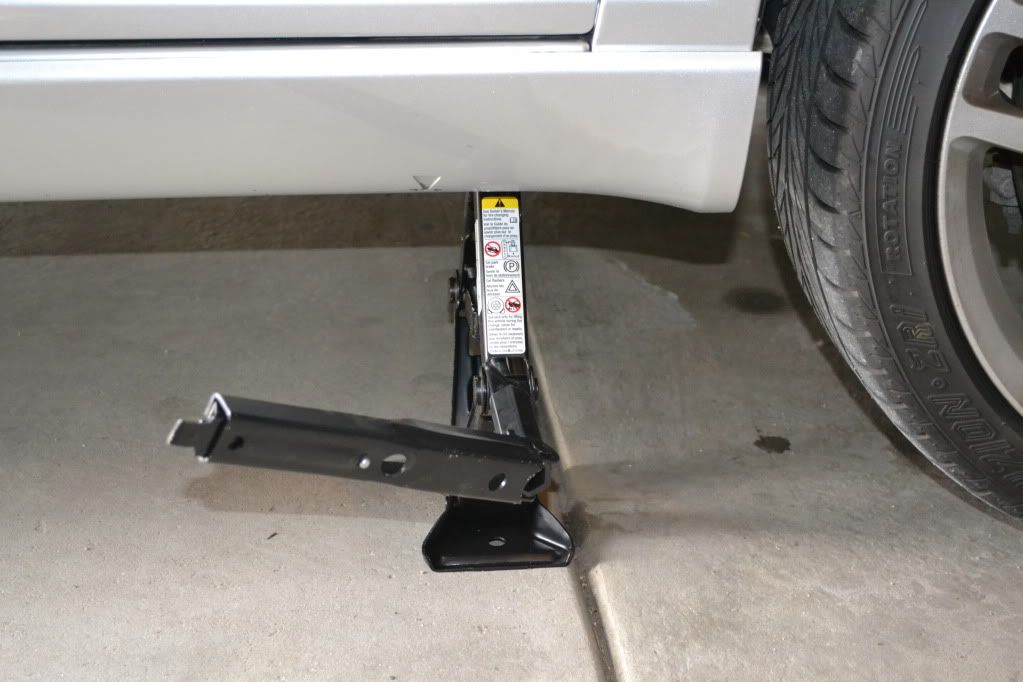
Step 13: Slowly Jack up the car (Jack and Jack Stand)
Step 14: Remove the lug nuts and remove tire (19mm socket and � Drive)
Step 15: Unscrew the 9 screws holding the fender liner In place. Don’t forget the ones under the bumper (7mm socket and �” drive)
Step 16: Remove the 6 push pin retaining clip. Don’t forget the ones under the bumper (Flat Head)
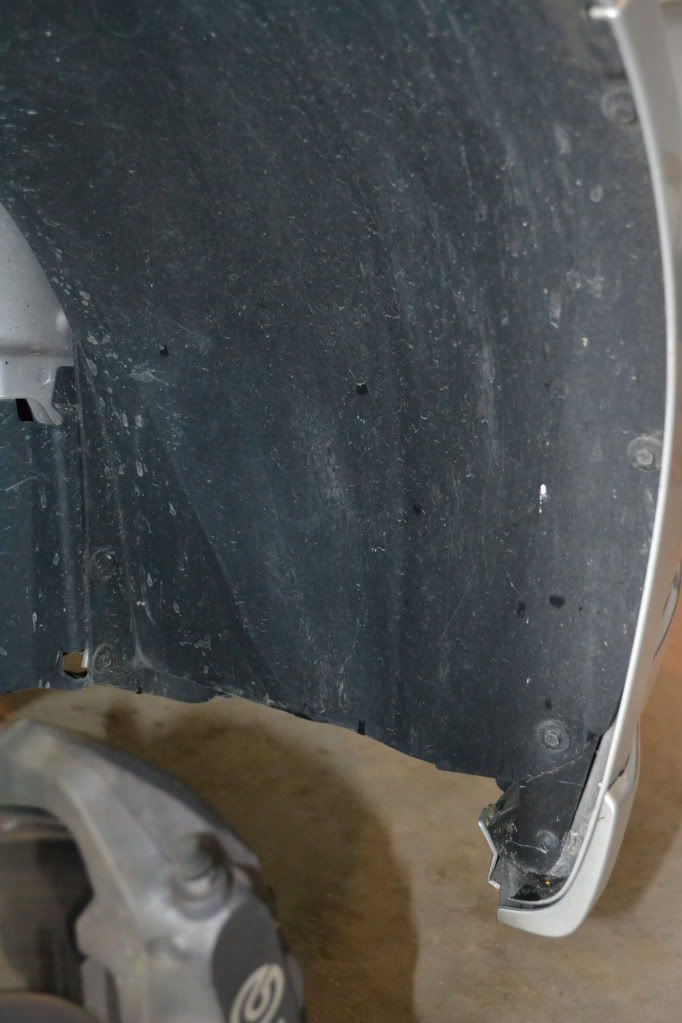
Step 17: Remove the fender wall lining. Takes a lot of time and finesse. (Hands and some strength)
Step 18: Pull the push pin retaining clip that hold the snorkel up (Flathead Screwdriver)
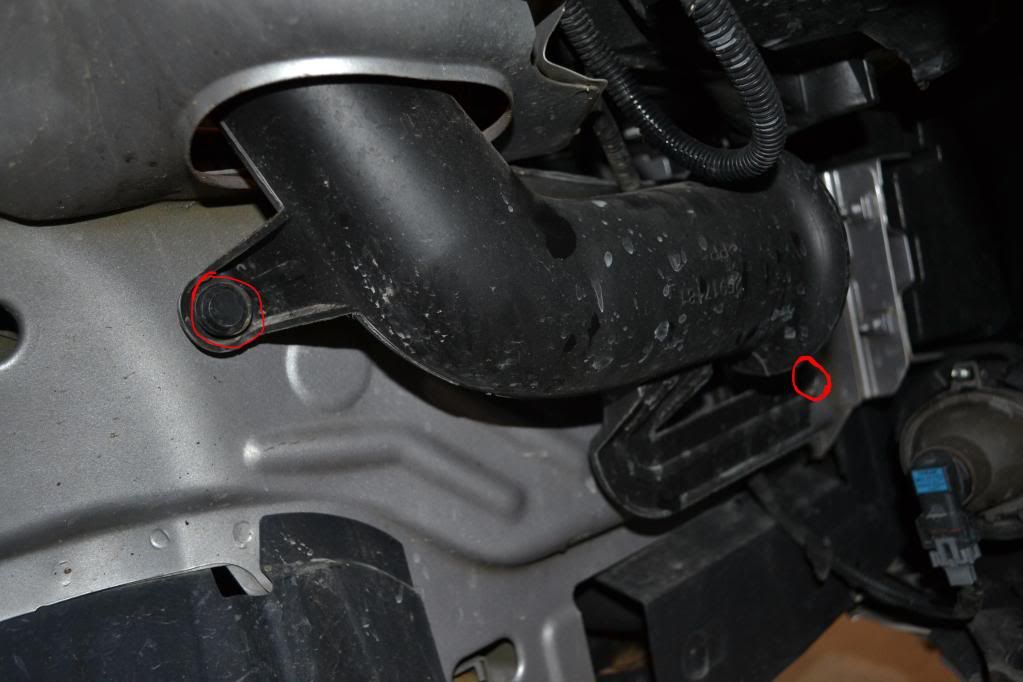
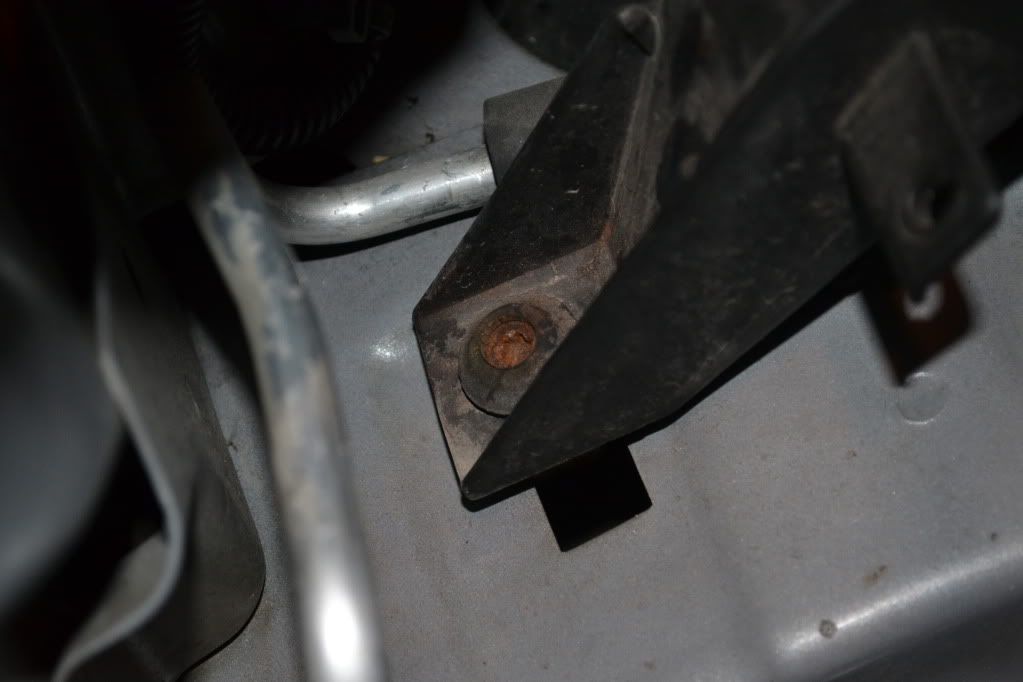
Step 19: Unscrew the bolt holding in the snorkel up(10mm socket and � Drive) Pic^^^^
Step 20: Remove snorkel and set aside. (Hands)
• Philips Screwdriver
• Flat Head Screwdriver
• T30 Screwdriver
• �” drive socket wrench
• 3/8” drive socket wrench
• �” drive socket wrench
• 19mm deep socket
• 10mm deep socket
• 10mm socket
• 8mm socket(not really needed but can use for couplers)
• 7mm socket
• T30 Bit
• Jack and Jack Stand(I used the one from the trunk)
Step 1: Disconnect the battery (10mm socket � Drive)
Step 2: Open Hood
Step 3: Unscrew the 2 screws and GENTLY remove. Then disconnect Sensor from wiring harness and then reinstall sensor back into the Intake(Philips Screwdriver)
Step 4: Remove the vacuum line by moving the yellow plastic piece to the right and then down (Fingers)
Step 5: Unscrew the Clamp for the intake cover (flat head screwdriver or 8mm socket and �” drive)
Step 6: Undo the retaining clips on the cover (Fingers)
Step7: Gently Remover the cover and Filter and set aside. (Hands)
Step 8: Unscrew the two nuts (10mm deep socket and 3/8” drive)
Step 9: Unscrew the T30 bolt at the bottom mounting for the air box. (T30 bit or T30 screwdriver)
Step 10: Unscrew the coupler on the turbo. This one is a pain to get to and unscrew (Flat Head Screwdriver)
Step 11: GENTLY remove the tubing from the turbo and set aside. (Hands)
Step 12: Loosen lug nuts (but do not remove all the way) on the passenger side tire. (19mm socket and � Drive)
Step 13: Slowly Jack up the car (Jack and Jack Stand)
Step 14: Remove the lug nuts and remove tire (19mm socket and � Drive)
Step 15: Unscrew the 9 screws holding the fender liner In place. Don’t forget the ones under the bumper (7mm socket and �” drive)
Step 16: Remove the 6 push pin retaining clip. Don’t forget the ones under the bumper (Flat Head)
Step 17: Remove the fender wall lining. Takes a lot of time and finesse. (Hands and some strength)
Step 18: Pull the push pin retaining clip that hold the snorkel up (Flathead Screwdriver)
Step 19: Unscrew the bolt holding in the snorkel up(10mm socket and � Drive) Pic^^^^
Step 20: Remove snorkel and set aside. (Hands)
Last edited by jzehren11; Jun 11, 2011 at 05:00 PM.

This was my first time ever doing it.

Thread
Thread Starter
Forum
Replies
Last Post