08-10 SS Turbocharged General Discussion Discuss the 2008 - 2009 Chevy Cobalt SS Turbocharged. On sale since the second quarter of 2008.

Powell Oil separator/PCV relocate

Old Mar 13, 2017 | 07:08 PM
  #26  
ThePanduuh's Avatar
Thread Starter
Junior Member
iTrader: (3)
 
Joined: 01-26-16
Posts: 403
Likes: 23
From: Southeastern PA
Originally Posted by tomj77
Why did u take it off to tap it? No need, just use grease on the tap, even if u do take it off u can't get shavings out from the backside if they fall in, they are in there for good. U screw the 1/8 npt to an6 fitting in the tapped hole. Use liquid Teflon or some kinda dealer on the fitting threads
i'm not doing anything yet. This is all getting my research done so when i take it apart to blast my valves and install it i'll take the VC off, scotch brite it, paint it, and tap it. getting all the things i need to do straight before i do anything so i dont get caught up in the procedure.
Reply
Old Mar 13, 2017 | 07:22 PM
  #27  
tomj77's Avatar
Super Moderator
Platinum Member
iTrader: (2)
 
Joined: 07-14-08
Posts: 12,039
Likes: 156
From: canada
Originally Posted by ThePanduuh
i'm not doing anything yet. This is all getting my research done so when i take it apart to blast my valves and install it i'll take the VC off, scotch brite it, paint it, and tap it. getting all the things i need to do straight before i do anything so i dont get caught up in the procedure.
if ur gonna paint the valve cover, make sure u use a metal etching primer for best results.
Reply
Old Mar 13, 2017 | 07:24 PM
  #28  
ThePanduuh's Avatar
Thread Starter
Junior Member
iTrader: (3)
 
Joined: 01-26-16
Posts: 403
Likes: 23
From: Southeastern PA
Originally Posted by tomj77
if ur gonna paint the valve cover, make sure u use a metal etching primer for best results.
Powell didn't mention that. Just said duplicolor and scotch brite to scuff it
Reply
Old Mar 13, 2017 | 07:44 PM
  #29  
cluelessk's Avatar
Senior Member
 
Joined: 06-10-12
Posts: 2,880
Likes: 63
From: Manitoba, Canada
Duplicolor will stick. It sticks to almost anything.

Professional paint shops will use some sort of direct to metal primer.

It chemically bites into the metal.
Reply
Old Mar 14, 2017 | 01:14 PM
  #30  
tomj77's Avatar
Super Moderator
Platinum Member
iTrader: (2)
 
Joined: 07-14-08
Posts: 12,039
Likes: 156
From: canada
Originally Posted by ThePanduuh
Powell didn't mention that. Just said duplicolor and scotch brite to scuff it
He told me to use it so I'm just passing it on. It does exactly what clueless said, bites into metal
Reply
Old Mar 14, 2017 | 01:15 PM
  #31  
ThePanduuh's Avatar
Thread Starter
Junior Member
iTrader: (3)
 
Joined: 01-26-16
Posts: 403
Likes: 23
From: Southeastern PA
Originally Posted by tomj77
He told me to use it so I'm just passing it on. It does exactly what clueless said, bites into metal
I'll definitely do it that way then. Don't want to half ass it and have to redo it.
Reply
Old Mar 14, 2017 | 03:05 PM
  #32  
colodude18's Avatar
Senior Member
iTrader: (4)
 
Joined: 01-12-10
Posts: 2,692
Likes: 171
From: Greater Denver Area, Colorado
Just in case there are any others for whom a visual works better than a write-up, here is the video I shot for ThePanduuh!

Reply
Old Mar 14, 2017 | 04:48 PM
  #33  
heeter_33's Avatar
Senior Member
 
Joined: 03-23-09
Posts: 3,103
Likes: 130
From: Sask, Canada
Originally Posted by tomj77
Why did u take it off to tap it? No need, just use grease on the tap, even if u do take it off u can't get shavings out from the backside if they fall in, they are in there for good. U screw the 1/8 npt to an6 fitting in the tapped hole. Use liquid Teflon or some kinda dealer on the fitting threads
Now I can't remember if I used a sealer on the fitting threads. Way to go for putting that in my head haha.
Reply
Old Mar 14, 2017 | 06:05 PM
  #34  
tomj77's Avatar
Super Moderator
Platinum Member
iTrader: (2)
 
Joined: 07-14-08
Posts: 12,039
Likes: 156
From: canada
Originally Posted by heeter_33
Now I can't remember if I used a sealer on the fitting threads. Way to go for putting that in my head haha.
Lol ur welcome
Reply
Old Jul 5, 2017 | 10:11 AM
  #35  
nutty21's Avatar
Senior Member
iTrader: (1)
 
Joined: 09-16-10
Posts: 926
Likes: 1
From: Nova Scotia, Canada
Originally Posted by colodude18
Just in case there are any others for whom a visual works better than a write-up, here is the video I shot for ThePanduuh!

https://www.youtube.com/watch?v=XtTdCsf0l3c
Video is private, would need to make public.
Reply
Old Sep 11, 2023 | 10:58 PM
  #36  
sunnyvale's Avatar
New Member
 
Joined: 09-06-23
Posts: 6
Likes: 0
From: Michigan
Please help

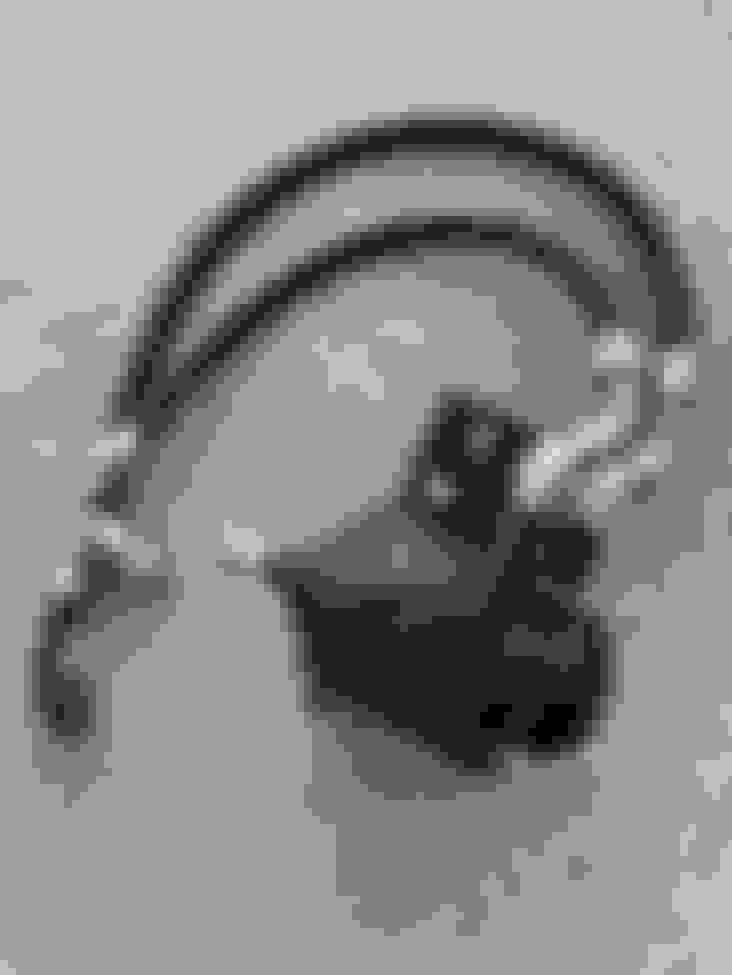
I just picked up an 08 LNF, and it had this catch can in the trunk. I did post on a facebook group looking for help identifying it, and I was told this was a Powell Oil Separator v3, but got no help as far as install is concerned.

Under the hood, it looks like there is a line coming up from the dipstick and just goes to nowhere. I don't know what else I am missing, or where to mount this. Does anyone have an install sheet or a photo of one installed? It is a stock intake, if that is any help. I realize this is an old thread, but I am at a loss. Thanks in advance for any help.


Reply
Old Sep 18, 2023 | 03:41 PM
  #37  
soundjunky's Avatar
Senior Member
iTrader: (4)
 
Joined: 05-26-09
Posts: 13,656
Likes: 47
From: Calgary, Alberta
I have the Powell oil seperator, and have been running it for many years.

The line tapped to the dipstick tube is the return line - so that one is supposed to connect to the bottom of the catch can.

I am not sure which version mine is, but it looks like yours - it mounted to the right (passenger) side of the block - to a bolt boss reserved for an engine lift bracket that the LNF never had installed from the factory;
I actually found the ecotec lift brackets, and have one there, so my Powell oil separator mounting bracket is attached there on top of the lifting bracket.

This was a pretty pricey kit (not complaining, just saying) so I find it odd that it was left in the truck and possibly never fully installed.

I can get pictures of where the lines go if you like,
Reply
Old Sep 19, 2023 | 05:15 PM
  #38  
sunnyvale's Avatar
New Member
 
Joined: 09-06-23
Posts: 6
Likes: 0
From: Michigan
Thank you! Someone sent me the instructions but it is like reading a foreign language. I did see what you are talking about as far as where it is mounted, but if you have time for any pictures on where the lines go, I would be grateful!
Reply
Old Sep 19, 2023 | 07:03 PM
  #39  
soundjunky's Avatar
Senior Member
iTrader: (4)
 
Joined: 05-26-09
Posts: 13,656
Likes: 47
From: Calgary, Alberta
I am absolutely happy to help.
I'll get something posted in the next day or so...
My car is high & dry with a no start that I am making my way to solving, and long story short, it's in an ideal situation for pictures...
Reply
Old Sep 22, 2023 | 11:56 AM
  #40  
soundjunky's Avatar
Senior Member
iTrader: (4)
 
Joined: 05-26-09
Posts: 13,656
Likes: 47
From: Calgary, Alberta
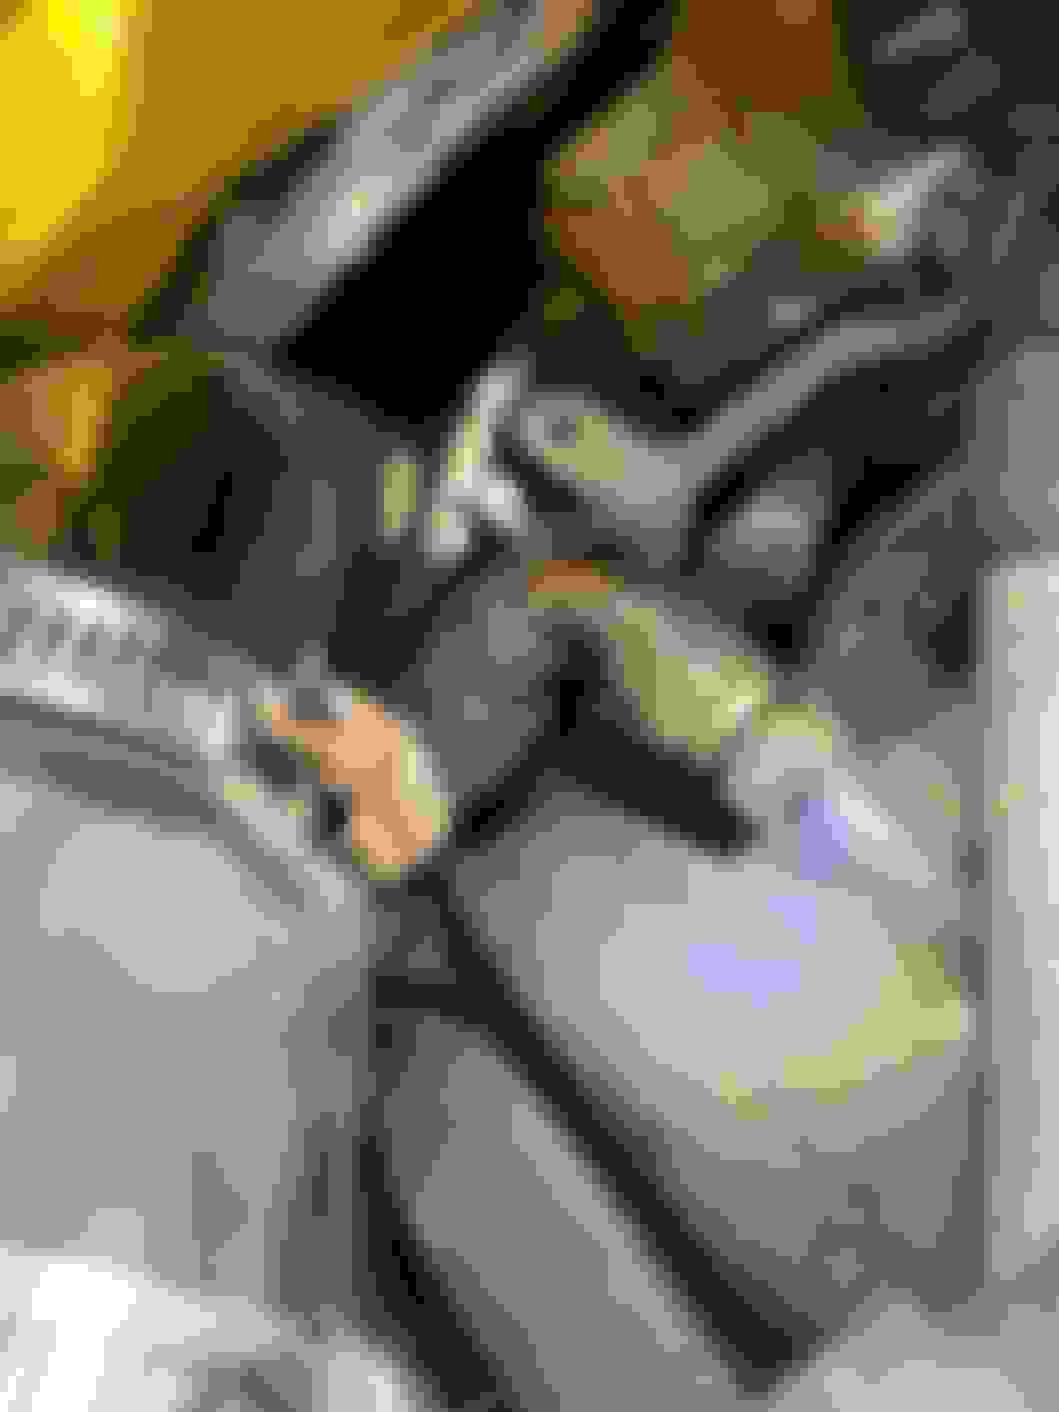
Here we go;
The top line has a threaded end that goes to the valve cover - that's the line with the threaded end with a red plastic cover part in your picture;
The other line goes onto the turbo.

Don't mind the dirt (ect), my car has eclipsed 300,000km, and has been a daily driver since I bought it new.

If my memory serves me, the original line from the turbo goes to the valve cover, and this setup essentially goes in place of that line - and introduced a drain that goes to the dip stick tube.

This first picture is the ecotec lifting bracket (which I believe was NEVER installed on an LNF engine);
I have the bracket installed correctly here - it uses pretty standard 13mm bolts - you don't need this bracket, but I am pointing it out because I have it in the spot you need to use to mount this oil catch can.


This is that same bracket location with the Powell oil catch can mounted.


Now, this may seem like a cluttered picture, but i am actually focused on the bolt that is holding the line on the turbo (black end with the blue o-ring in your picture).


This is the end that connects to the valve cover.


If my memory serves me, I had to remove the valve cover (don't worry there is a reusable rubber gasket there) and tap this hole for the oil line.

Reply
Old Sep 22, 2023 | 12:12 PM
  #41  
sunnyvale's Avatar
New Member
 
Joined: 09-06-23
Posts: 6
Likes: 0
From: Michigan
THANK YOU

So, does your set-up also have the elbow on the bottom of the catch can, that I assume connects to the line coming from the dipstick?

Looks like I might be missing the fitting that goes into the valve cover...
Reply
Old Sep 22, 2023 | 04:14 PM
  #42  
soundjunky's Avatar
Senior Member
iTrader: (4)
 
Joined: 05-26-09
Posts: 13,656
Likes: 47
From: Calgary, Alberta
I can see that you have the fitting for the vale cover:

/\/\ it's the part with the red cap.

That elbow on the bottom of the catch can is where the line that is connected to your dip stick tube connects.
Reply
Old Sep 22, 2023 | 04:22 PM
  #43  
sunnyvale's Avatar
New Member
 
Joined: 09-06-23
Posts: 6
Likes: 0
From: Michigan
Oh ok!

As for the bottom of the can, its like I have two of the same fittings. Probably need a female to female union?

Last edited by sunnyvale; Sep 22, 2023 at 04:23 PM. Reason: typo
Reply
Old Sep 22, 2023 | 06:41 PM
  #44  
soundjunky's Avatar
Senior Member
iTrader: (4)
 
Joined: 05-26-09
Posts: 13,656
Likes: 47
From: Calgary, Alberta
that may be.- did you see if the end comes out of the elbow on the bottom of the catch can?
Reply
Related Topics
Thread
Thread Starter
Forum
Replies
Last Post
Whtbolttc09
08-10 SS Turbocharged General Discussion
1
Oct 11, 2019 01:29 PM
Isaac Lewis
General Cobalt
8
Nov 23, 2016 10:13 AM
YelCal7
Parts
56
Aug 16, 2016 10:13 PM
blueLNFftw
Parts
3
Jan 14, 2015 07:12 PM
tomj77
2.0L LNF Performance Tech
13
Apr 5, 2014 04:51 PM


Thread Tools
Search this Thread

All times are GMT -4. The time now is 05:03 AM.