
Drivetrain: How to: Hurst short throw shifter


Thread Starter
Senior Member
Joined: 05-23-06
Posts: 1,017
Likes: 0
From: Racine, Wisconsin
How to: Hurst short throw shifter
Created by Stealthy1ss and Gamebay11
Hello, this how to is for the Hurst short throw shifter. This install is basic and needs basic mechanics tools to install.
Difficulty: Medium
Install Time: 45mins to 1hr
Here are the tools you will need:
1) 2 flat-head screw drivers, preferably of equal length
2) External snap ring pliers
3) A hand ratchet and extension
4) Torx 20 socket
5) Sidecutters
6) 1/8 inch Allen wrench
Here are the contents of the kit you should have:
1) Hurst shifter shaft
2) Pivot point lube
3) Zip-tie
4) Loctite thread locker
5) Crossover ball
6) C-clip/Snap-ring
7) Setscrew
Step one:
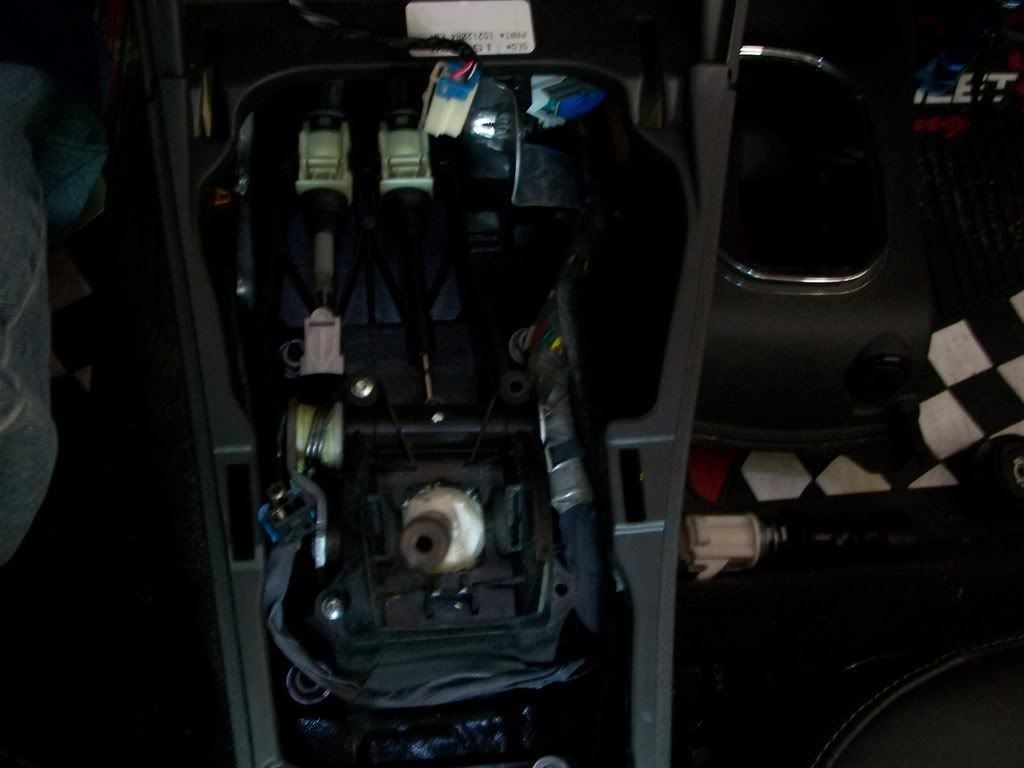
The first step is to remove the center console piece that wraps around the handbrake. To remove this piece, simply tug up on the edge and with minimal force you should be able to detach the clips. Next is to remove the center console piece around the shifter. This is done the same way as the previous part, but this time you need to remove the cigarette/accessory connectors by pressing on the clips on those parts. The shift boot is held on by some clips on the front of the silver ring, push these back and up and it should slide out.
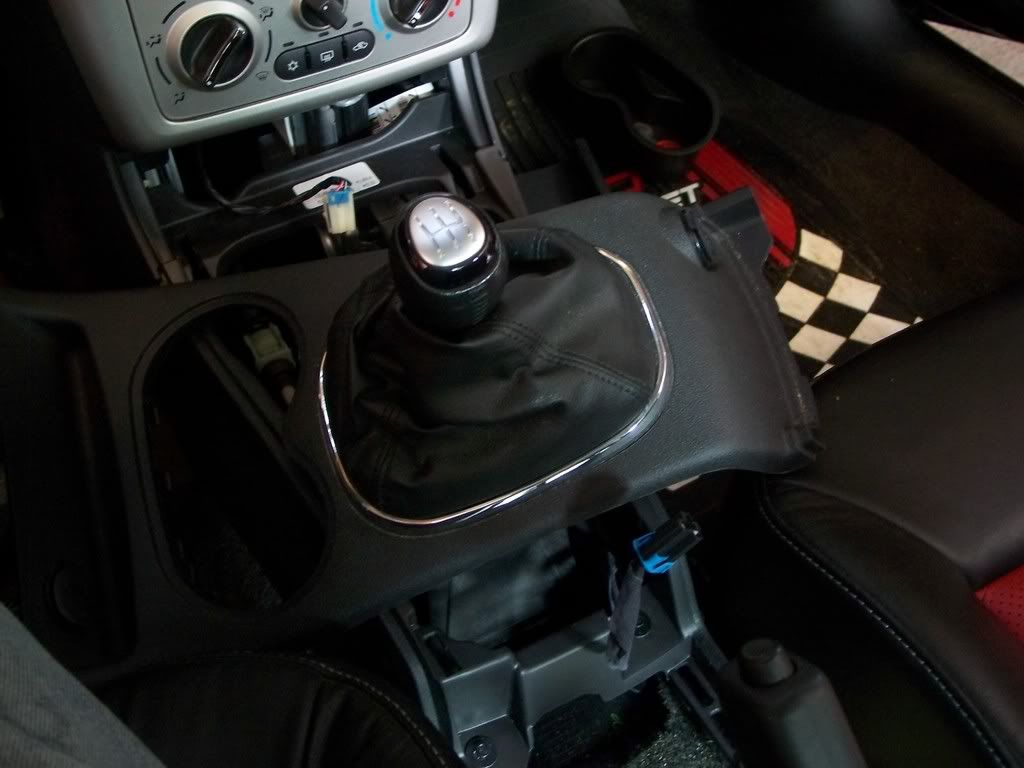
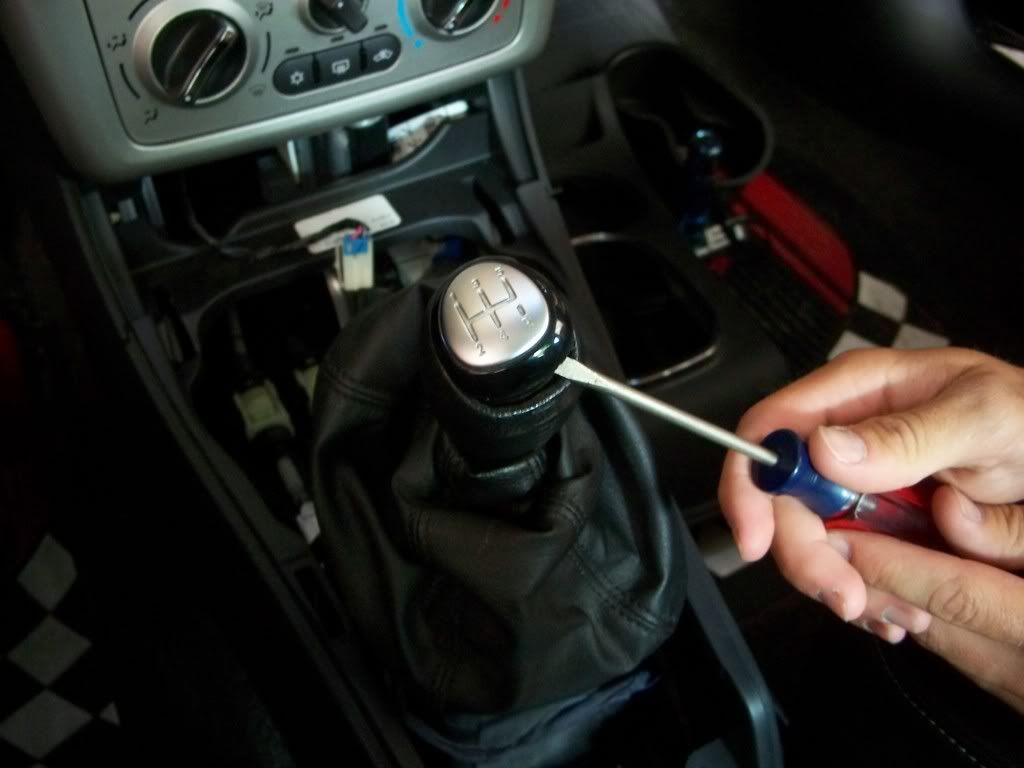
Step two:
Place the shifter in 4th gear. Next you need to start disassembling the stock shifter to get the boot off. So, first remove the shift pattern piece with a flat-head screwdriver(this should pop off pretty easily).
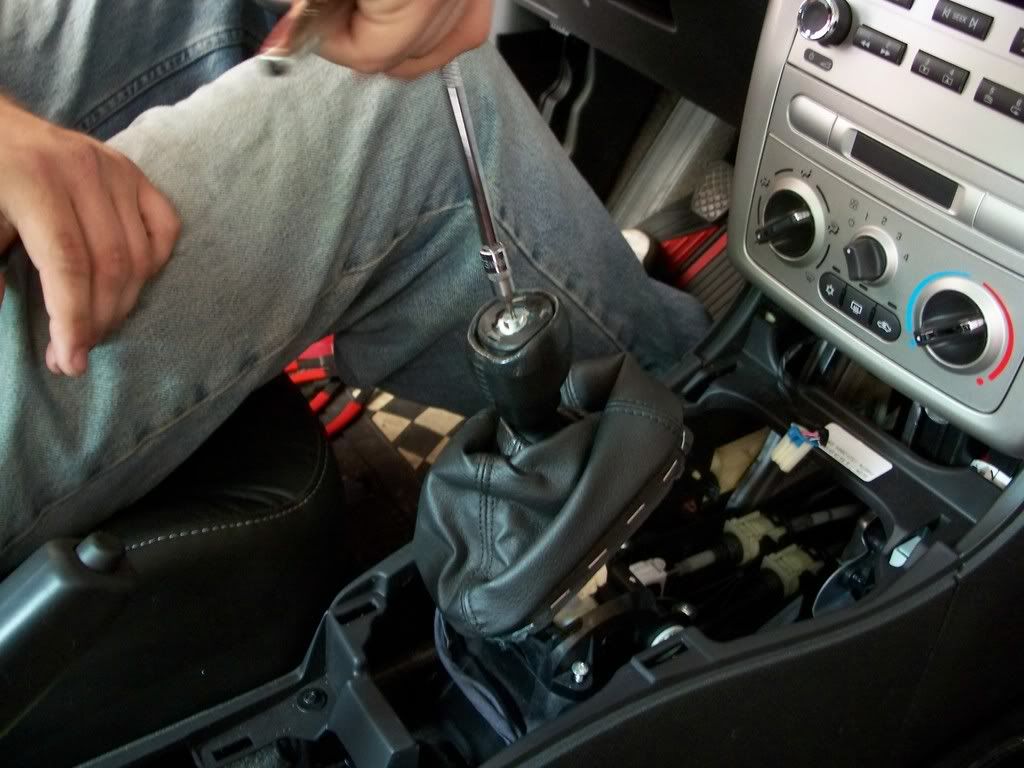
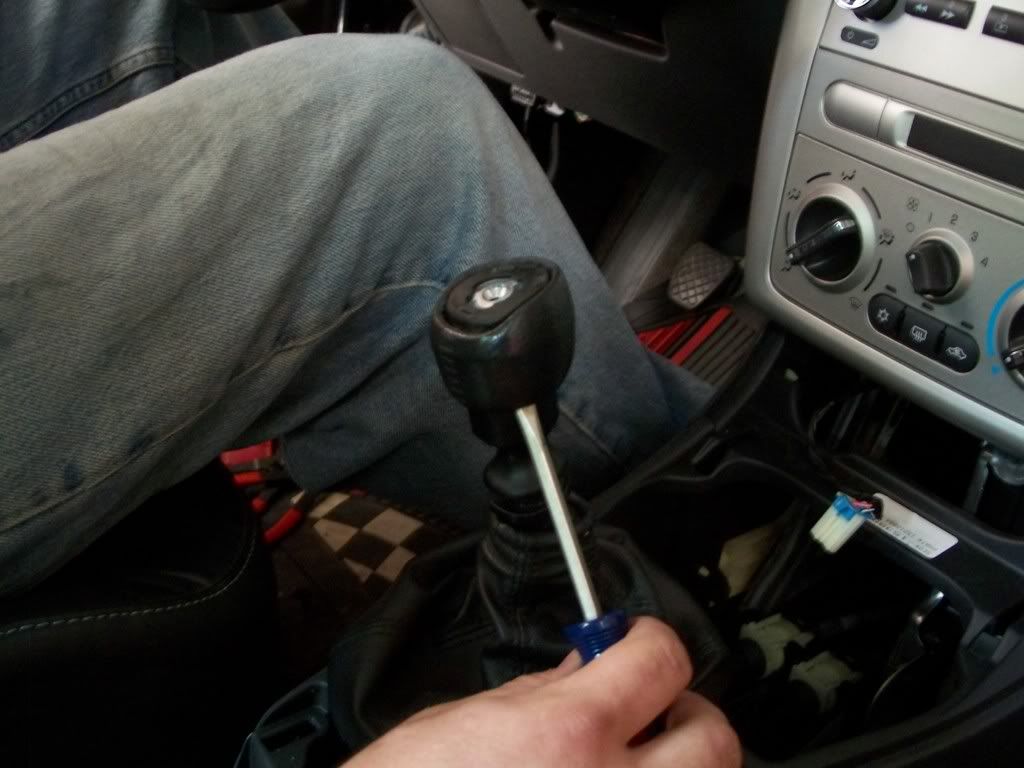
Step three:
To get the shifter �ball� off, use your ratchet and the torx 20 socket and remove the screw on the top of the shaft. *If you have and 2005, there is no screw here* Then using two screwdrivers pry from underneath of the ball and lift up on the ball. This may take some force and don�t be afraid to try different angles if one isn�t working.
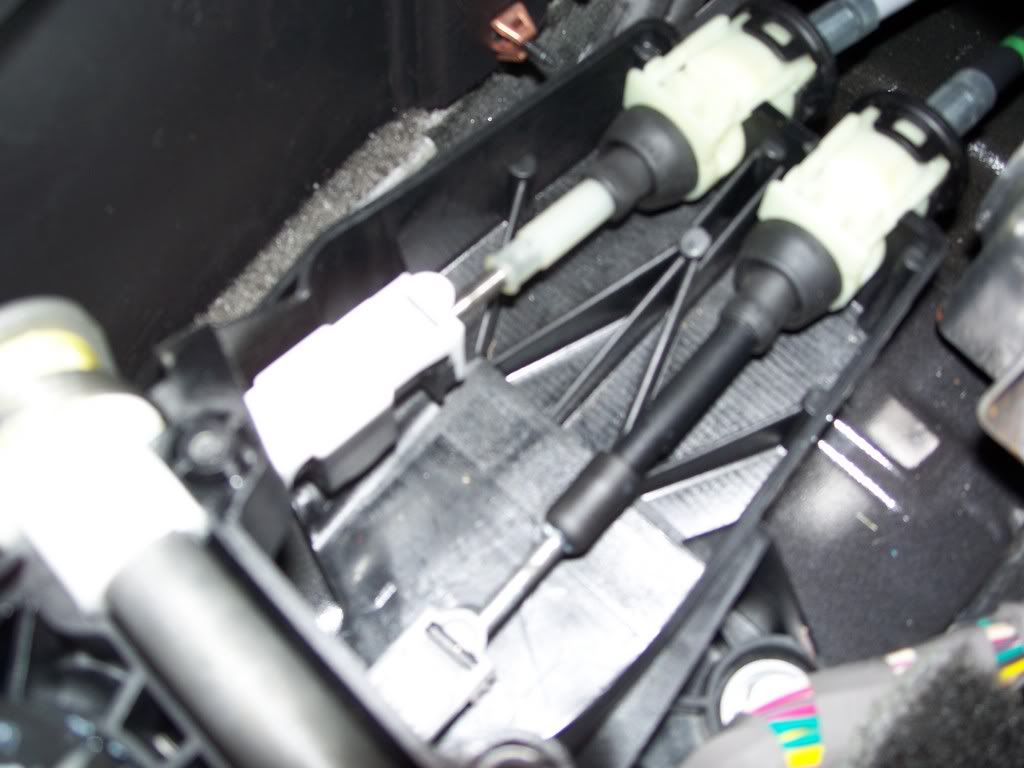
Step four:
Time to use the ratchet and T20 again. This time, take the four screw out of the base/hold down. In the photo, the two on the right are removed. Keep these as they will need to be reused.
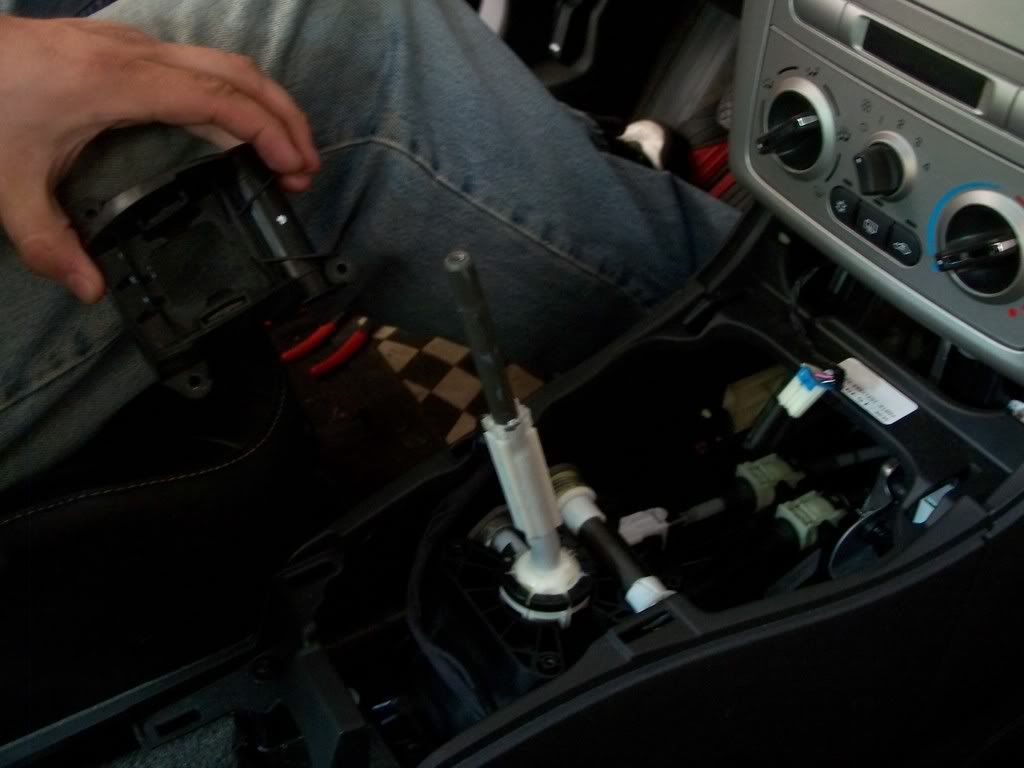
Step five:
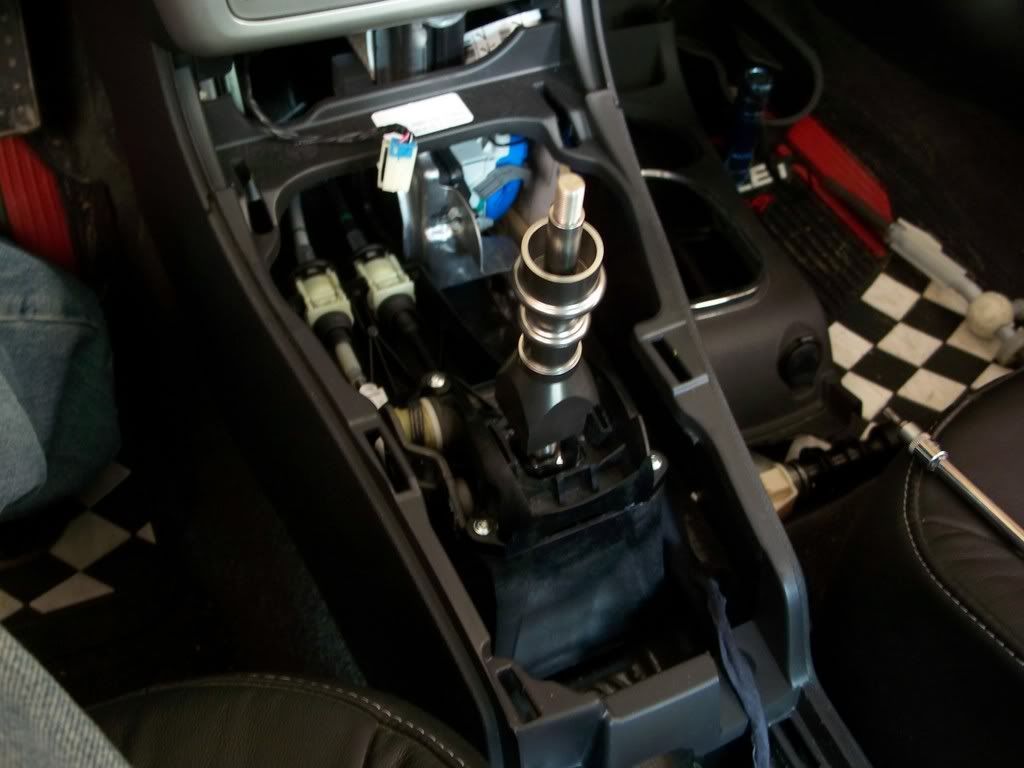
This step can frustrating if you have big hands and little patience. To remove the shifter from the cable, make sure you are still in 4th gear and lift the grey part where the cable slides through up. This may take a few tries. When it is loose, you may bring the shifter forward to remove the cable. Now you may lift the assembly out.
Step six:
Once the stock shifter is out, remove the cable attachment you just struggled with, this pops off with slight force. Then remove the crossover support(middle white circular part), this too pops off with slight force and then you must bring it past the square piece on the shaft. This takes a lot of force so be careful to not hurt yourself.
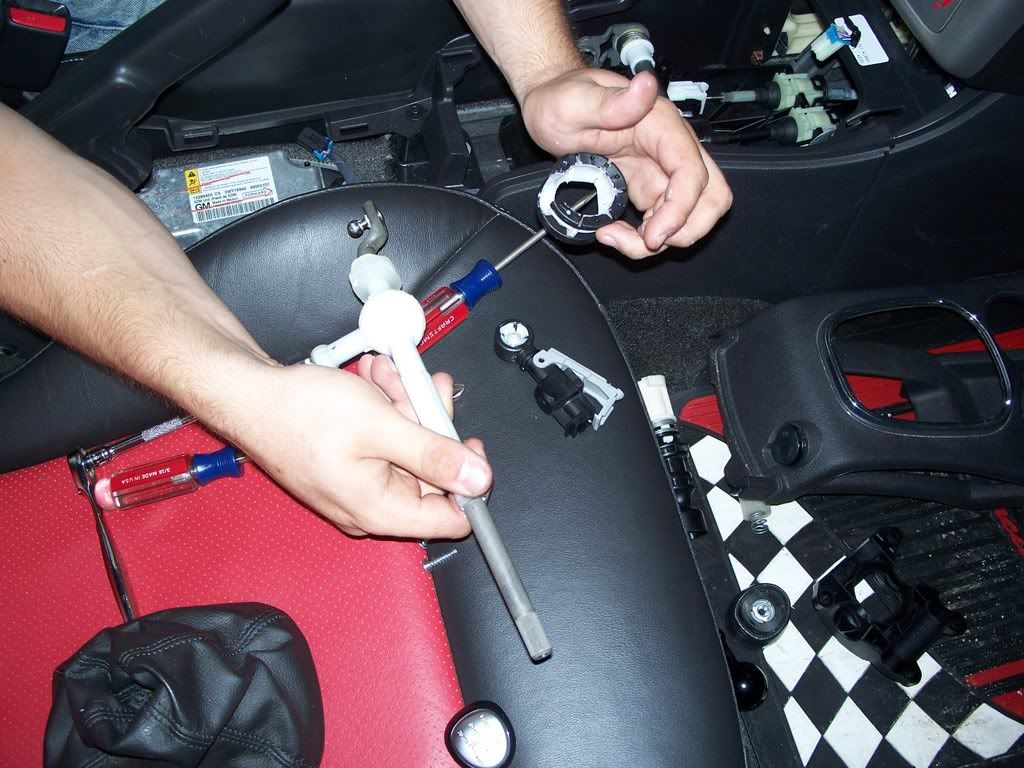
Step seven:
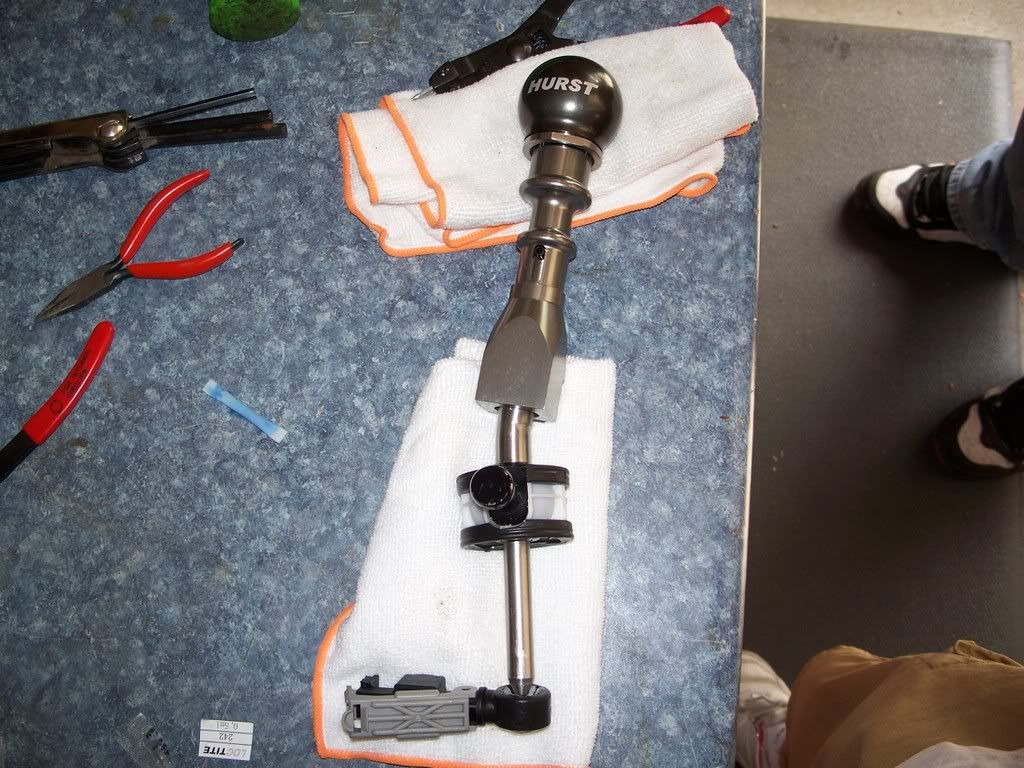
Now you get to start installing the new shifter. Reinstall everything you just took off the stock shifter, starting with the crossover hold down (not pictured due to stupidity on my part). Then the crossover slides onto the shaft and line the set screw hole with the flat part on the shaft. Next push the crossover support/bushing on to the ball. And finally the cable attachment onto the ball on the bottom of the shaft. Should look like this but with the black hold down above the crossover ball.
Step eight:
Install the shaft back into its spot and attach the cable again, with the shifter in the 4th gear position remember. And use the four T20 screw you saved earlier into the crossover hold down again. Now is a good time to test out the throws for each gear to see if you are fully engaging each gear, if it is not, then adjust the cable until you get it just right.
Step nine:
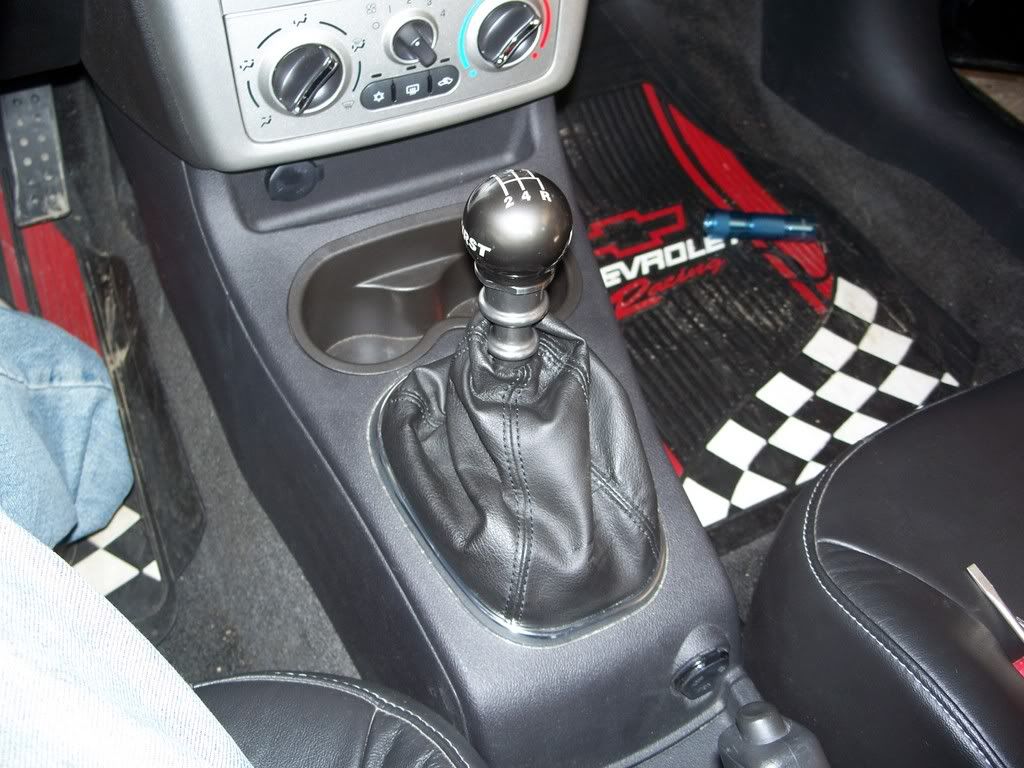
Install the new zip-tie in the collar of the shift boot and install the boot back on the shifter and pull the zip-tie snug and cut off the excess. Then just snap the boot back into the silver ring piece and plug the cigarette/accessory outlets connectors back in. Then just snap the consol pieces back in and you are good to go. Have fun with your new shifter. On 2 of the 3 I have done of these, the reverse lock-out is not used. I don�t know why this is, but all the shifters work perfect.
Hello, this how to is for the Hurst short throw shifter. This install is basic and needs basic mechanics tools to install.
Difficulty: Medium
Install Time: 45mins to 1hr
Here are the tools you will need:
1) 2 flat-head screw drivers, preferably of equal length
2) External snap ring pliers
3) A hand ratchet and extension
4) Torx 20 socket
5) Sidecutters
6) 1/8 inch Allen wrench
Here are the contents of the kit you should have:
1) Hurst shifter shaft
2) Pivot point lube
3) Zip-tie
4) Loctite thread locker
5) Crossover ball
6) C-clip/Snap-ring
7) Setscrew
Step one:
The first step is to remove the center console piece that wraps around the handbrake. To remove this piece, simply tug up on the edge and with minimal force you should be able to detach the clips. Next is to remove the center console piece around the shifter. This is done the same way as the previous part, but this time you need to remove the cigarette/accessory connectors by pressing on the clips on those parts. The shift boot is held on by some clips on the front of the silver ring, push these back and up and it should slide out.
Step two:
Place the shifter in 4th gear. Next you need to start disassembling the stock shifter to get the boot off. So, first remove the shift pattern piece with a flat-head screwdriver(this should pop off pretty easily).
Step three:
To get the shifter �ball� off, use your ratchet and the torx 20 socket and remove the screw on the top of the shaft. *If you have and 2005, there is no screw here* Then using two screwdrivers pry from underneath of the ball and lift up on the ball. This may take some force and don�t be afraid to try different angles if one isn�t working.
Step four:
Time to use the ratchet and T20 again. This time, take the four screw out of the base/hold down. In the photo, the two on the right are removed. Keep these as they will need to be reused.
Step five:
This step can frustrating if you have big hands and little patience. To remove the shifter from the cable, make sure you are still in 4th gear and lift the grey part where the cable slides through up. This may take a few tries. When it is loose, you may bring the shifter forward to remove the cable. Now you may lift the assembly out.
Step six:
Once the stock shifter is out, remove the cable attachment you just struggled with, this pops off with slight force. Then remove the crossover support(middle white circular part), this too pops off with slight force and then you must bring it past the square piece on the shaft. This takes a lot of force so be careful to not hurt yourself.
Step seven:
Now you get to start installing the new shifter. Reinstall everything you just took off the stock shifter, starting with the crossover hold down (not pictured due to stupidity on my part). Then the crossover slides onto the shaft and line the set screw hole with the flat part on the shaft. Next push the crossover support/bushing on to the ball. And finally the cable attachment onto the ball on the bottom of the shaft. Should look like this but with the black hold down above the crossover ball.
Step eight:
Install the shaft back into its spot and attach the cable again, with the shifter in the 4th gear position remember. And use the four T20 screw you saved earlier into the crossover hold down again. Now is a good time to test out the throws for each gear to see if you are fully engaging each gear, if it is not, then adjust the cable until you get it just right.
Step nine:
Install the new zip-tie in the collar of the shift boot and install the boot back on the shifter and pull the zip-tie snug and cut off the excess. Then just snap the boot back into the silver ring piece and plug the cigarette/accessory outlets connectors back in. Then just snap the consol pieces back in and you are good to go. Have fun with your new shifter. On 2 of the 3 I have done of these, the reverse lock-out is not used. I don�t know why this is, but all the shifters work perfect.
Last edited by TommyP; May 17, 2012 at 08:54 PM.


2. Yes it feels a little different especially 5th gear. (a little hard to find at times)
3. Yes I would recommend it.
Senior Member
Joined: 05-04-07
Posts: 1,845
Likes: 0
From: somewhere
Just got this done today. Took me about 5 minutes to get the stocker out and then another 20 to get the new one in. A goood note to add to this is to mark your cable to ensure that that clip is put back into the same location. I used a marker. Also the crossover support is not that hard to remove. Just make sure you pry opposing sides and it will come right off with slight force.
I then spent about 30 minutes trying to get the 1 screw i dropped back and failed so I replaced it with an extra I had. Don't drop the screws down the side because you will never get it back.
Shifting feels so much better now.
I then spent about 30 minutes trying to get the 1 screw i dropped back and failed so I replaced it with an extra I had. Don't drop the screws down the side because you will never get it back.
Shifting feels so much better now.

Senior Member
Joined: 03-02-07
Posts: 1,496
Likes: 0
From: Richmond, VA
just adjust the knob a bit further up the shaft and it will allow the revers lockout to travel higher and make it over the plastic site wall.... its a great product... just unfinished user install
Senior Member
Joined: 05-04-07
Posts: 1,845
Likes: 0
From: somewhere
Mine doesn't even come in contact with the sidewall...its too HIGH not too low..So unless I notched out the shifter a bit higher to move the ball up to allow the lock out to sit lower...but that would screw with the shifting.
If the lockout guide pin was lower on teh shaft i wouldn't have the issue. Not that I really car anways.
If the lockout guide pin was lower on teh shaft i wouldn't have the issue. Not that I really car anways.
Another thing you may run into is the shifter piovts (rocks back and forth or twists) after the install. That's because the set screw does not really have the width to contact the flat spot on the shaft. I corrected this by drilling out the pivot ball and tapping it for a larger size set screw.
Some folks here did not have that problem and some did including me.
Some folks here did not have that problem and some did including me.
Thread Starter
Senior Member
Joined: 05-23-06
Posts: 1,017
Likes: 0
From: Racine, Wisconsin
Another thing you may run into is the shifter piovts (rocks back and forth or twists) after the install. That's because the set screw does not really have the width to contact the flat spot on the shaft. I corrected this by drilling out the pivot ball and tapping it for a larger size set screw.
Some folks here did not have that problem and some did including me.
Some folks here did not have that problem and some did including me.