
Appearance: Install rear SS lip on LS bumper


Thread Starter
Senior Member
iTrader: (2)
Joined: 05-30-08
Posts: 1,409
Likes: 0
From: Strongsville OHIO
There was a lot of doubt on the forums about being able to install an SS rear lip on an LS balt with stock bumper, many people said the rear bumper needed to be upgraded to an SS because "they're differnt lengths, ones deeped, the ss bumper wraps around the exhaust more" which all still might be true but buying an SS bumper is NOT mandatory.
I installed a full SS body kit and i'm showing you how I installed the rear lip on my LS bumper. this is alittle more difficult because the lines where you need to cut are not marked on the inside of the bumper like SS bumpers (you will be responsible for making the marks). I'm going to cut to the case and start with having the bumper removed. If you do not know how to remove it, read another how to, it has been discussed.
Dremel cutting drillaka "rotary demel drill cutter "
Tools used:
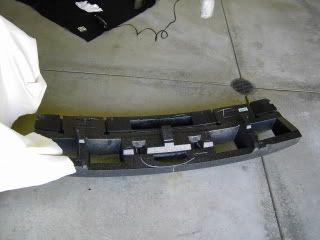
1) Starting out with the rear bumper disconnected from the car, remove the foam padding. This will have to be moddified by the end of the project in order for the pretruding tabs of the rear lip to have clearance. set it aside
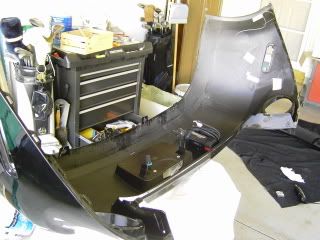
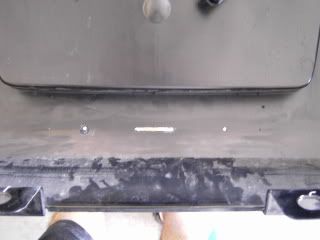
2) Mark the center of the bumper on the inside, just a hair above the groove where the bumper starts to tuck, use the groove as a guide.
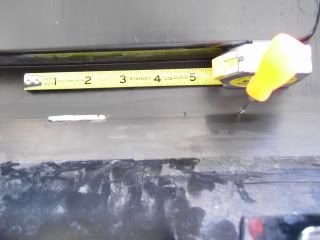
- measure the distance apart and the length of the tabs on the lip
- transfer the measurements to the bumper, MEASURE TWICE! CUT ONCE! starting from the center of the center and work your way to one end (both sides are semetrical) always starting from the center of the center tab.
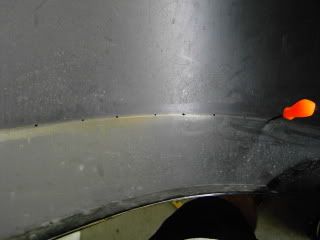
3) once you're 100% positive all the tabs are marked correctly, drill holes everywhere you marked. this allow for the rotary demel drill cutter (lack of better term) to fit in and be ready to cut, drill holes first, notice the larger holes on each side.
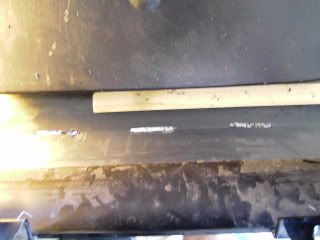
4) connect the dots, only cutting where tabs will be penetrating. NOTE: you will have to give each tab atleast 1/4 inch wiggle room in next step.
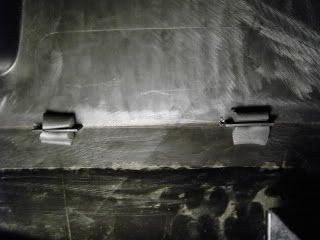
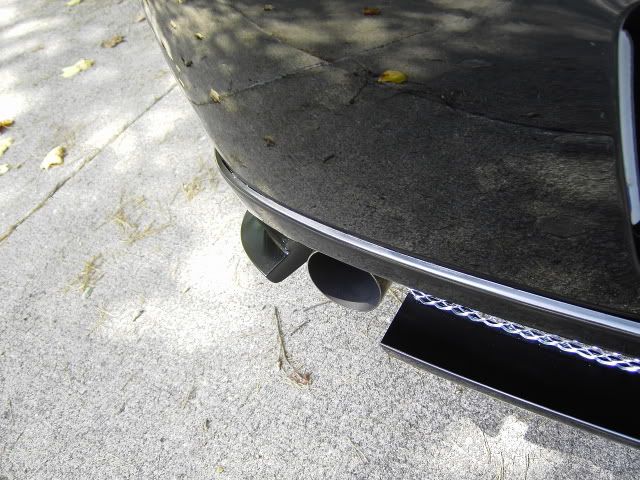
5) once all the slits are cut, try to nstall the lip, this is where you will see where you have to make the slits longer if needed.
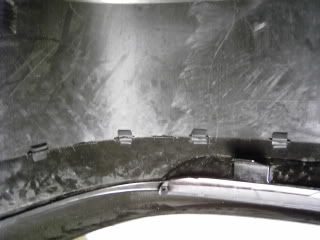
6) after the lip if sucessfully installed, clamp the tabs with the metal clips. they cost $3 a clip so i found a cheap substitute at a parts store for $2/yard, worked great
compliment me on my first How-To....
AND YOU"RE DONE!
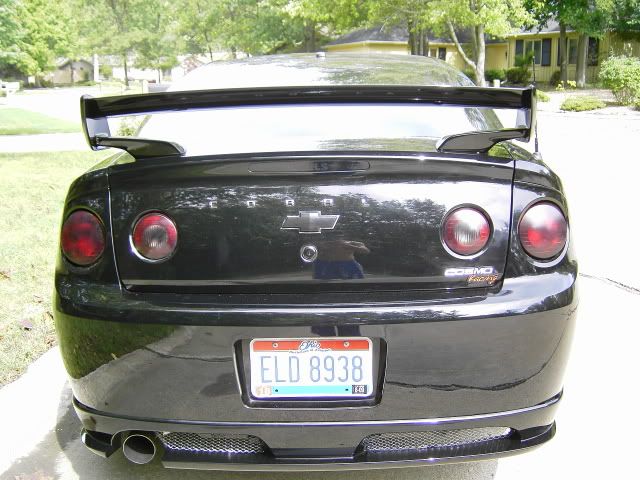
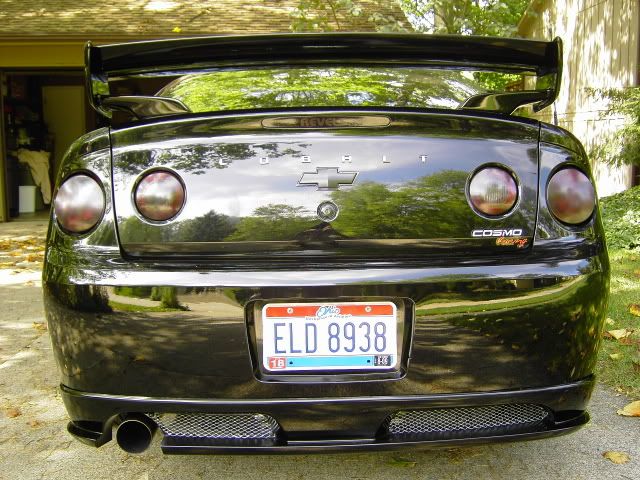
install the bumper and you're ready to roll.
[CENTER]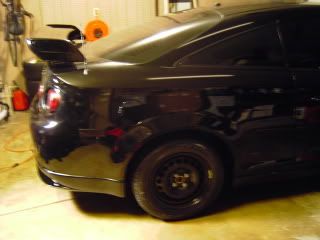
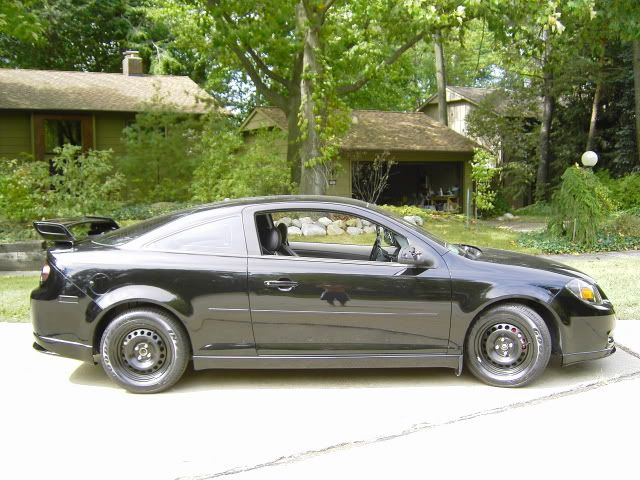
you can see from the side shot that both the front and rear hang 4 inches lower then te stock wheel wells, the rear is an easy fix with mud-flaps
I installed a full SS body kit and i'm showing you how I installed the rear lip on my LS bumper. this is alittle more difficult because the lines where you need to cut are not marked on the inside of the bumper like SS bumpers (you will be responsible for making the marks). I'm going to cut to the case and start with having the bumper removed. If you do not know how to remove it, read another how to, it has been discussed.
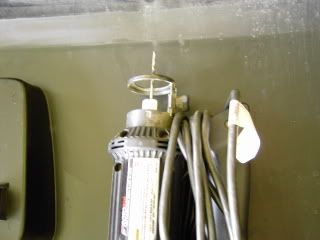
dremel with grinder
Dremel cutting drill
Tools used:
- tape measure/cloth tape measure
- Drill
- Dremel with grinder
- dremel cutting drill
- marker/pen/pencil or anything to mark the pastic
- patience
1) Starting out with the rear bumper disconnected from the car, remove the foam padding. This will have to be moddified by the end of the project in order for the pretruding tabs of the rear lip to have clearance. set it aside
2) Mark the center of the bumper on the inside, just a hair above the groove where the bumper starts to tuck, use the groove as a guide.
- measure the distance apart and the length of the tabs on the lip
- transfer the measurements to the bumper, MEASURE TWICE! CUT ONCE! starting from the center of the center and work your way to one end (both sides are semetrical) always starting from the center of the center tab.
(ignore the slit cut, i wanted to test the tool and make sure it worked)
3) once you're 100% positive all the tabs are marked correctly, drill holes everywhere you marked. this allow for the rotary demel drill cutter (lack of better term) to fit in and be ready to cut, drill holes first, notice the larger holes on each side.
4) connect the dots, only cutting where tabs will be penetrating. NOTE: you will have to give each tab atleast 1/4 inch wiggle room in next step.
5) once all the slits are cut, try to nstall the lip, this is where you will see where you have to make the slits longer if needed.
6) after the lip if sucessfully installed, clamp the tabs with the metal clips. they cost $3 a clip so i found a cheap substitute at a parts store for $2/yard, worked great
compliment me on my first How-To....
AND YOU"RE DONE!
install the bumper and you're ready to roll.
[CENTER]
you can see from the side shot that both the front and rear hang 4 inches lower then te stock wheel wells, the rear is an easy fix with mud-flaps
Last edited by wbrevels; Dec 13, 2008 at 09:22 PM.


Banned
Joined: 10-23-07
Posts: 3,093
Likes: 0
From: Brooklyn, NY
that's exactly how I did for the 2.4 sedan. It was tedious work with the cutting but well worth it. I bit the bullit and did it with mine. But for me I wasn't sure if it was gonna fit cuz I had the sedan bumper. Thank god it did
Thread Starter
Senior Member
iTrader: (2)
Joined: 05-30-08
Posts: 1,409
Likes: 0
From: Strongsville OHIO


Senior Member
Joined: 04-30-07
Posts: 2,226
Likes: 0
From: Moose Jaw / Regina, Sask
Senior Member
Joined: 03-10-07
Posts: 589
Likes: 0
From: Southington, CT
i want to do that for my sedan, i love the way it looks. I saw a sedan in my town with it done and it was clean especially with the rear. i think it sucks they didnt do that factory for the ss/tc sedan or the ss n/a 2.4 sedan. Chevy is lackin

Thread Starter
Senior Member
iTrader: (2)
Joined: 05-30-08
Posts: 1,409
Likes: 0
From: Strongsville OHIO
The clips were bought from a local fastner store, it's a rubber lining that was made to work bccause CMPP wants around $2-3 per clip which adds up to $50 or so. The 3 yard strip was under $5 and has held up amazing.
talk to MKurley
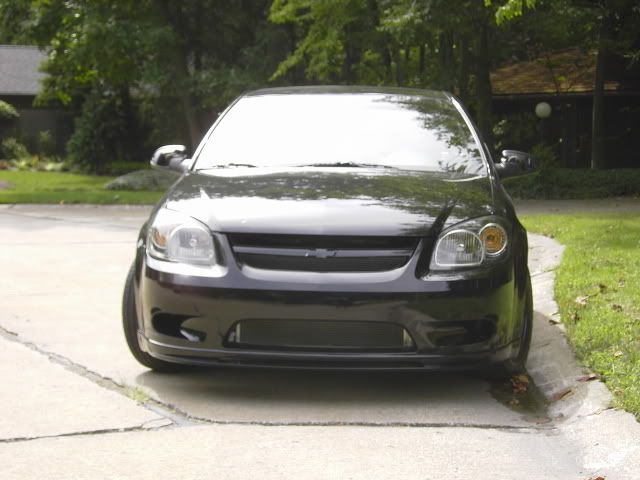
the SS and LT bumper look soo much better anyways because of the fog lights
Last edited by wbrevels; Dec 17, 2008 at 08:06 PM. Reason: Automerged Doublepost
Senior Member
Joined: 12-21-07
Posts: 3,741
Likes: 0
From: lucedale, ms
weither or not the ss front lip fits the ls/lt bumper or not im gonna try it out to see. im workin on gettin a used one that has a lil bit of damage to it so i can try it out. if it fits i will make a how to and post pics so everyone can see.