When you click on links to various merchants on this site and make a purchase, this can result in this site earning a commission. Affiliate programs and affiliations include, but are not limited to, the eBay Partner Network.
Using syncro parts from the Cavi trans I picked up with the Quaife LSD in it. Also discovered the plastic wear pads on my shift forks have worn completely off so need new shift forks as well. Interesting discovery though with the Cavi shaft vs. Cobalt shaft. The Cavalier shaft is shorter. I had always thought the internals were identical and only the casing/bell housing was different. Cavi on top, Cobalt on bottom
Transmission shift forks came in and transmission shop should be done by Friday. Clutch and pressure plate will be delivered today. New Exedy lightweight flywheel, AEM Infinity series 5 ECU, AEM 5 bar map sensor and waterpump/timing chain kit came in yesterday. Will make a more detailed list later with part numbers. Thought I would share AEM's warning to me that I should not be attempting this project.
Also going to attempt to make my own wiring harness. I will plot a basic diagram before attempting anything with physical wire.I'm thinking I should mount the ECU in the cab on the passenger side. I'll probably bore a new hole in the firewall to route the main cable through. As a side note does anyone in here have recommendations of someone who would be willing to help me get started with an initial tune when if I actually end up getting this thing put back together?
My AEM is mounted on the firewall behind where the glovebox used to be. It cost some $$ But I have a MIL-SPEC bulkhead harness in the firewall, so that engine side the entire harness unplugs from the firewall and can go with the engine when it has to come out.
My AEM is mounted on the firewall behind where the glovebox used to be. It cost some $$ But I have a MIL-SPEC bulkhead harness in the firewall, so that engine side the entire harness unplugs from the firewall and can go with the engine when it has to come out.
I'm imaging you have a stubby main cable that goes from your ECU to your firewall. Then at your firewall you have a junction that joins the stubby cable to the engine harness? Mind sharing with me what component you used there?
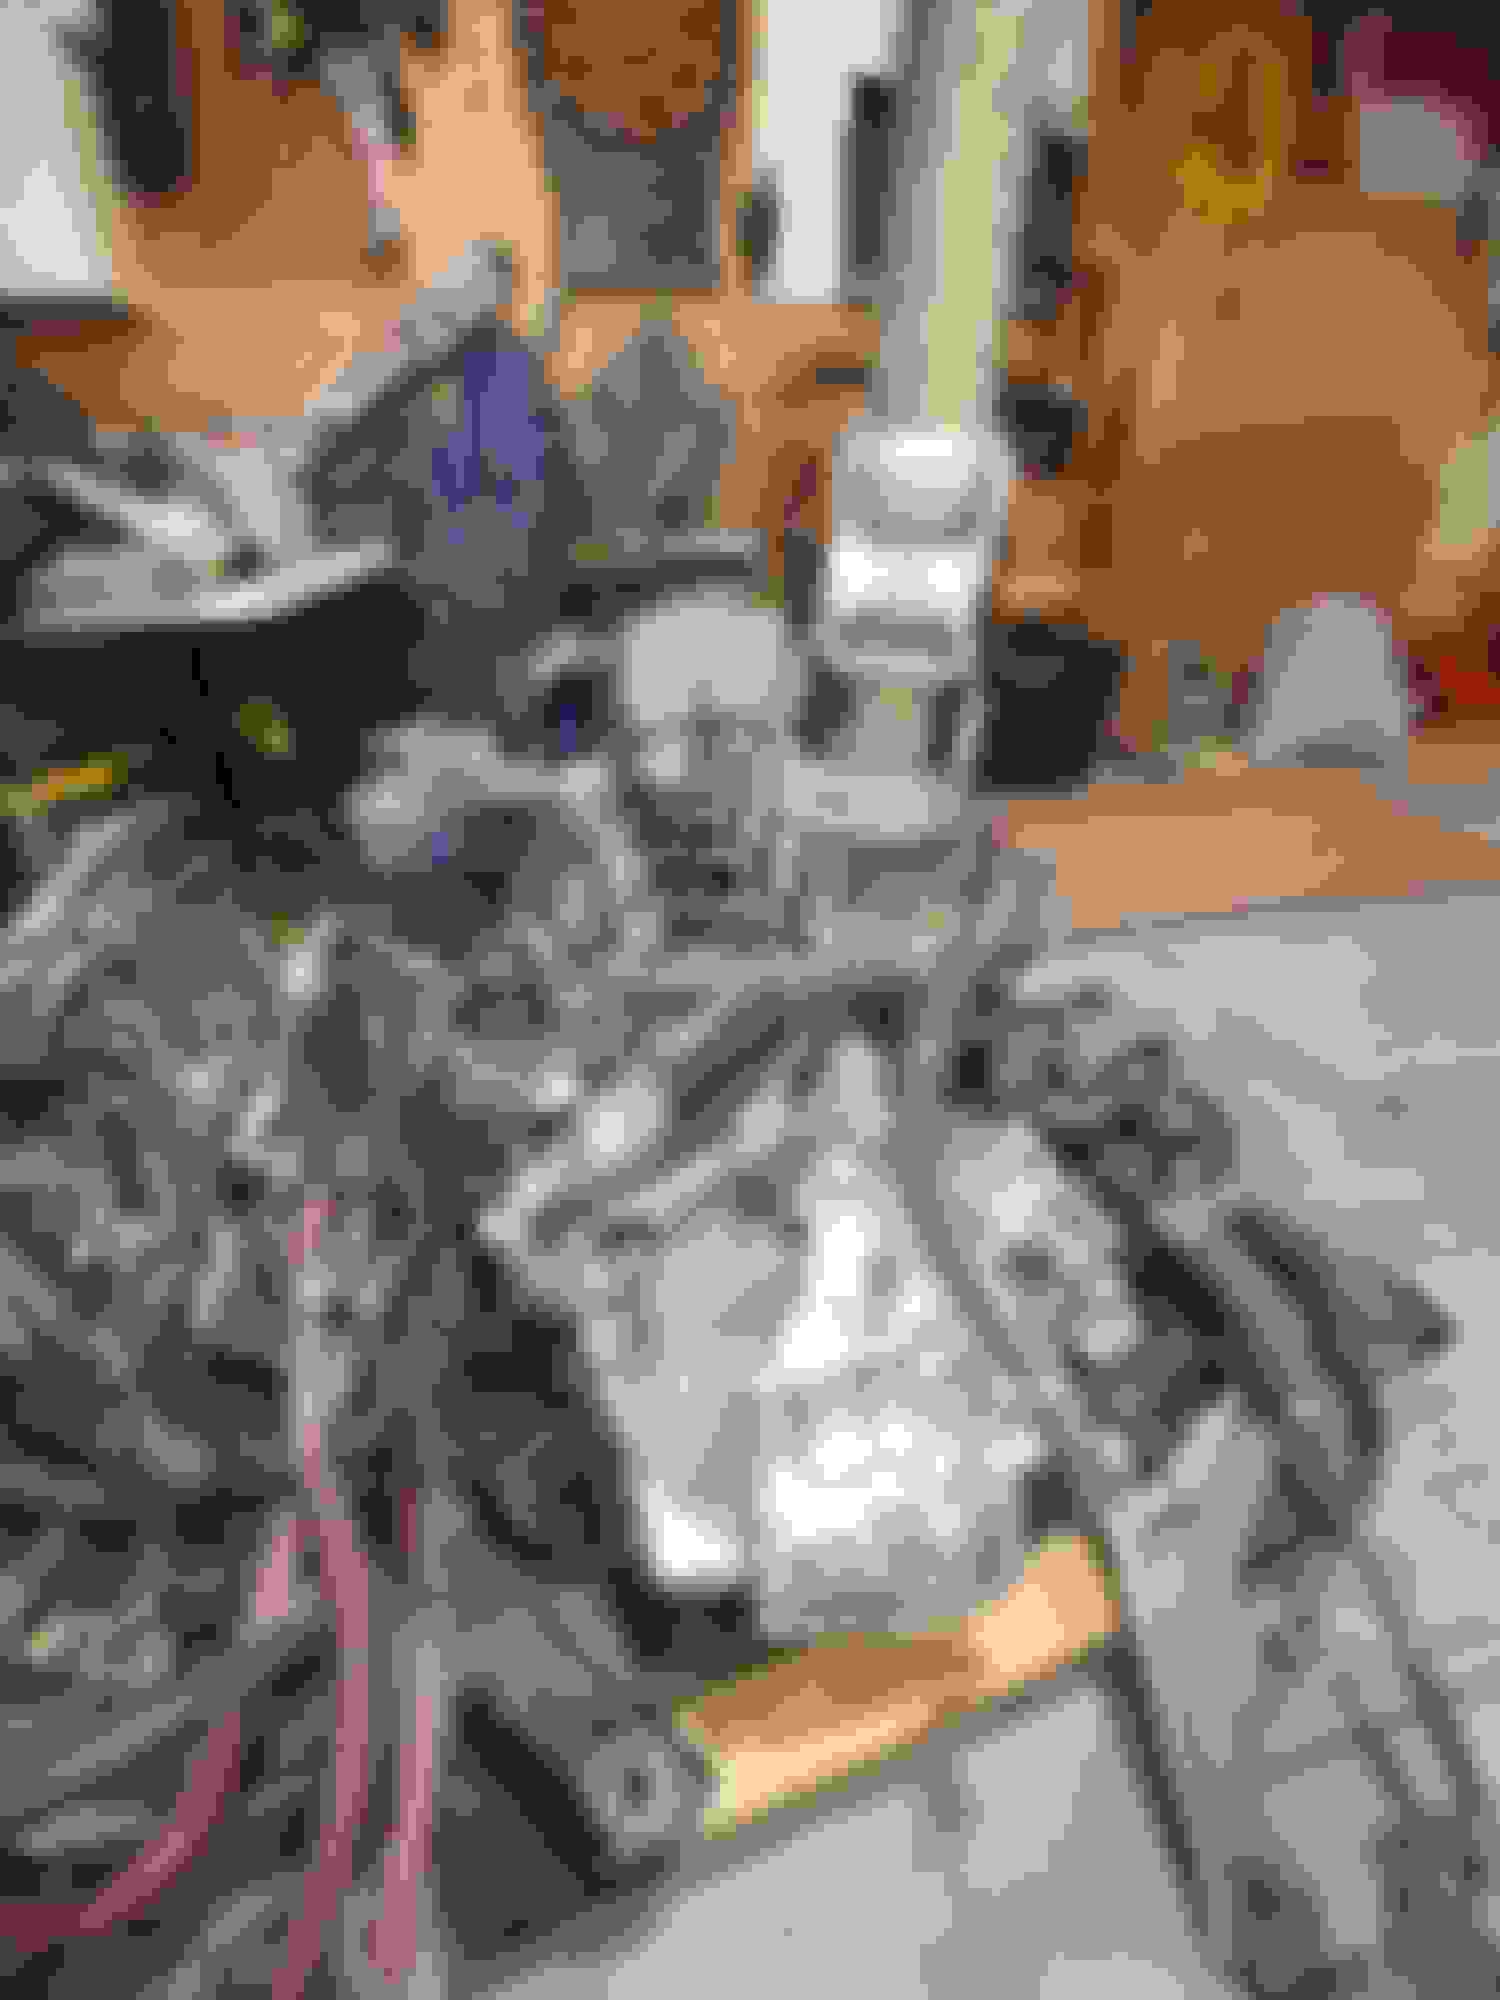
Installed new water pump, wp/bs chain, guides, sprockets and tensioner. Installed flywheel, pressure plate, and clutch yesterday evening. Took TOB disengagement measurements. Came up with 2-15/32" from block mating surface to engagement point of pressure plate fingers and 2-21/32" to compressed TOB engagement surface to mating surface of transmission. The difference ends up being 3/16" of excess TOB travel which the
I watched said was perfect. Not sure if someone knows if GM lists the official specification somewhere?
Have many additional parts coming in. Hopefully progress as far as possible this weekend. Can only get so far without having the head back yet. Not sure when Trevor will be done with it.
Installed the transmission with a little help from a ratchet strap to support the weight while I slid it into position.
Installed AEM oil pressure sensor.
Bought some stainless steel spring stock to try and keep my intercooler hose from kinking.
Also tapped out my 1/2" supercharger spacer plate a bit deeper so the nozzle spray pattern would not hit the threaded bore which condensed the mist into large droplets.
Been pretty slow but I still don't have my head back so there is only so much progress I can make anyway. That's good though because I make less mistakes when I take my time if you can imagine that. Spent the whole day Sunday redoing my rats nest wiring that I had from all my gauges, water-circ pump, and methanol pump. I kept adding stuff and just splicing into existing wire so basically cut out all that crap and tidied it up. I'm powering my gauges off of a single relay and the pumps on a separate relay. Amazon sells these relays that comes with their own harness and they are really handy.
Been pretty slow but I still don't have my head back so there is only so much progress I can make anyway. That's good though because I make less mistakes when I take my time if you can imagine that. Spent the whole day Sunday redoing my rats nest wiring that I had from all my gauges, water-circ pump, and methanol pump. I kept adding stuff and just splicing into existing wire so basically cut out all that crap and tidied it up. I'm powering my gauges off of a single relay and the pumps on a separate relay. Amazon sells these relays that comes with their own harness and they are really handy.
Absolutely. Might as well do it once and do it right. You have the A-Pillar gauges right?
Been pretty slow but I still don't have my head back so there is only so much progress I can make anyway. That's good though because I make less mistakes when I take my time if you can imagine that. Spent the whole day Sunday redoing my rats nest wiring that I had from all my gauges, water-circ pump, and methanol pump. I kept adding stuff and just splicing into existing wire so basically cut out all that crap and tidied it up. I'm powering my gauges off of a single relay and the pumps on a separate relay. Amazon sells these relays that comes with their own harness and they are really handy.
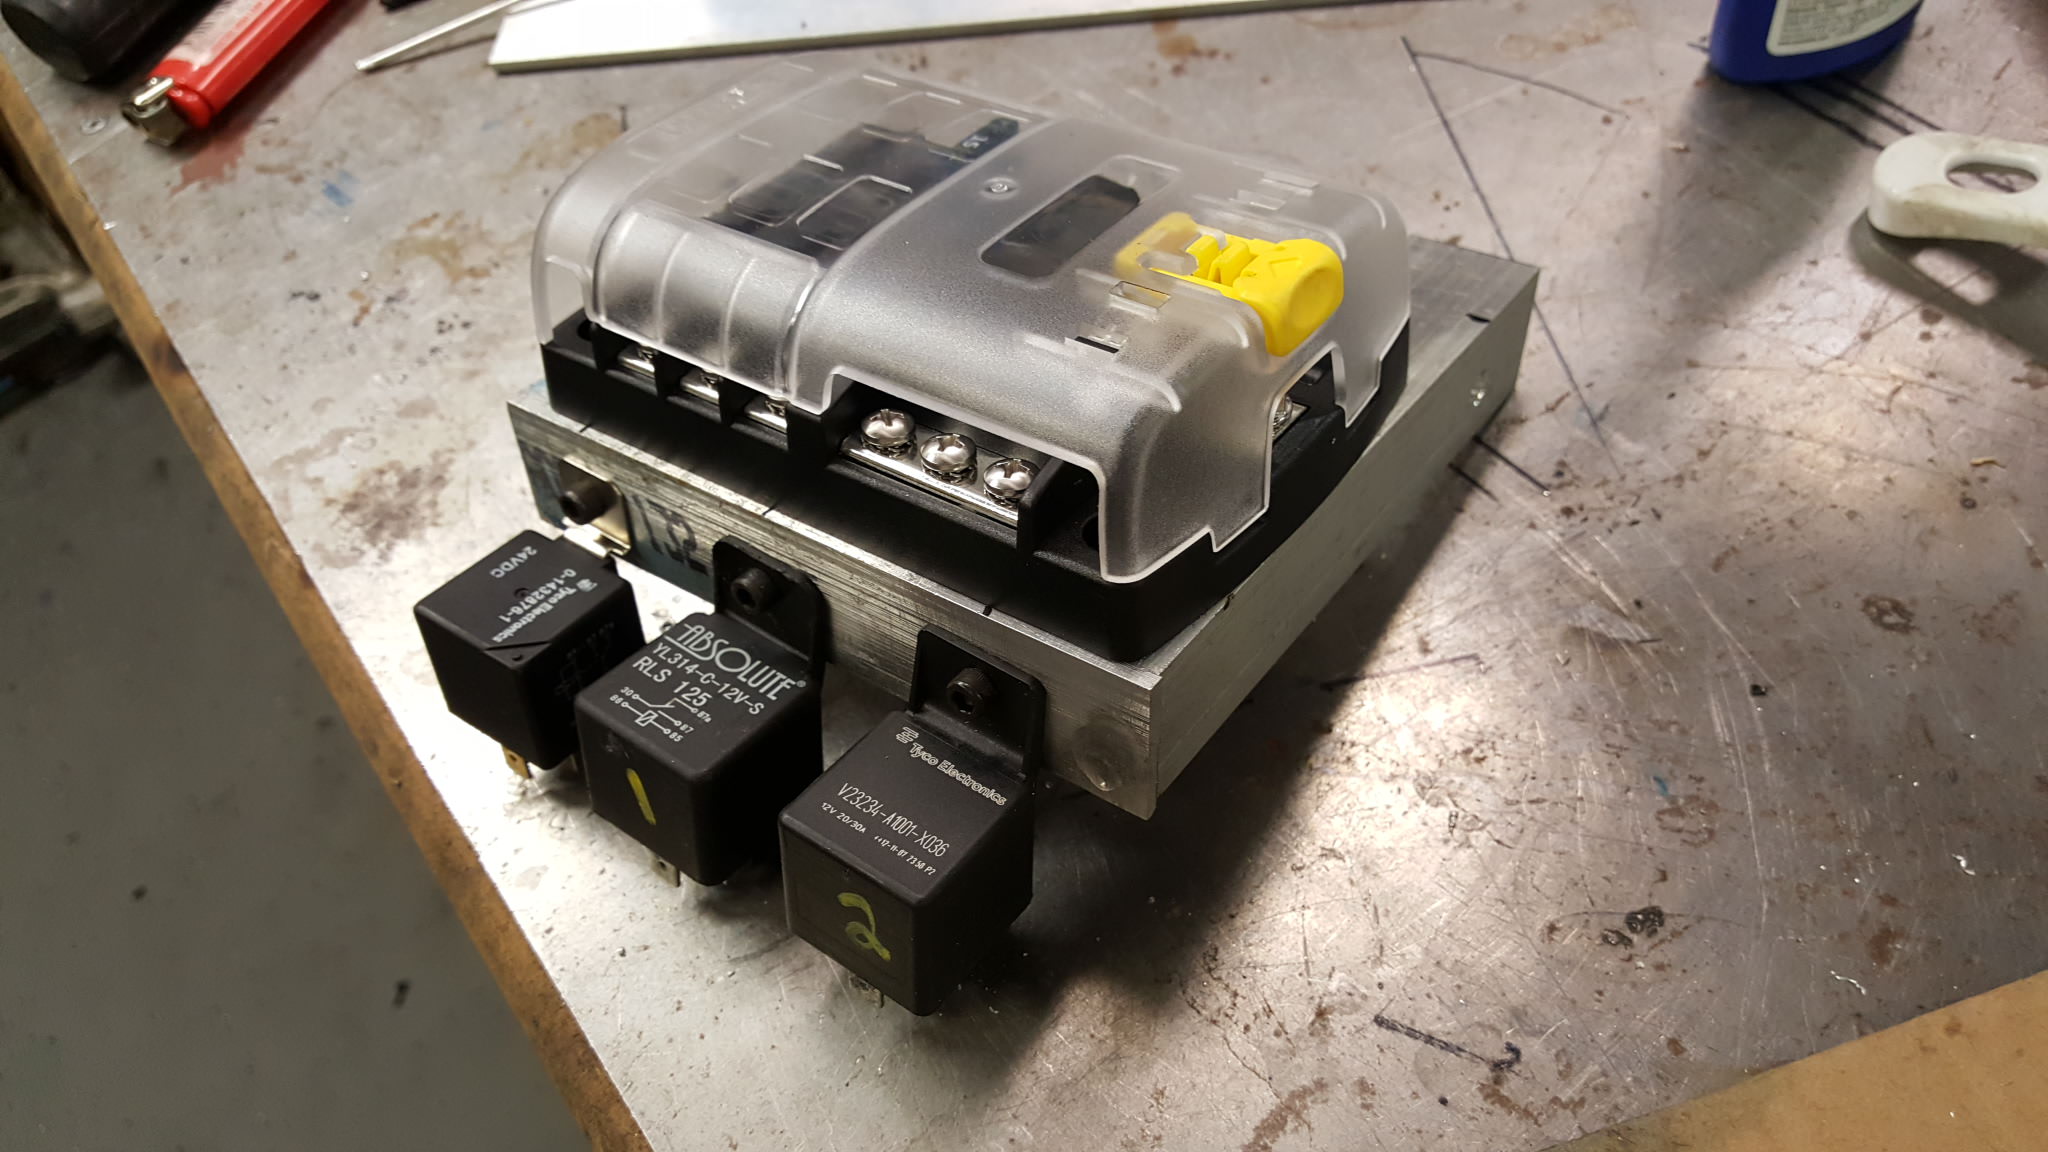
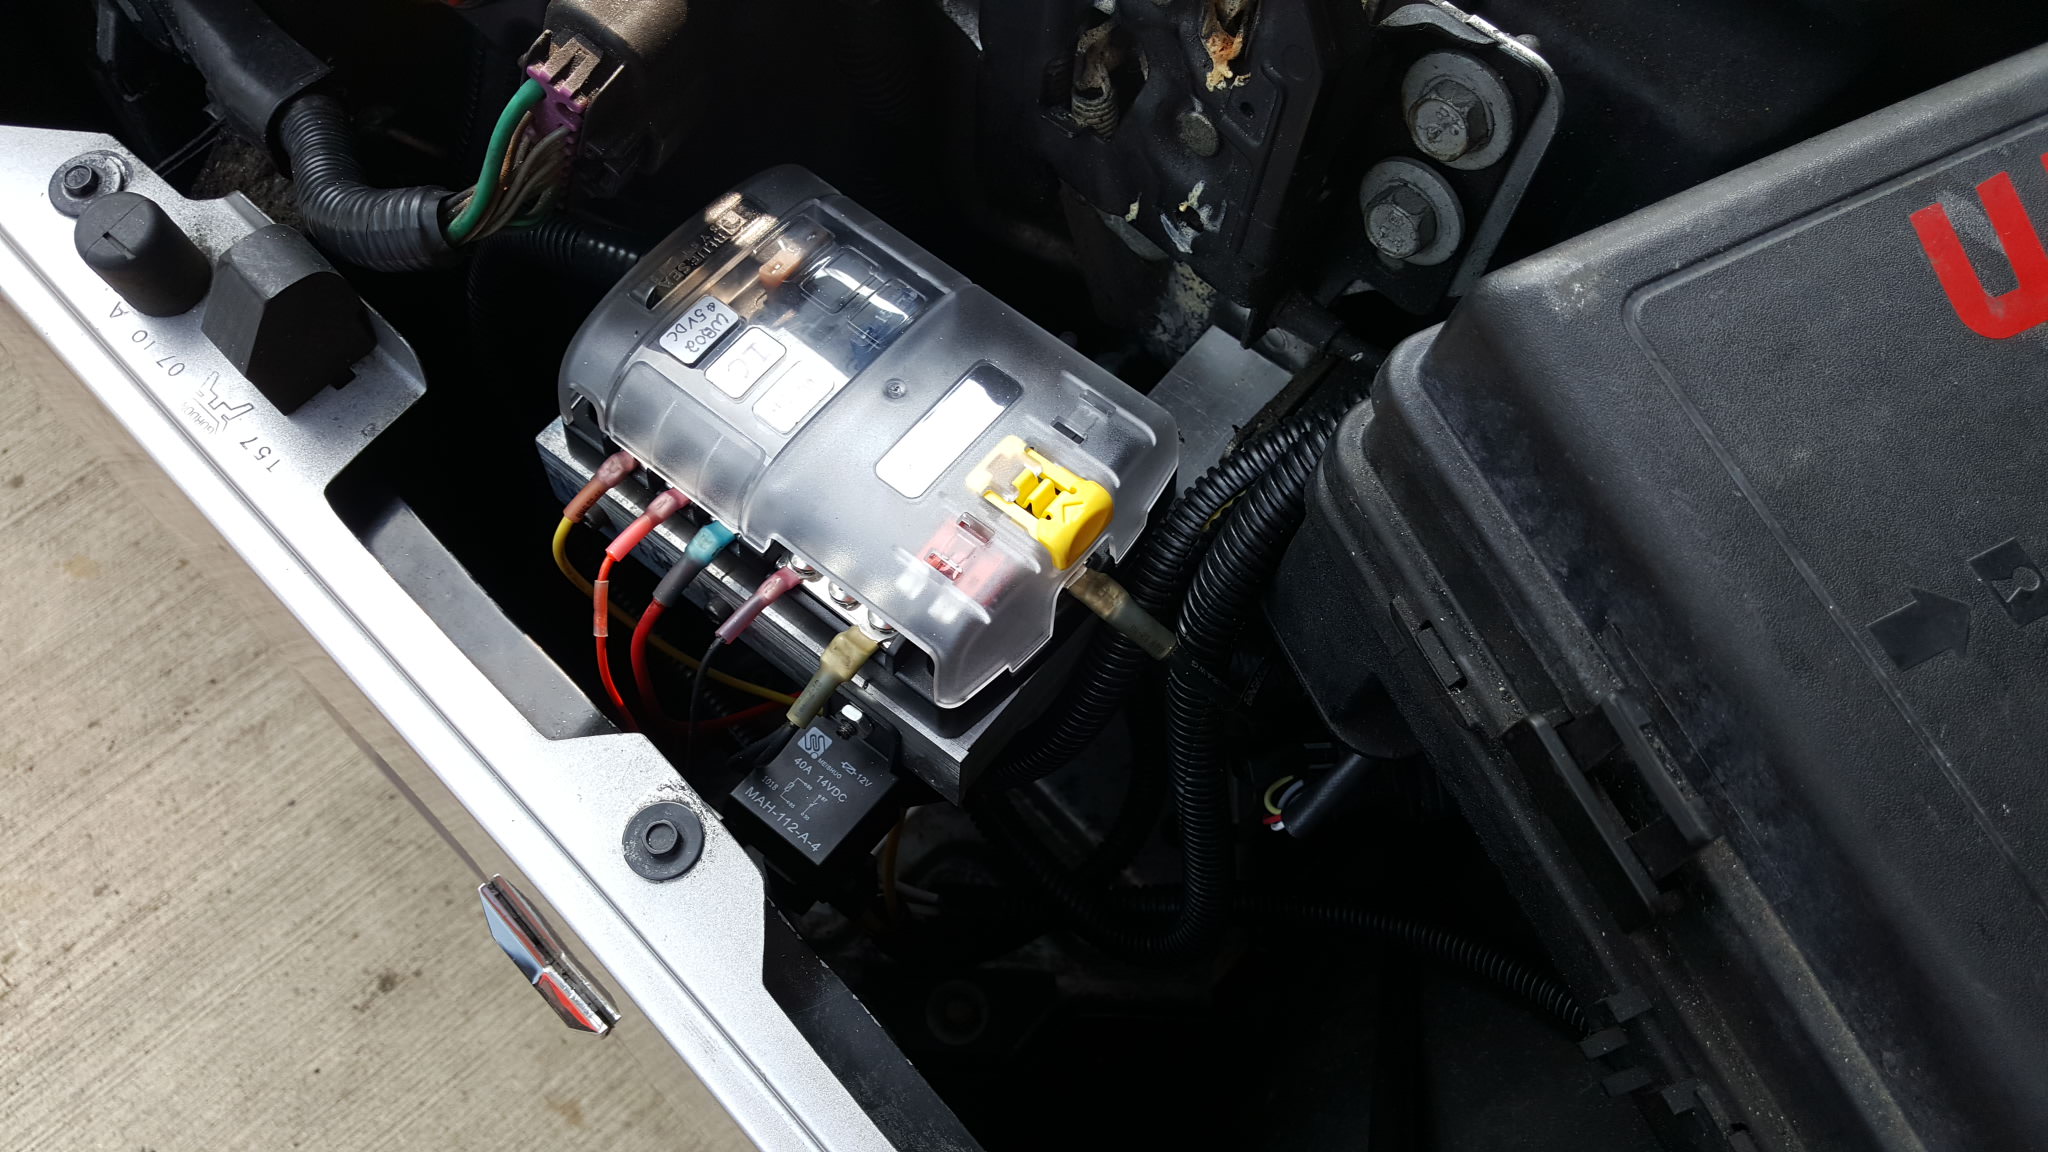
Rewired my car too last summer (Meth, IC pump, WB02), if you want to clean up the power distribution this fuse block is pretty nice:
I also got the multi-pack of relays with the plug and pigtails, seem to be working okay and easier to swap out at least.
I paralleled two relays to power the distribution block main input, ignition switched so everything is switched via ignition that is connected to it. (Ya that's a Slostice)
With Kolt's help providing schematics I think I about have my wiring figured out as far as what component pin connects to which pin on the AEM. I've bought some female Delphi GT 150 series terminals so I can run fresh wires and use crimpers to rebuild the stock electrical connections to my throttle pedal, injector harness, and throttle body ect. I also bought some female Metri-Pack 280 series so I can run wires and tap into the stock fuse box utilize the stock relays and fuses for the fuel pump and fan. Now I need to map everything to my mil-spec 61 position electrical connection that I will have at the firewall so I can disconnect the engine harness easily. I now know where most of the wires need to go if I can just get them there in practice.
Also tapped out my 1/2" supercharger spacer plate a bit deeper so the nozzle spray pattern would not hit the threaded bore which condensed the mist into large droplets. https://youtu.be/0WYRa7Y6Jtw
Regarding the water/meth sprayers, I am going to try and integrate the spray nozzles after the SC laminova elements. I found a couple symmetrical spots on the LSJ intake manifold to put two nozzles that point at ports 1-2 and 3-4. I would likely weld in bosses to optimize the nozzle angle.
Here is the concept wondering if anyone has looked at this method, this image is from google not mine:
I would like to inject after the cores as well to provide maximum cooling but I would be very worried about getting an even mixture to all cylinders. At my current location if I have a single nozzle clog up or something, although I may lean out a bit, there will still be a relatively even mixture going to all cylinders.
you could probably squeeze a direct port setup in there fairly easily, but it would have to be between the manifold and the head on the underside
I looked at this too, specifically to install 4 wet NOZZZZ nozzles, I backed out of this plan as it was too tight even if I hardlined it. The intake swoops in towards the block and with the nitrous wet nozzles it's too tight. Possibly right angle methanol nozzles could work out however, I haven't researched that at all but it would be the superior method I agree.
I would like to inject after the cores as well to provide maximum cooling but I would be very worried about getting an even mixture to all cylinders. At my current location if I have a single nozzle clog up or something, although I may lean out a bit, there will still be a relatively even mixture going to all cylinders.
That is a good compromise for safety, as your setup would be volume risky where my idea is mixture risky when it comes to component failures. You're freaking me out now...man. I'll pull my intake off and take a look again, maybe if I put the nozzles post-laminova but put them on the bottom of the intake farthest away from the intake ports so it is more failsafer.
That is a good compromise for safety, as your setup would be volume risky where my idea is mixture risky when it comes to component failures. You're freaking me out now...man. I'll pull my intake off and take a look again, maybe if I put the nozzles post-laminova but put them on the bottom of the intake farthest away from the intake ports so it is more failsafer.
Not trying to freak you out just noting concerns I had when considering injecting there. I haven't seen any CFD of the intake manifold but I would guess with the nozzles that close if it's spray pattern is closer to one port than the other that port would get more spray than the other. I would also guess that putting them just on the other side of the cores at the bottom of the intake will promote better mixing like you are saying.
It was a lot of double and triple checking because if I run one wrong wire it could damage the ECU at worst or cause me hours possibly days of troubleshooting. I ran one wire from the ECU to the firewall last night just to find out that the crimpers I bought don't work very well with the small Molex pins on the infinity connector. So now waiting on tools again. There are a few things I can do in the meantime like clean up the existing engine harness down to what it will need to run the speedo, tac, fuel gage, and power steering.


 Moderator