
Interior: How to change cluster, HVAC control, window and door lock to LED


New Member
Joined: 10-17-09
Posts: 165
Likes: 0
From: Newfoundland
i haven't taken it apart before so dont quote me if im wrong, but it seems like you just answered your own question. if they are screwed in, unscrew them. maybe you mean they are screwed in a different way.

New Member
Joined: 04-27-11
Posts: 13
Likes: 0
Yea they are screwed in a certain way and it doesn't look like it will come off at all

Senior Member
Joined: 12-05-10
Posts: 3,877
Likes: 3
From: newmarket
Senior Member
Joined: 12-05-10
Posts: 3,877
Likes: 3
From: newmarket

Senior Member
Joined: 12-05-10
Posts: 3,877
Likes: 3
From: newmarket
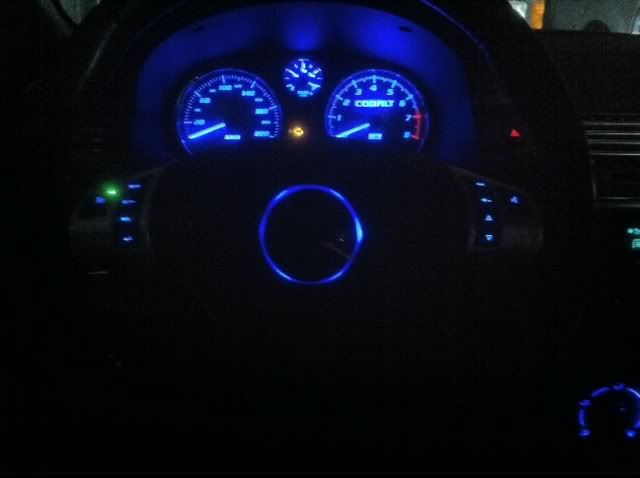
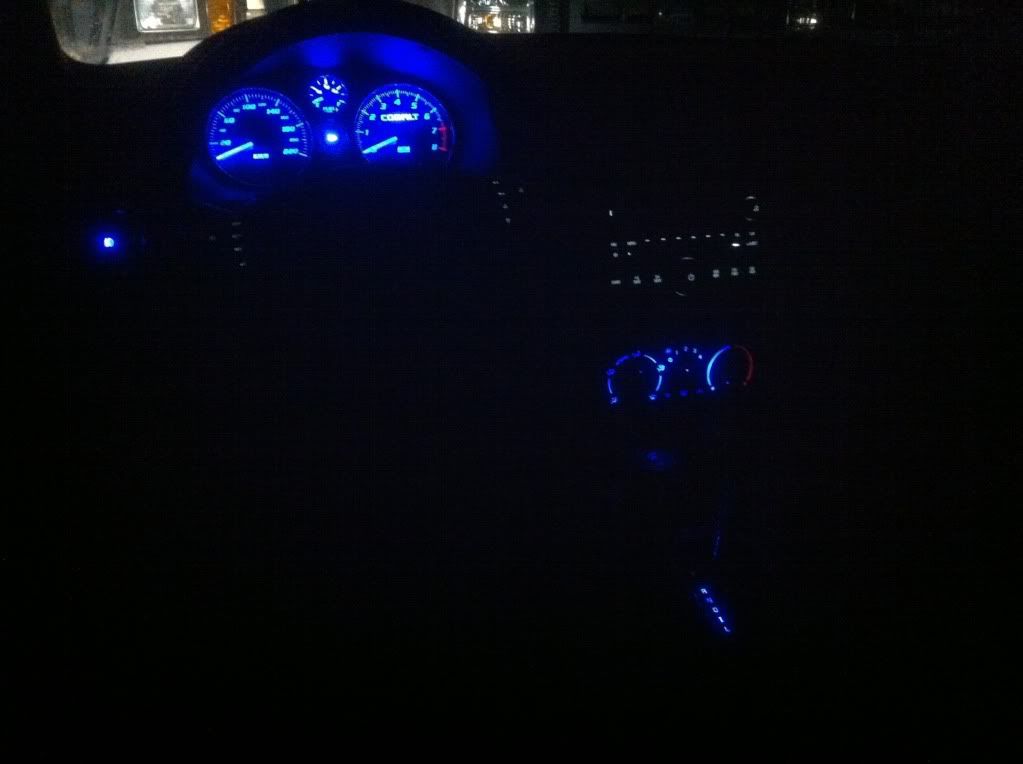
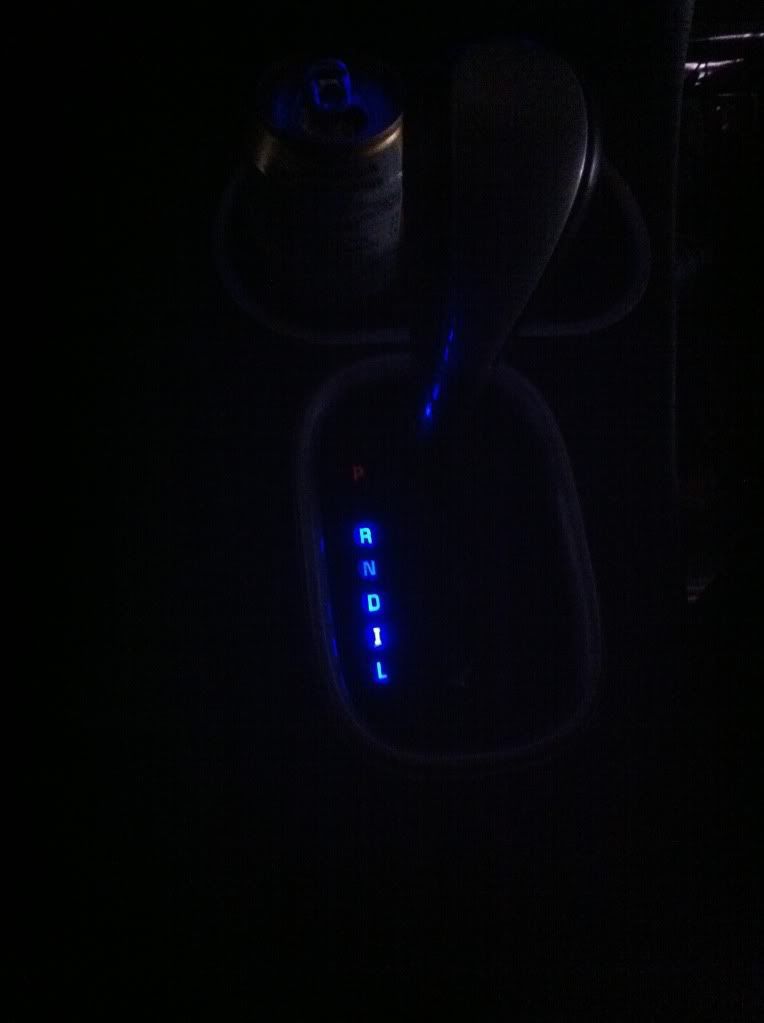
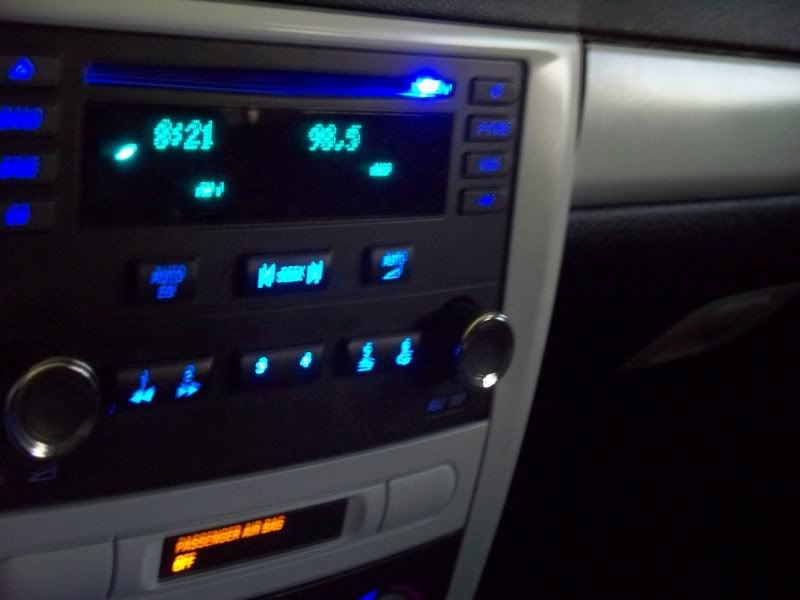
Took apart the shifter, pop the knob, pop the trim piece around it and there's a couple tabs holding on the top half of the shifter plate, I strung up a blue led strip in there as the stock is just one halogen bulb
New Member
Joined: 04-27-11
Posts: 13
Likes: 0
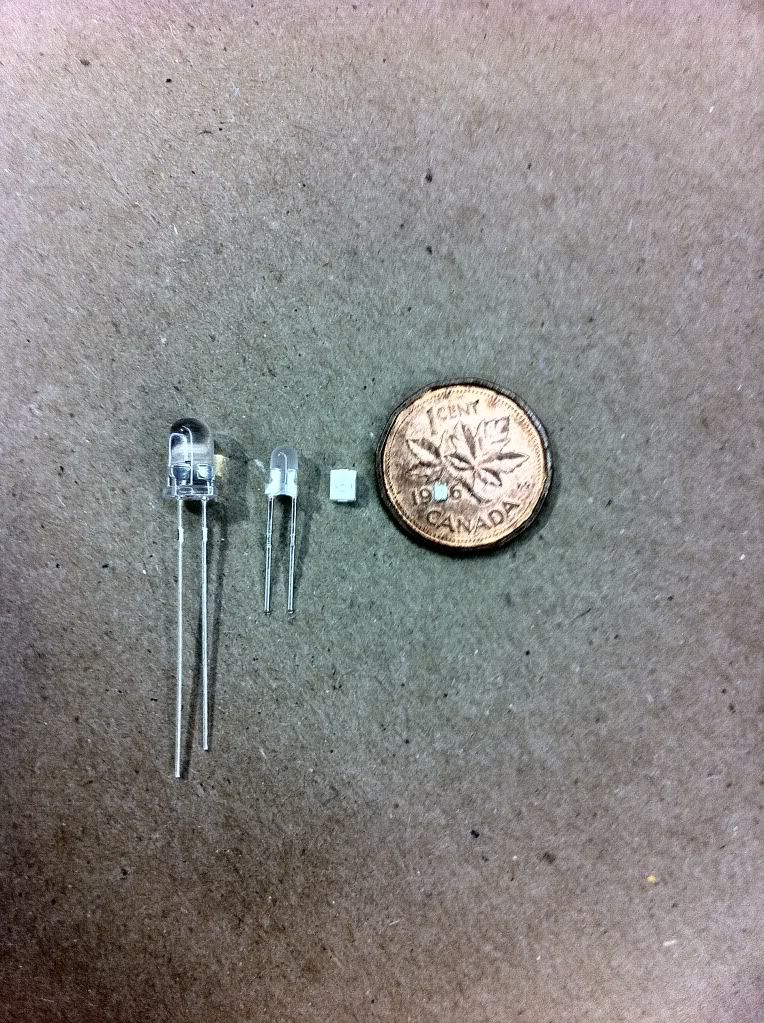
What did you decide to use for the LEDs that you put together? Was it strand of lights that you could get at like Radioshack or something? Or did you put them in separately and wired them that way?


New Member
Joined: 11-03-10
Posts: 15
Likes: 0
From: Kentucky
New Member
Joined: 11-03-10
Posts: 15
Likes: 0
From: Kentucky
ok so how do i get my guages back to normal lol after installing the LEDs i mean it turned out great just getting the needles back to their original spots is the problem now is this an easy fix or am i in some deep **** lol

