
Interior: How To: Make a Dual Gauge Cluster Bezel


Joined: 09-29-06
Posts: 20,662
Likes: 216
From: Land of Freedom
two quick questions,
one if you were doing the pvc pipe method, how long does the pipe fitted into the bezel have to be? or how short rather.
two - the flexible bumper filler then with minimal putty filler is the way to go without cracking?
one if you were doing the pvc pipe method, how long does the pipe fitted into the bezel have to be? or how short rather.
two - the flexible bumper filler then with minimal putty filler is the way to go without cracking?
Joined: 09-29-06
Posts: 20,662
Likes: 216
From: Land of Freedom
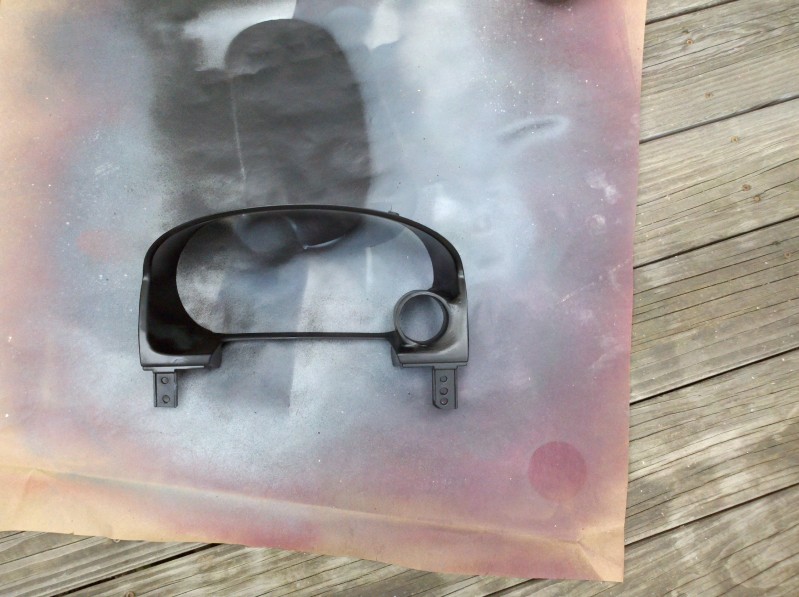
god sanding this thing sucks. More sanding to do today, then fill in with glazy putty as little as possible, then paint. HOPEFULLY finish it today. Not hard just time consuming


Joined: 09-29-06
Posts: 20,662
Likes: 216
From: Land of Freedom
got it done today. looks good from about 2 feet away. when you get up close though theres a few things im not 100% with. Mother of god though im done sanding. my girlfriend was like oh wow i want to start making these. im like have at it....
Last edited by 07MetallicSC; Aug 15, 2012 at 06:49 PM.
Thread Starter
Member
Joined: 12-02-09
Posts: 296
Likes: 0
From: Toronto
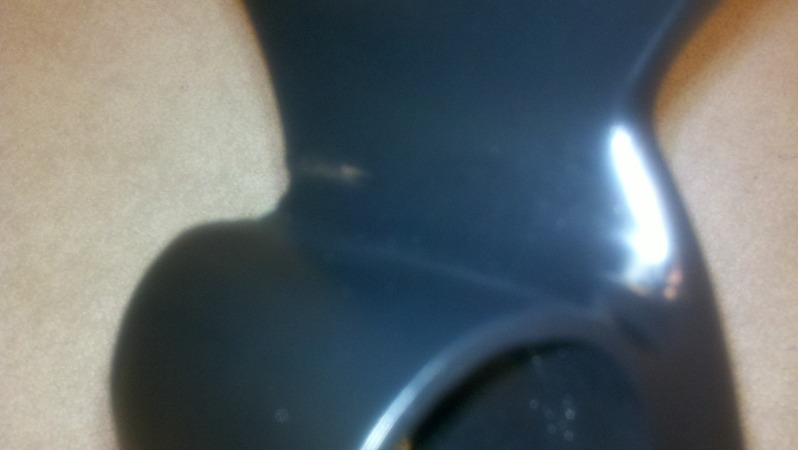
Yeah, sanding is the worst part. I repainted mine twice because everytime I noticed something I missed and had to fix. Seriously, fix it before you put it in otherwise you'll have to look at it. What grit paper did you use?

Joined: 09-29-06
Posts: 20,662
Likes: 216
From: Land of Freedom
lol i told you it wasnt 100%. was my first one.
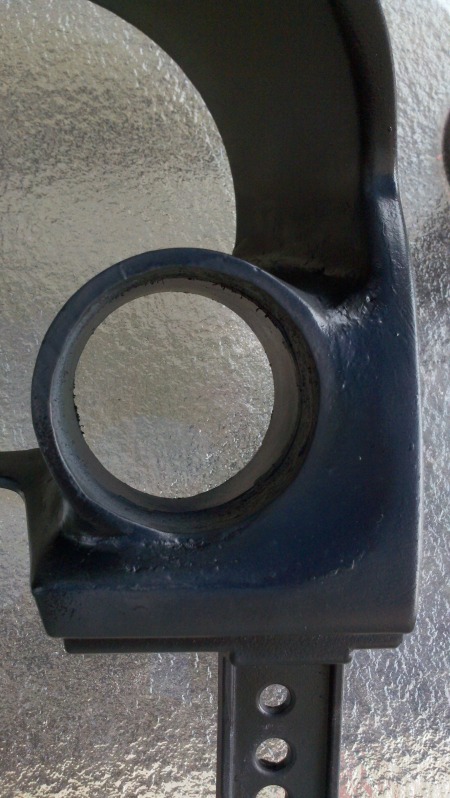
Its not outward its straight on when looking at it.
i used 220 to get it down, then 600 to finish. im thinking my issue was in the mixing portion of things. i was trying to mix good and apply to whole piece, i think im going to mix less amounts at a time, and work on one area at a time for the next one.
Joined: 09-29-06
Posts: 20,662
Likes: 216
From: Land of Freedom
i primered it just to see imperfections 3-4 times. I think half my problem with it was I got to the primer stage and kept thinking all i gotta do is paint and im done and rushed the end. I did spend a **** ton of my day sanding it though.
Joined: 09-29-06
Posts: 20,662
Likes: 216
From: Land of Freedom
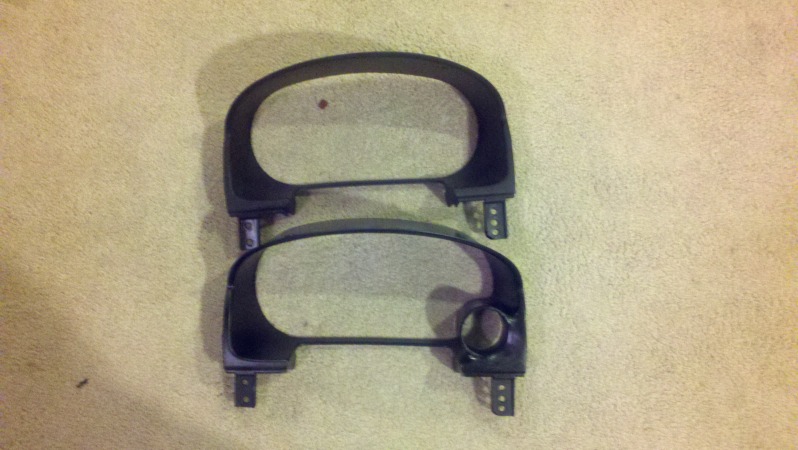
so six hours of sanding since my last pictures I came to this. VERY Happy with it.
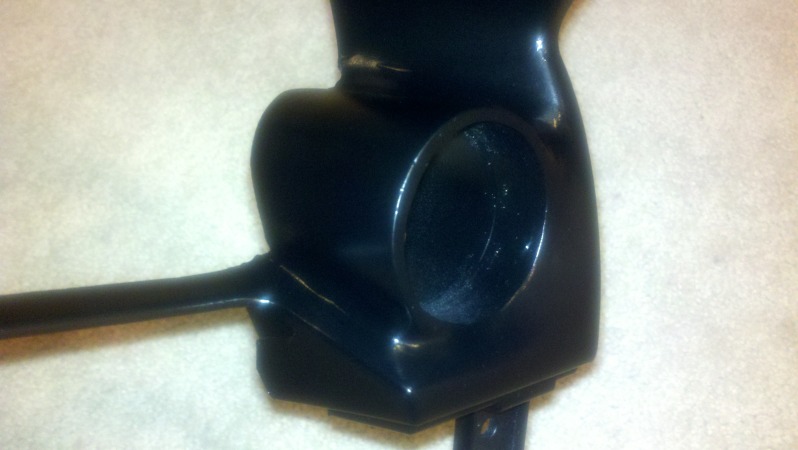
Was how it was before I decided to put more time into it, cant really tell from this picture, but it wasnt pretty. But you get an overall idea vs stock
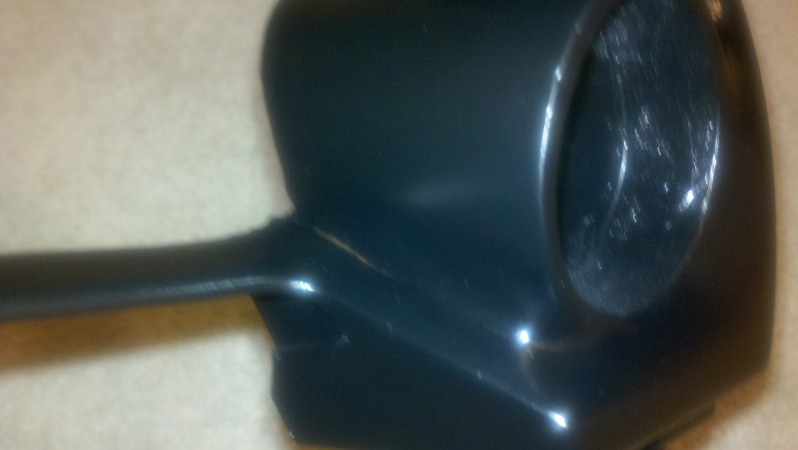
The blank one my girlfriend wants to do now into a dual. She said it looked cool.
Was how it was before I decided to put more time into it, cant really tell from this picture, but it wasnt pretty. But you get an overall idea vs stock
The blank one my girlfriend wants to do now into a dual. She said it looked cool.


Joined: 09-29-06
Posts: 20,662
Likes: 216
From: Land of Freedom
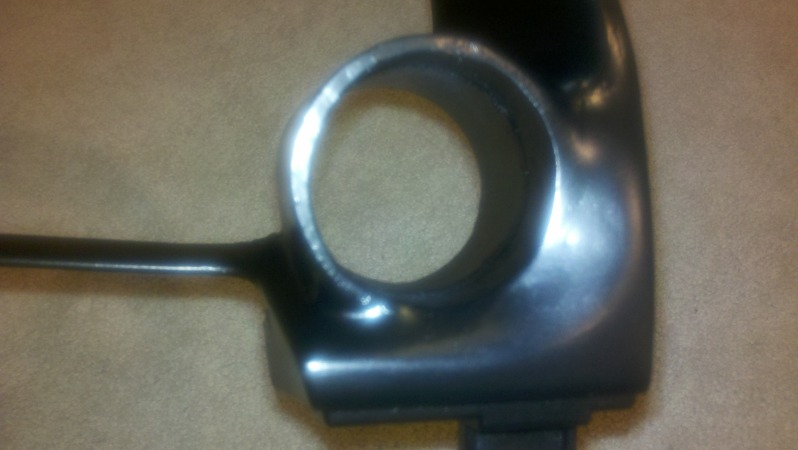
2 - 1/16
and cad - lol yeah youve made how many? was my first time making one, and my first time working with any of these materials. learned alot. gonna try another one next week after canada. should be able to bang out in half the time for sure
and cad - lol yeah youve made how many? was my first time making one, and my first time working with any of these materials. learned alot. gonna try another one next week after canada. should be able to bang out in half the time for sure


