When you click on links to various merchants on this site and make a purchase, this can result in this site earning a commission. Affiliate programs and affiliations include, but are not limited to, the eBay Partner Network.
I'm not arguing... Just stating facts. R134A is 7 degrees less efficient over R12 so engineers were also dealing with that issue and the time you are driving with AC vs under heavy boost is well greater than 99% for most of us that see hot climate temps. If this is not a daily driver and not worried about resale value or just don't need AC where you live, I would put it on a diet and remove all AC components. The compressor, evaporator, condenser and lines would be a nice offset for what the supercharger kit added. I'm betting your not going to do that in Kansas... I lived in NE for 21 years and just the water it pulls out of that humid environment makes me fell better.
So you agree with my that GM engineers prioritized AC condenser efficiency over h/e efficiency I take it? I need AC here. My car has no resale value and I will never sell it. So far my AC works fine. Will report back if I have AC troubles in 100+ temperatures or something.
I'm a retired GM engineer myself... received my EE from GMI but had nothing to do with R&D. I did training and diagnosis before buy backs.
It's not a matter of prioritization as much as the Lamanova heat exchanger system works very well for the Eaton M62, even all the way up to stage 3 with a 76mm pulley the exchanger is not changed out. Yes, cooler is better but not necessary under the OEM PCM programming.
Per GM:
The Stage 3 Kit is for off-road use only. The Stage 3 upgrades are meant for off-road use only and are not certified to be emissions legal.
The vehicle's air conditioning is disabled by the Stage 3 PCM.
This kit is an upgrade to Stage 2. It requires the following parts from the Stage 2 Kit: high-flow fuel injectors, pulley adapter hub and serpentine belt.
Not sure what you are trying to tell me here other than the stock LSJ h/e location yields acceptable performance. I'm not running an M62 on a 3" pulley. I'm running a TVS on a 2.9" pulley with overdrive crank pulley. I want as cold of IAT2 temps as possible regardless of what the configuration was optimized for from the factory.
I am also an engineer. Mechanical engineer to be exact. So I am familiar with fluid dynamics as well as heat transfer.
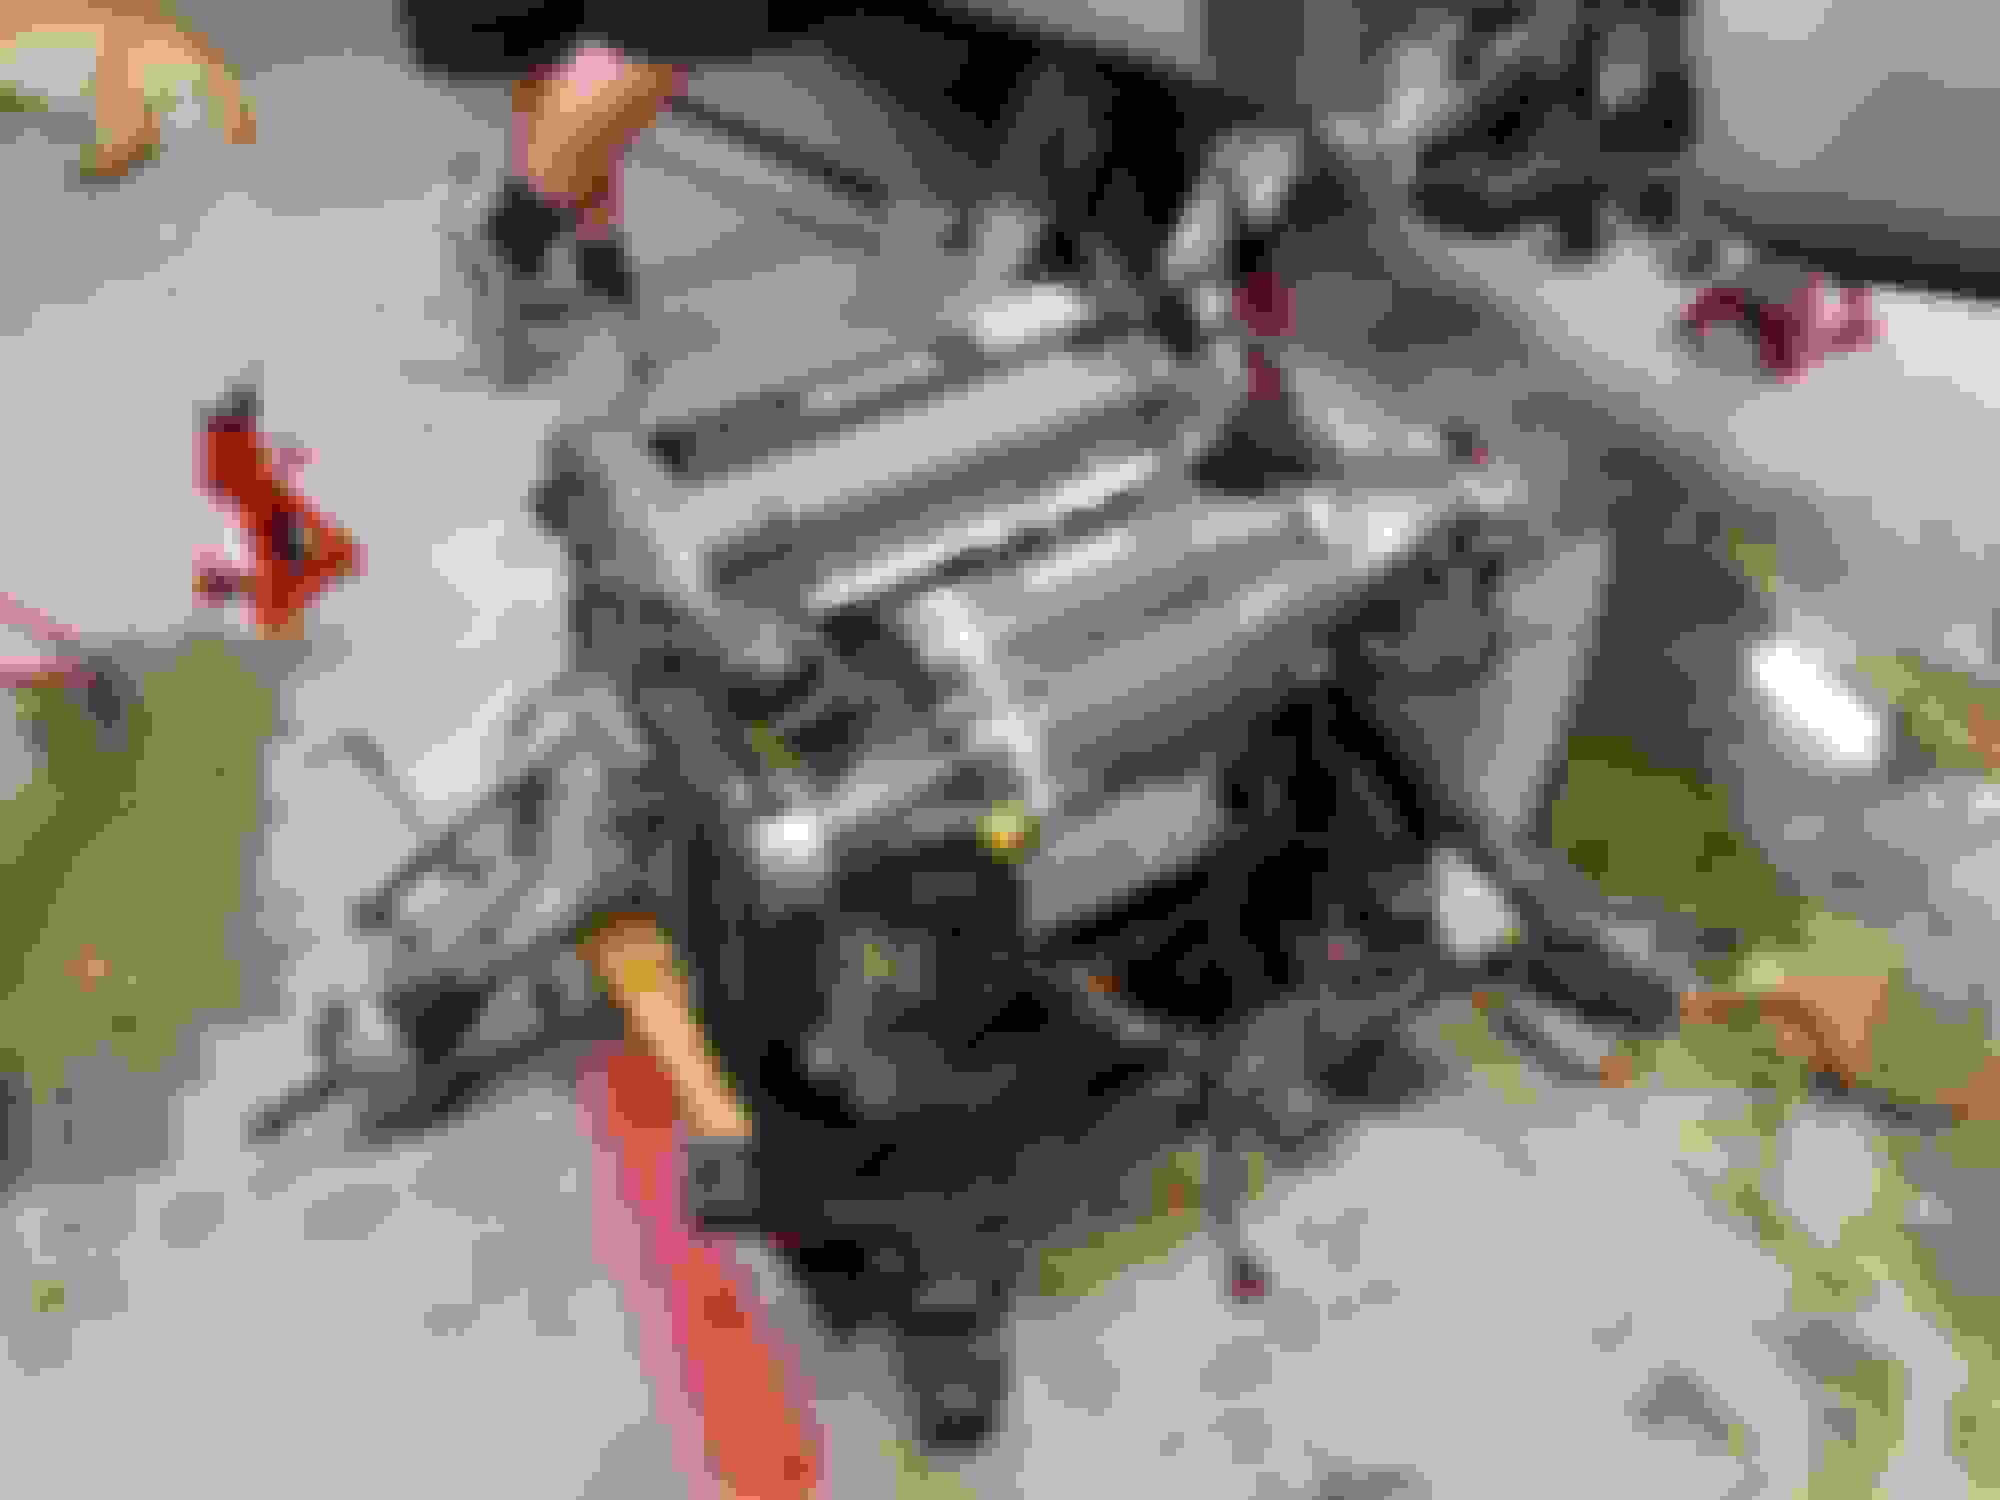
Two evenings and the engine cradle assembly is dropped. Was able to pull it off with just 2 floor jacks on the provided jack points on my under car rails on each side.
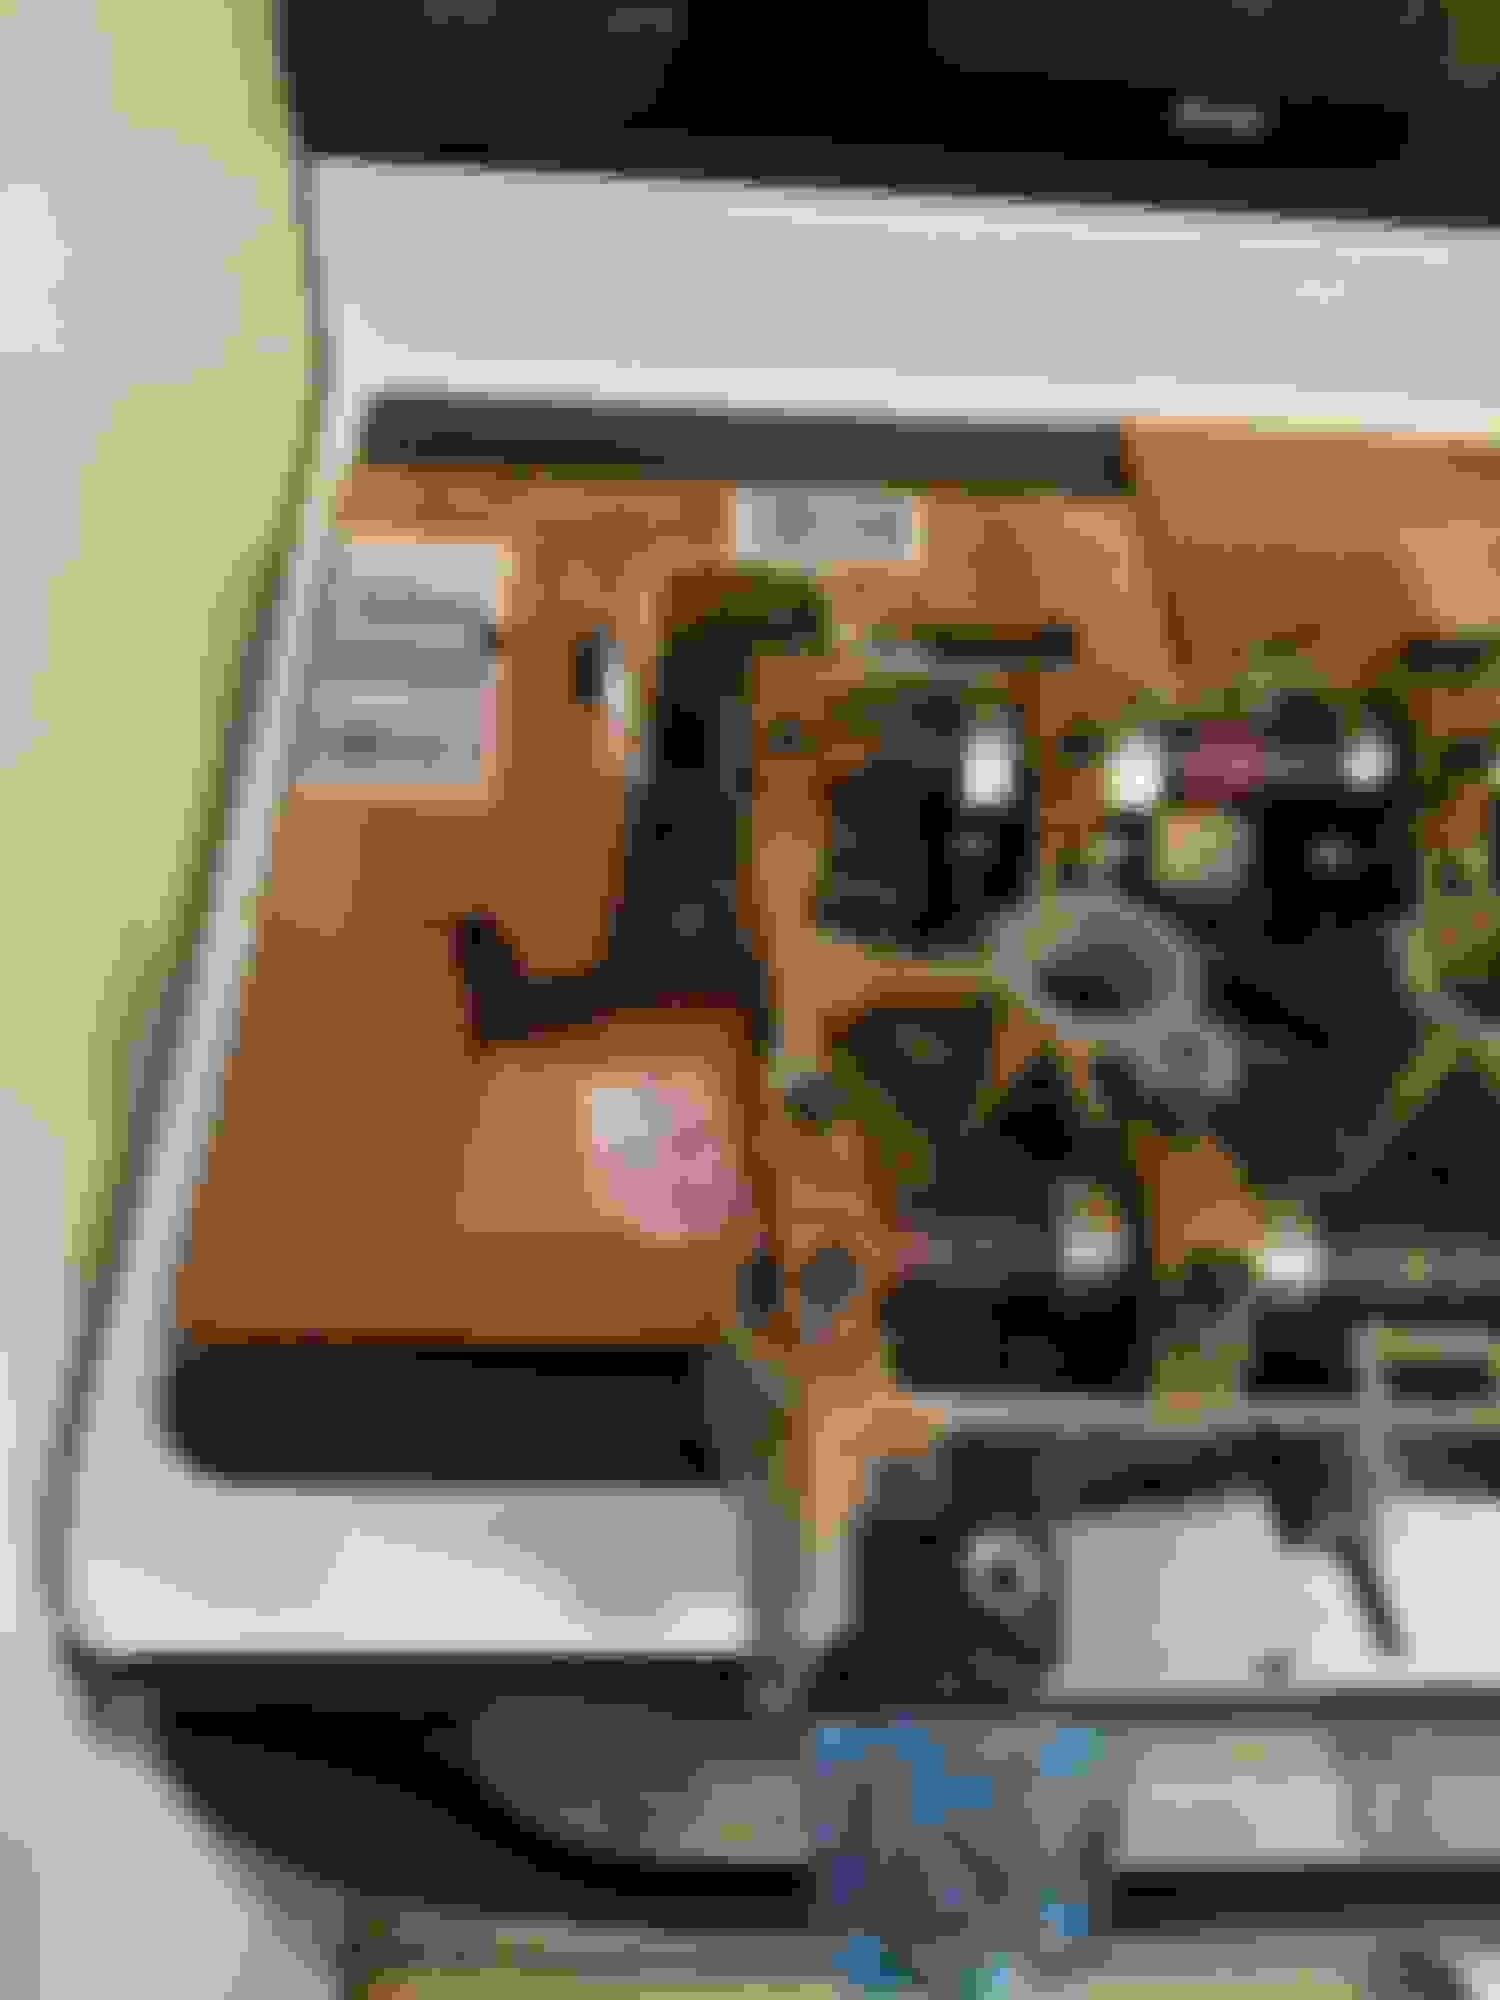
Well it's official. The universe is out to **** me. My head came in from Foximus and it is completely busted on the timing chain side. I was planning on bolting on this head and being good to go. Now I have to reevaluate my plans. We'll see how Foximus wants to handle things on his end.
What the hell? I am scratching my head as to how that is even possible
My guess is it got dropped from a fairly high position and landed on the weak side of the head. It would have had to been dropped hard to shatter into that many pieces I would think.
So sending Foximus head back to Trevor. Trying to form a plan B and tried ordering blower cams from TTR. They came back to me and told me that Comp Cams wouldn't have raw stock until August. Says this is fairly normal. I wasn't sure if it was just through TTR or if I wouldn't be able to get cams anywhere until August which would suck because I don't want to have to tune it twice but I don't want to park it all summer either. So I have contacted Comp Cams directly but have not heard back from them yet. Have any of you ever ran into the issue of being able to get cams? To me that length of time is crazy but I have never ordered cams before.
Edit: Comp Cams are out of L61 exhaust cam blanks and doesn't anticipate any until August. Anyone that sells them pretty much orders direct from the company at the time of sell so they are out everywhere. ZZP has their own custom ground cams for the LSJ which I think I can make work by cutting the end off.
Edit 2: ZZP LSJ Stage 2 blower grind cams it is! Actually glad I wasn't able to get Comp Cams generic blower grind cams as after researching a bit it seems ZZP has fine tuned these cams a bit more
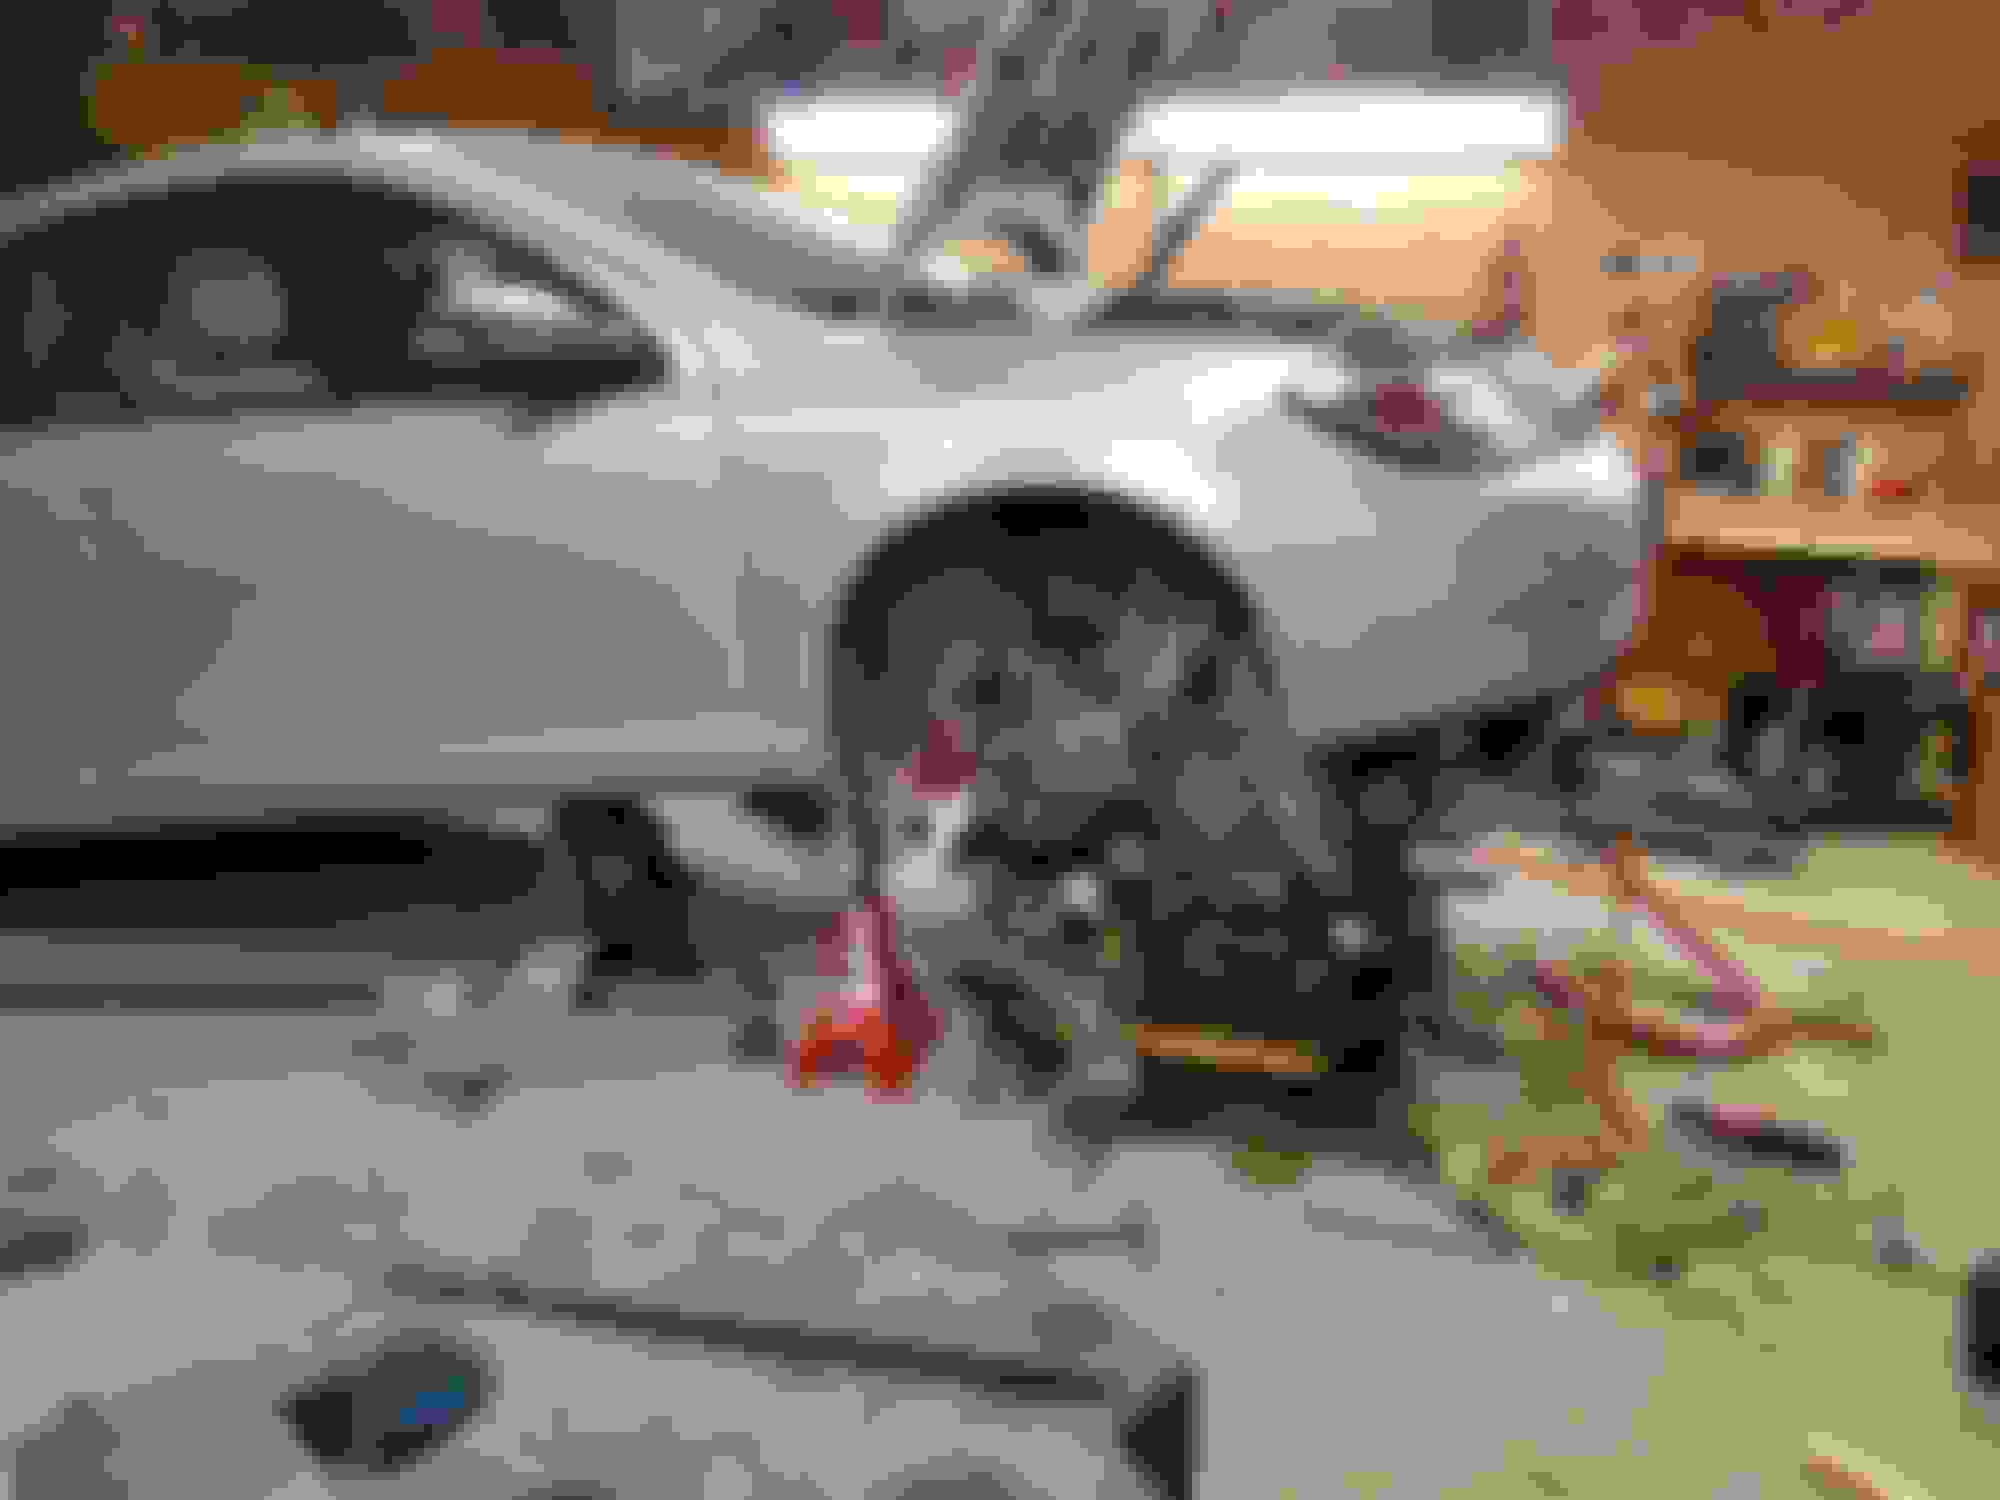
very nice! I just saw your pics from when you dropped the cradle. I usually leave the entire hub assembly attached when I drop it. I disconnect the two bolts from the knuckle and Zip tie the caliper up. Seems to be a little easier that way for me.
very nice! I just saw your pics from when you dropped the cradle. I usually leave the entire hub assembly attached when I drop it. I disconnect the two bolts from the knuckle and Zip tie the caliper up. Seems to be a little easier that way for me.
I debated a lot while doing it a lot as I thought that may be easier but then I decided to just follow the build book since I will be using that to put it back together. Decided that was a safer bet. But thanks for letting me know. You have any pictures from when you did that?
So I got word from the machine shop that my OEM expensive sleeves bore dimensions are all over the map and I am going to need custom pistons anyway. It would be nice if just one damn thing went right. You would think if any sleeves are going to be right it would be OEM sleeves but not for me! It will be mid December before I can drive this thing again the way **** is going.
I say HGT and I do a formal comparison after we each get our builds complete. We should record our IAT1, IAT2, Coolant, and ambient temperatures with and without the AC on. Then do some pulls with or without the AC on. I think it would be interesting.
HGT, do you run 100% water or a 50/50 mix?
I had to mount my heat exchanger like this this weekend until my ZZP heat exchanger arrives. As soon as my new TMAP is installed I'll let you know the results. I wasn't able to reinstall the air deflector this way either. My AC fan is set at a high percentage so it cools great yet and I still have the rubber flap on top.
It is getting great air down the road but no fan pull through this way. I have a diagnostic box meant for checking AC outlet temps
It has 4 thermistors. I'll use that to compare temps.
Now I know why you did yours this way. It doesn't F@#&!*g fit like the SS has it.
You measuring outside air with the thermistors or where are you placing them?
1. I have an OEM outside air but will have one there for comparison
2. In the intake manifold through the Vac fitting, boost temp.
3. Under hood temp
4. Heat exchanger temp
1. I have an OEM outside air but will have one there for comparison
2. In the intake manifold through the Vac fitting, boost temp.
3. Under hood temp
4. Heat exchanger temp
Well, I haven't and maybe don't need to test this with thermistors as going down the highway to work this week the heat exchanger is deflecting air to the radiator and the engine temps are going higher than they ever have.
As I thought, Unstacking them greats a deflection. When they are all together the air is forced through all of them. I will be removing mine once I get the ZZP heat exchanger.
My coolant temp went up by maybe 5 degrees. It still runs right around 180 and I have never seen temps over 195. How much did yours go up by?
BTW, my intent was never to unstack the H/E, Cond., and rad but just to change the order. My h/e looks further away in my pictures than it really is. I also accidentally broke a plastic tab of the stock mounting bracket so I couldn't use it anyway. The only reason I have it spaced is because they don't share a mounting point so they don't move together and I didn't want to rub a hole in my condenser. If I ever take it off again I will keep the brackets the same but try and drill the holes further back to get the h/e closer. Hopefully I can get this thing back together in good time and actually be able to test in high heat 100+F.
We have been just under 100 by a degree for the past 2 days. Down the highway with the AC on I now run 107-114. Was never above 187 before. Some here feel that is normal. I am also bringing in less dense air. As I said above, the SS heat exchanger does not fit on a Sport with a single fan like it does on the SS with the dual fan so I had to do the same as you did. I wish I had taken pics but was in a hurry top get it back together. The whole conversion took me around 12 hours (3, 4 hour evenings) , not counting bolt runs.


 Moderator


