
MP81's Supercharged L61 Build


Thread Starter
Senior Member
iTrader: (2)
Joined: 07-10-08
Posts: 1,708
Likes: 3
From: Washington Township, MI
No problem at all. Tomorrow is the big day, lol.
I am just going to use 50/50 for everything and that will be fine.
I am just going to use 50/50 for everything and that will be fine.
Last edited by Gene Culley; Jun 19, 2009 at 08:49 PM. Reason: Automerged Doublepost
Thread Starter
Senior Member
iTrader: (2)
Joined: 07-10-08
Posts: 1,708
Likes: 3
From: Washington Township, MI
Thread Starter
Senior Member
iTrader: (2)
Joined: 07-10-08
Posts: 1,708
Likes: 3
From: Washington Township, MI

From looking at things in there I don't think 6 feet will cut it, but you'll find out.
Thread Starter
Senior Member
iTrader: (2)
Joined: 07-10-08
Posts: 1,708
Likes: 3
From: Washington Township, MI
Nah, I just bought 6' to fill up the $20. I'll probably get another 6' at Murrays when I got to get coolant and what not. Probably will do all that today.
Got a gallon (of each) of Prestone Dexcool 50/50, and just regular Prestone 50/50, my coolant reservoir (looks cheap, but I can always get a new one later) and some Flat Black Duplicolor Engine paint for the throttle body and supercharger.
Got a gallon (of each) of Prestone Dexcool 50/50, and just regular Prestone 50/50, my coolant reservoir (looks cheap, but I can always get a new one later) and some Flat Black Duplicolor Engine paint for the throttle body and supercharger.
Last edited by MP81; Jun 21, 2009 at 05:42 PM. Reason: Automerged Doublepost
That makes sense (on the heater hose).
Just have to be careful on what type of paint you use on the supercharger as some people don't do a very good job and then it starts peeling!
Just have to be careful on what type of paint you use on the supercharger as some people don't do a very good job and then it starts peeling!
Thread Starter
Senior Member
iTrader: (2)
Joined: 07-10-08
Posts: 1,708
Likes: 3
From: Washington Township, MI
Yeah, I think it's rated to 500*F
All right, few pictures.
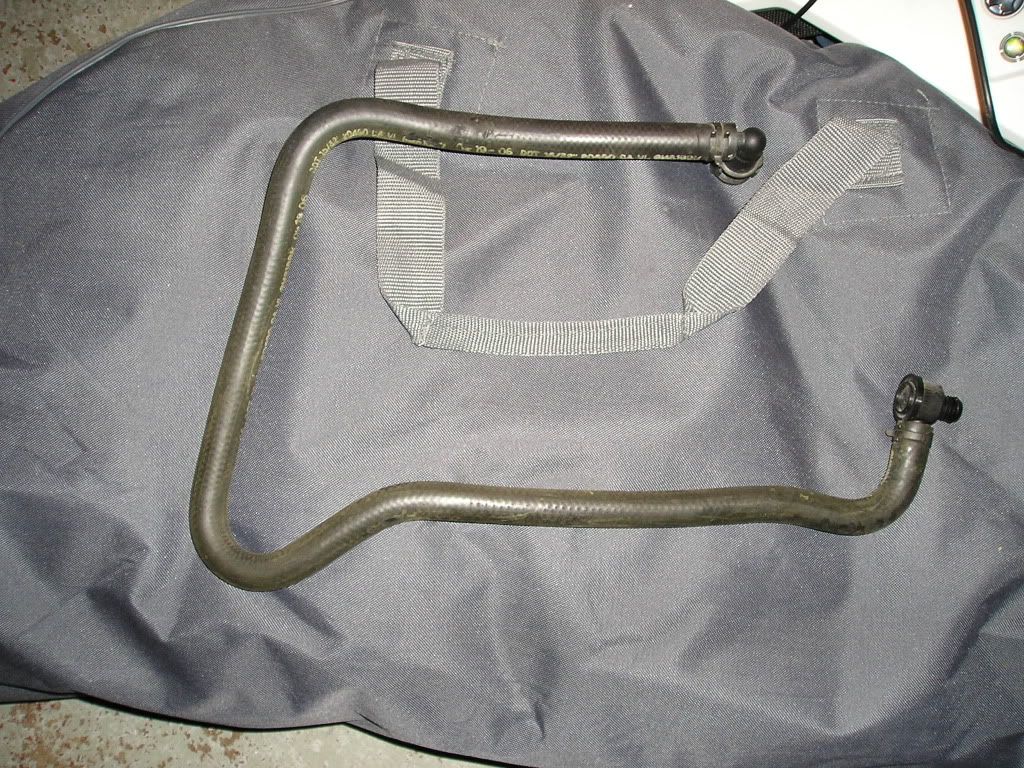
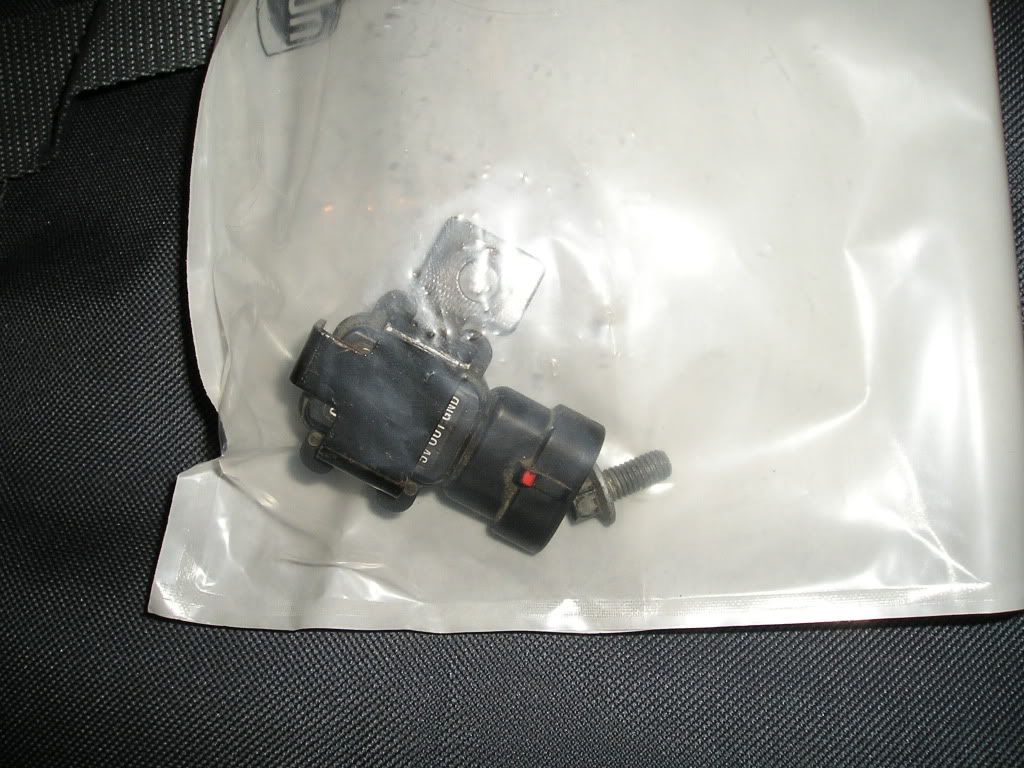
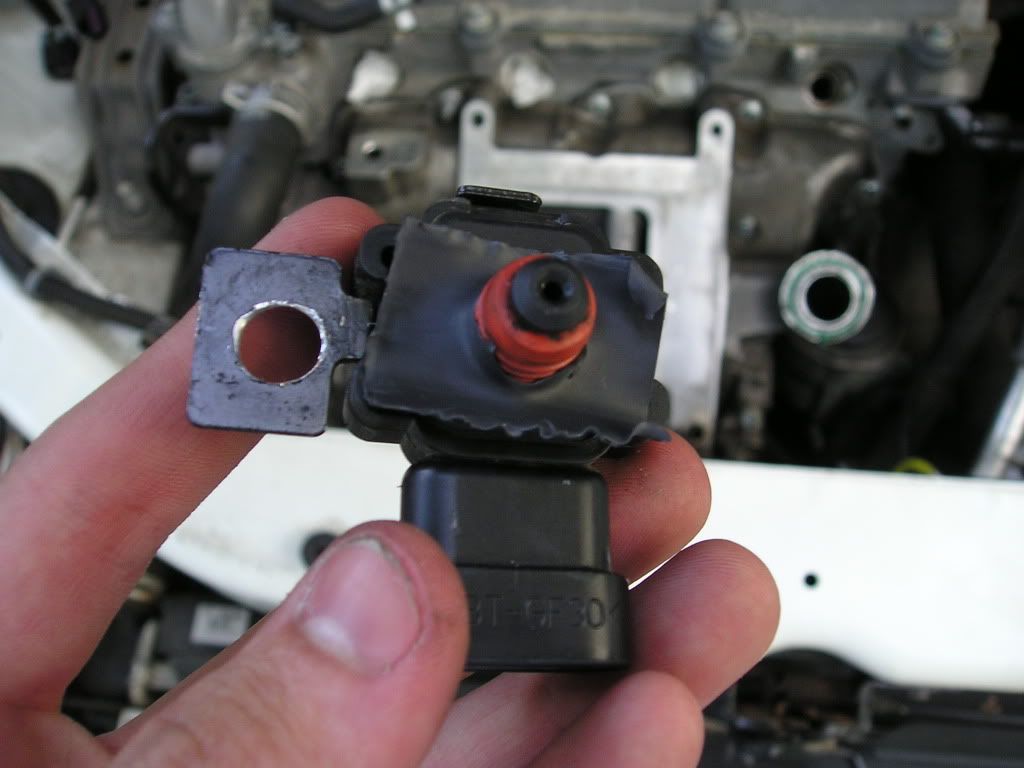
I never got any pictures of the brake booster hose and 1-bar MAP, here they are...
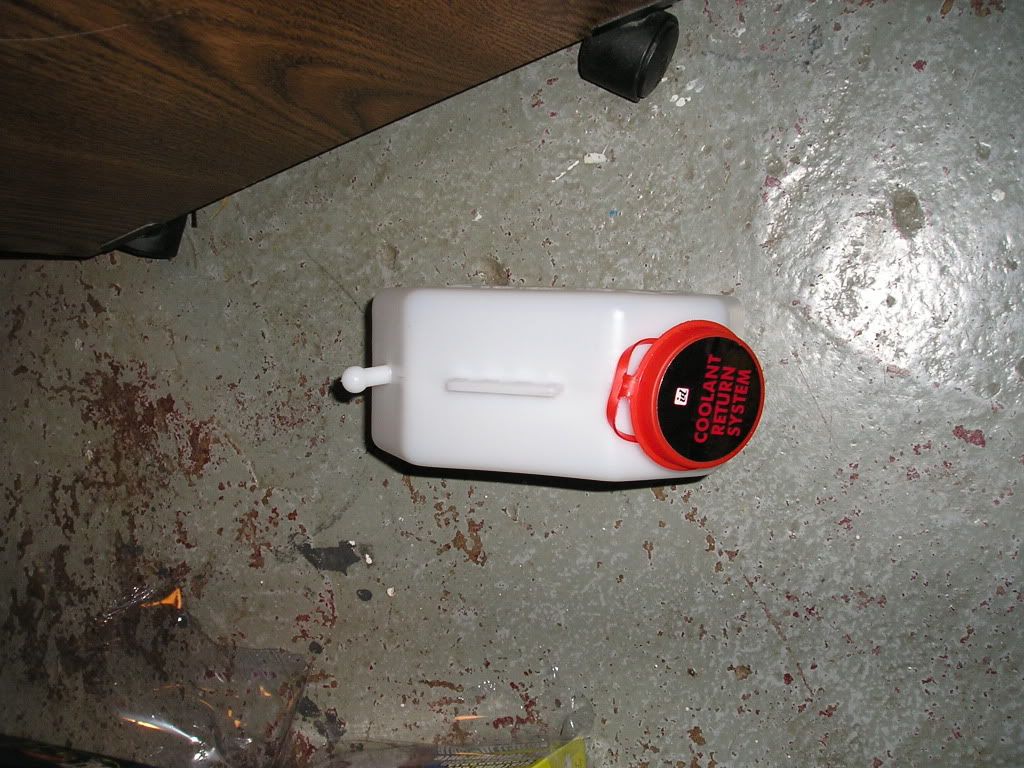
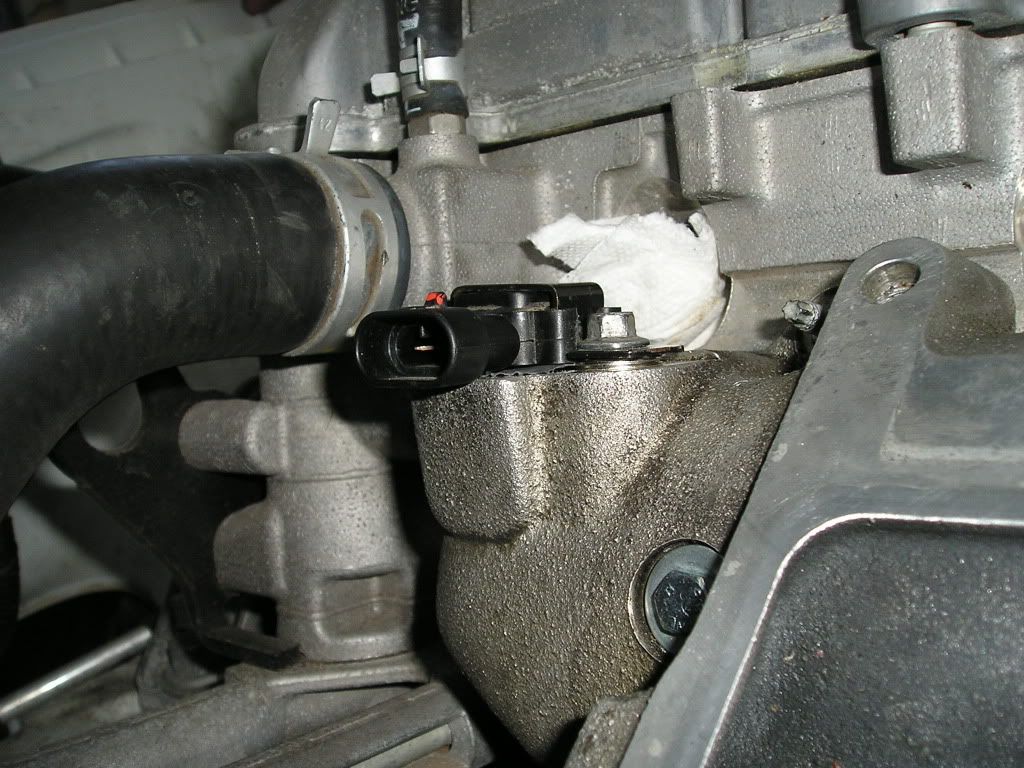
And here's the coolant reservoir I'm using for the time being. It cost me $8, but it'll do for now...

All right, few pictures.
I never got any pictures of the brake booster hose and 1-bar MAP, here they are...
And here's the coolant reservoir I'm using for the time being. It cost me $8, but it'll do for now...
Last edited by MP81; Jun 22, 2009 at 12:25 AM. Reason: Automerged Doublepost
Thread Starter
Senior Member
iTrader: (2)
Joined: 07-10-08
Posts: 1,708
Likes: 3
From: Washington Township, MI
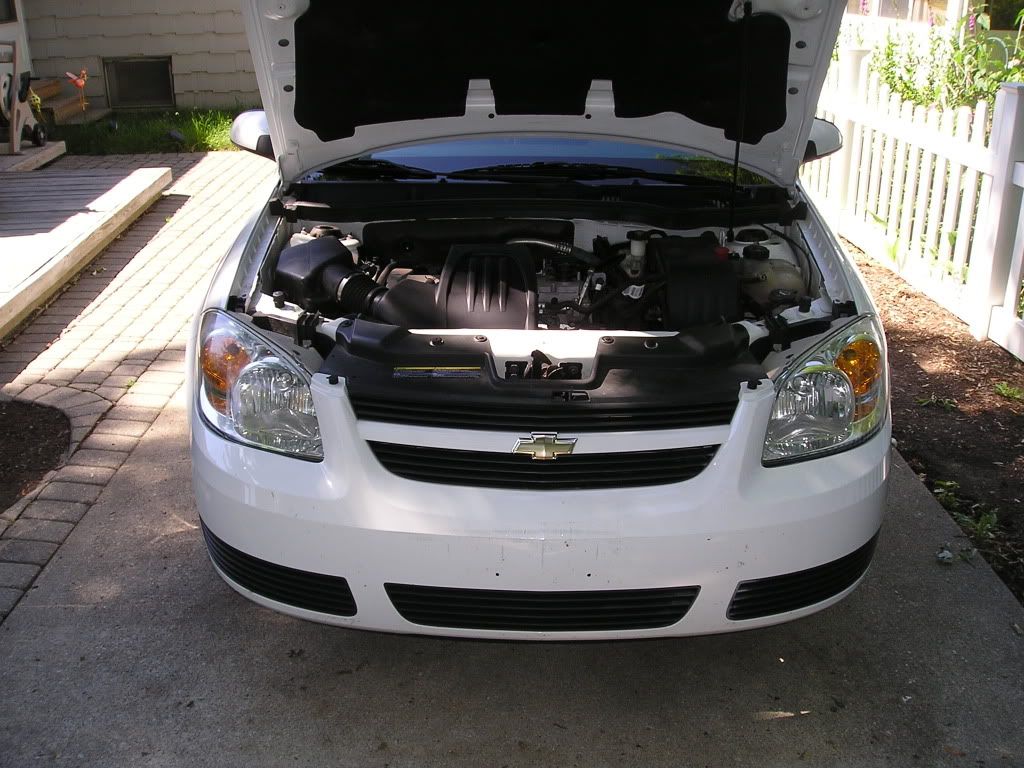
Few pictures from today...
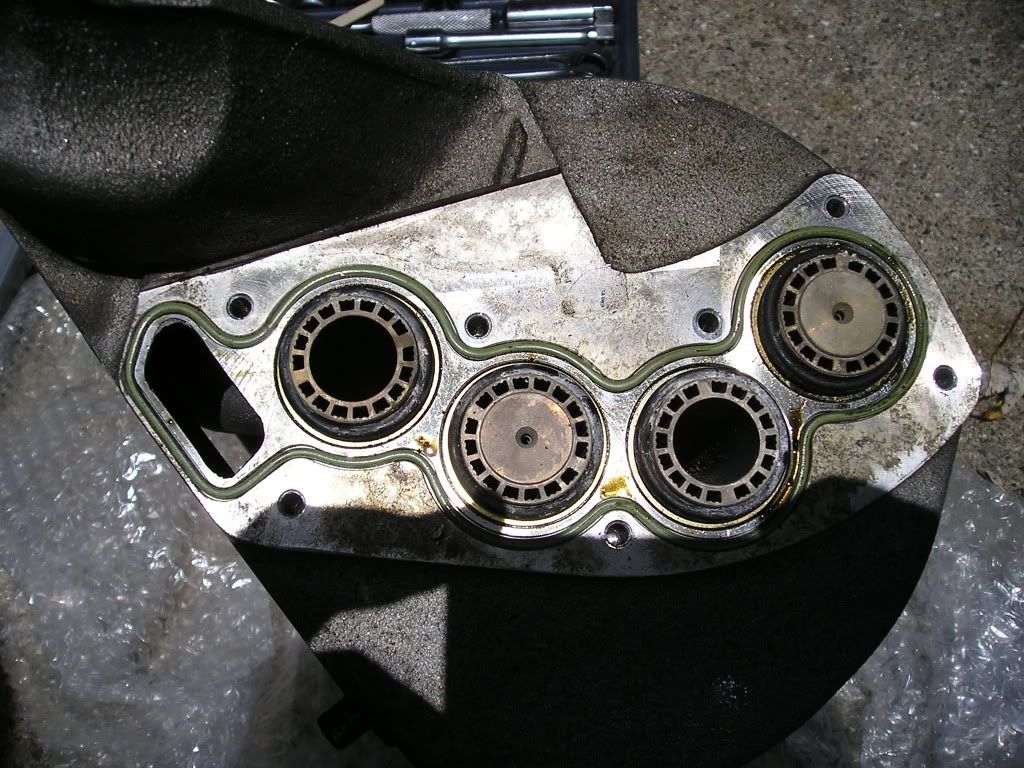
Pulled the endplate off, just to check, and everything seemed ship shape.
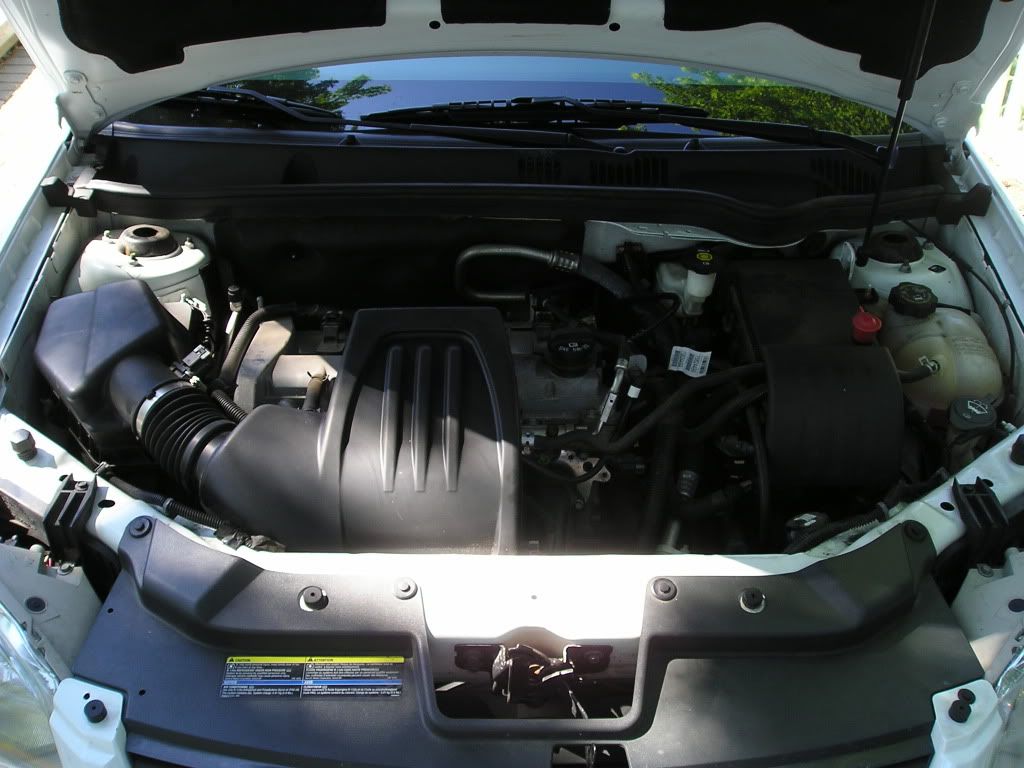
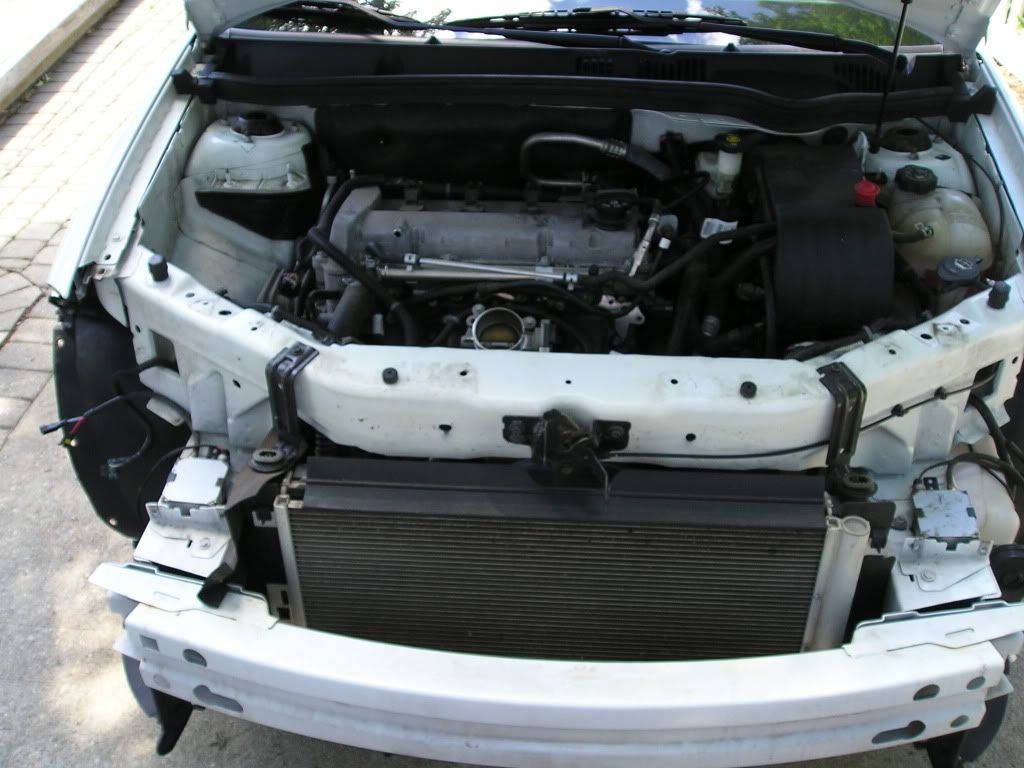
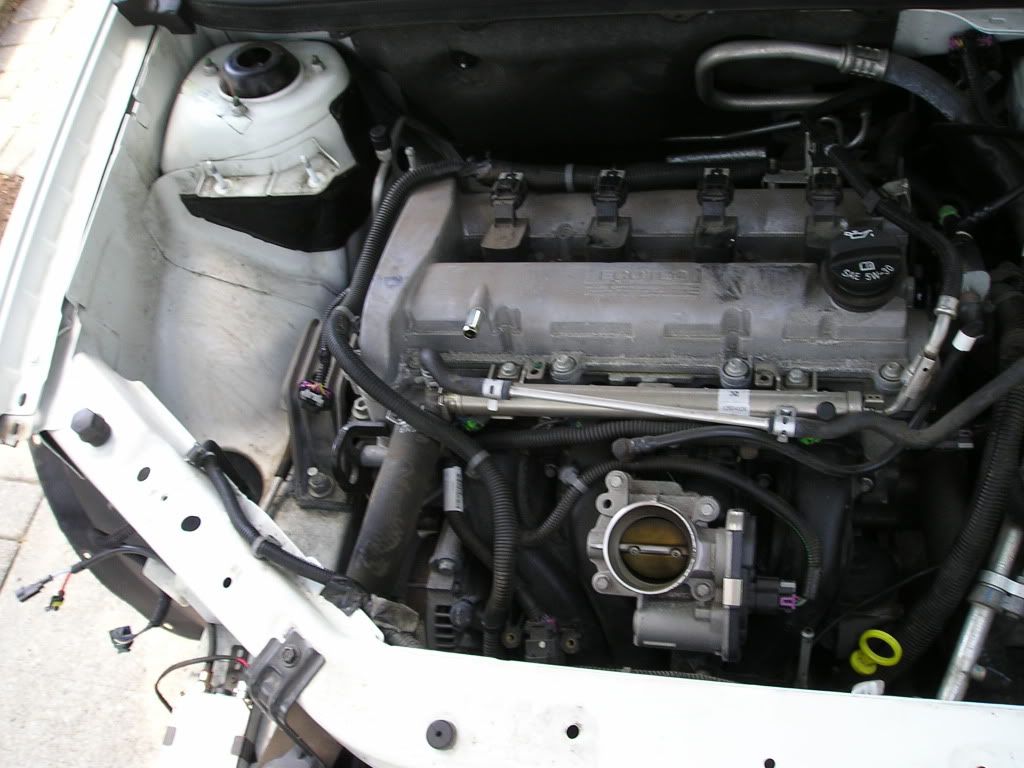
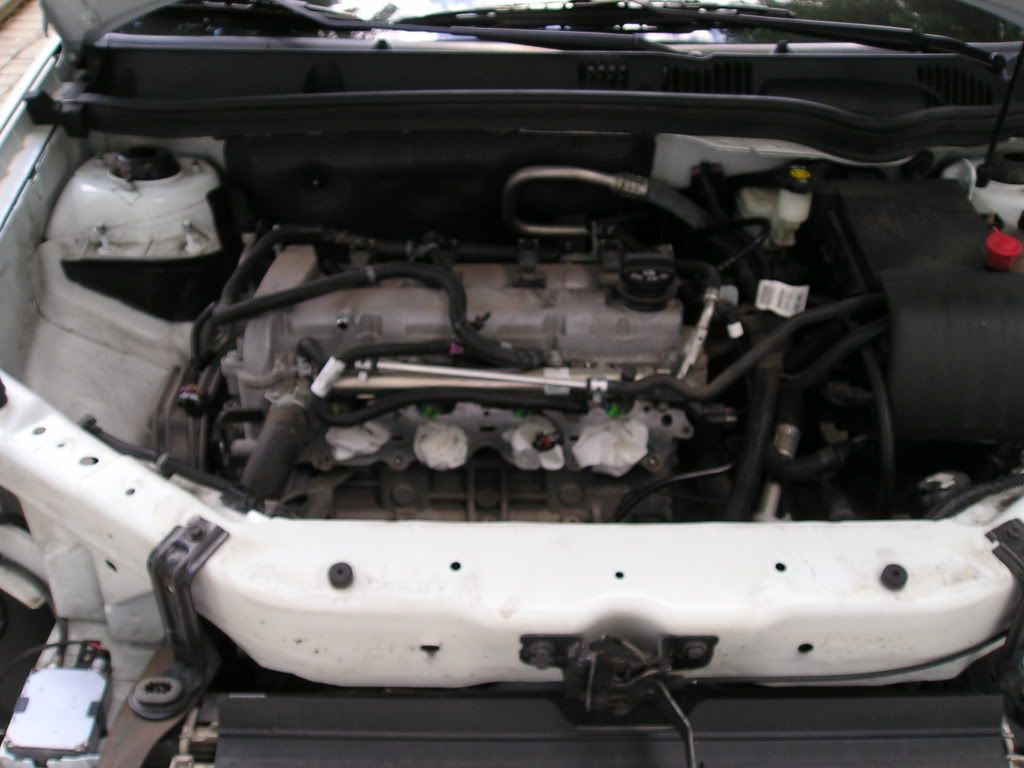
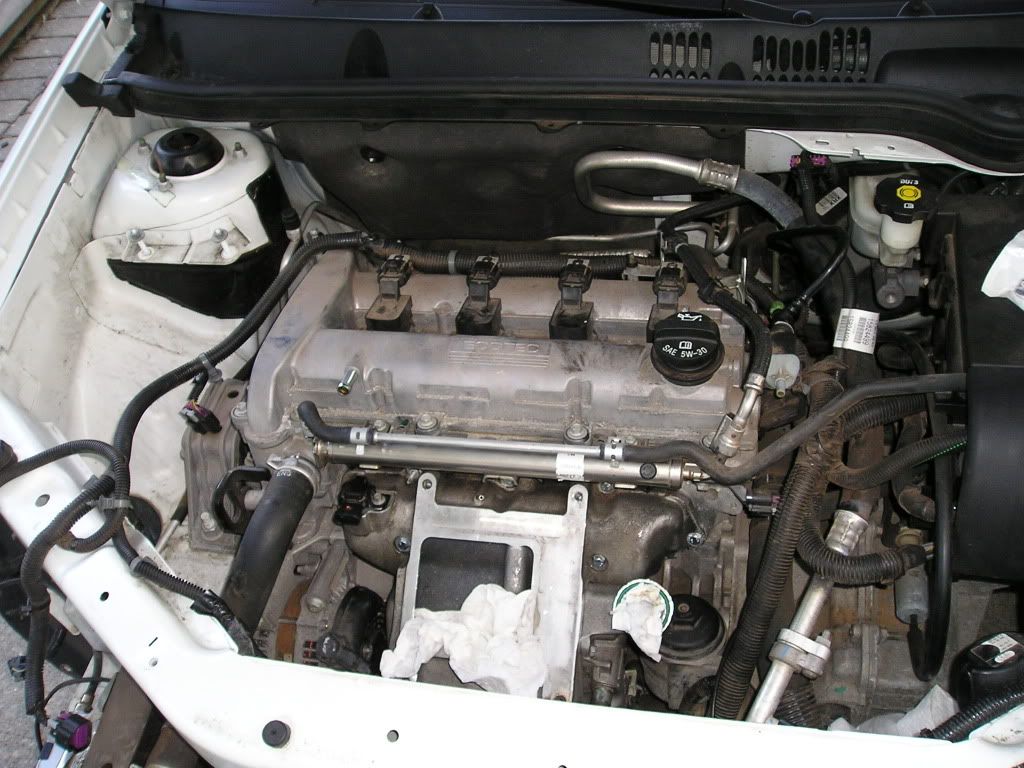
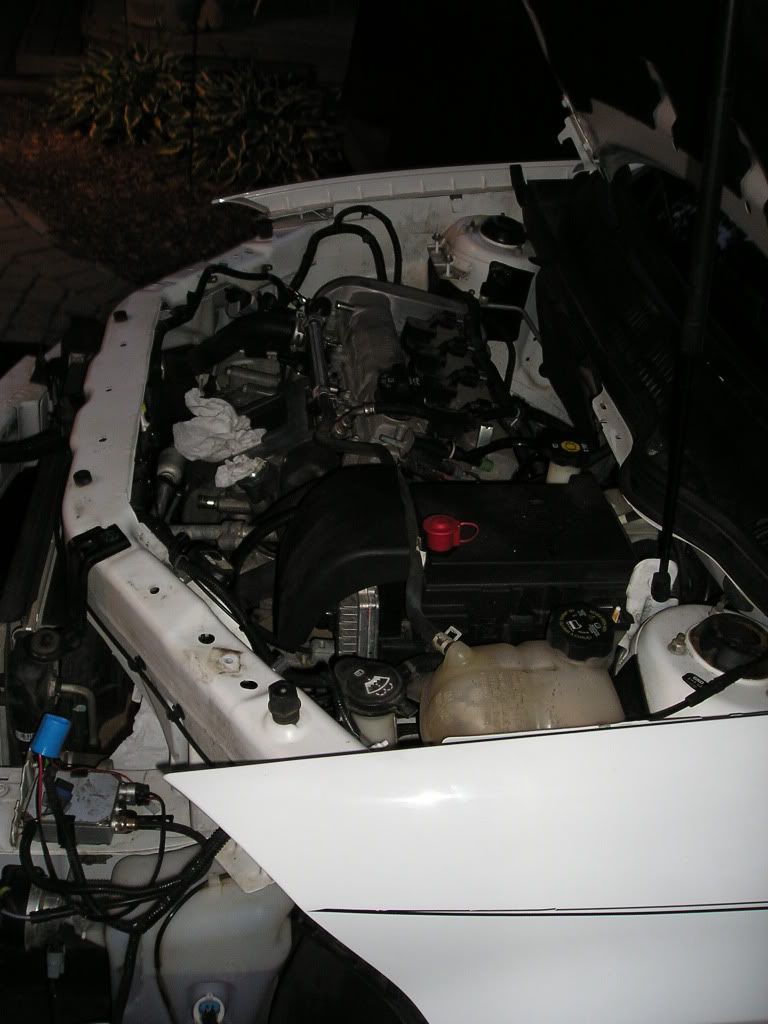
Engine Bay without the Top Cover:
Downpipe, unmodified:

O2 bung welded in for Wideband (not the cleanest weld - but who cares, it's solid and doesn't leak - and a bitch of an area to weld in):
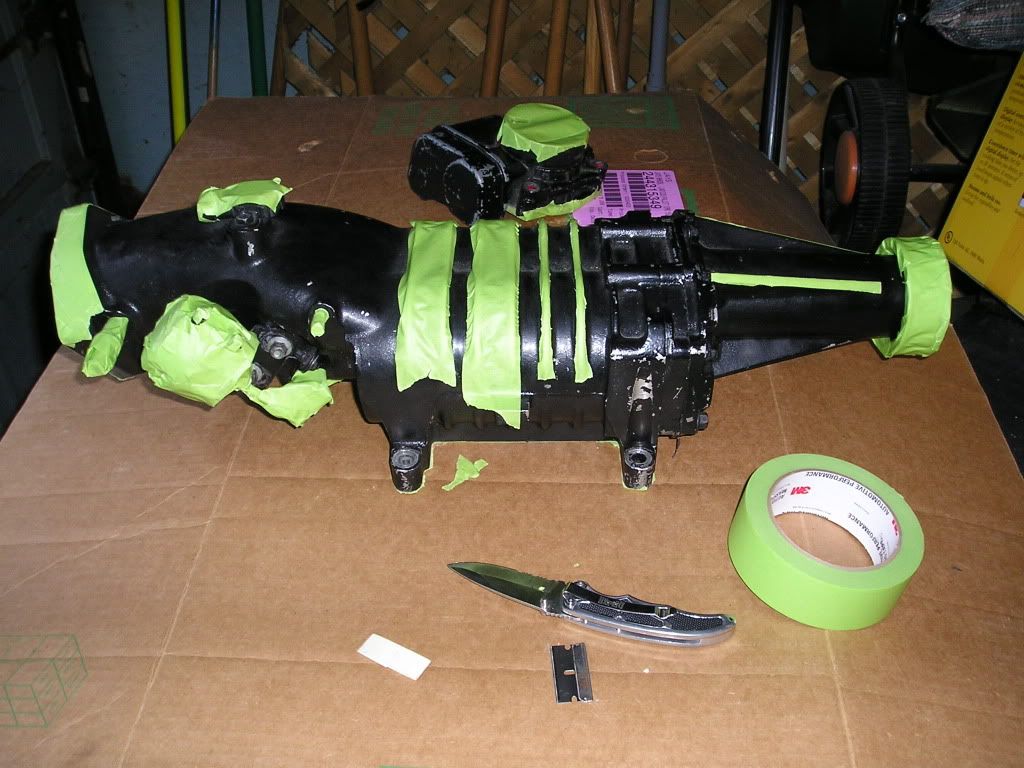
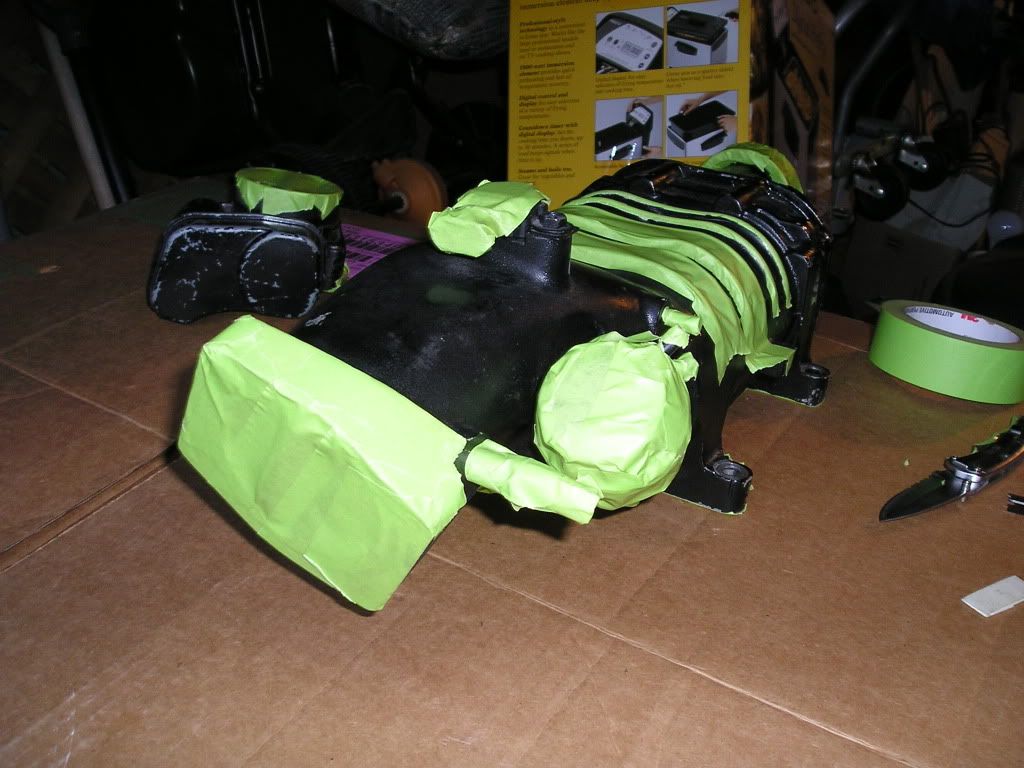
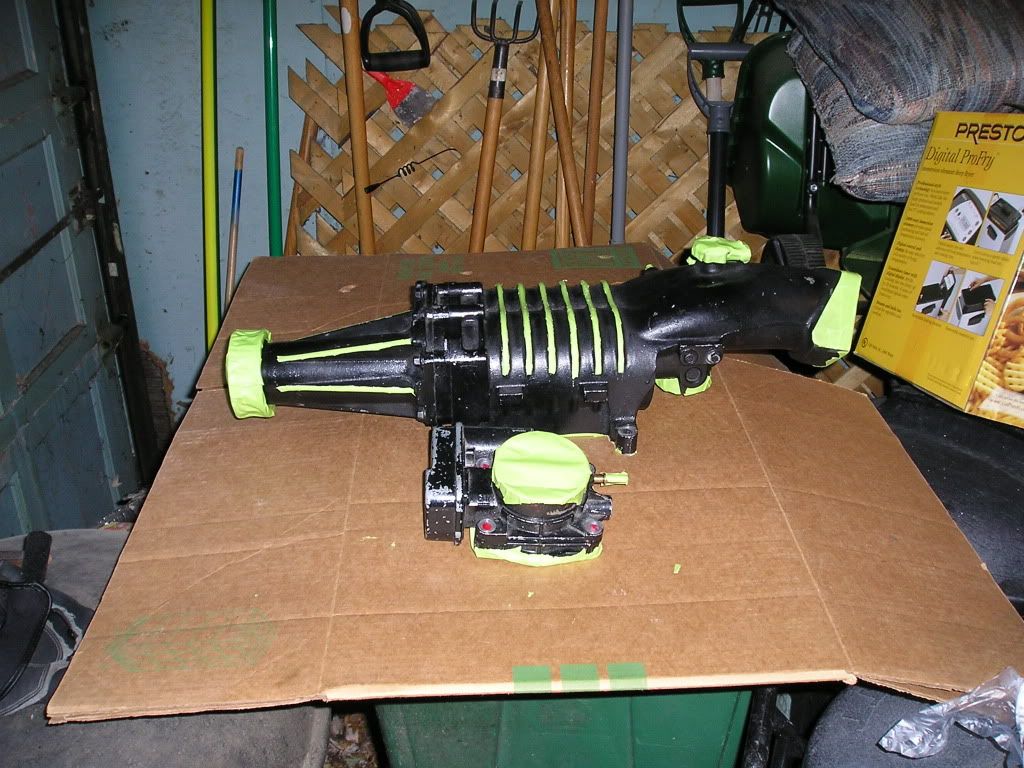
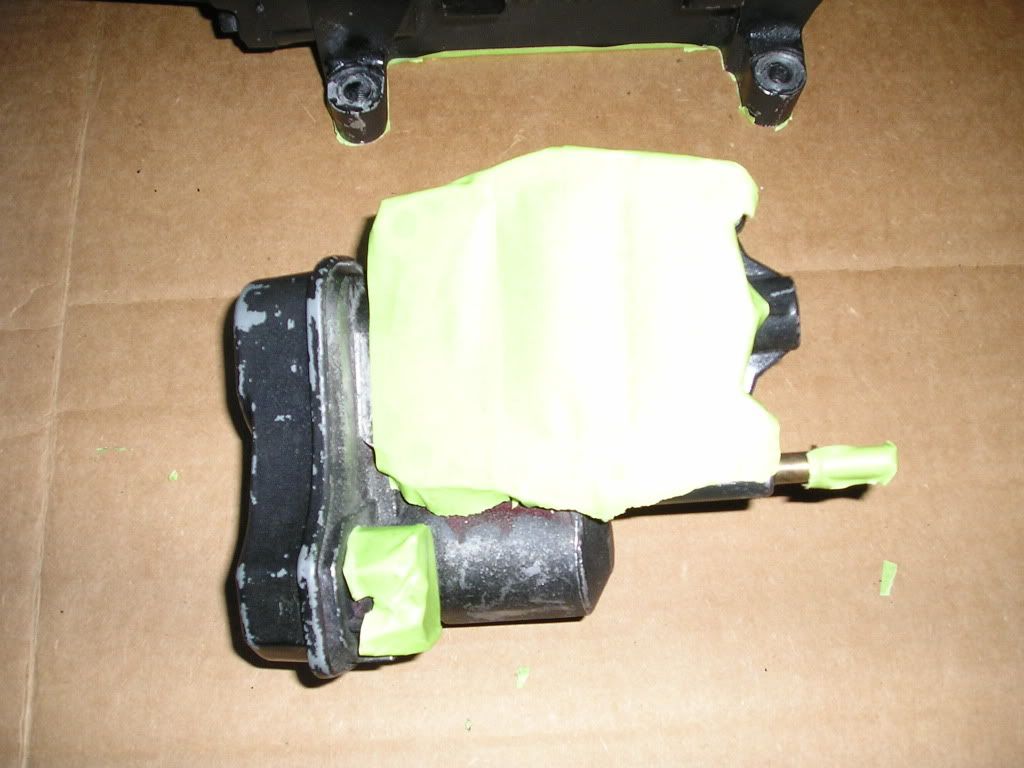
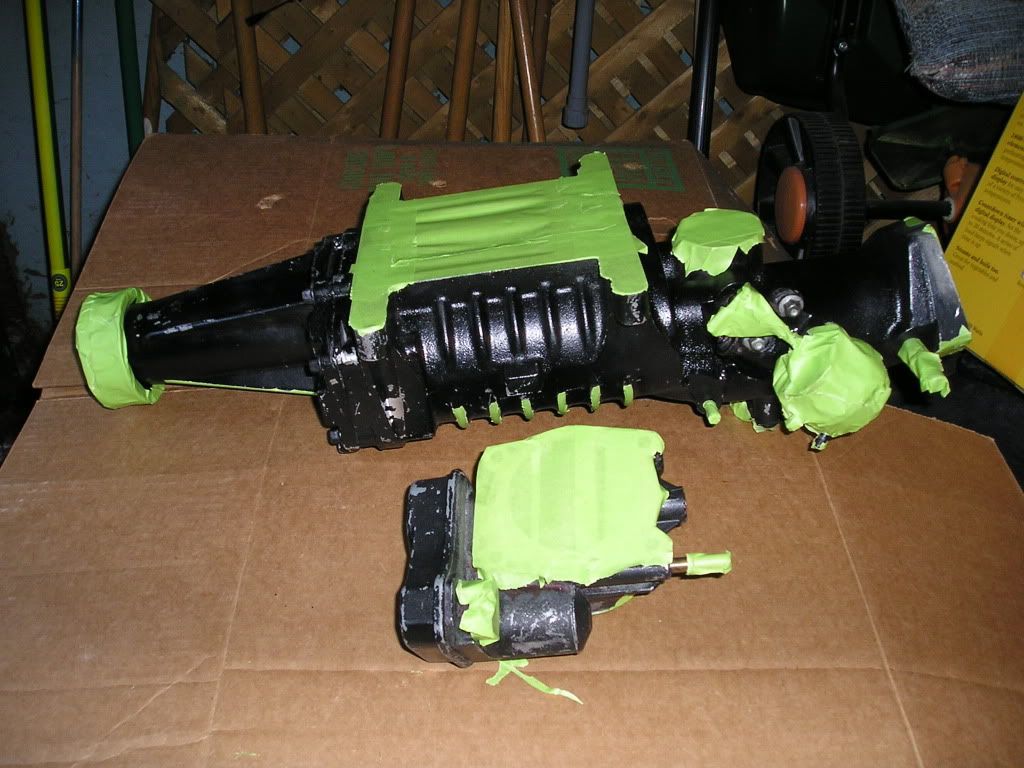
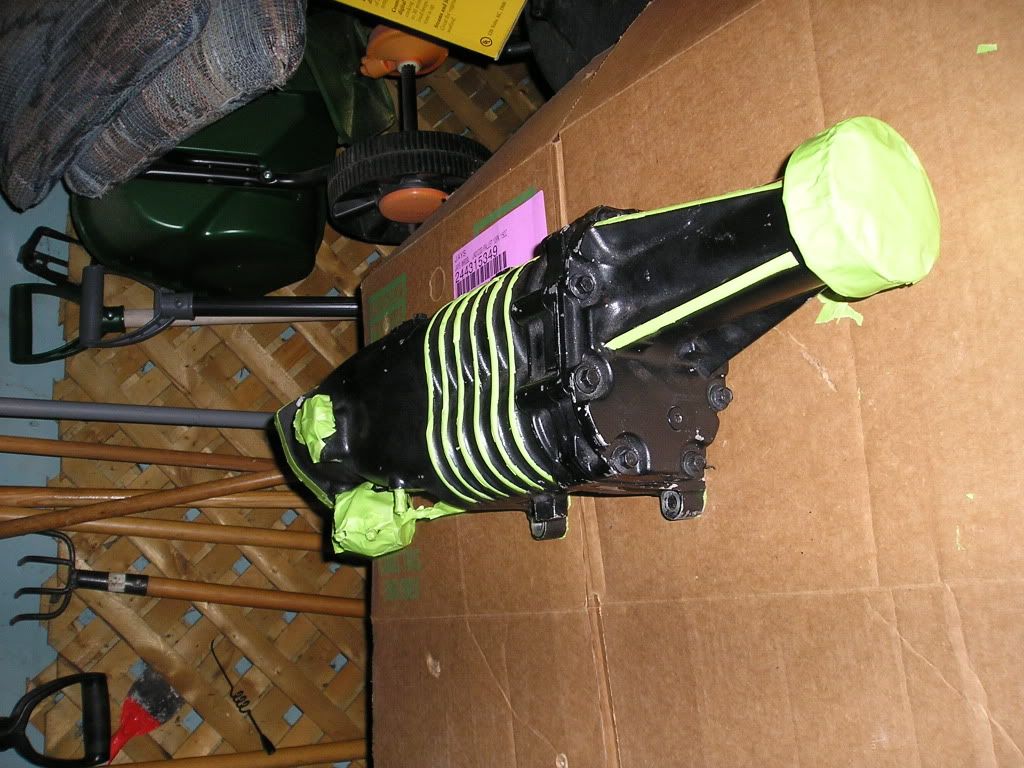
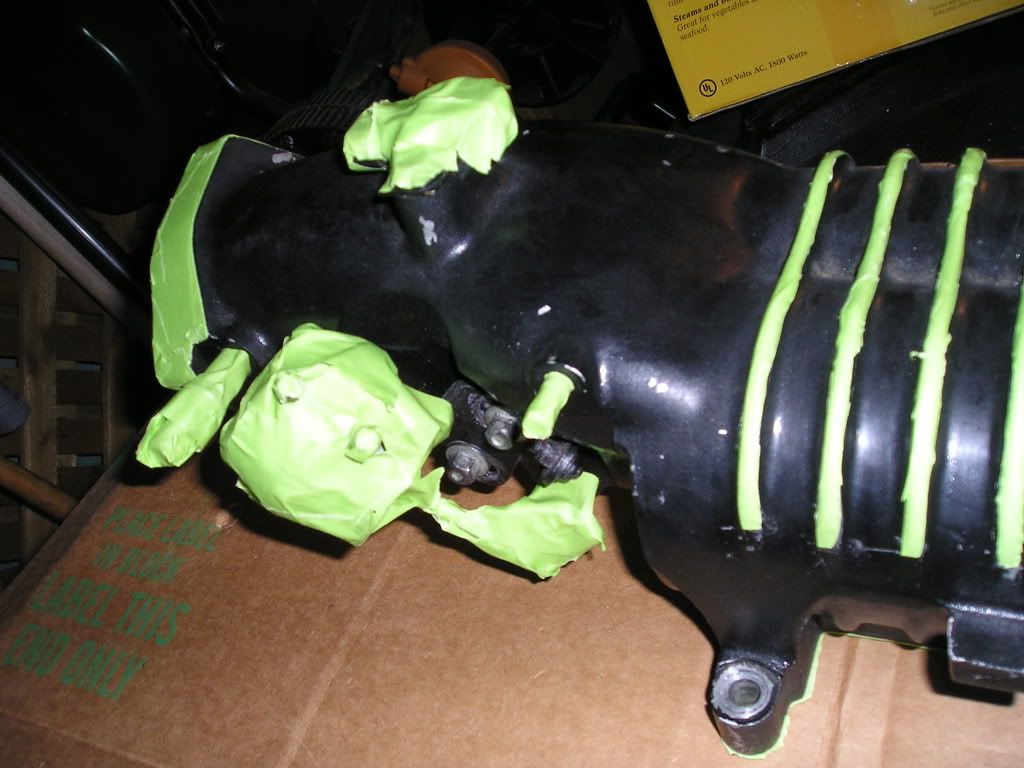
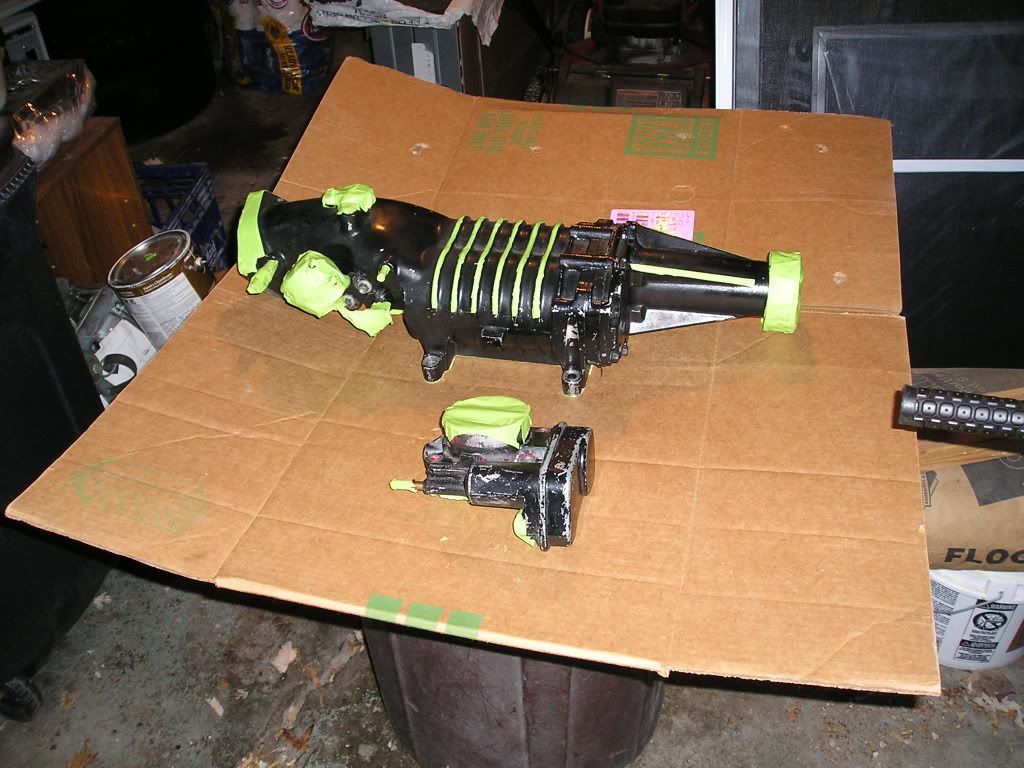
Then I got my supercharger and throttle body all taped up for paint when it gets a little cooler tonight:
Still gotta get some shrink wrap and the new intake bolts - but I think I'll do that tomorrow morning, and then get going on the swap!
Oh - Gene, parts were delivered today - thanks a ton!
Pulled the endplate off, just to check, and everything seemed ship shape.
Engine Bay without the Top Cover:
Downpipe, unmodified:
O2 bung welded in for Wideband (not the cleanest weld - but who cares, it's solid and doesn't leak - and a bitch of an area to weld in):
Then I got my supercharger and throttle body all taped up for paint when it gets a little cooler tonight:
Still gotta get some shrink wrap and the new intake bolts - but I think I'll do that tomorrow morning, and then get going on the swap!
Oh - Gene, parts were delivered today - thanks a ton!
Thread Starter
Senior Member
iTrader: (2)
Joined: 07-10-08
Posts: 1,708
Likes: 3
From: Washington Township, MI
The supercharger and throttle body are done being painted.
I used Duplicolor Semi-Gloss Black Engine Enamel on top of whatever was already there, then proceeded with Duplicolor Clear Coat Engine Enamel.
My taping efforts seemed to have paid off, and the supercharger looks pretty good!
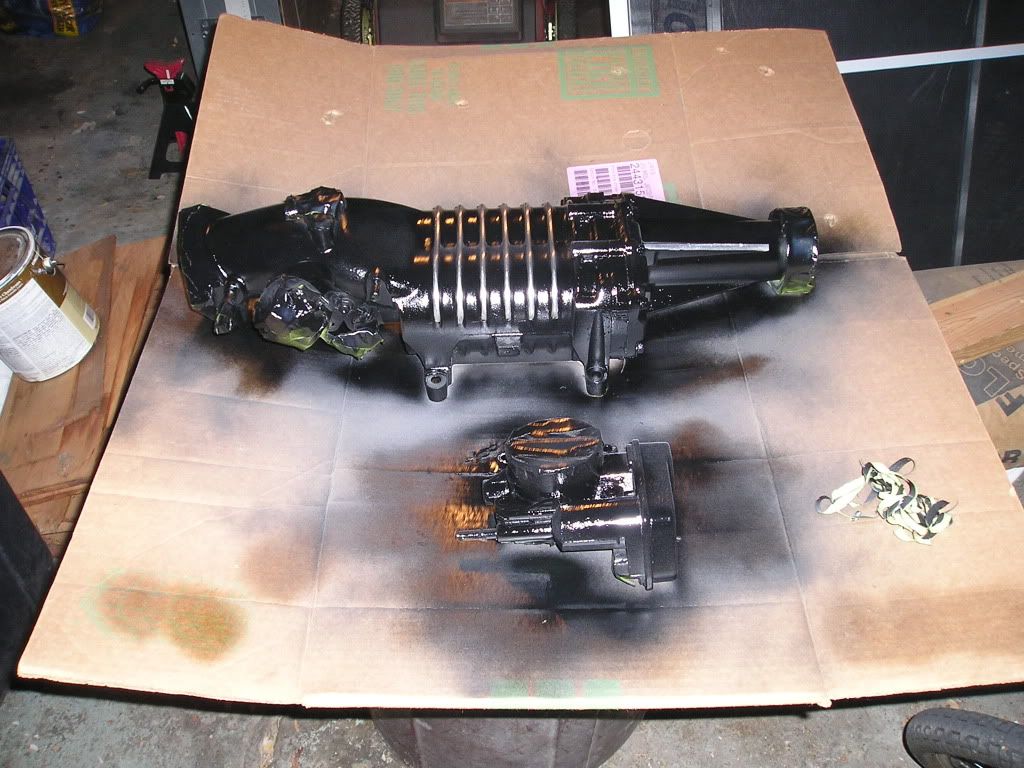
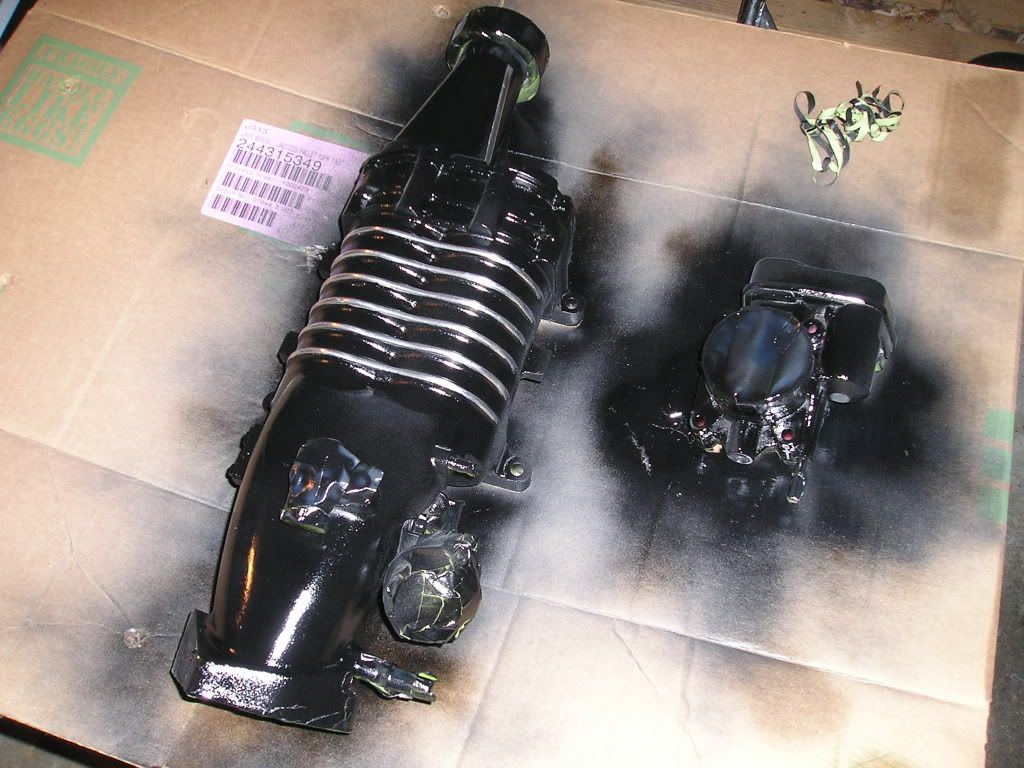
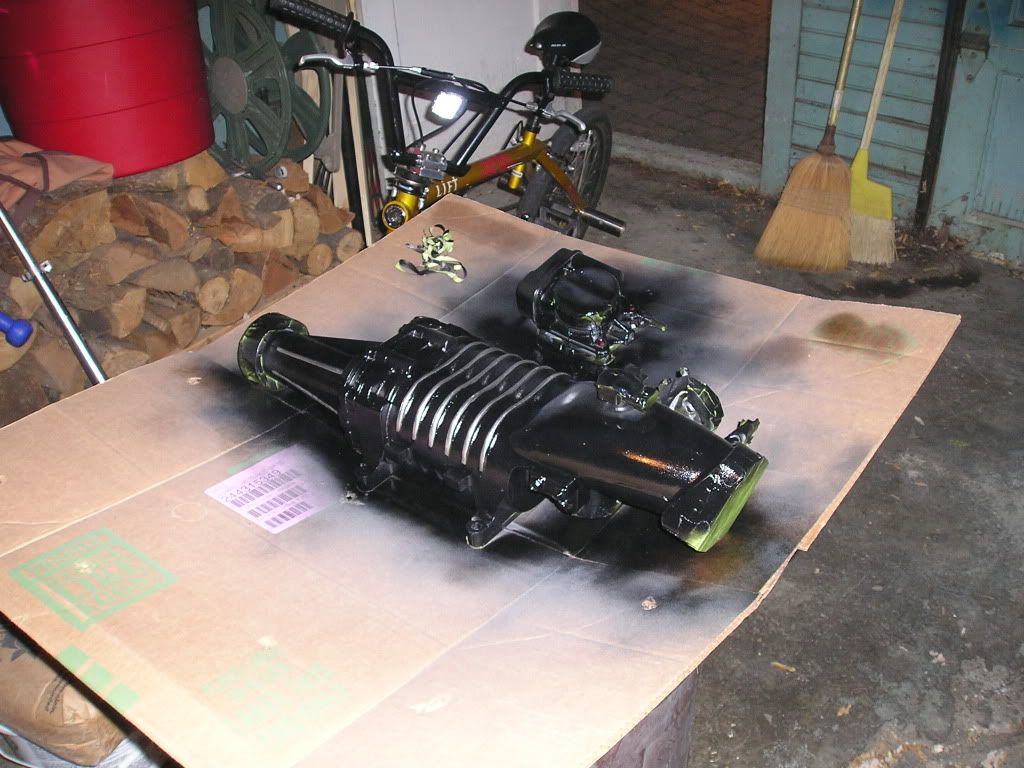
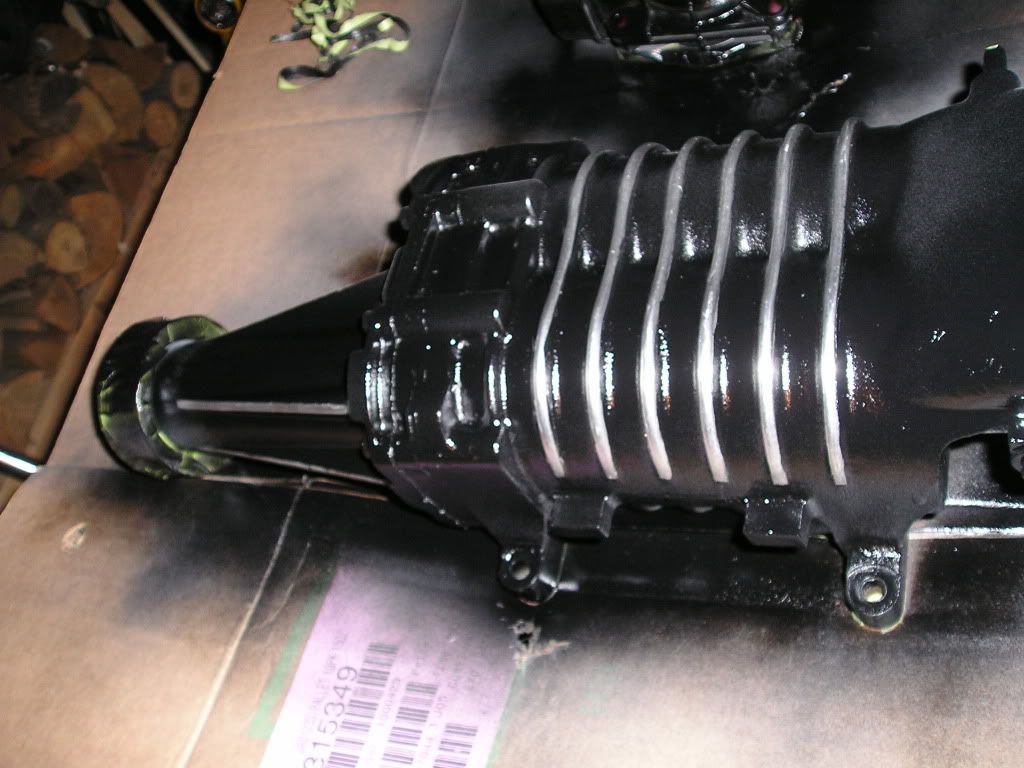
I used Duplicolor Semi-Gloss Black Engine Enamel on top of whatever was already there, then proceeded with Duplicolor Clear Coat Engine Enamel.
My taping efforts seemed to have paid off, and the supercharger looks pretty good!
u should have taken the bypass valve and the sensor ontop of the blower off to get a better shot at painting those areas...the bypass is only held by 2 bolts, and the sensor by one...besides that i think the paint was still to clear was still to wet to get good pics of it
Thread Starter
Senior Member
iTrader: (2)
Joined: 07-10-08
Posts: 1,708
Likes: 3
From: Washington Township, MI
I was gonna, but it was already black, so I just resprayed - it looks good - with it being semi-gloss, the light does weird things to it.
Lunch break update!
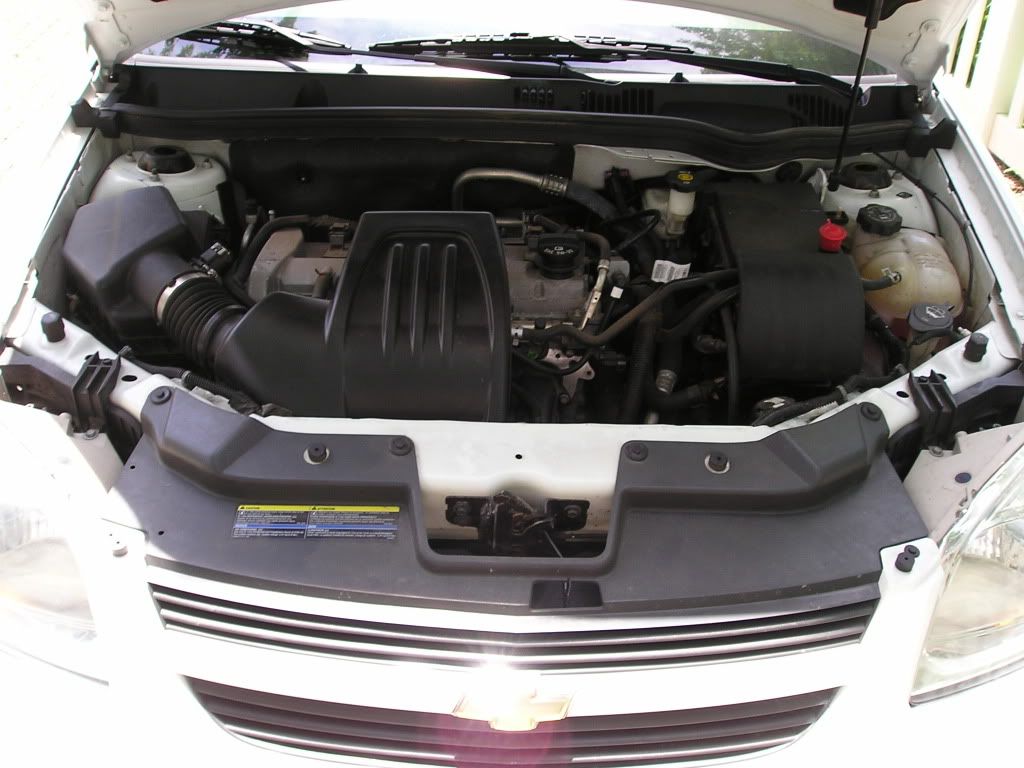
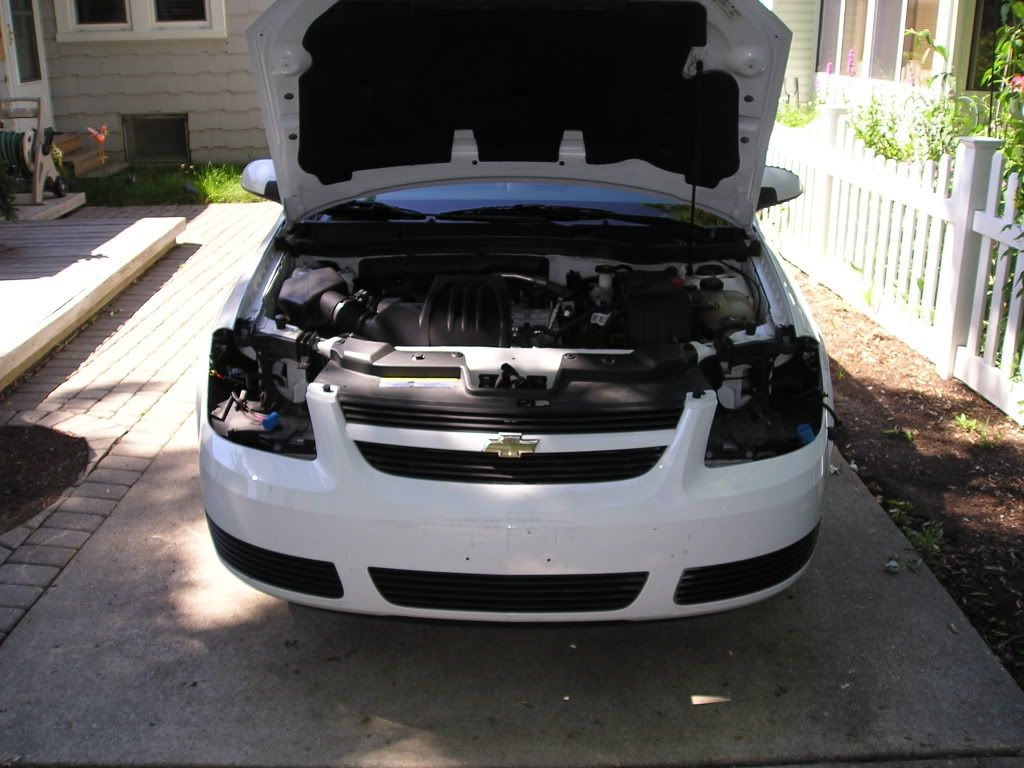
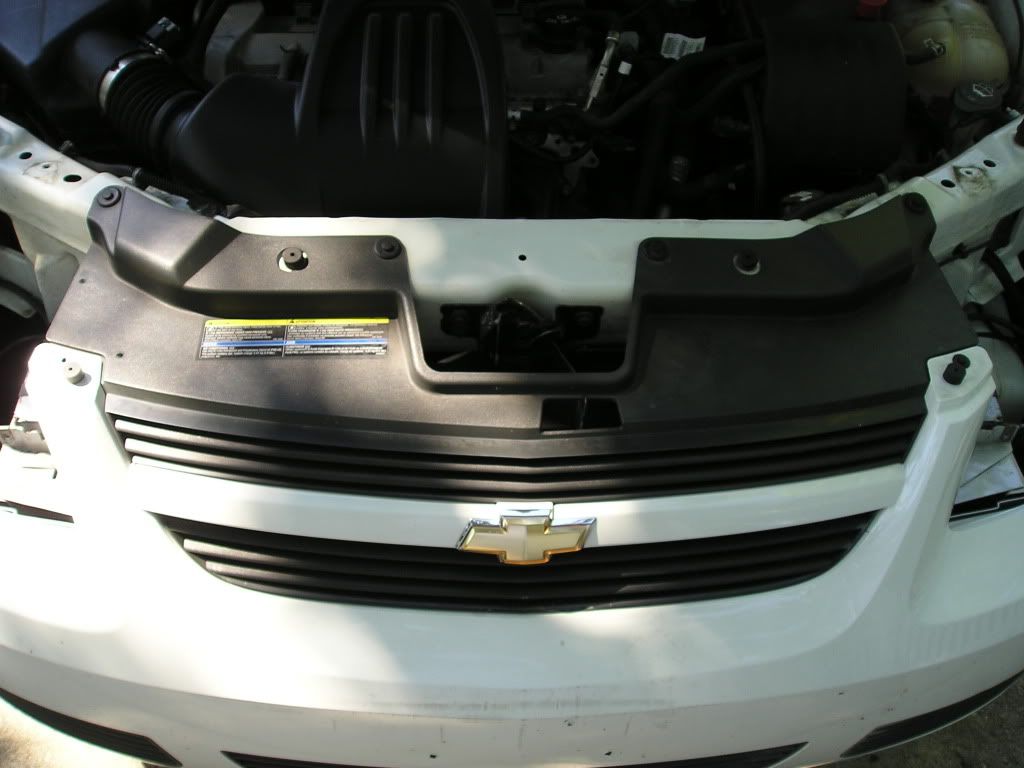
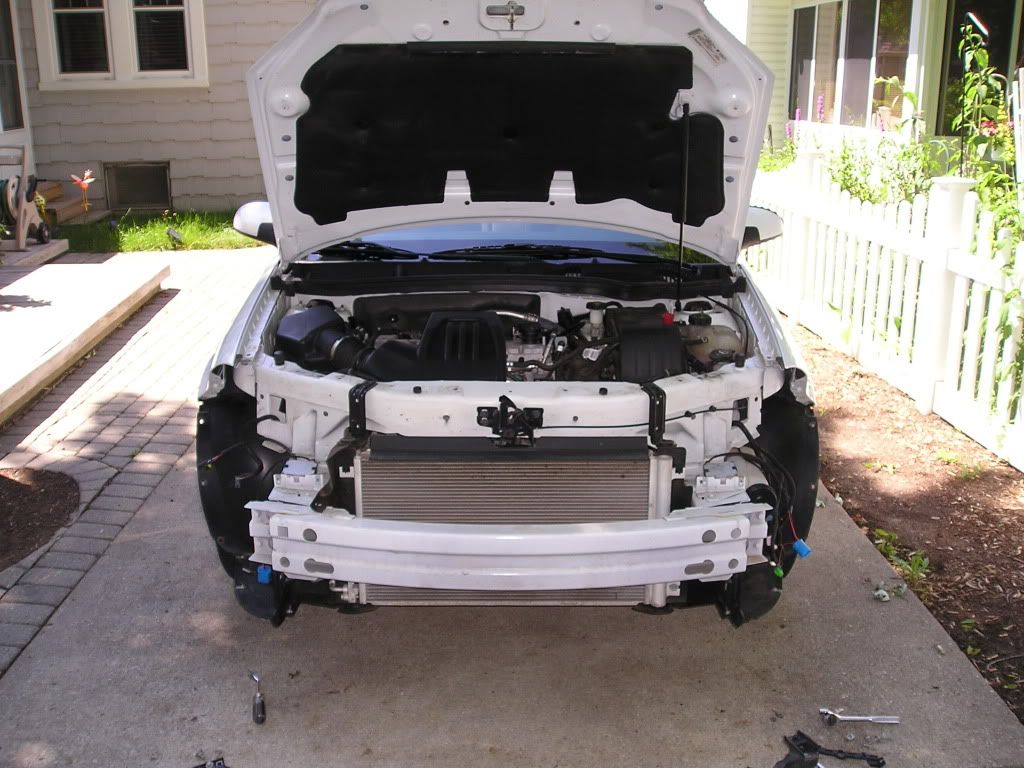
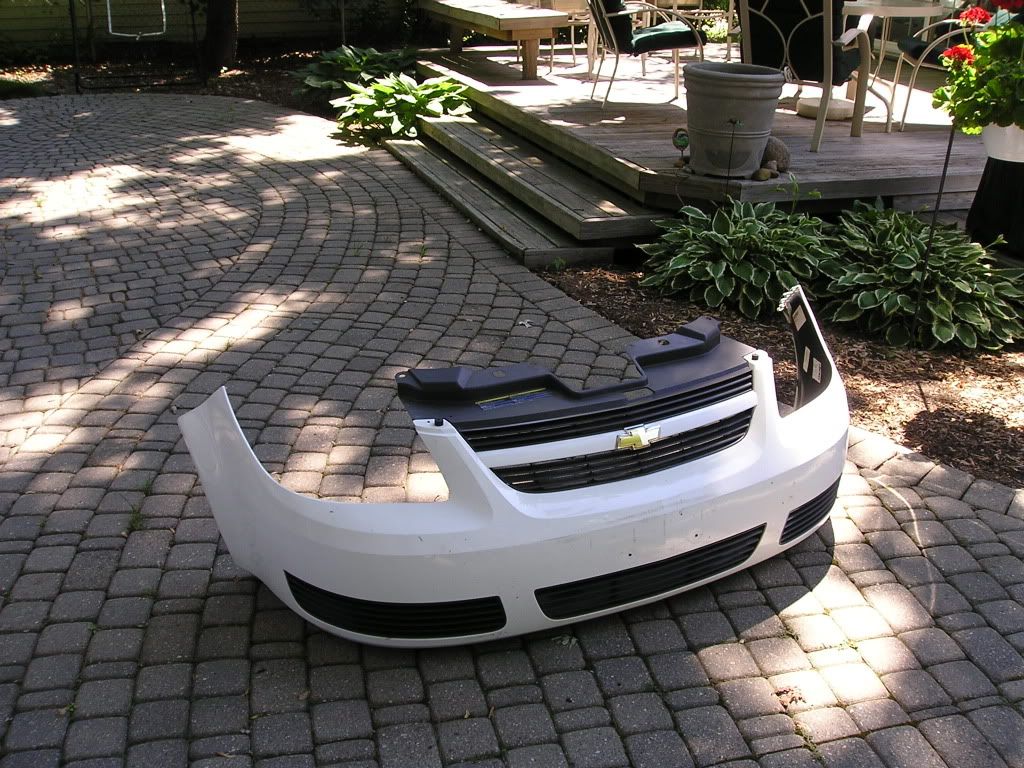
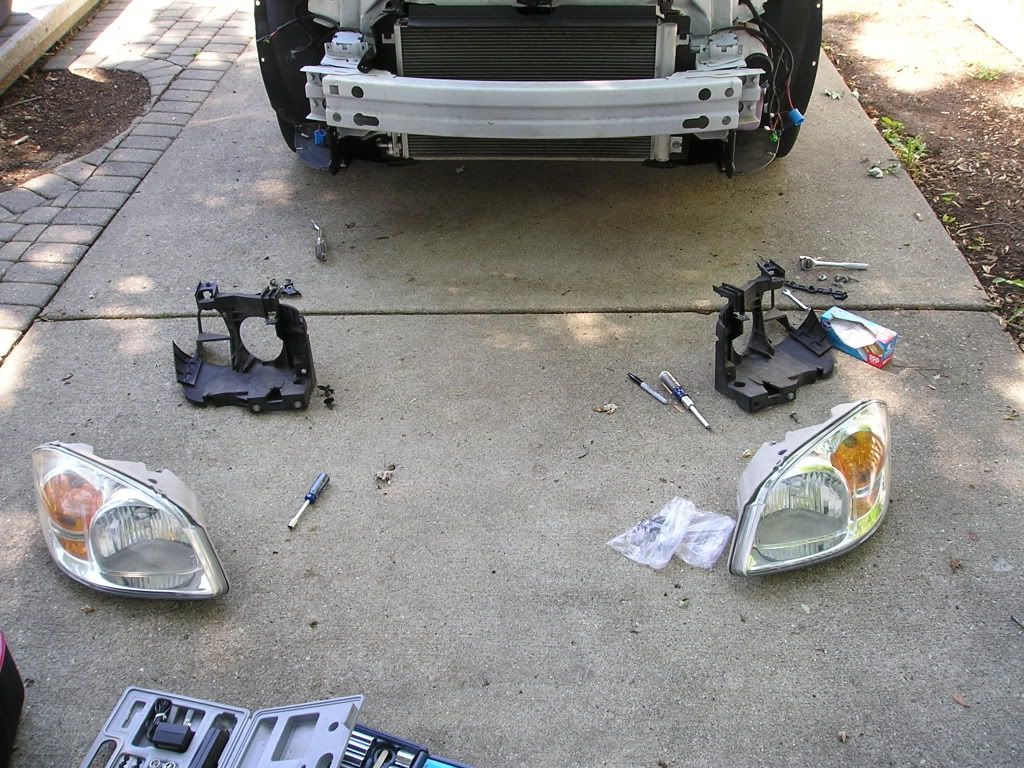
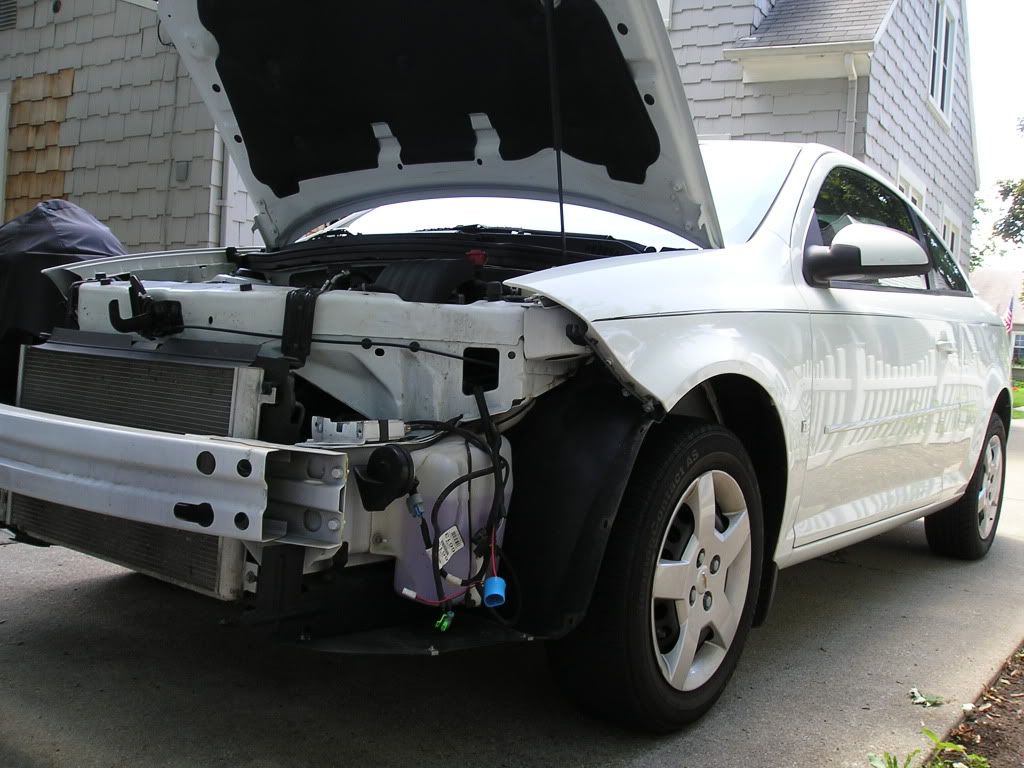
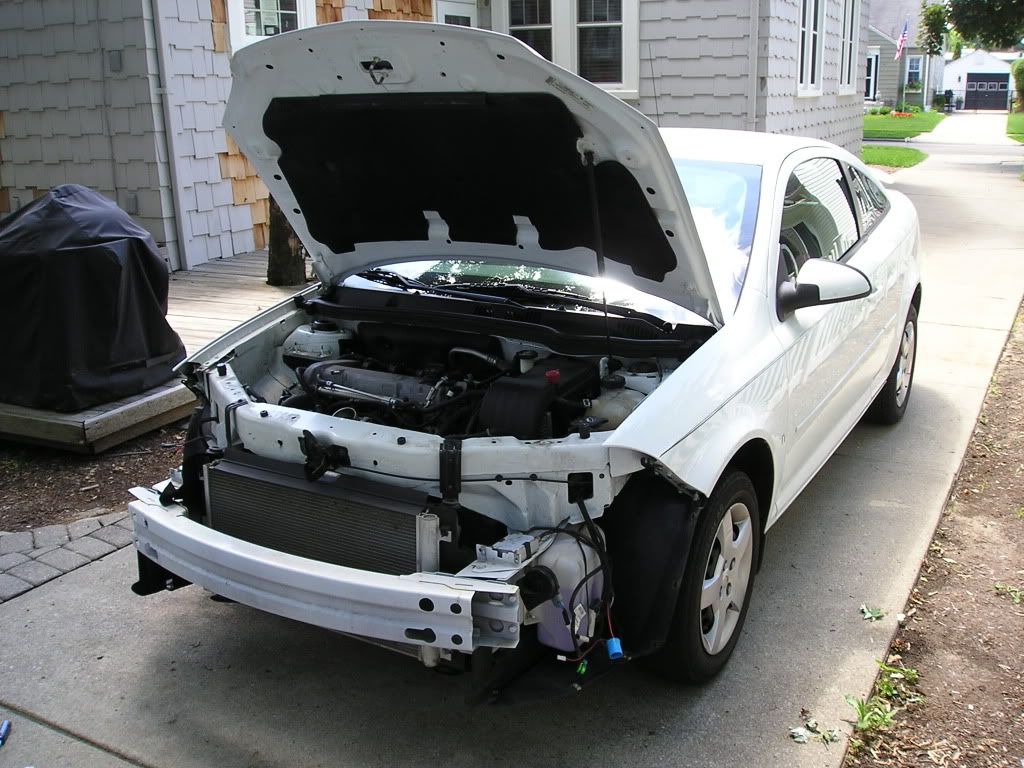
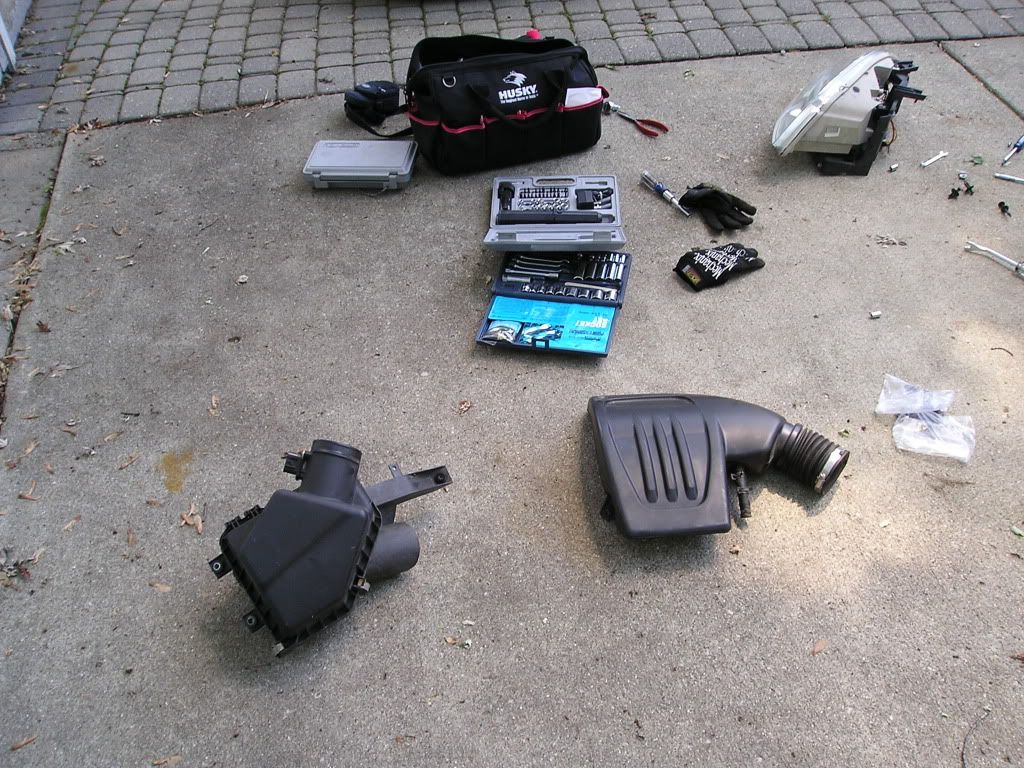
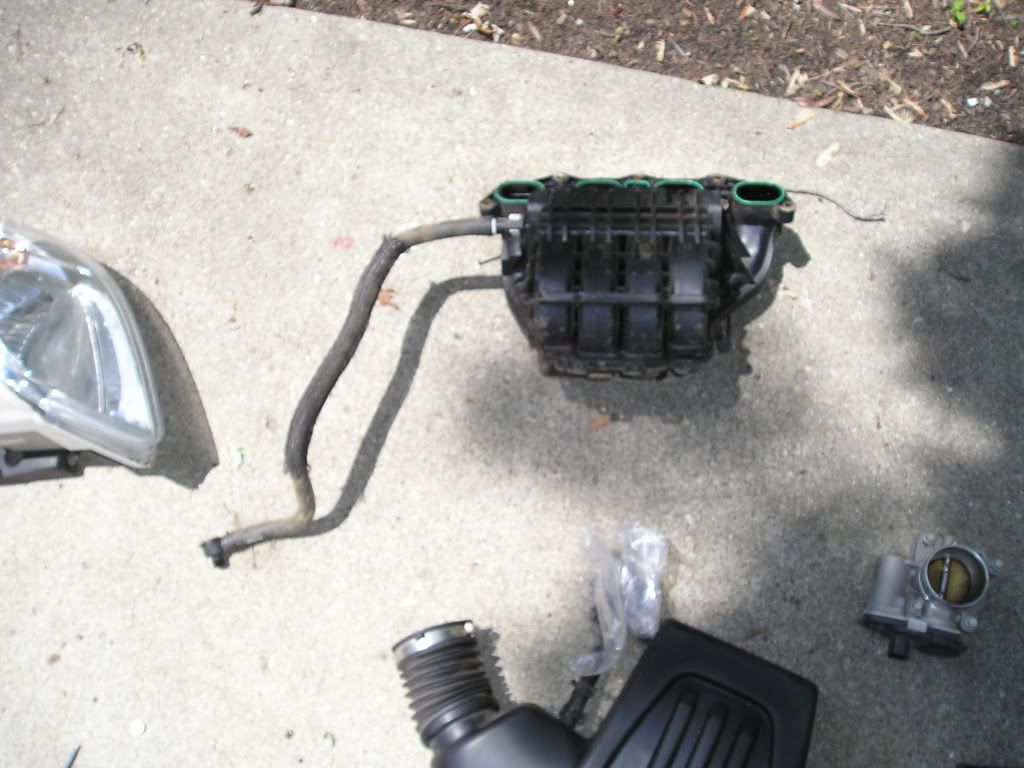
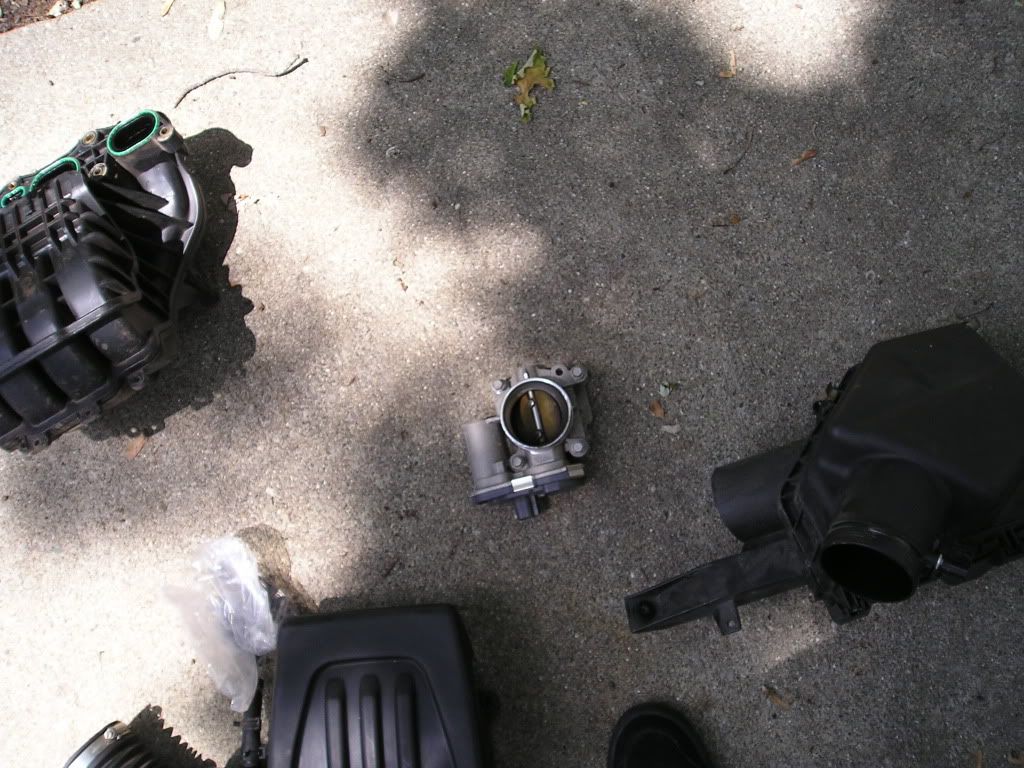
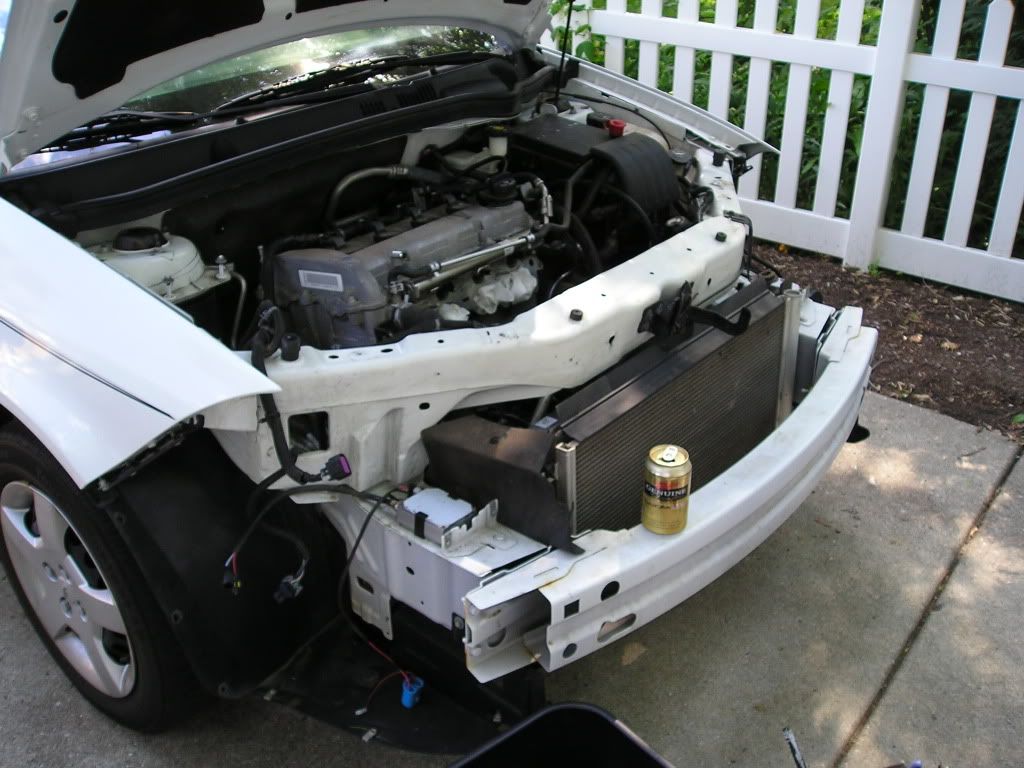
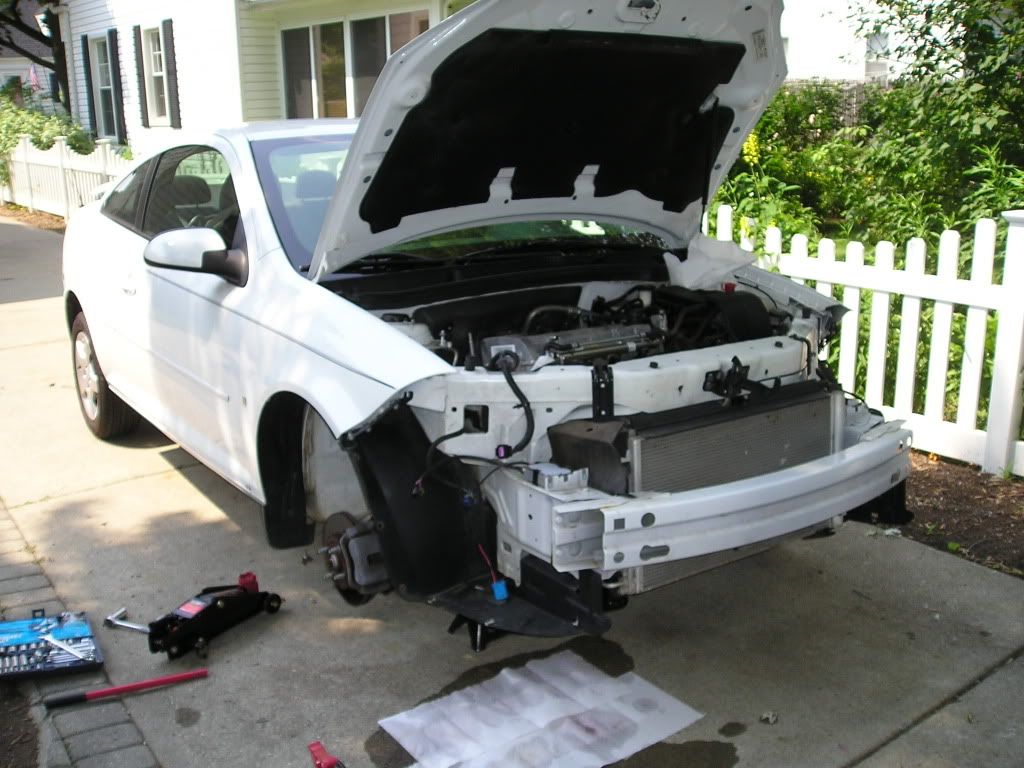
Got the front end off (bumper, lights), as well as the air intake.
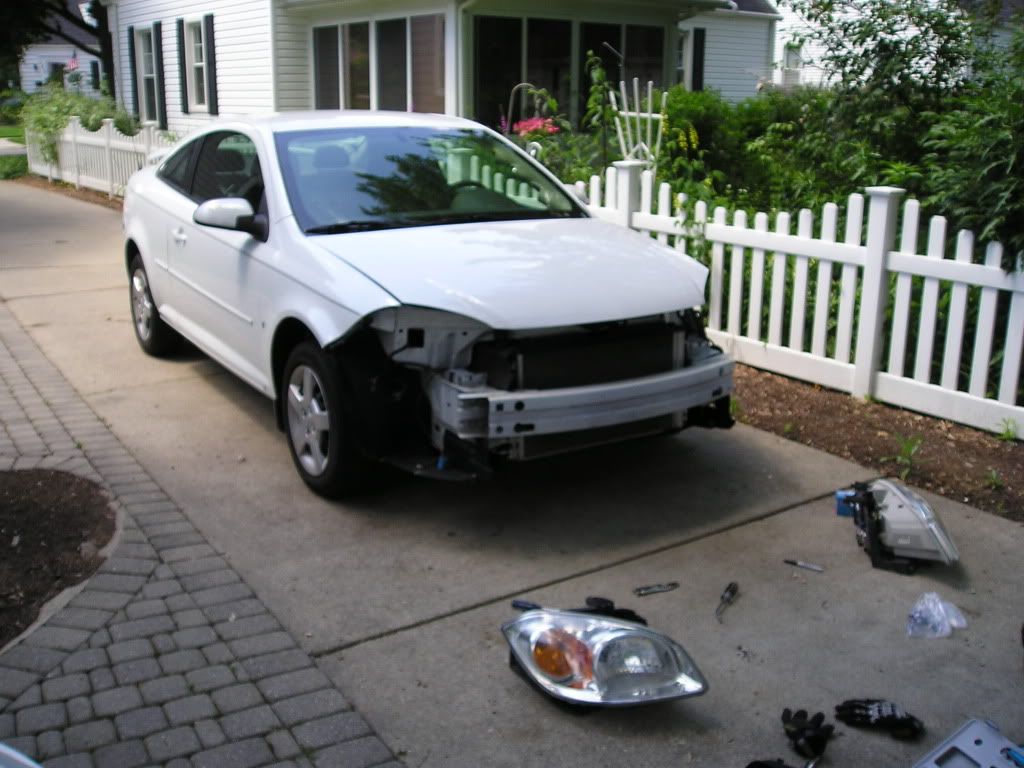
I'm having trouble getting the intake manifold in - I think it's hitting the dipstick on the bottom or something...any tips? I really don't want to unbolt my A/C line...
Lunch break update!
Got the front end off (bumper, lights), as well as the air intake.
I'm having trouble getting the intake manifold in - I think it's hitting the dipstick on the bottom or something...any tips? I really don't want to unbolt my A/C line...
Last edited by MP81; Jun 23, 2009 at 05:54 PM. Reason: Automerged Doublepost

Thread Starter
Senior Member
iTrader: (2)
Joined: 07-10-08
Posts: 1,708
Likes: 3
From: Washington Township, MI
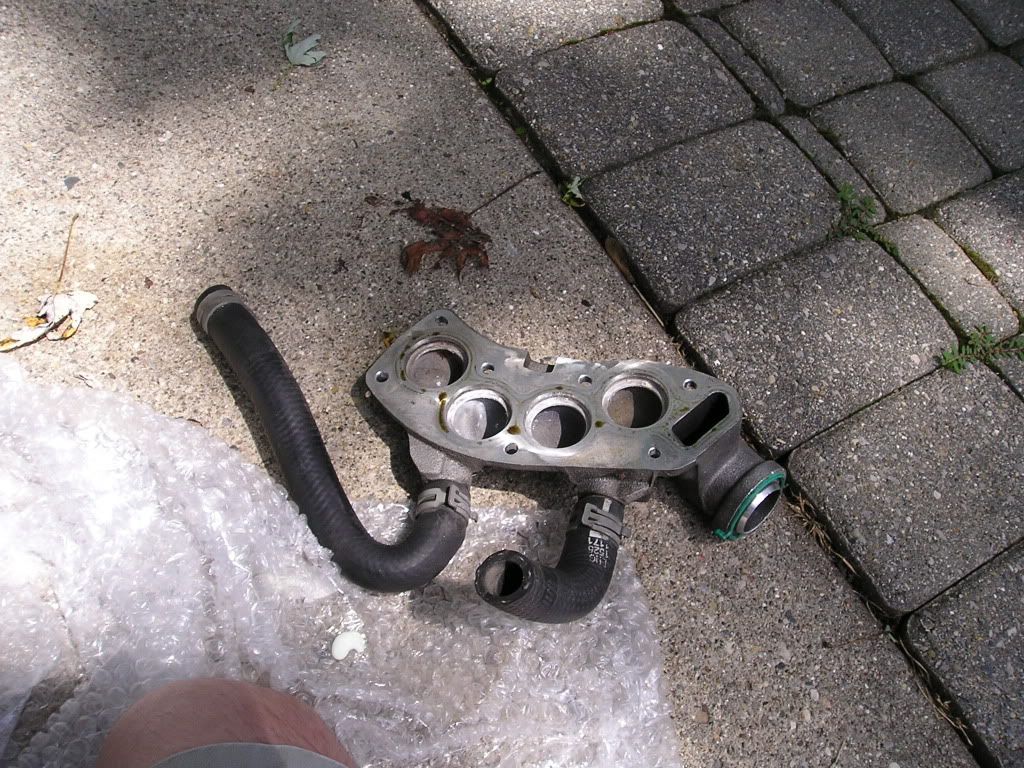
I ended up getting it - I just took off the two coolant hoses attached to the IM - it's gonna suck getting them back on, but then again - it would never have gone on otherwise...
Progress since I last posted
Intake out:
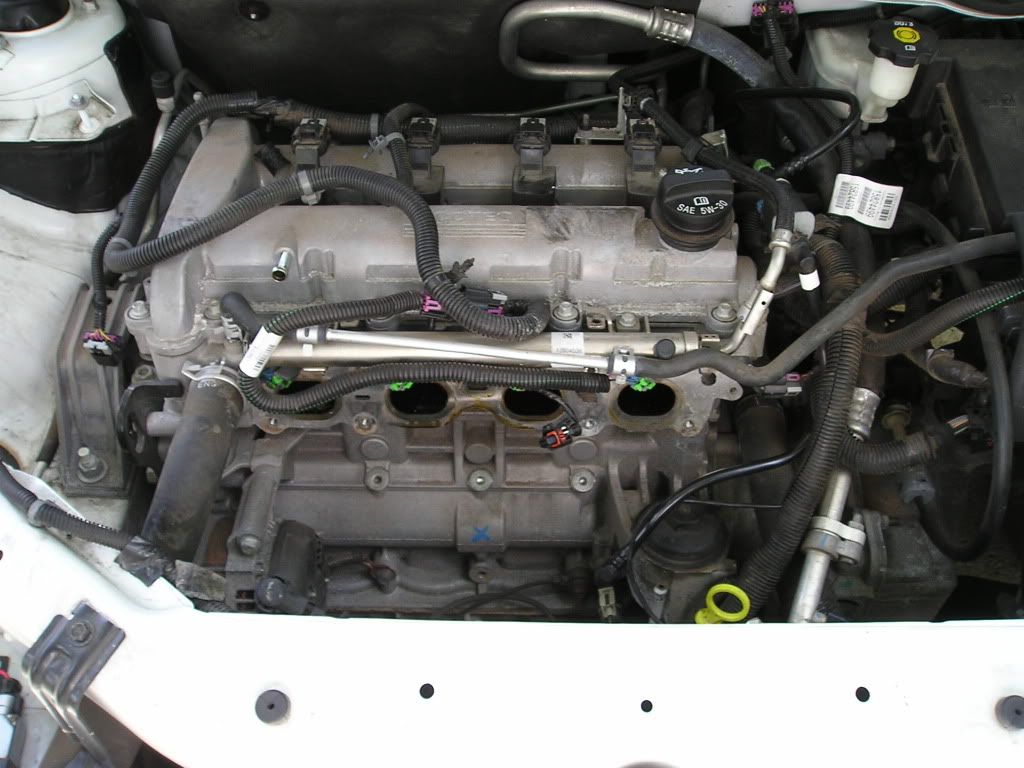
Injector Harness disconnected and out of the way, Moved the grounds to the right bolt (one used to be on the left-most bolt in that row)
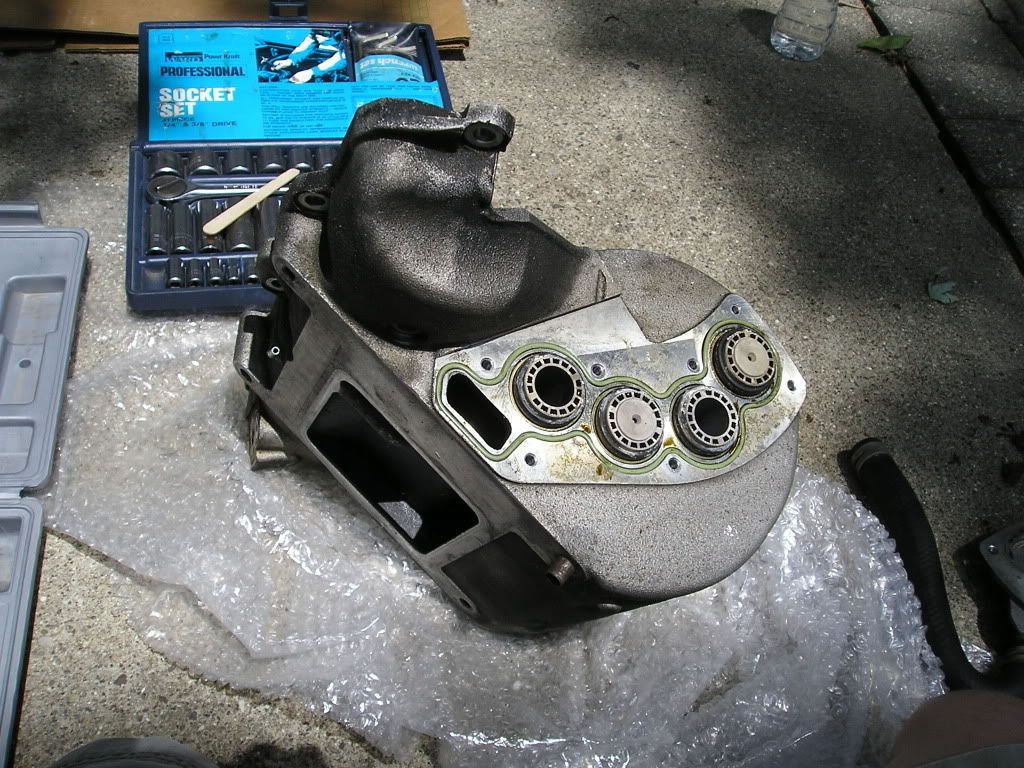
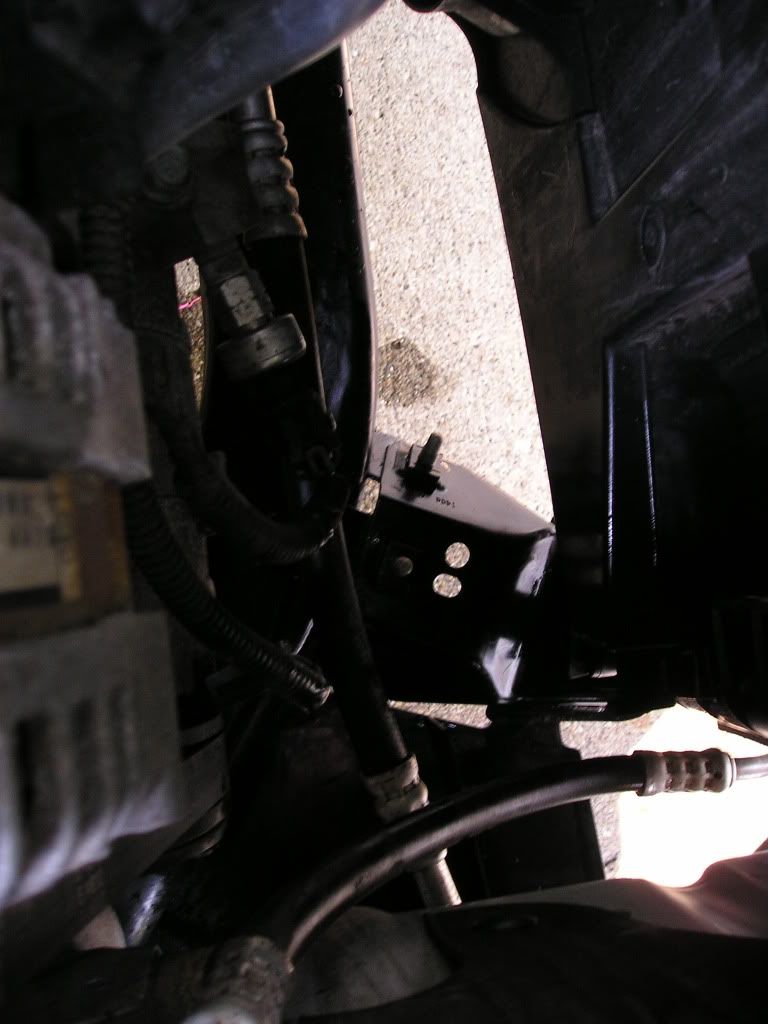
Intake Manifold Mount, Heat Exchanger Pump Bracketry and Heat Exchanger Pump In
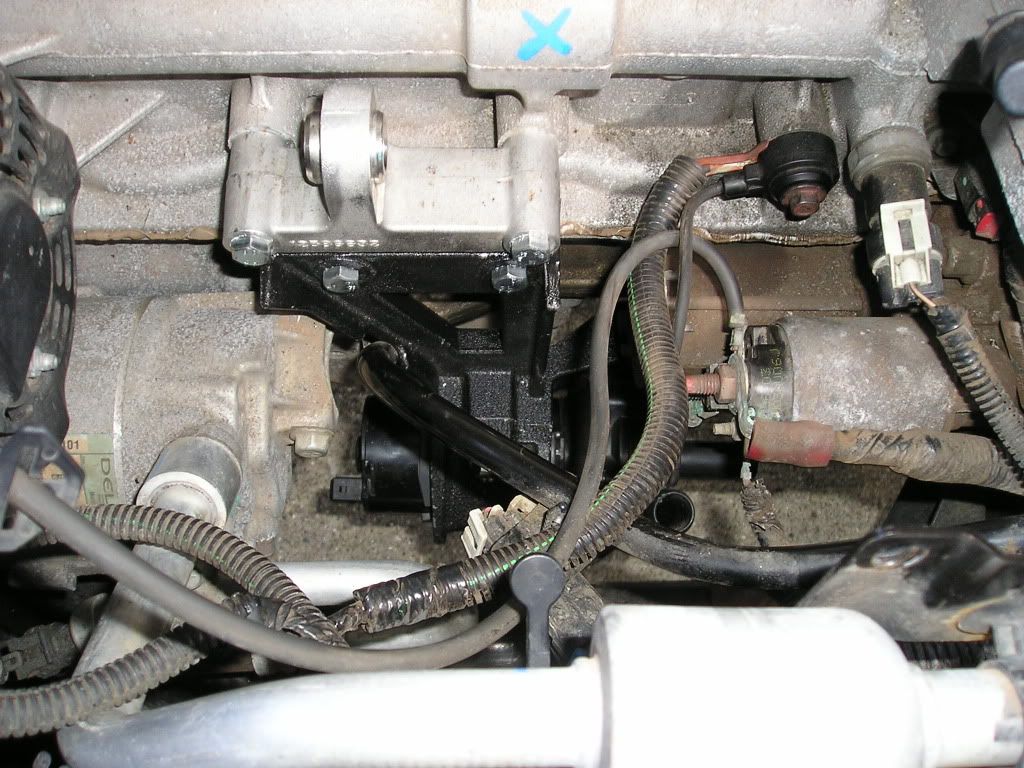
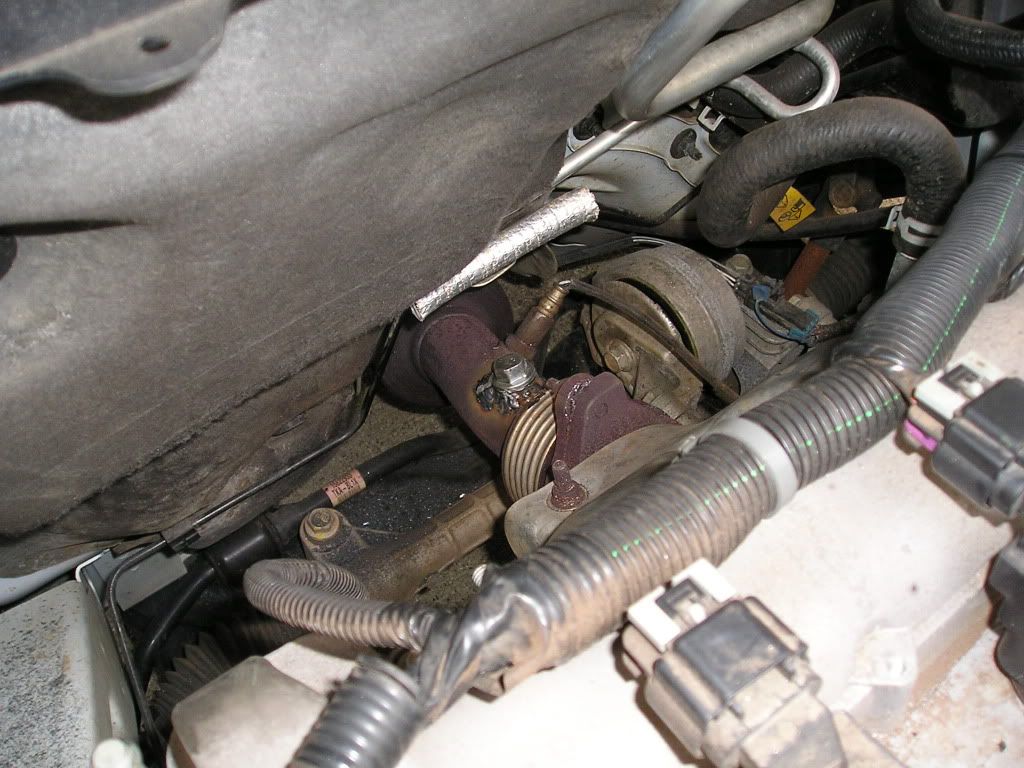
View of the pump and bracket from underneath - this was very tight access...
How'd that get there...
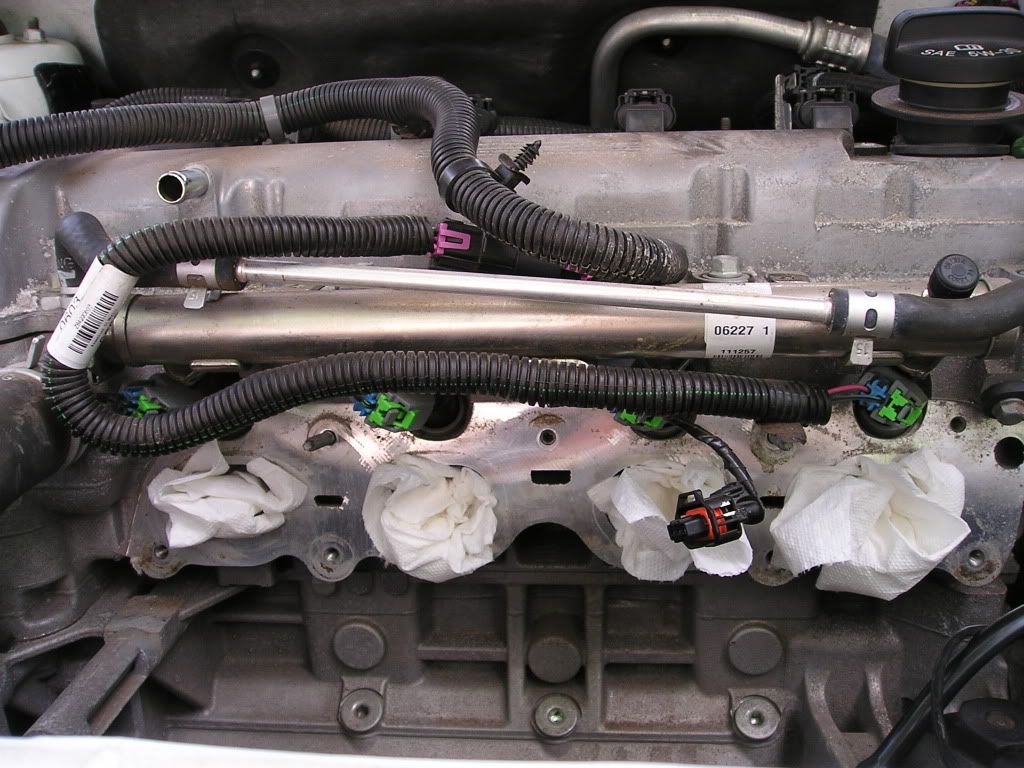
Fuel Rail Removed
Fuel Rail - Stock Injectors

Stock Injectors out of rail
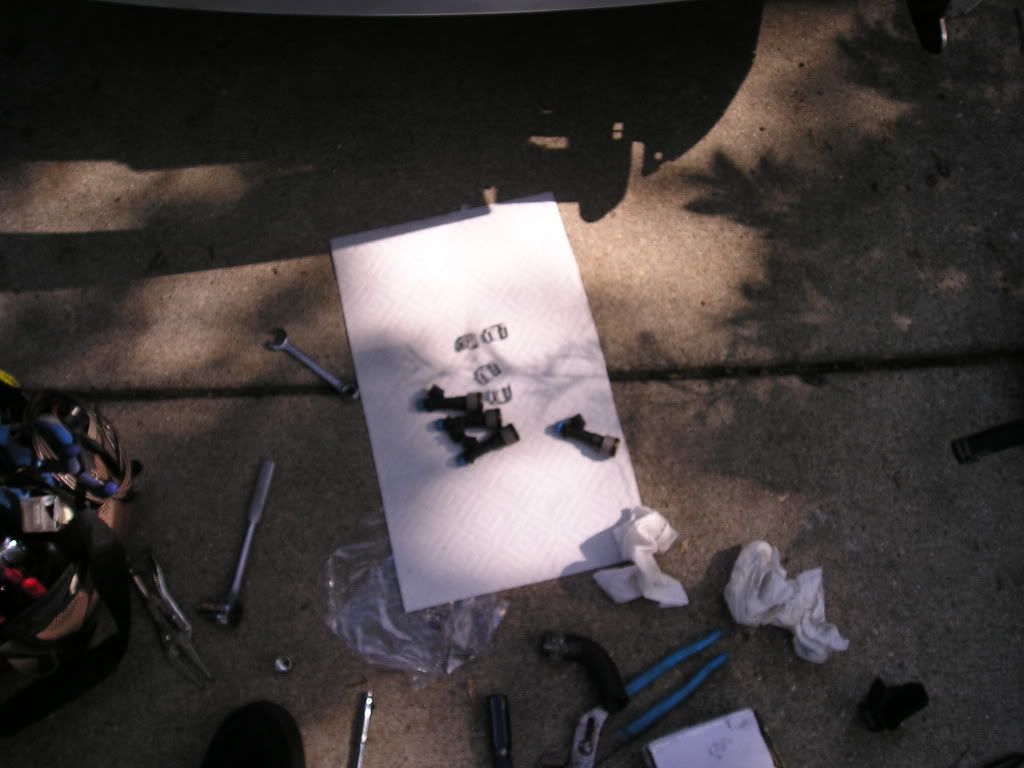
Empty Rail - awaiting new #42 Injectors

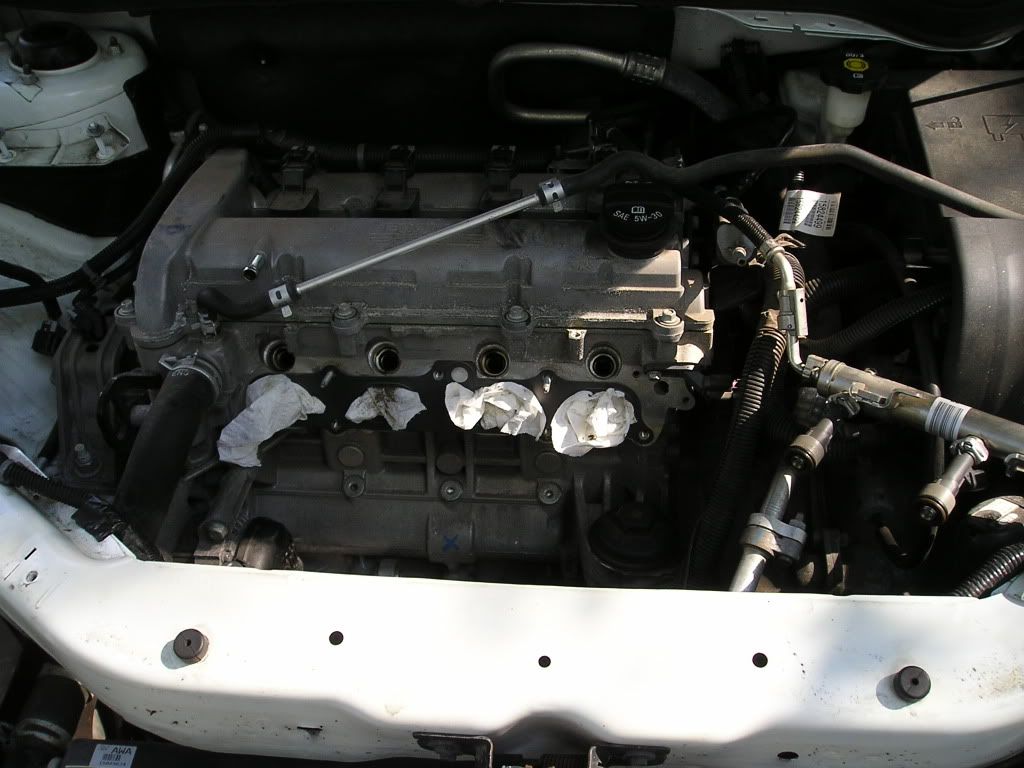
Intake Manifold Installed - let me tell you - this was the biggest bitch of anything I've ever done. The manifold is huge - and the area is about huge +/- an inch...it SUCKED, but I got it in there.

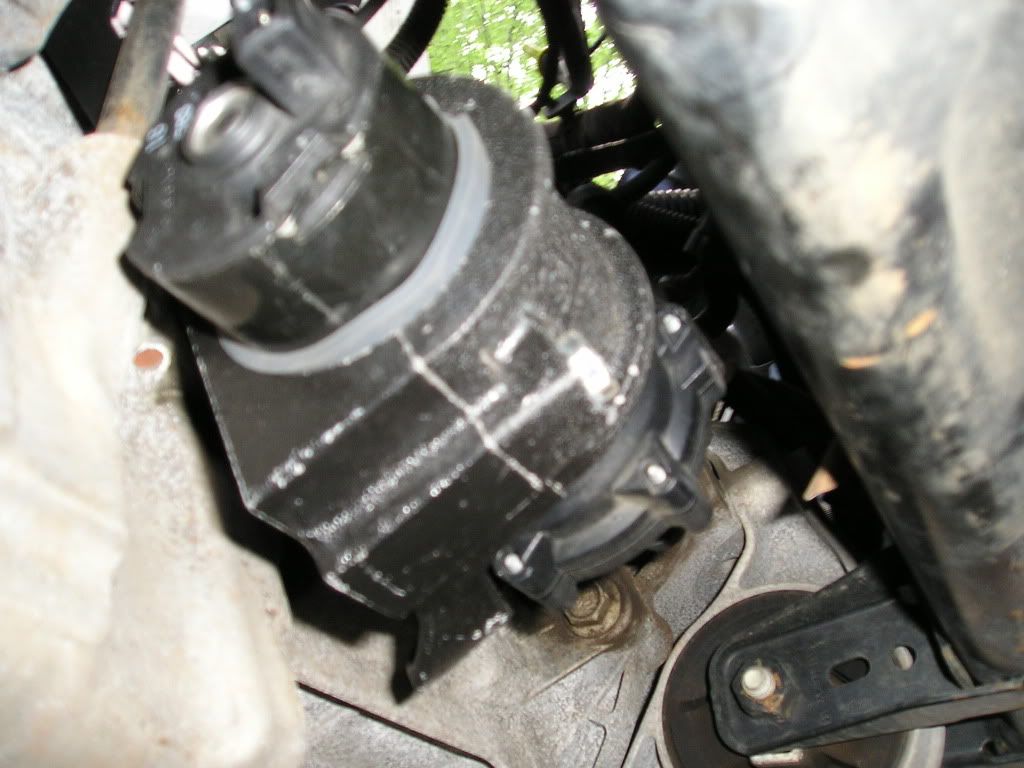
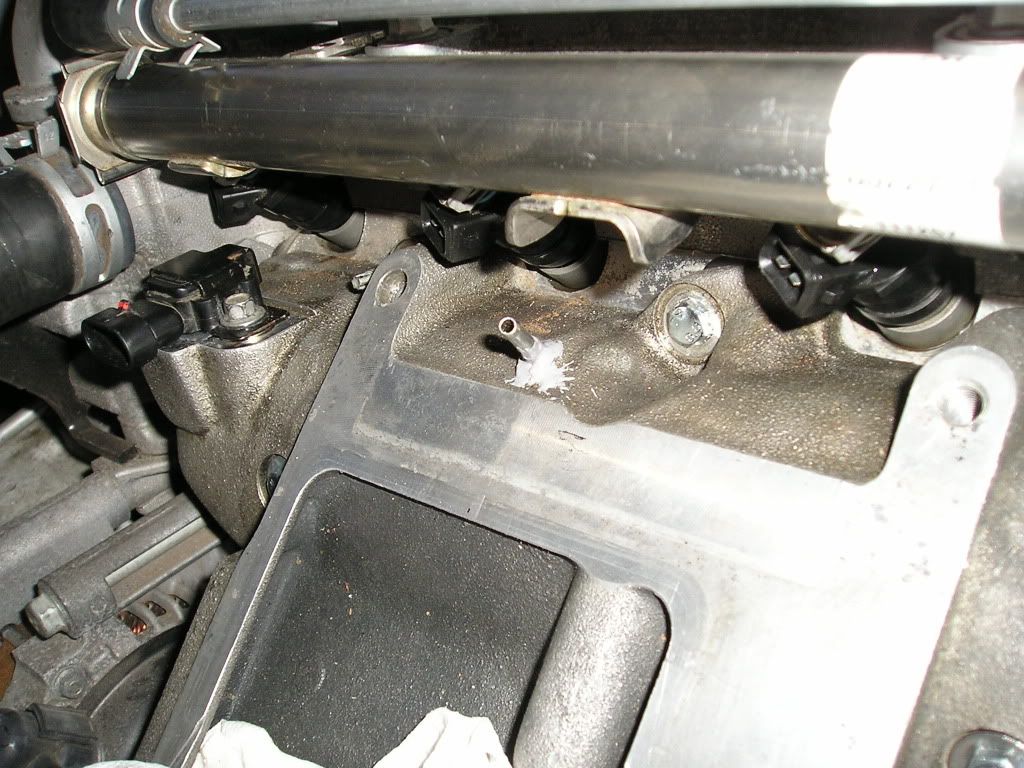
MAP sensor with some shrink tubing around the center - this piece is not designed for the intake manifold...
Installed: Note the few washers under the bolt, to get it to sit somewhat flat...
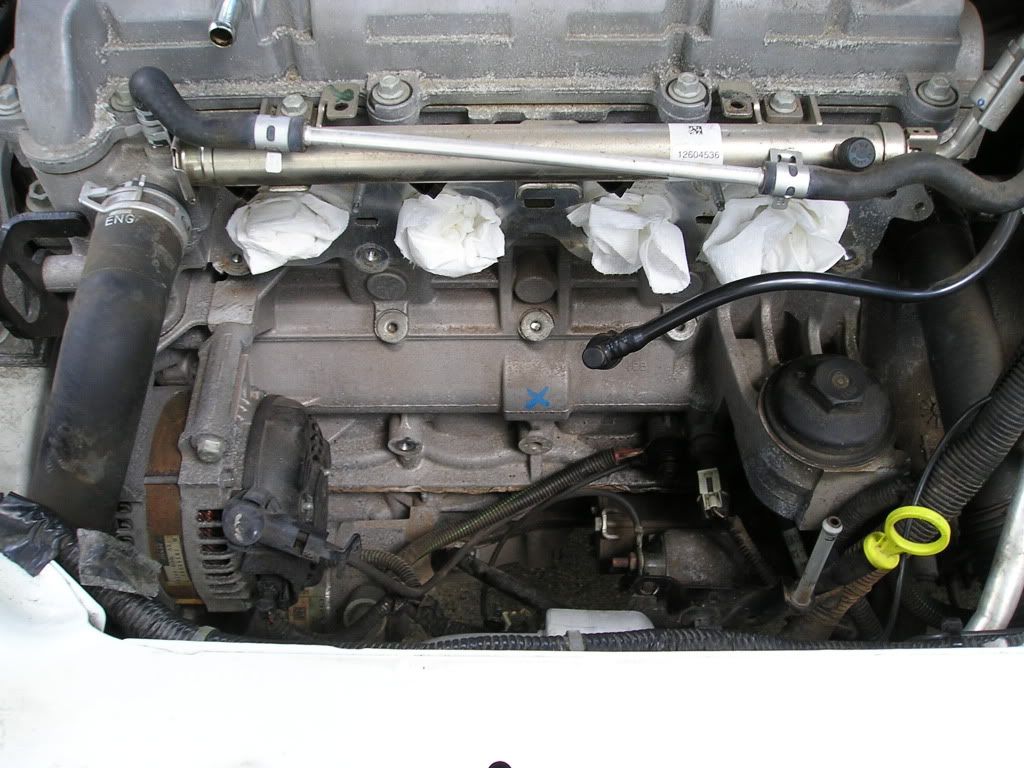
Fuel Rail Reinstalled with new injectors
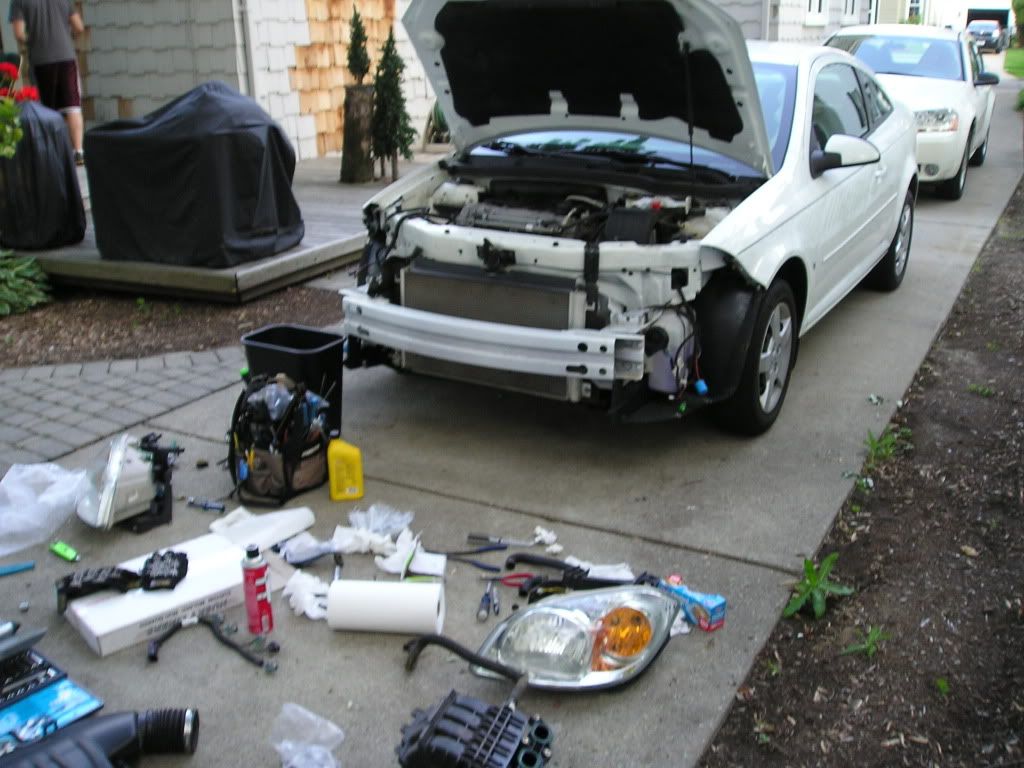
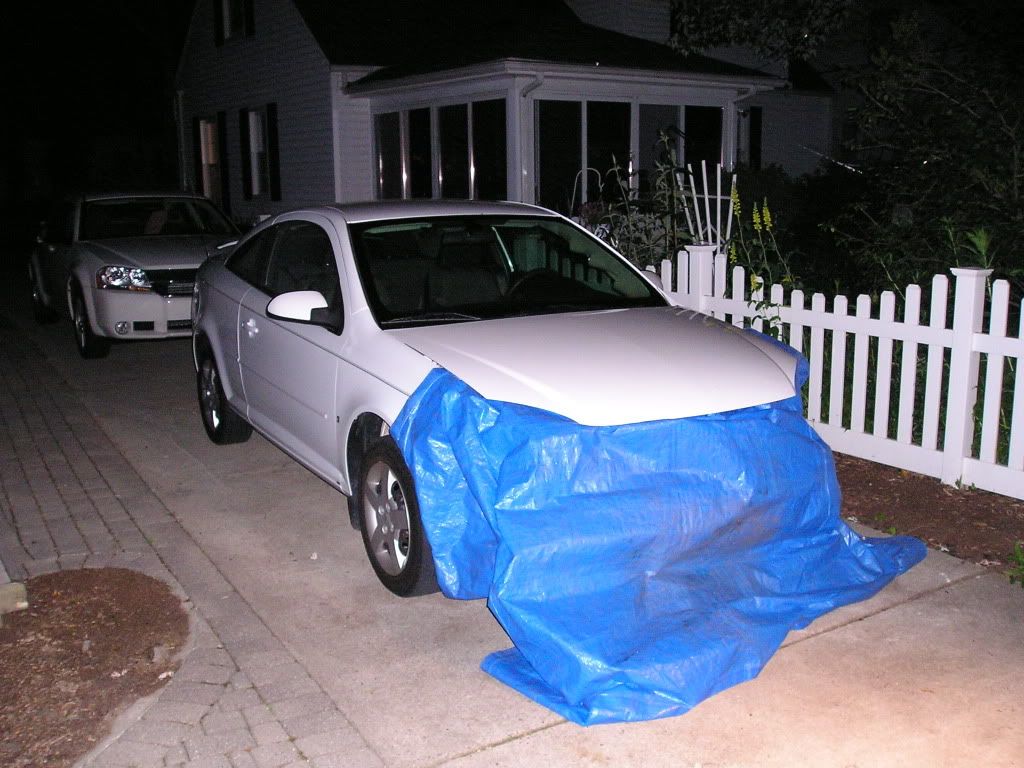
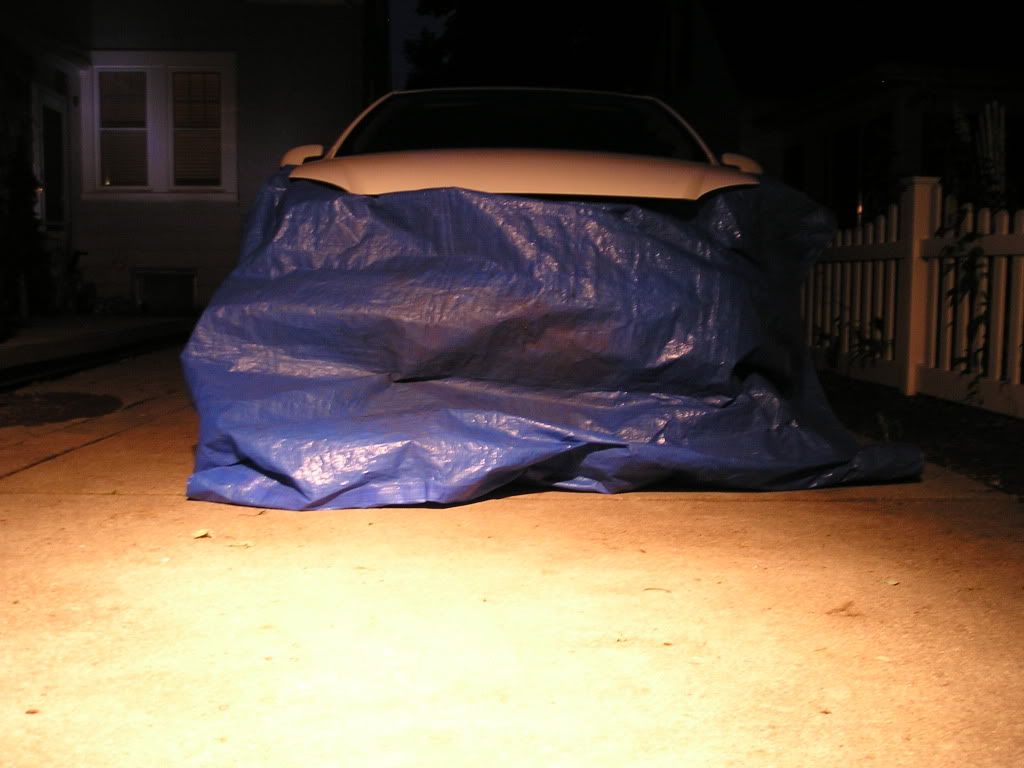
The car and some of the mess in my driveway
Had to JB weld the little boost nipple because the idiot before me managed to bend this way to the right (it's supposed to point straight out), and I bent it back as far as I could, it cracked, so I bent it a little the way it was before, and JB welded to make sure it's sealed - hopefully my Boost reading is unaffected...
Starting to get dark - fast.
Done for the night

Sleepy Time for young, faceless, Balto...

Few things I learned today:
Getting cut while working on a car is fun and adds to the experience - good stories to tell.
Gas will eat through anything - especially red, plastic Solo cups. When I pulled the rail, and the first injector, I prepared myself with paper towels and a solo cup to catch the fuel in the rail/line...the cup cracked a little bit from the impact from me getting the injector out - but then seemed fine - until the walls of the cup became paper thin, and the bottom of the cup FELL OFF...and dumped gas everywhere...thank god it evaporates so fast, but damn! The solo cup, where it had been "cut" by the gas was literally melted - and tried to stick to my driveway.
My back hurts, and I'm covered with dirt and engine filth...and I love it.
Can't wait for tomorrow!
Progress since I last posted
Intake out:
Injector Harness disconnected and out of the way, Moved the grounds to the right bolt (one used to be on the left-most bolt in that row)
Intake Manifold Mount, Heat Exchanger Pump Bracketry and Heat Exchanger Pump In
View of the pump and bracket from underneath - this was very tight access...
How'd that get there...
Fuel Rail Removed
Fuel Rail - Stock Injectors
Stock Injectors out of rail
Empty Rail - awaiting new #42 Injectors
Intake Manifold Installed - let me tell you - this was the biggest bitch of anything I've ever done. The manifold is huge - and the area is about huge +/- an inch...it SUCKED, but I got it in there.
MAP sensor with some shrink tubing around the center - this piece is not designed for the intake manifold...
Installed: Note the few washers under the bolt, to get it to sit somewhat flat...
Fuel Rail Reinstalled with new injectors
The car and some of the mess in my driveway
Had to JB weld the little boost nipple because the idiot before me managed to bend this way to the right (it's supposed to point straight out), and I bent it back as far as I could, it cracked, so I bent it a little the way it was before, and JB welded to make sure it's sealed - hopefully my Boost reading is unaffected...
Starting to get dark - fast.
Done for the night
Sleepy Time for young, faceless, Balto...
Few things I learned today:
Getting cut while working on a car is fun and adds to the experience - good stories to tell.
Gas will eat through anything - especially red, plastic Solo cups. When I pulled the rail, and the first injector, I prepared myself with paper towels and a solo cup to catch the fuel in the rail/line...the cup cracked a little bit from the impact from me getting the injector out - but then seemed fine - until the walls of the cup became paper thin, and the bottom of the cup FELL OFF...and dumped gas everywhere...thank god it evaporates so fast, but damn! The solo cup, where it had been "cut" by the gas was literally melted - and tried to stick to my driveway.
My back hurts, and I'm covered with dirt and engine filth...and I love it.
Can't wait for tomorrow!


Nice job on the pics.
I must say that I am all cut up and bruised on my arms as well. My wife says my arms look like I'm a junkie now! lol.
I did find the intake manifold to be a bitch! Took it back out to do some other stuff so I'll be putting it back on tomorrow night.
Luckily I have a 2 car garage. My car is on one side and half of my car is on the rest
that looks like good progress. did you use carborator cleaner or brake cleaner to clean all the dirt and flith in and around ur injectors and manifold? cuz it will help out to have it cleaned. o yea when you try to take the tensioner out on the motor. take ur right wheel off and there is this whole in the frame that will allow you to get to the bolt to take off the tensioner. just a heads up for you.
Thread Starter
Senior Member
iTrader: (2)
Joined: 07-10-08
Posts: 1,708
Likes: 3
From: Washington Township, MI
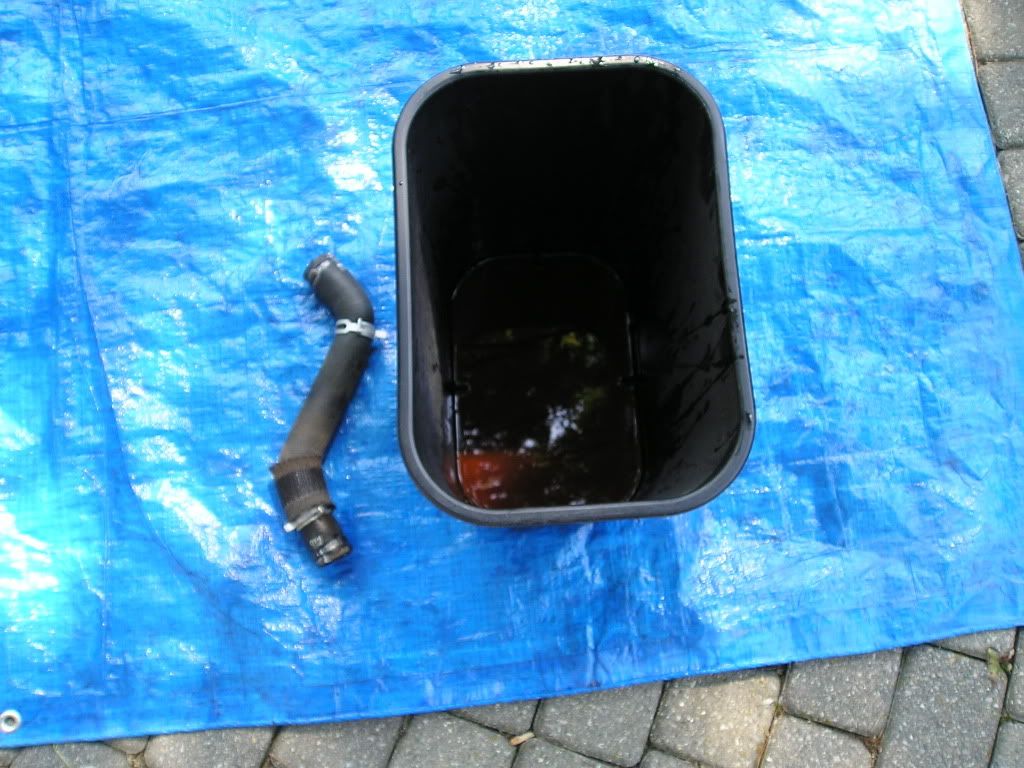
Damn! That upper radiator hose got coolant everywhere. Haha. Glad I had a tarp under there, and a funnel from the hose to a trash can - totally forgot about the radiator, though. hahah.
I guess I'll look at getting that wheel out of there - seems to be the easiest option...
I guess I'll look at getting that wheel out of there - seems to be the easiest option...
Last edited by MP81; Jun 24, 2009 at 11:33 AM.

New Member
Joined: 08-10-06
Posts: 3
Likes: 0
From: Limerick
This is Gene... my old sign-on that I use from my old work while I'm at work... lol.. make sense?
I have the passenger side of my car jacked up with a jack stand so I can get to things underneath like the IC pump, etc. My wheel and tire hangs down while it is on the jack stand and that area to go to the tensioner bolt was exposed... so there was no need to take the wheel off.
I have the passenger side of my car jacked up with a jack stand so I can get to things underneath like the IC pump, etc. My wheel and tire hangs down while it is on the jack stand and that area to go to the tensioner bolt was exposed... so there was no need to take the wheel off.
Thread Starter
Senior Member
iTrader: (2)
Joined: 07-10-08
Posts: 1,708
Likes: 3
From: Washington Township, MI
I think I see a 1/4" square hole on the tensioner, hopefully I can get to it...
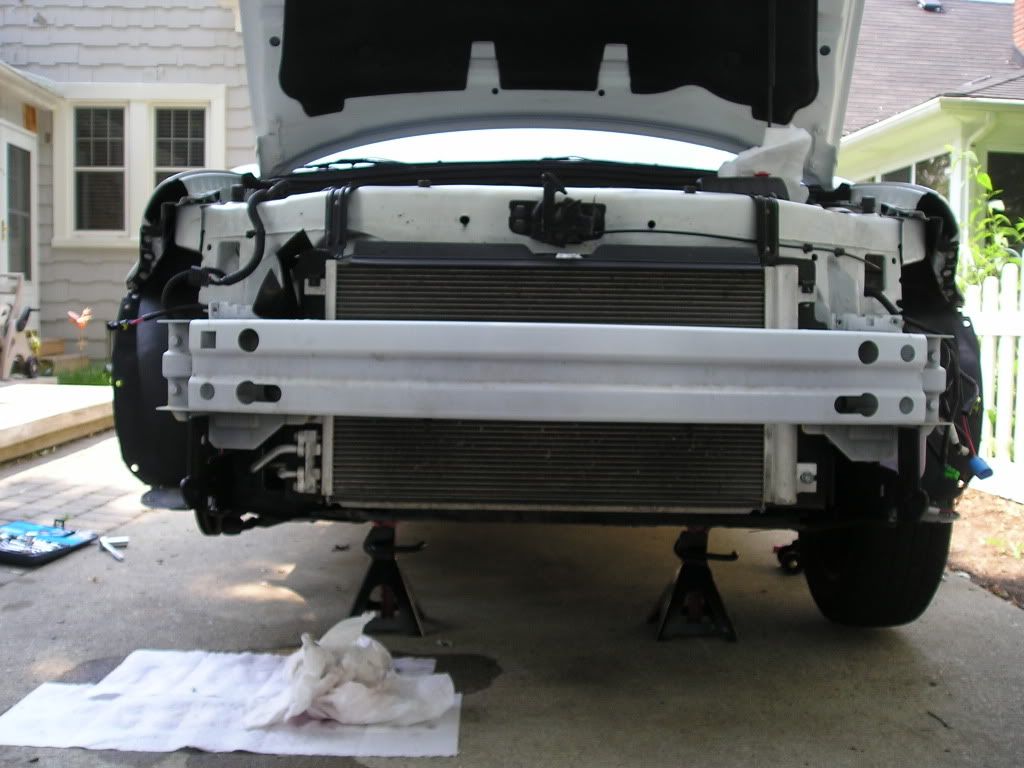
Here's the progress from before lunch.
Got the upper radiator hose off - coolant went everywhere...
Up in the air!
I see the bolt to get the tensioner off, but how do I go about relieving the tension (do I use that square hole on it?) - and then how do I get the idler off?
Well, I got the tensioner off and what not - and going to put on the LSJ tensioner, I managed to drop the god damn bolt IN the frame rail. Looks like I'll never get that out...God damnit GM - you make an access hole, where you can drop the bolt...which I did...unbelievable.
Luckily, I went in after it with a magnet, and somehow, the magnet fell out of the holder on the bottom of the frame rail...so maybe it'll catch the bolt, and not let it rattle around everywhere...
ugh...******* GM...
So when I cut a rib off the belt, I can just use a box knife in the dip?
Last edited by MP81; Jun 24, 2009 at 02:40 PM. Reason: Automerged Doublepost
i drop mine in the frame also but i got it out. but you can get the belt off many ways. like unbolting the alternator is polly the easiest. but i use clippers to cut the rib off. but i think box cutters should be fine as long as you cut through the material cleanly.