
MP81's Supercharged L61 Build


Thread Starter
Senior Member
iTrader: (2)
Joined: 07-10-08
Posts: 1,708
Likes: 3
From: Washington Township, MI
Oh my god...getting this idler pulley on is a bitch...I don't know what the deal is...
The big bolt refuses to go in straight...
The big bolt refuses to go in straight...
Last edited by MP81; Jun 24, 2009 at 03:55 PM.

Gas will eat through anything - especially red, plastic Solo cups. When I pulled the rail, and the first injector, I prepared myself with paper towels and a solo cup to catch the fuel in the rail/line...the cup cracked a little bit from the impact from me getting the injector out - but then seemed fine - until the walls of the cup became paper thin, and the bottom of the cup FELL OFF...and dumped gas everywhere...thank god it evaporates so fast, but damn! The solo cup, where it had been "cut" by the gas was literally melted - and tried to stick to my driveway.
Thread Starter
Senior Member
iTrader: (2)
Joined: 07-10-08
Posts: 1,708
Likes: 3
From: Washington Township, MI
Yeah man - it's insane! I still have solo-cup-ness on my driveway. It's fused there...
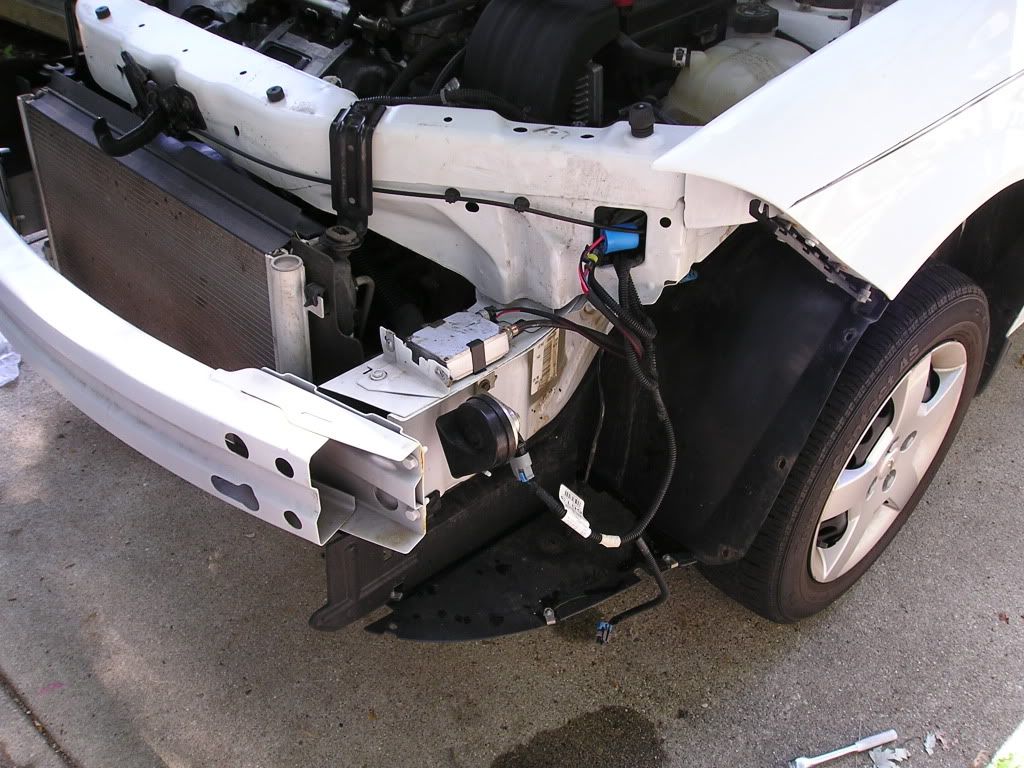
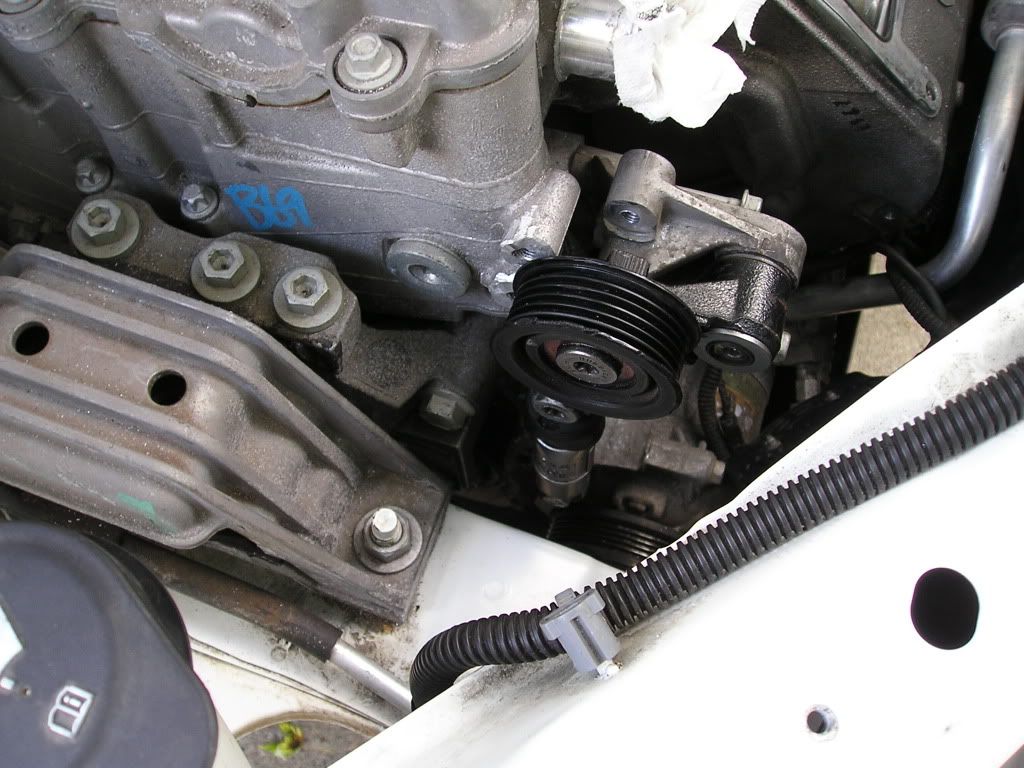
Here's my progress after lunch - it doesn't seem like I got as much done today as yesterday, but dissassembly is usually very fast...that idler pulley must've taken 3 or 4 hours... :shock: The hole, at some point, got cross threaded, and I fucked with it until I finally realized it, and then went and got a M10x1.5 tap (same size as the bolt) - ran it through the hole a couple times, and the bolt went right in! I wish I would've done that in the first place... :banghead:
Pictures...
Stock Belt and Tensioner out of the car:
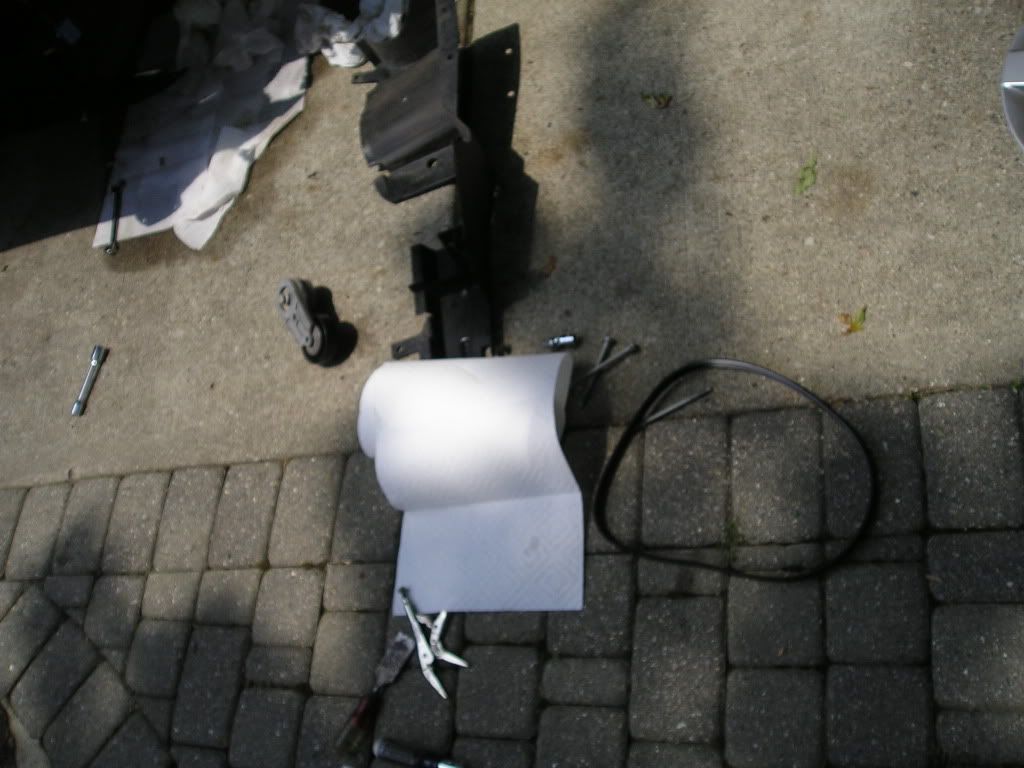
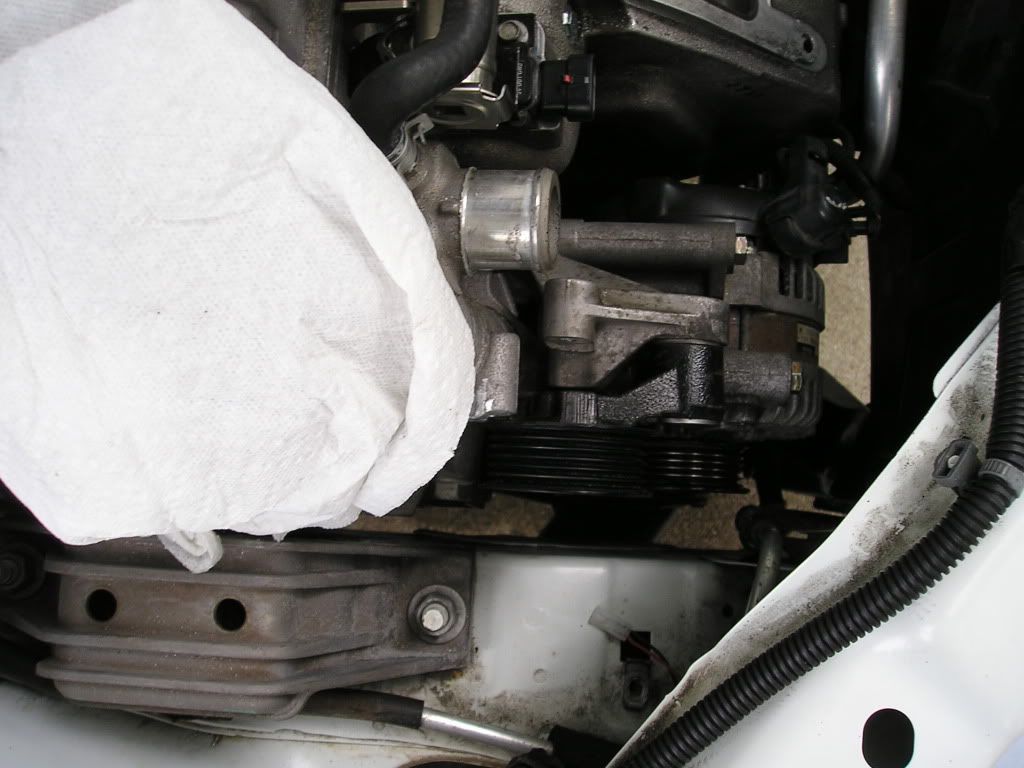
Alternator pulled off (this is how I got the stock belt off - you have to use a special tool to do it otherwise):
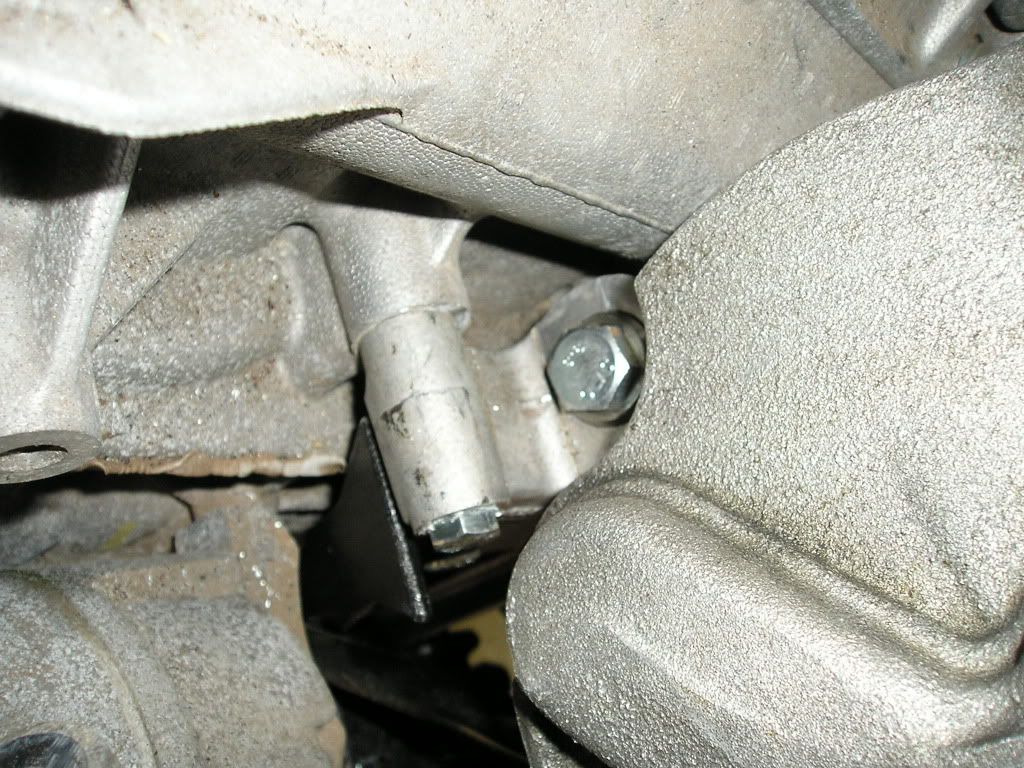
Intake Manifold to Manifold Brace bolt:
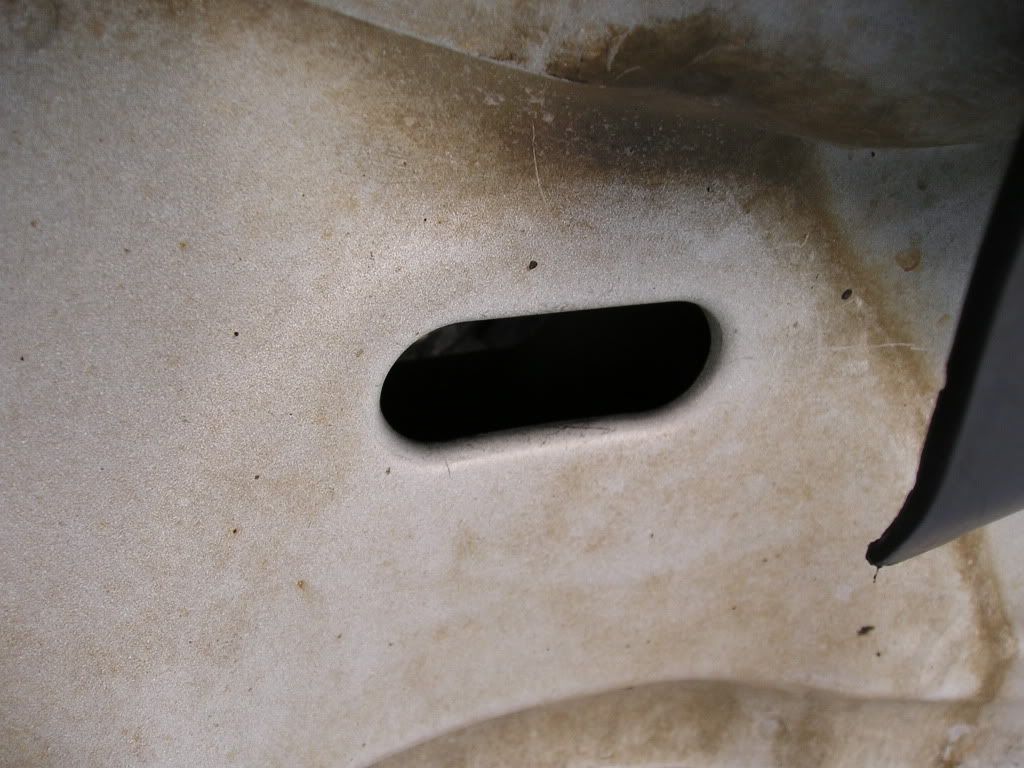
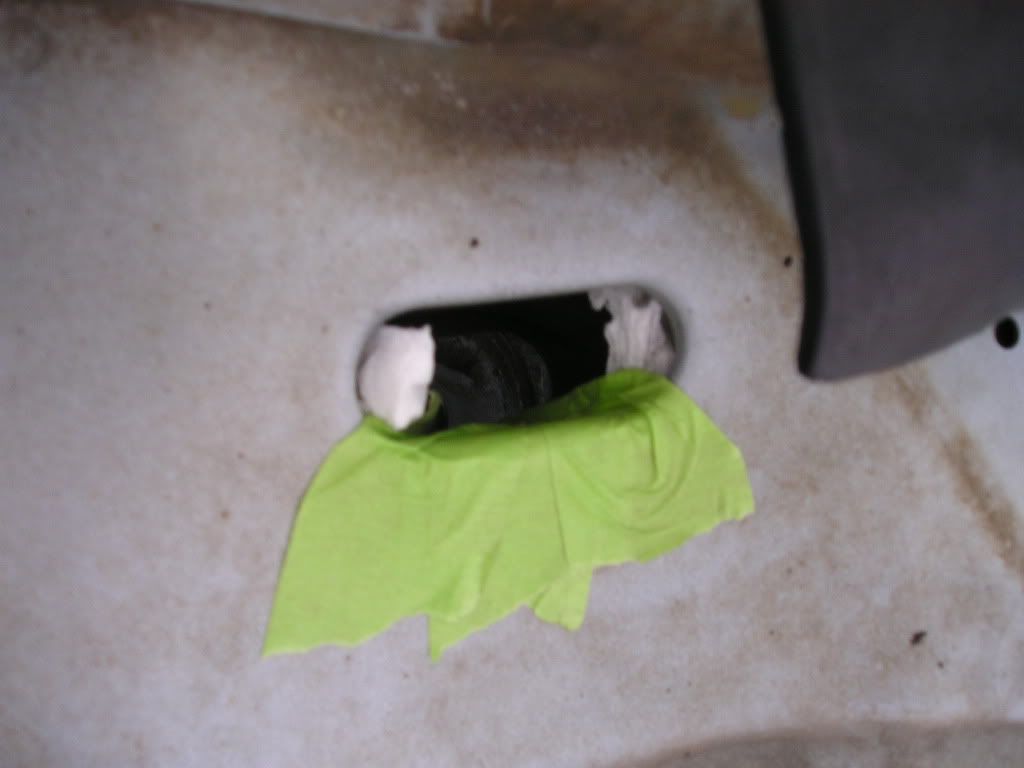
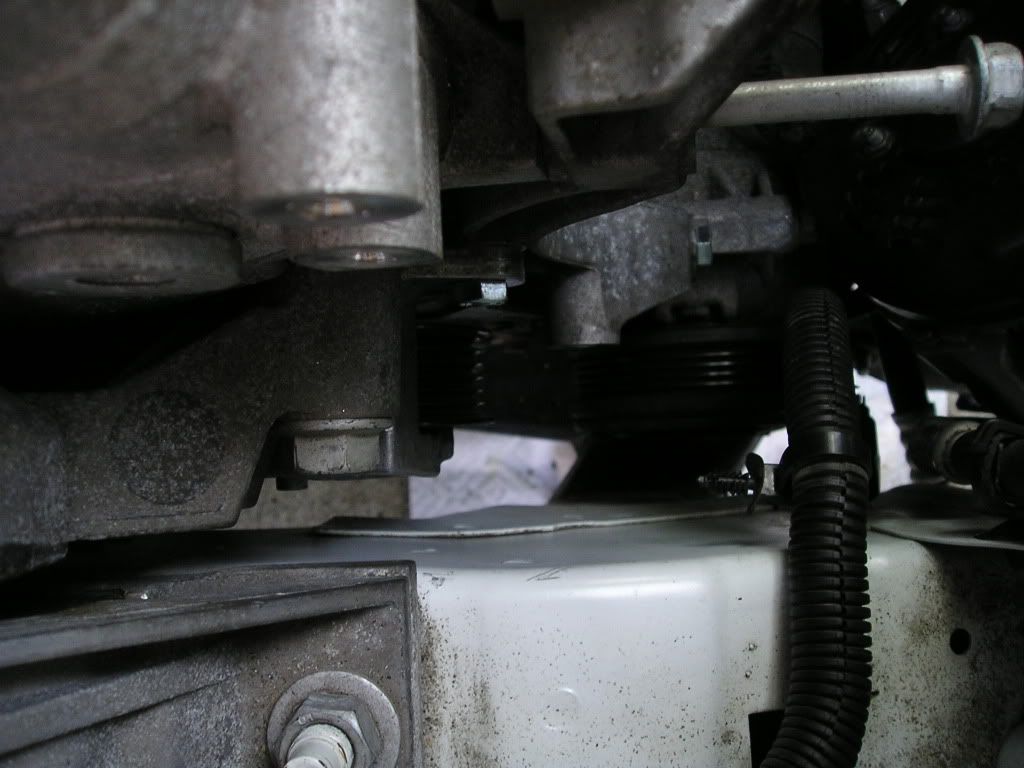
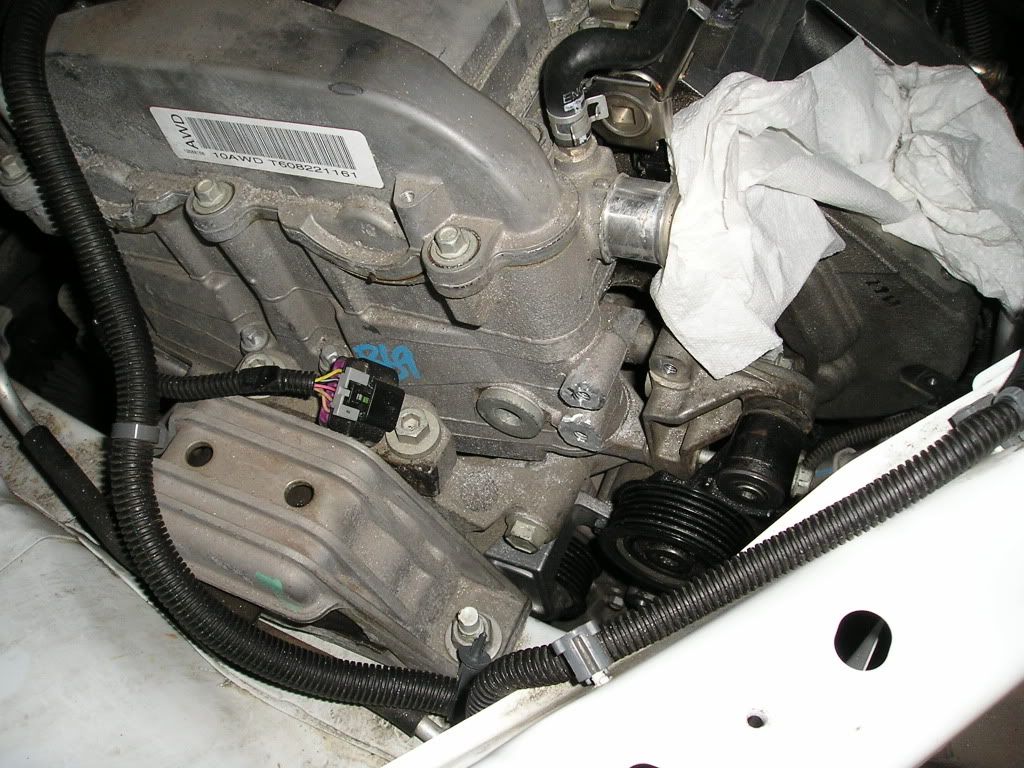
This is GM's cocksucking idler (tensioner for 2.2) pulley access hole. It doesn't even line up completely with the damn bolt!!! God damn you GM. Seriously - oh yeah, it isn't even closed off. It ate the LSJ idler bolt - luckily the stock 2.2 idler bolt seemed to work fine...
After that experience (losing the bolt - and the magnet from the stick magnet that broke trying to get the bolt - hopefully it grabs the bolt and it doesn't roll around... ) I taped up the bottom and shoved paper towels on either side...
There's the hole
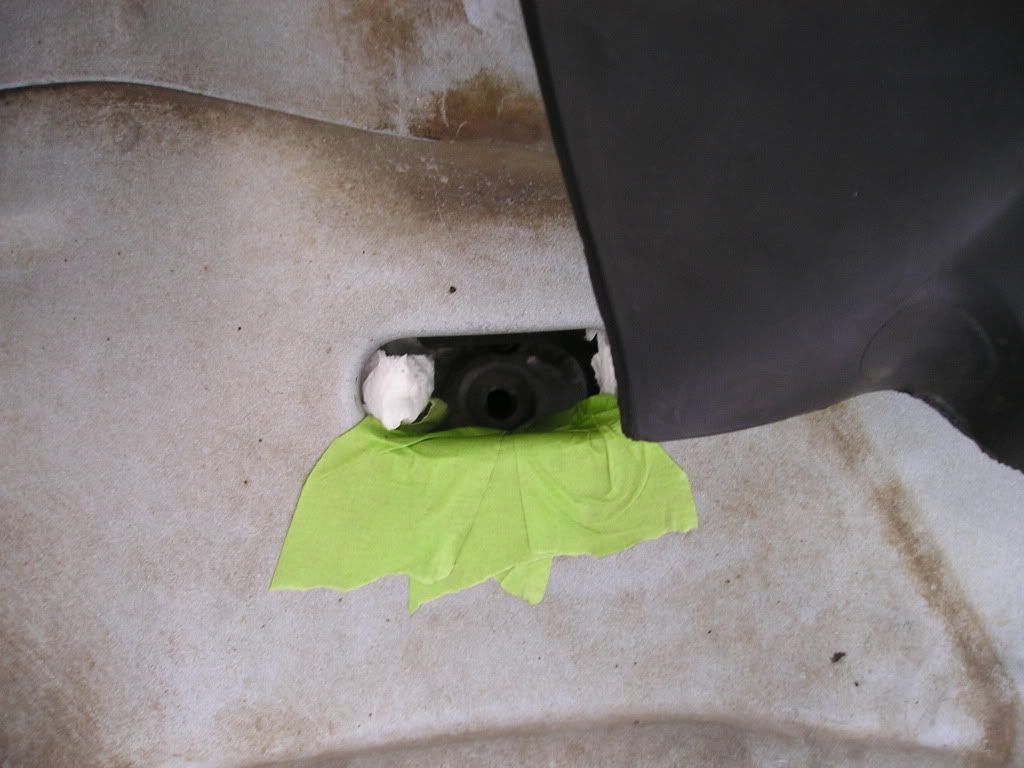
Bolt finally installed - notice how it almost lines up - the bottom catches though...
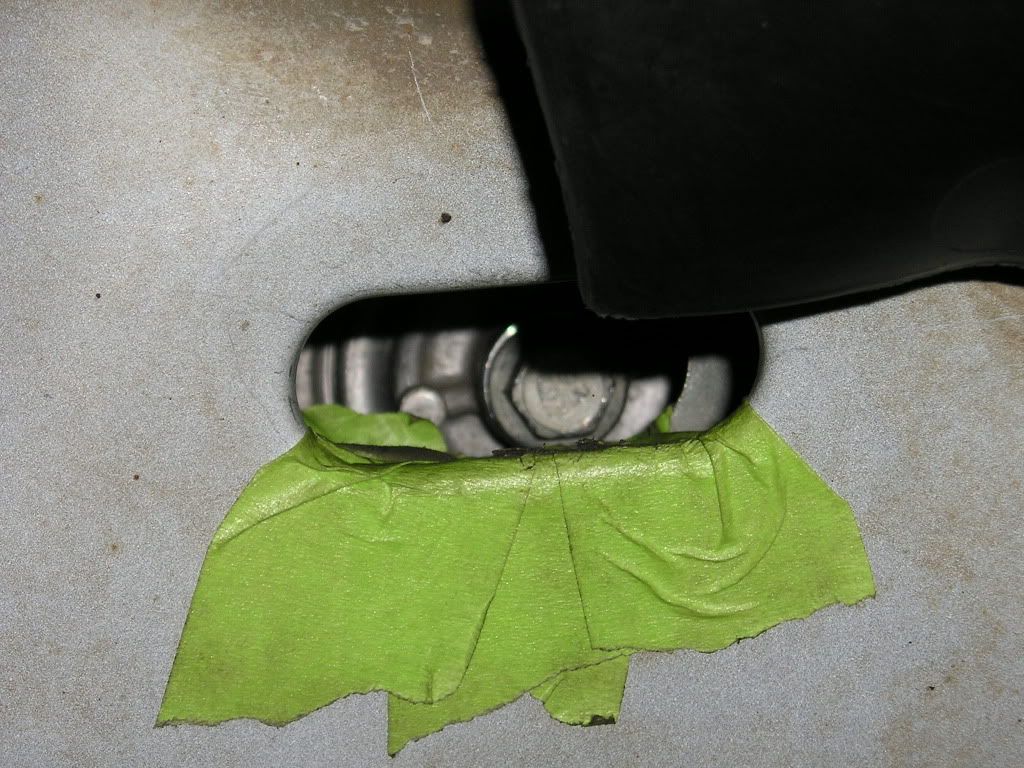
Wider shot - easy crank pulley access!
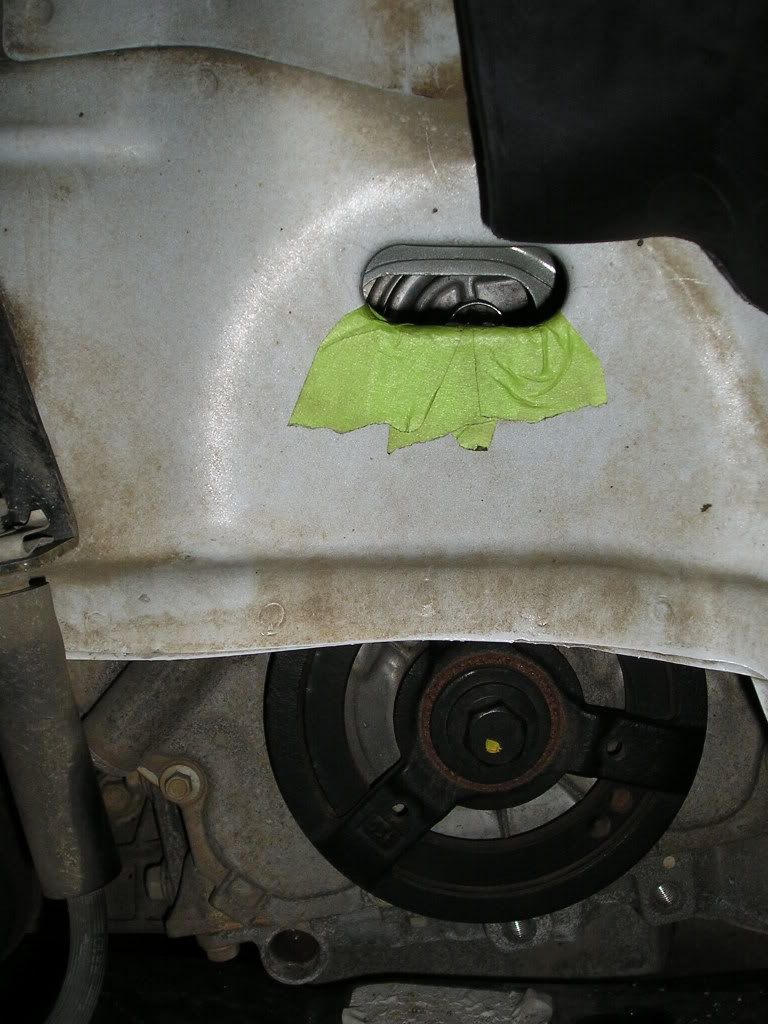
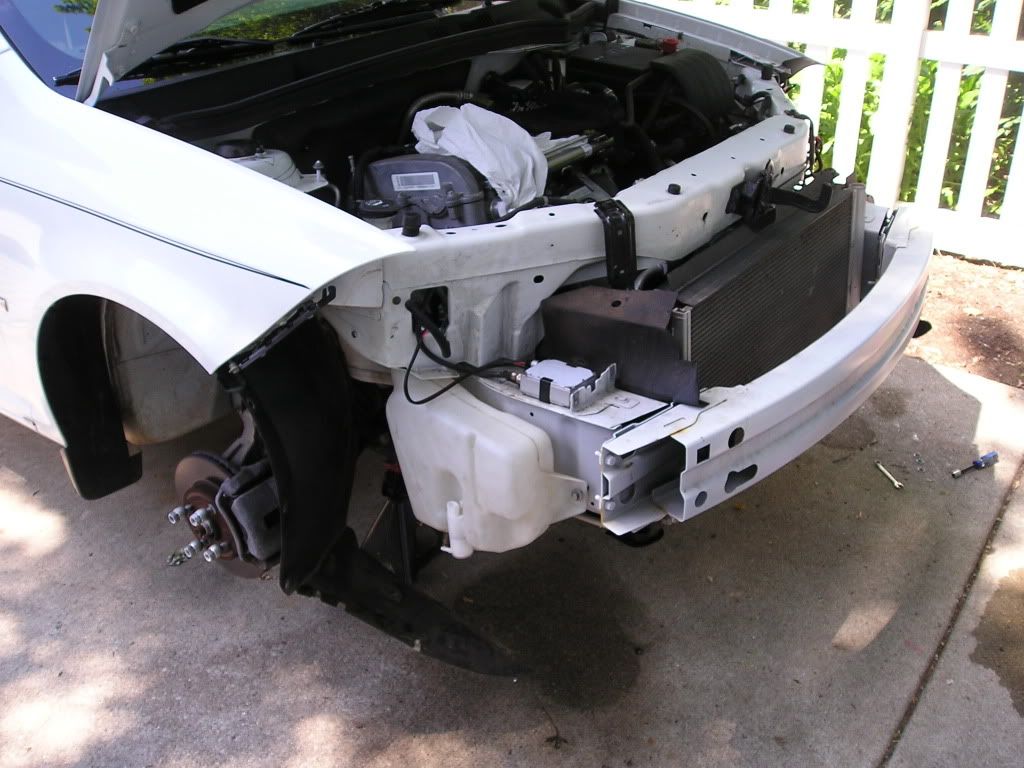
View from the top - finally...
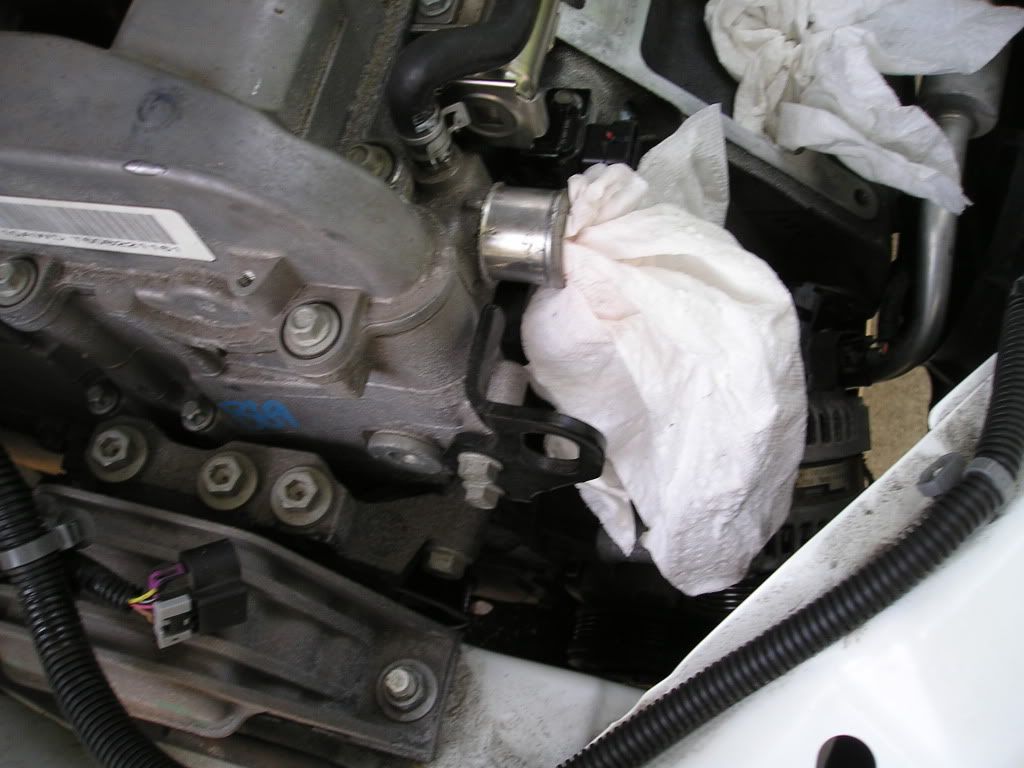
My best friend came over, and he is a magic man - he got the intake manifold endplate to heat exchanger pump on! :shock: I don't know how he did it with that lack of clearance, but he did. He is totally going to be here when I do heat exchanger routing!!!!
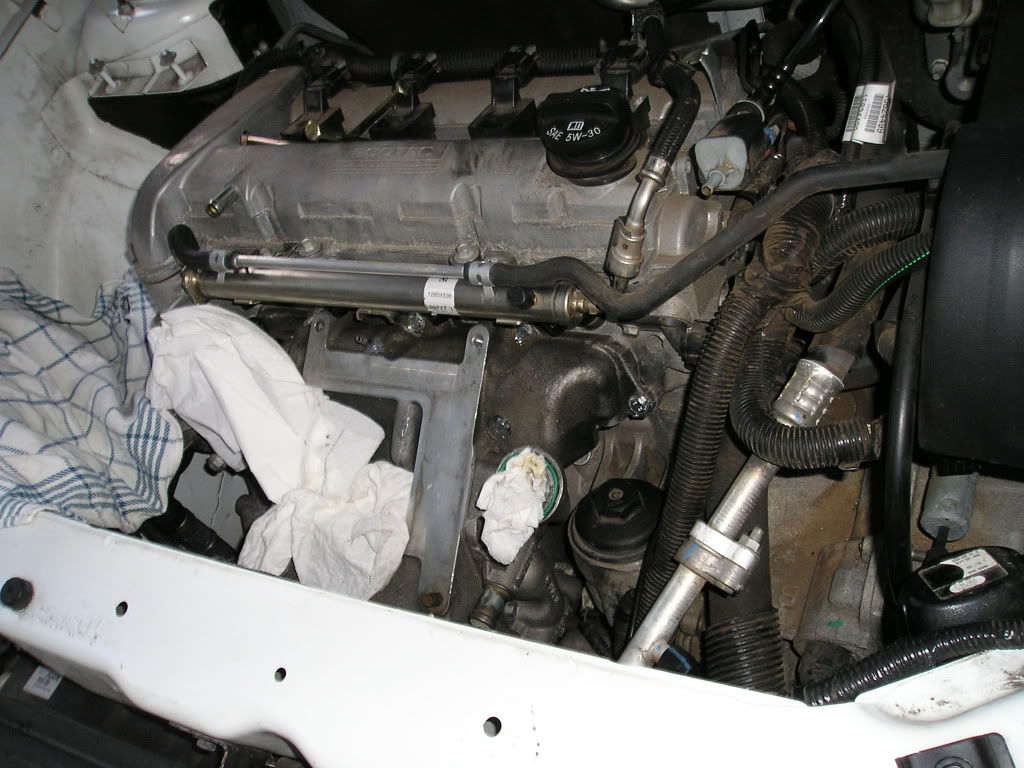
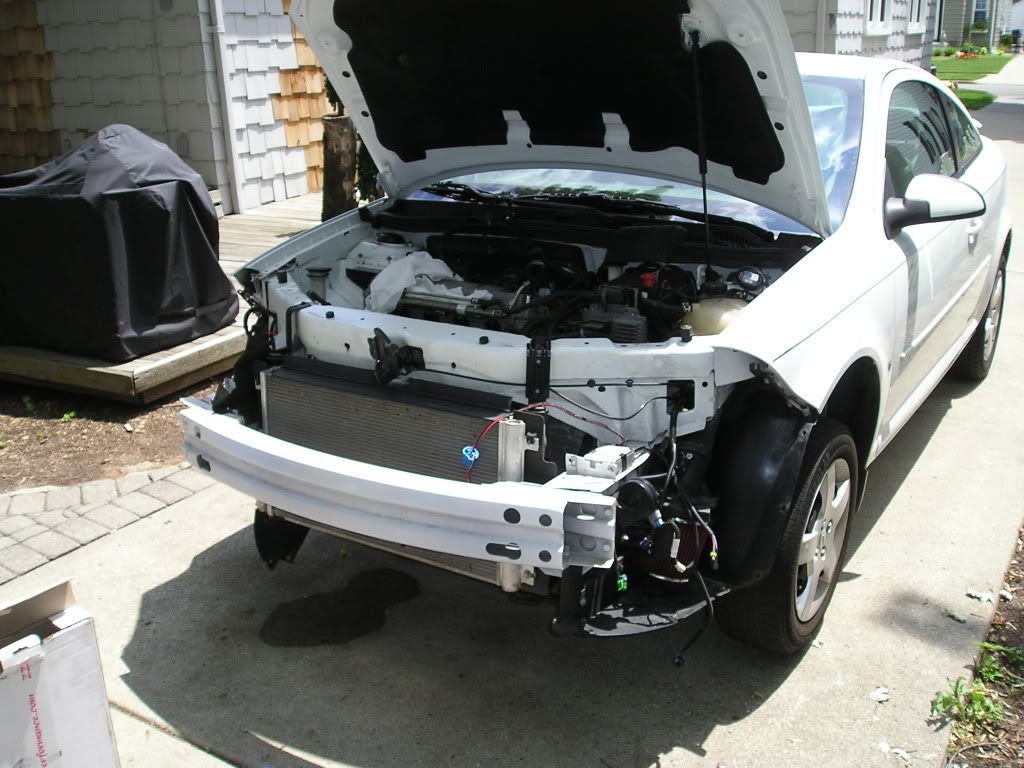
Engine in it's current state
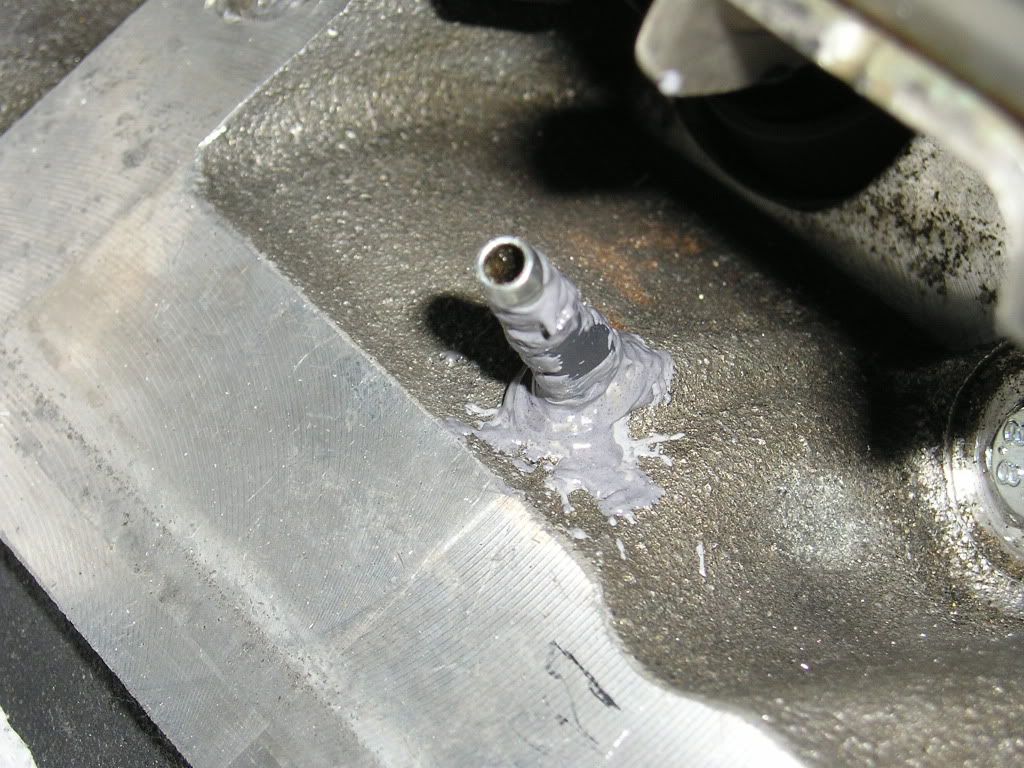
That stupid broken blower nipple. I must of hit it today trying to tighten the intake manifold bolts more (spec is 18 lb ft - they round off at 15 lb ft ) - so I put shrink wrap around the cracked area, shrunk it - then JB welded it...then I find out they make new ones. Maybe some other time...
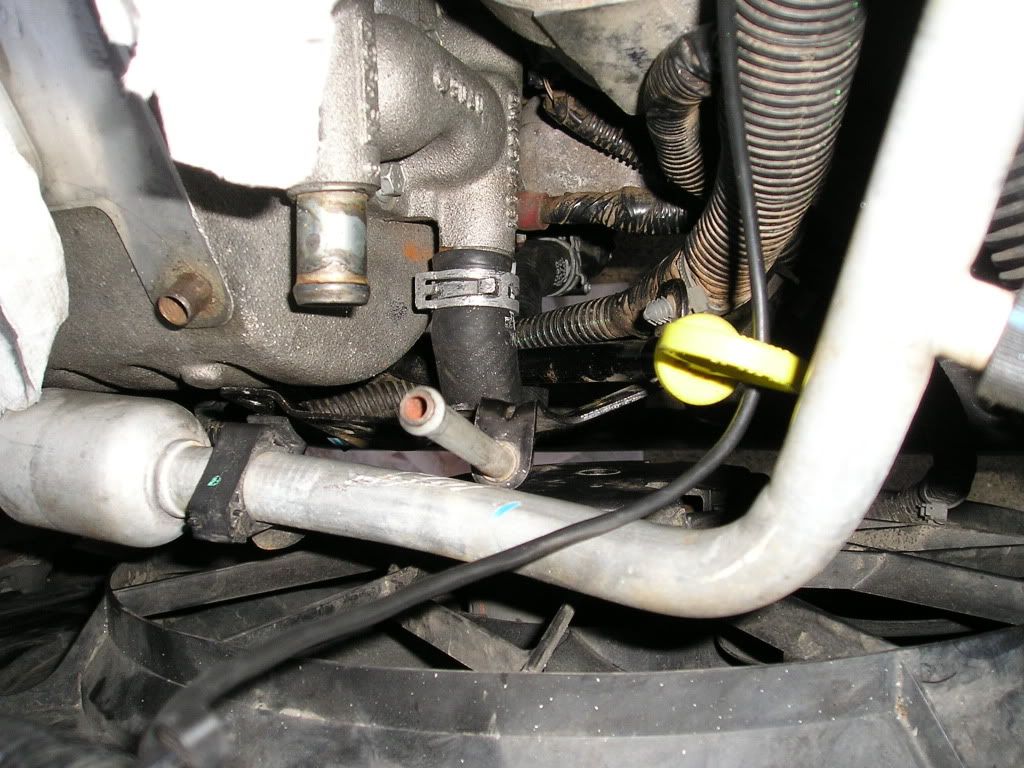
Ground the engine hoist bracket mounting area, cause it hits the tensioner
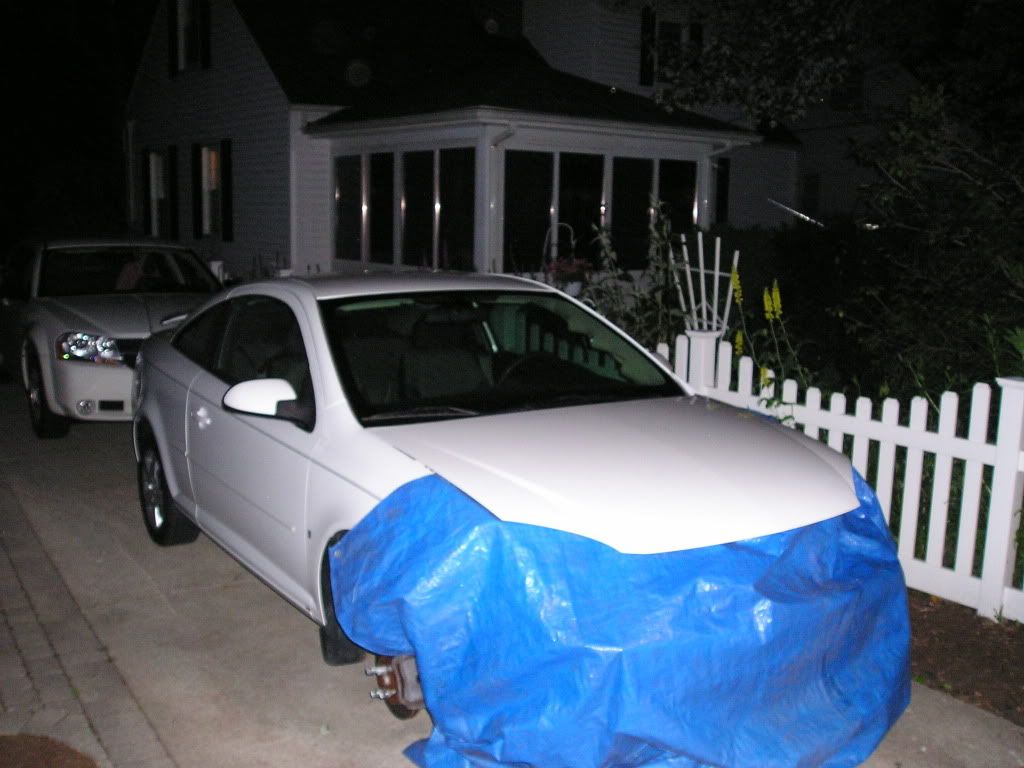
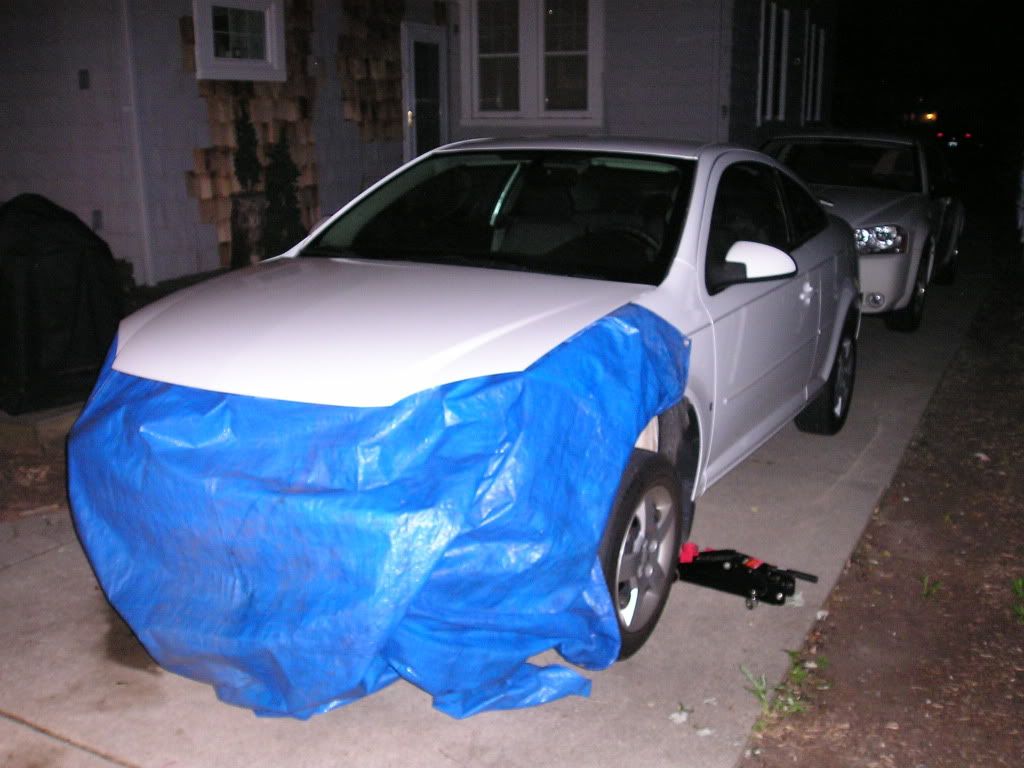
Done for the night - time to clean up

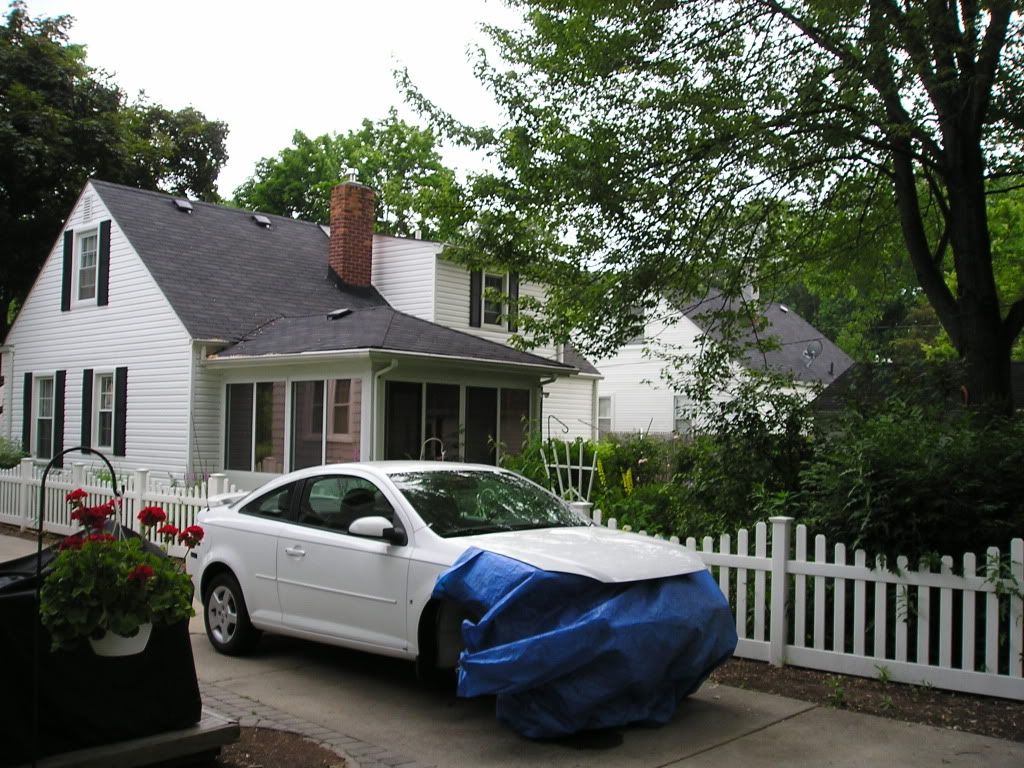
Good night, again, buddy. Covered up hopefully well enough in case it rains...
Here's my progress after lunch - it doesn't seem like I got as much done today as yesterday, but dissassembly is usually very fast...that idler pulley must've taken 3 or 4 hours... :shock: The hole, at some point, got cross threaded, and I fucked with it until I finally realized it, and then went and got a M10x1.5 tap (same size as the bolt) - ran it through the hole a couple times, and the bolt went right in! I wish I would've done that in the first place... :banghead:
Pictures...
Stock Belt and Tensioner out of the car:
Alternator pulled off (this is how I got the stock belt off - you have to use a special tool to do it otherwise):
Intake Manifold to Manifold Brace bolt:
This is GM's cocksucking idler (tensioner for 2.2) pulley access hole. It doesn't even line up completely with the damn bolt!!! God damn you GM. Seriously - oh yeah, it isn't even closed off. It ate the LSJ idler bolt - luckily the stock 2.2 idler bolt seemed to work fine...
After that experience (losing the bolt - and the magnet from the stick magnet that broke trying to get the bolt - hopefully it grabs the bolt and it doesn't roll around...
) I taped up the bottom and shoved paper towels on either side...There's the hole
Bolt finally installed - notice how it almost lines up - the bottom catches though...
Wider shot - easy crank pulley access!
View from the top - finally...
My best friend came over, and he is a magic man - he got the intake manifold endplate to heat exchanger pump on! :shock: I don't know how he did it with that lack of clearance, but he did. He is totally going to be here when I do heat exchanger routing!!!!
Engine in it's current state
That stupid broken blower nipple. I must of hit it today trying to tighten the intake manifold bolts more (spec is 18 lb ft - they round off at 15 lb ft
Ground the engine hoist bracket mounting area, cause it hits the tensioner
Done for the night - time to clean up
Good night, again, buddy. Covered up hopefully well enough in case it rains...
Thread Starter
Senior Member
iTrader: (2)
Joined: 07-10-08
Posts: 1,708
Likes: 3
From: Washington Township, MI
I have a question about wiring...
...how did you guys get the washer bottle pump connector over to the other side...
...and will the MAF connector reach, am I gonna have to untape it and pull it out of the loom?
Here's the progress (or lack of it...) so far today
I went to tighten down the tensioner to see if it clears what I ground down - and the ******* torx bit snapped in half, so it took me a little while to get it out of the tensioner bolt - and now I need to go buy another. I also need to get a metal rasp to file down that engine hoist bracket mount more, just to be safe.
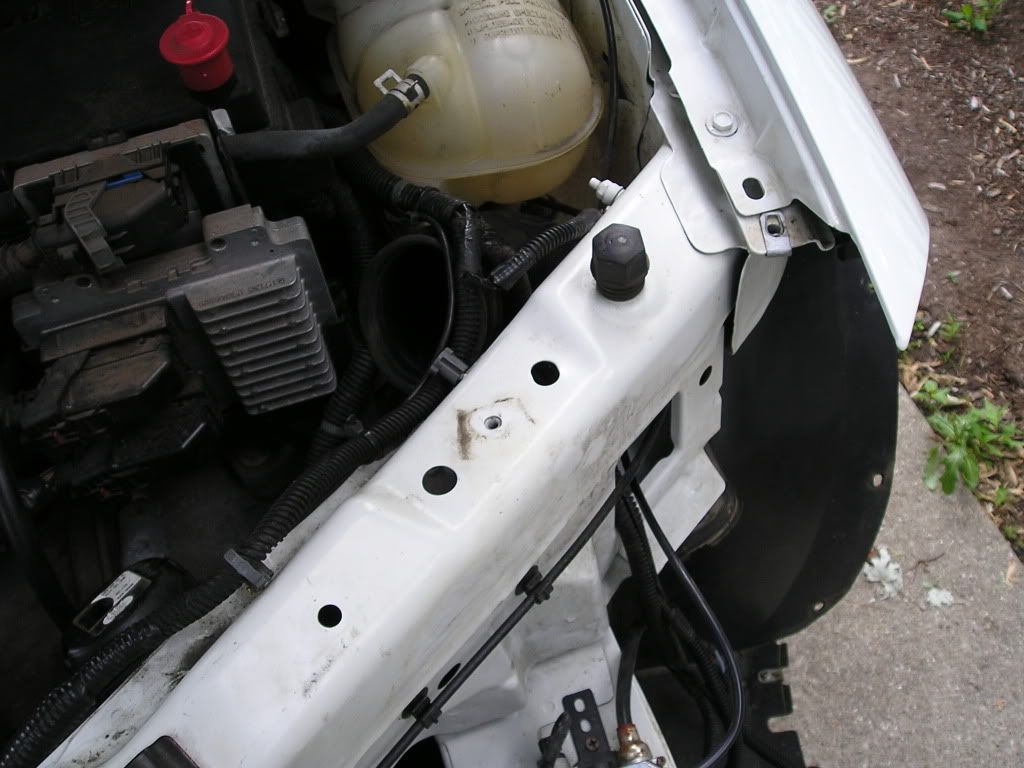
I was trying to be careful when emptying the stock washer fluid reservoir...obviously I missed...
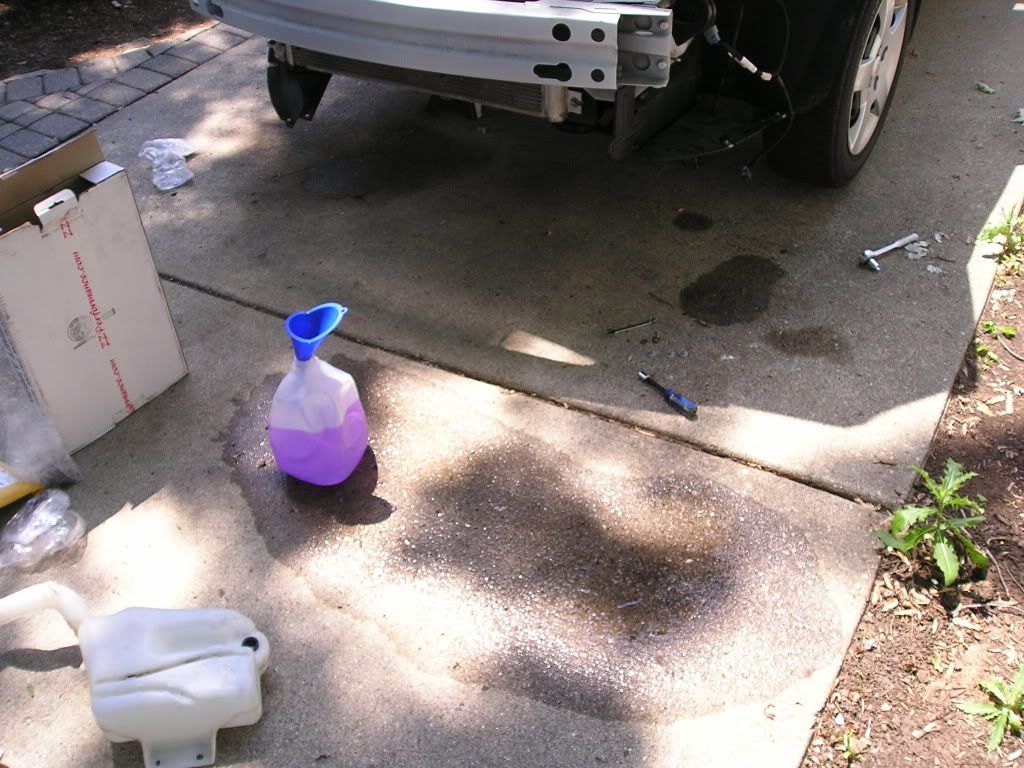
Old one out:
New one in:
...how did you guys get the washer bottle pump connector over to the other side...
...and will the MAF connector reach, am I gonna have to untape it and pull it out of the loom?
Here's the progress (or lack of it...) so far today
I went to tighten down the tensioner to see if it clears what I ground down - and the ******* torx bit snapped in half, so it took me a little while to get it out of the tensioner bolt - and now I need to go buy another. I also need to get a metal rasp to file down that engine hoist bracket mount more, just to be safe.
I was trying to be careful when emptying the stock washer fluid reservoir...obviously I missed...
Old one out:
New one in:

New Member
Joined: 08-10-06
Posts: 3
Likes: 0
From: Limerick
I'm still trying to figure out why you had to grind the block down. My alternator bracket seems to fit fine and I don't see the tensioner being a problem, but then again, I'll be at it tonight again.
I'm going to whack the connector from the washer pump and run it over the impact bar, etc, and if that doesn't look like it will be cool I'll find somewhere else. You may be able to run it along the frame where the radiator is in some of the corrugated tubing.
They said the MAF connector will reach if you disassemble the wiring loom.
with the block you can use a sand grinder or dremel to allow the tensioner not to hit the engine. thats wat i did. and most ppl didn't get a replacement resevior for the washer fluid but i think you can just try to extend it and move it over to the passenger side like gene said.
Thread Starter
Senior Member
iTrader: (2)
Joined: 07-10-08
Posts: 1,708
Likes: 3
From: Washington Township, MI
Yeah - the tensioner is what hits (the actual pulley).
I guess I'll just extend that connector then...probably can use butt connectors on that one...
...the GM pigtail for the throttle body came with butt connectors as well, so maybe crimping will be just fine...? Or should I still solder?
I guess I'll just extend that connector then...probably can use butt connectors on that one...
...the GM pigtail for the throttle body came with butt connectors as well, so maybe crimping will be just fine...? Or should I still solder?
well just try to grind that piece down like i did. use a dremel or grinder.
check my thread out
https://www.cobaltss.net/forums/2-2l-l61-performance-tech-45/tell-your-grandma%2A%2A%2A%2A%2A%2A-its-supercharged-sedan%2A%2A%2A%2A%2A%2A%2A-156684/
it shows where i had to grind it down at
check my thread out
https://www.cobaltss.net/forums/2-2l-l61-performance-tech-45/tell-your-grandma%2A%2A%2A%2A%2A%2A-its-supercharged-sedan%2A%2A%2A%2A%2A%2A%2A-156684/
it shows where i had to grind it down at
Last edited by stenguyen1; Jun 25, 2009 at 12:54 PM. Reason: Automerged Doublepost
Thread Starter
Senior Member
iTrader: (2)
Joined: 07-10-08
Posts: 1,708
Likes: 3
From: Washington Township, MI
Hey, looks like you bought the same reservoir I did - so that's how you did it? That's not a bad idea...maybe I'll go get a couple 3/4" fittings and some RTV... and I like those 90s you got for the ZZP heat exchanger. I need to find those as well... I think a trip up to murrays is in order!
the MAF will reach if you unloom it all, which will be hard after a while bc it will get sorta tanggled and u will have to take ur time in that crowded area, what i did is i unloomed it and ran it thru the bottom, cut a small hole thru the plastic guard and into the fenderwell..reaches fine w/enough slack to be safe
Thread Starter
Senior Member
iTrader: (2)
Joined: 07-10-08
Posts: 1,708
Likes: 3
From: Washington Township, MI
Well, it started to sprinkle a little bit, so I cleaned my **** up and went inside, and it started raining harder - now it looks like it's not raining - but it's still very gusty and dark...
It's taunting me.
Well, I made a little bit of progress since the lunch update - enough to make me happy, anyway.
Got the belt tensioner on and torqued down - it just clears my grinding, so it should be good, I tried pushing it as far back as it'll go, and it seemed fine.
Fender pipe for the air intake is on:
Lower part is connected

It's a really tight fit, but it fits...barely.

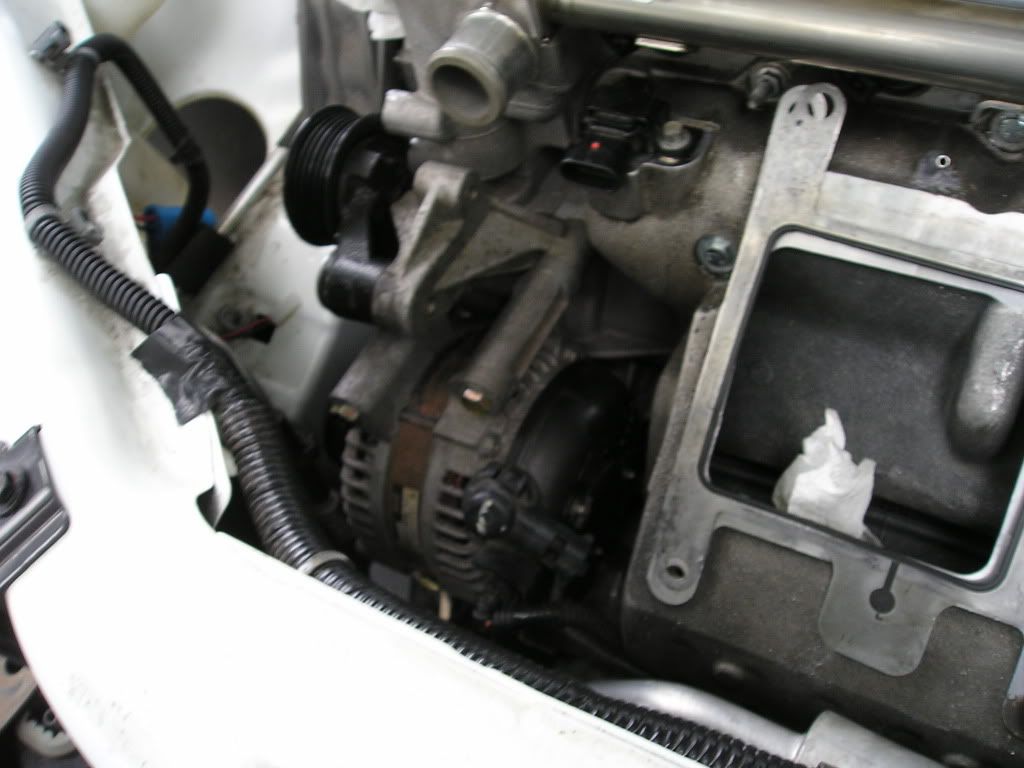
Alternator is on:
It went from blue sky and sunny to this in about 30 minutes...time to clean up.

Was sprinkling at this point, picked up a little after...
I think I'll go ahead and solder my injector harness up now...
It's taunting me.
Well, I made a little bit of progress since the lunch update - enough to make me happy, anyway.
Got the belt tensioner on and torqued down - it just clears my grinding, so it should be good, I tried pushing it as far back as it'll go, and it seemed fine.
Fender pipe for the air intake is on:
Lower part is connected
It's a really tight fit, but it fits...barely.
Alternator is on:
It went from blue sky and sunny to this in about 30 minutes...time to clean up.
Was sprinkling at this point, picked up a little after...
I think I'll go ahead and solder my injector harness up now...


Senior Member
Joined: 07-29-05
Posts: 7,915
Likes: 0
From: AZ
Thread Starter
Senior Member
iTrader: (2)
Joined: 07-10-08
Posts: 1,708
Likes: 3
From: Washington Township, MI
Well, lets see...once it got sunny out after dinner (after it actually rained), I went out to solder up the injector harness - but my dad's solder gun is a stupid piece of ****, and doesn't ever work correctly - except for randomly today - and I was able to do one connection...ONE - then it ran out of butane.
I went to the store, got more butane, loaded it up, and couldn't get it to work again, so I said **** it.
Stupid piece of ****.
Yeah? I took about a 1/4" of an inch off mine in spots.
Well, lets see...once it got sunny out after dinner (after it actually rained), I went out to solder up the injector harness - but my dad's solder gun is a stupid piece of ****, and doesn't ever work correctly - except for randomly today - and I was able to do one connection...ONE - then it ran out of butane.
I went to the store, got more butane, loaded it up, and couldn't get it to work again, so I said **** it.
Stupid piece of ****.
Thread Starter
Senior Member
iTrader: (2)
Joined: 07-10-08
Posts: 1,708
Likes: 3
From: Washington Township, MI
Hopefully by the end of this weekeend.
i should have specified. an electric soldering iron is my weapon of choice. more compact/simple and they dont really break
Thread Starter
Senior Member
iTrader: (2)
Joined: 07-10-08
Posts: 1,708
Likes: 3
From: Washington Township, MI
Yeah - mine worked amazing until I broke it. Luckily there was just enough ground down - it's very close, but I don't think it'll hit. I pushed on the tensioner pulley and it didn't hit.
That reminds me, I have to call Dremel and order the part I need tomorrow...
That reminds me, I have to call Dremel and order the part I need tomorrow...
I was able to get my bracket and stuff on and it looks like I'll have to take some off that area on the block as well. Going to take the grinder to it, but all will be well.
I will post in my thread about my night, but I as my tech friend and I were doing my idler pulley bolt (took like 5 seconds) I told him that yours did not line up properly with the hole. Mine did by the way. He said your motor mount could possibly be worn a little more than mine... I mean my car has 4500 miles on it, lol.
I also wired up my intercooler pump and will post about that in my thread.
I also have another idea where to put the washer pump wire.